Important
You are browsing the documentation for version 1.6 of OroCommerce, OroCRM and OroPlatform, which is no longer maintained. Read version 5.1 (the latest LTS version) of the Oro documentation to get up-to-date information.
See our Release Process documentation for more information on the currently supported and upcoming releases.
Multi Page Checkout
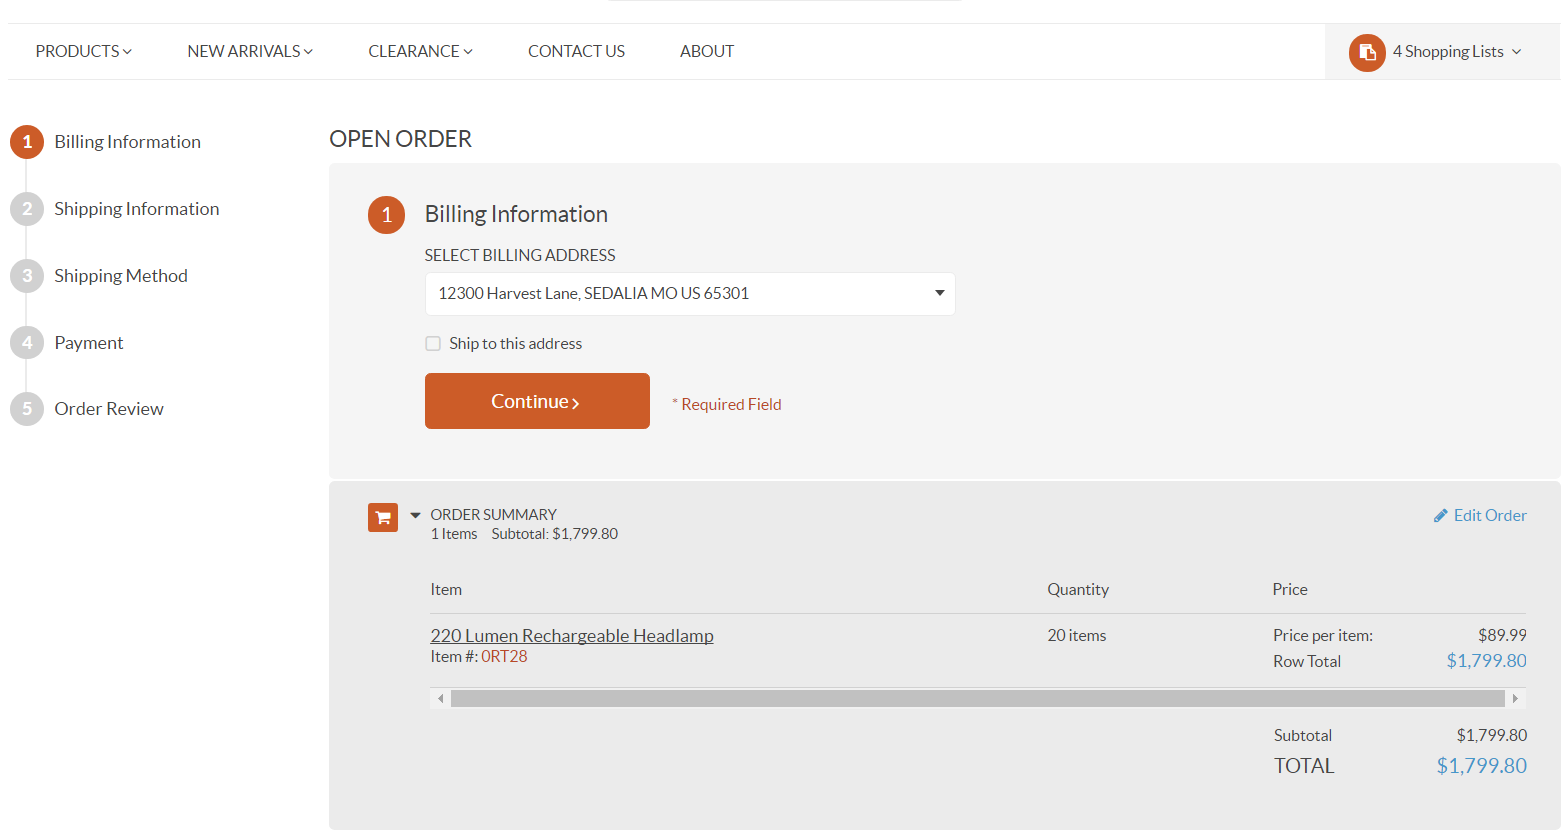
Step 1: Billing Information
- Enter billing information for the order by selecting an existing address from the address book, or creating a new
- one.
- If you wish to use the provided billing address for shipping, select the Ship to this address check box.
- Click Continue to proceed to the next step.
Step 2: Shipping Information
Note
If the Ship to this address check box has been selected in the Billing Information step, this step will be skipped.
Enter shipping information for the order by selecting an existing address from the address book, or creating a new one.
If the Ship to this address check box has been checked in the Billing Information step, the provided address will be automatically selected in the Shipping Information step.
To use billing information for shipping, select the Use billing address check box.
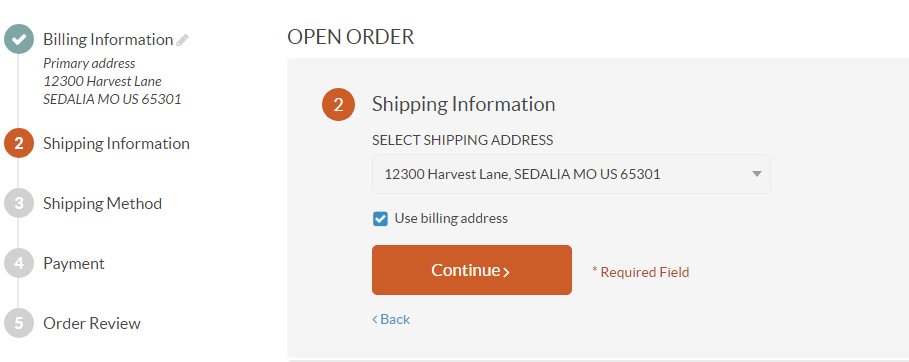
Click Continue to proceed to the next step.
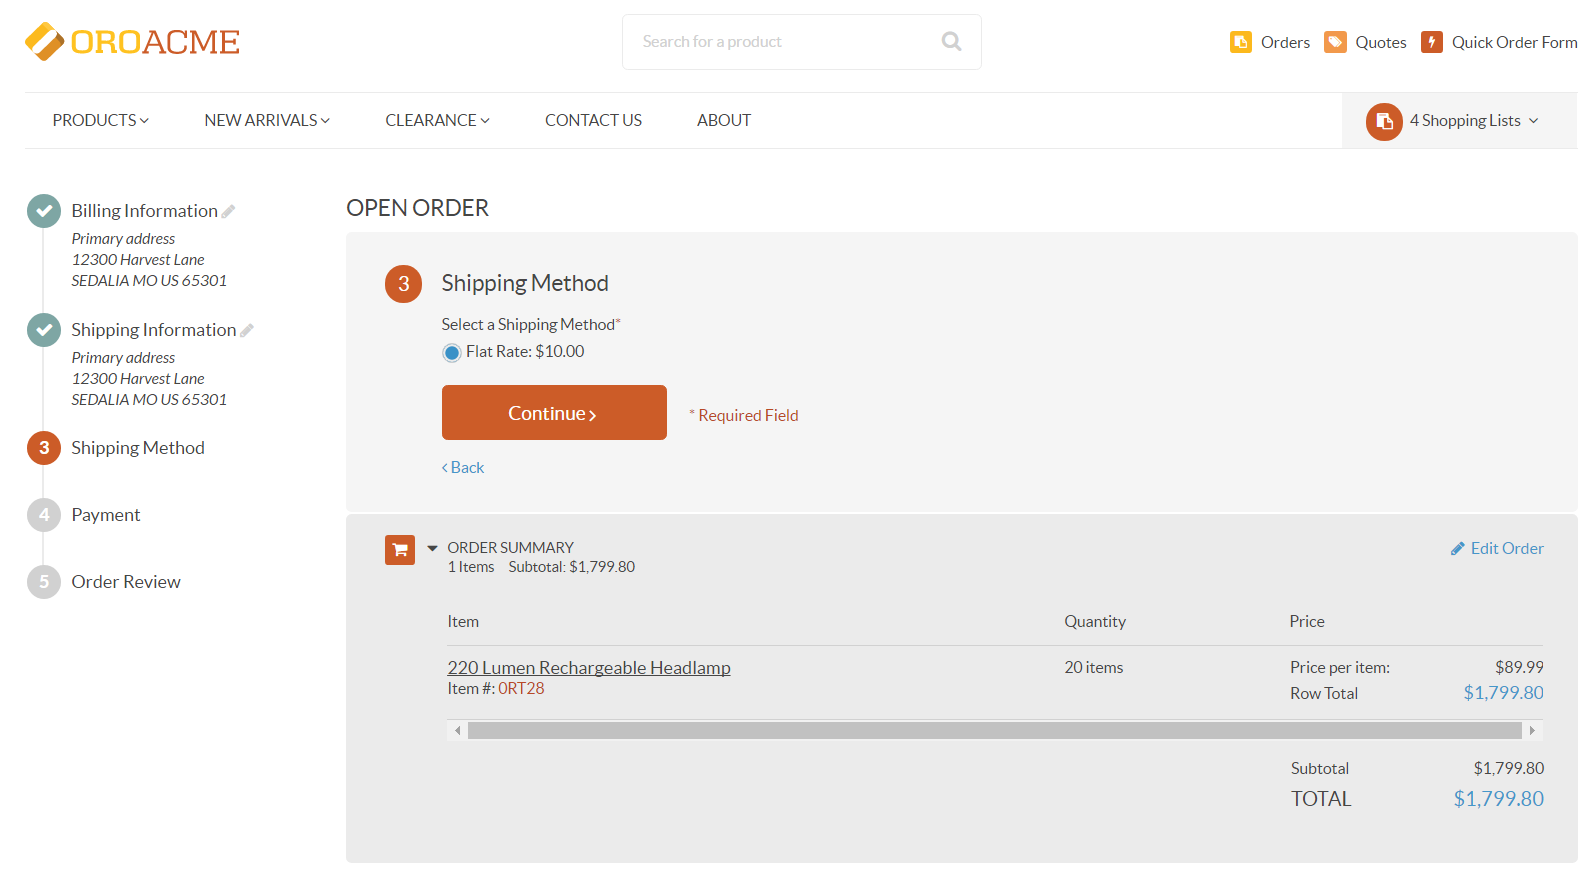
Step 3: Shipping Method
Provide a shipping method by selecting one from the list of the available methods.
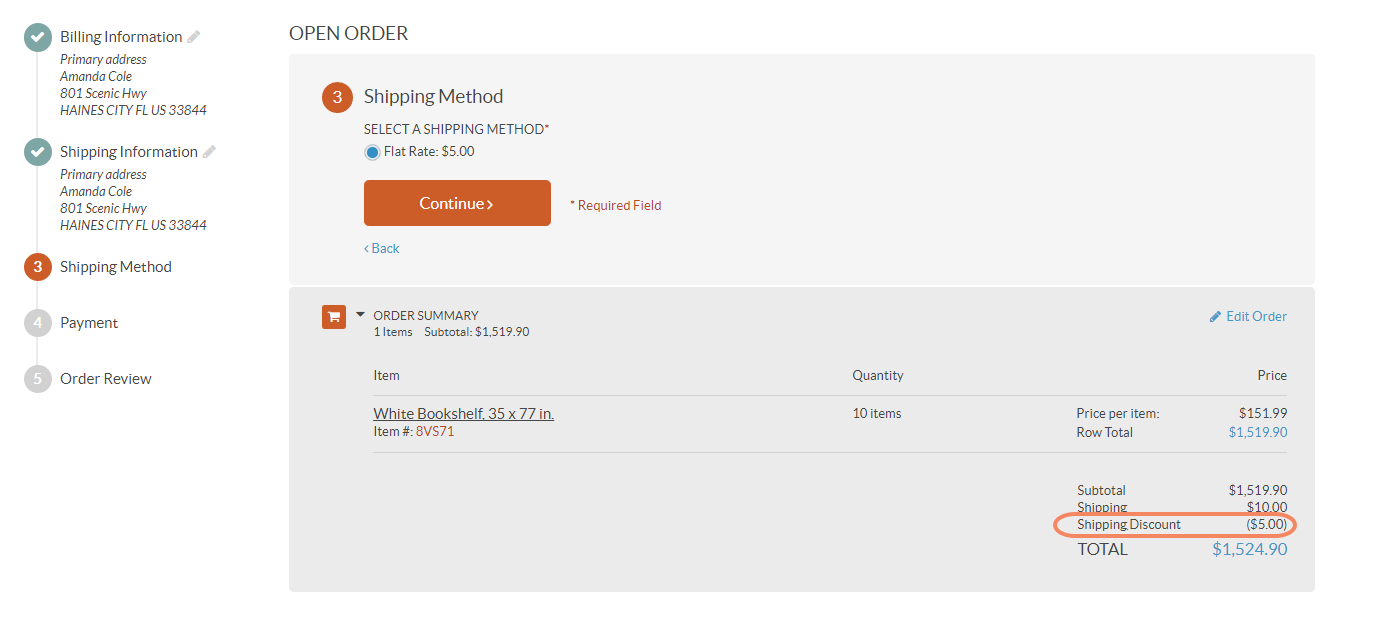
Note
If shipping discounts apply to the order, this will be displayed in the totals.
Click Continue to proceed to the next step.
Step 4: Payment
Choose a suitable payment method by selecting it from the list of all available methods.
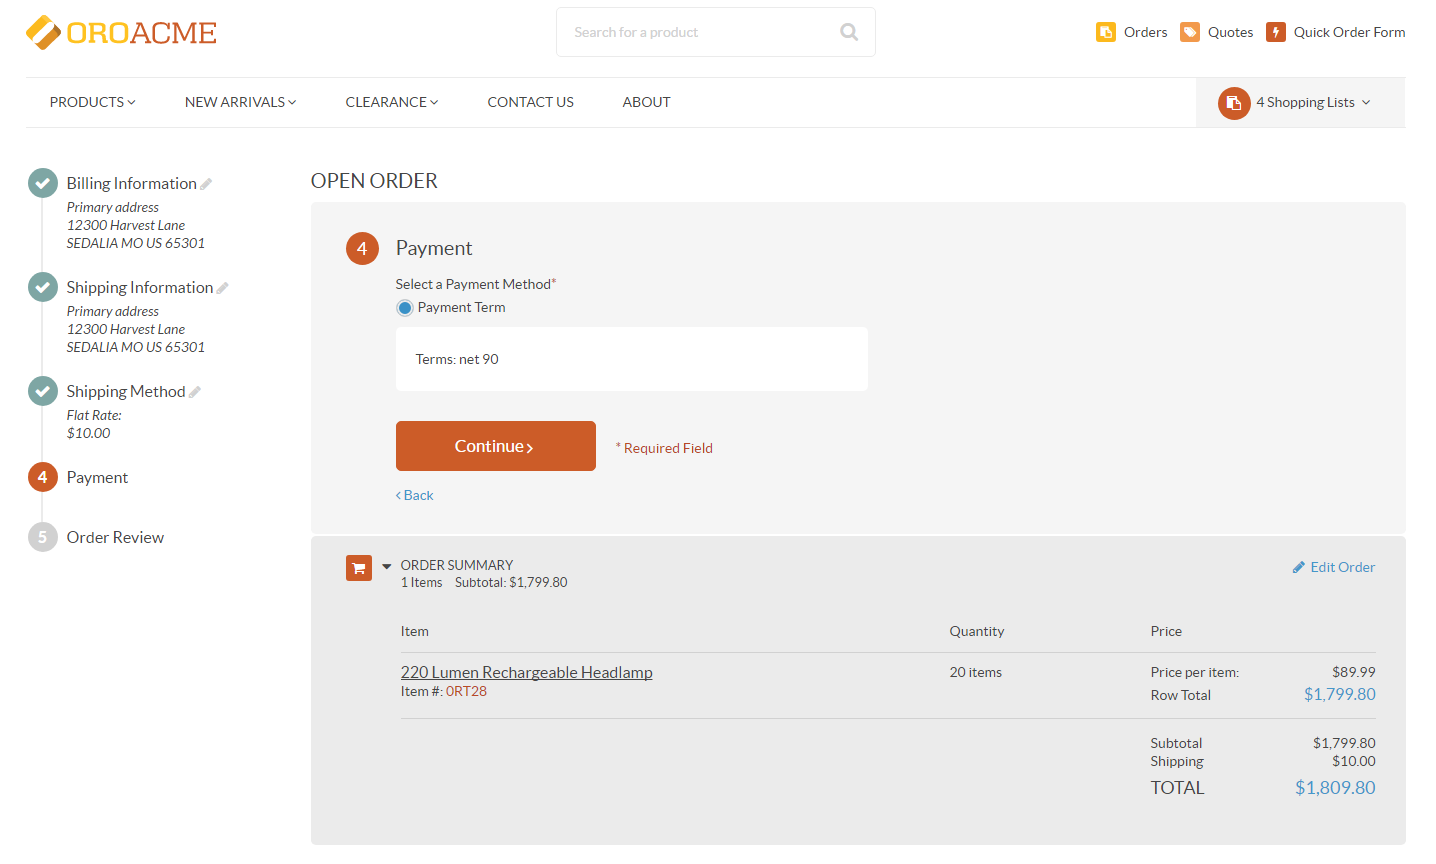
Click Continue to proceed to the next step.
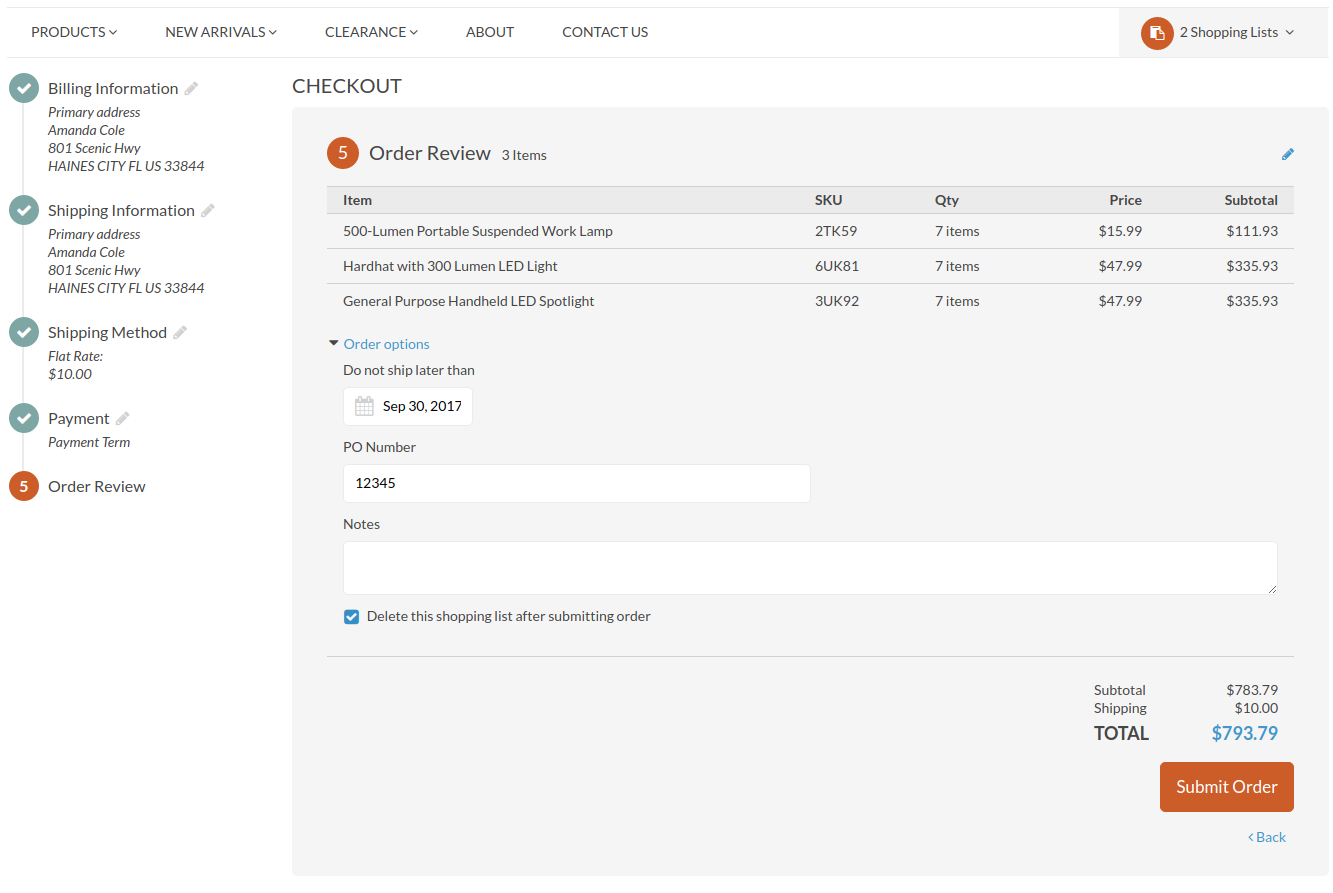
Step 5: Order Review
- Once all the necessary information has been provided, review the order details.
Important
Check SKUs, quantities, price, subtotal, shipping and total cost.
If not all of the items are visible, click Show Less Items on the bottom right of the item list.
Tip
You can edit the order content if required. To do this, click on the top right of the item list. The shopping list page will open. Make the required changes and then click Create Order. You will be redirected back to the order you have been submitting.
If required, provide additional order options:
- Do not ship later than — Click the field to select the date on which the order expires.
- PO Number — Enter the purchase order number for reference.
- Notes — Provide any additional information regarding the order.
- Delete this shopping list after submitting order — Select this check box to remove the shopping list after the order is completed.
To submit the order, click Submit Order at the bottom of the page.
Tip
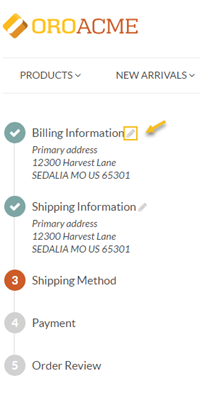
Until you have submitted the order, you can return back and edit any step using the step list on the left of the page:
Click the step that you want to return to. In this case, all the changes made at the later steps will be lost.
Click next to the step that you want to edit. In this case, all the changes made at the later steps will be preserved.
Tip
It is also possible to amend the order content until the order is submitted. To do this, click Edit Order in the right corner of the Order Summary section available at the bottom in the Billing Information, Shipping Information, Shipping Method, and Payment steps.