Use Web Catalog Nodes as Root Nodes (Example)
You can select any content node as a root node for the OroCommerce storefront menu. This enables you to display only the necessary sub-menu nodes in the storefront menu.
As an illustration, we will create a new category and add it to the quick links menu in the storefront. The block will lead to a product collection page with new arrivals. The product listing page will not be part of the main menu and will only be available via a link from the quick links menu on the homepage.
Note
The following illustration involves configuration options that may only be modified by an administrator or a person with permission to access system configuration settings.
Step 1: Configure the Navigation Root
Define the navigation root for the main menu so that the only relevant categories are displayed in the storefront instead of the whole web catalog tree:
Navigate to System > Websites > Routing in the main menu.
In the Navigation Root field, select a content node as the root for building the navigation tree in the storefront.
Click Save Settings .
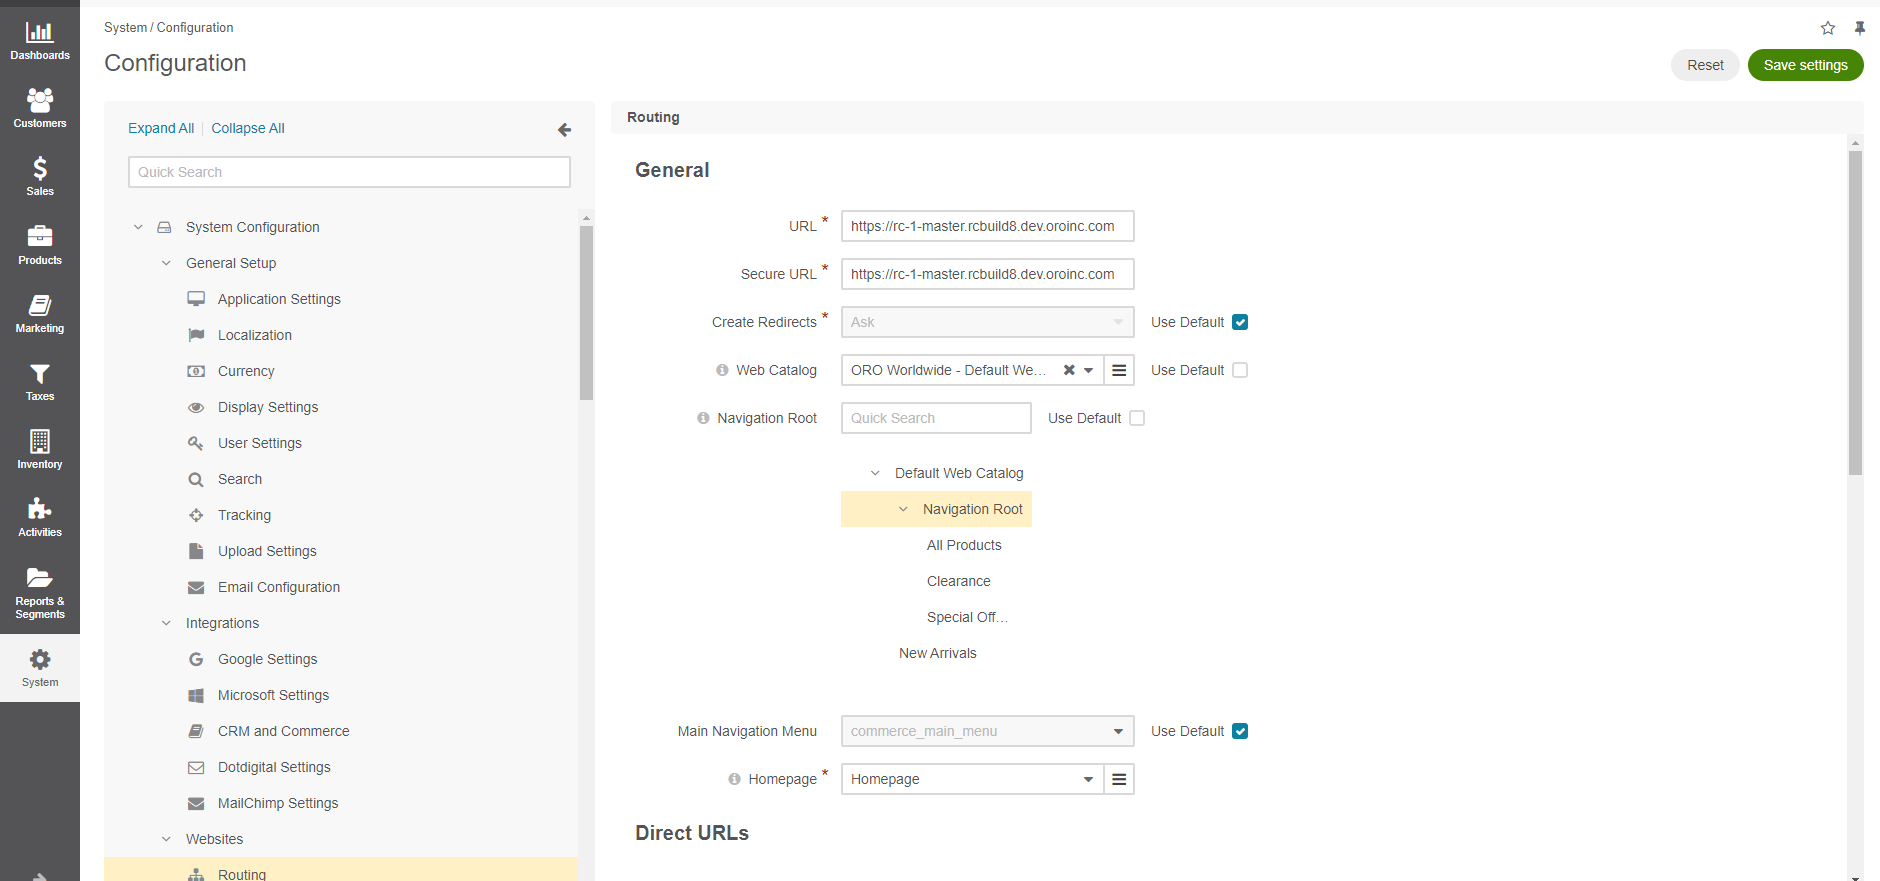
Once the navigation root scope is defined, the main menu in the storefront should display the sub-menus only from the selected navigation root range.
Note
The Navigation Root option appears in the routing configuration settings when you clear the Use Default checkbox next to the Web Catalog field, select the necessary web catalog from the list (if you have more than one), and click Save Settings.
Step 2: Add a Content Node
Create a new content node and add all the items eligible for your special offers:
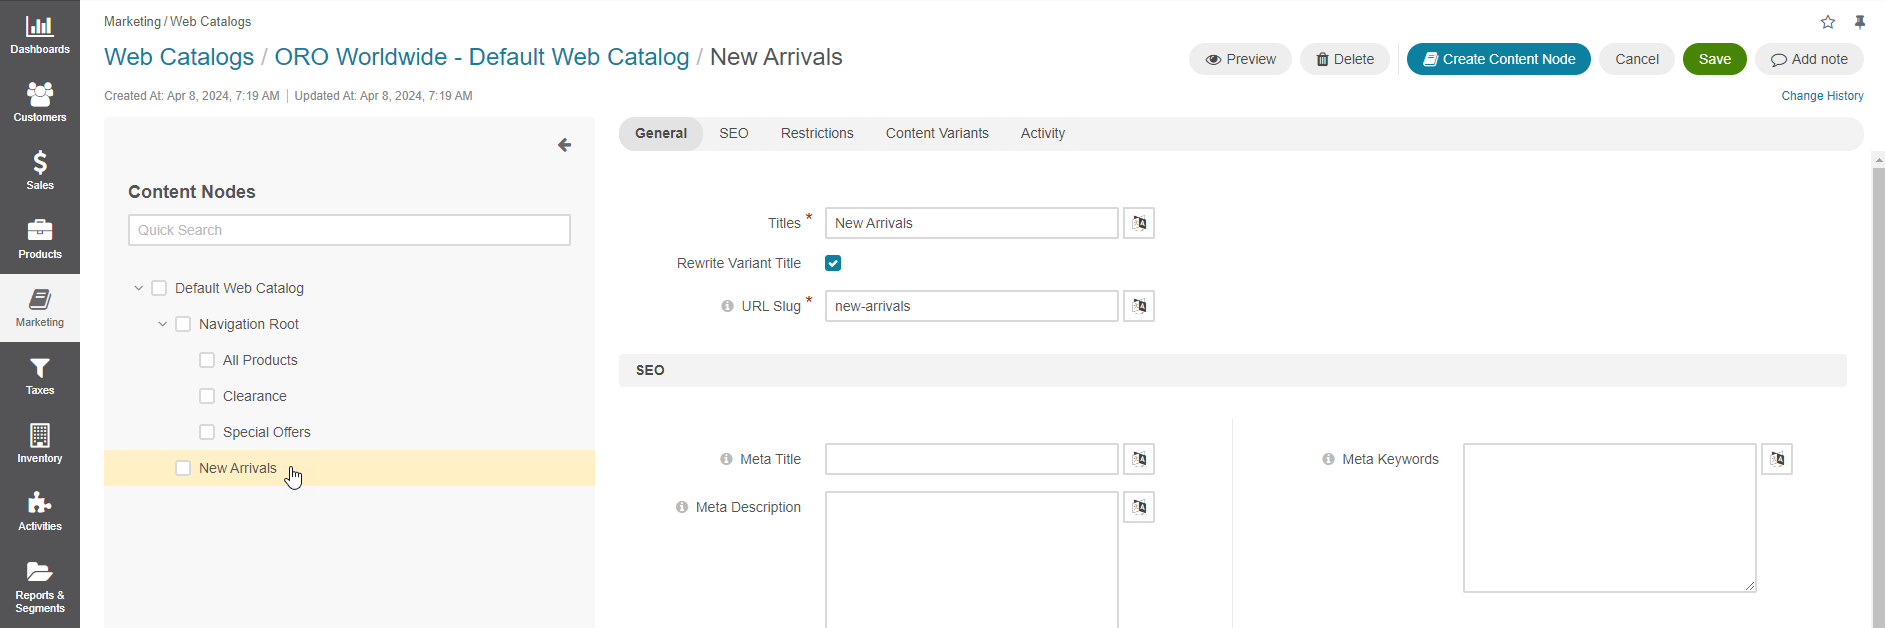
Navigate to Marketing > Web Catalogs in the main menu.
Click Create Content Node outside of the Navigation Root range and provide it with a name (e.g., New Arrivals). The URL slug is automatically generated, but you can modify it if necessary.
In the Content Variants section, add Product Collection as a content variant for the node you are creating, and populate it with the items for sale. In the example below, we have applied an existing segment (New Arrivals/Lightning Products) to the product collection we are adding as a content variant.
Note
See the Add a Product Collection (Web Catalog Content) topic for more details.
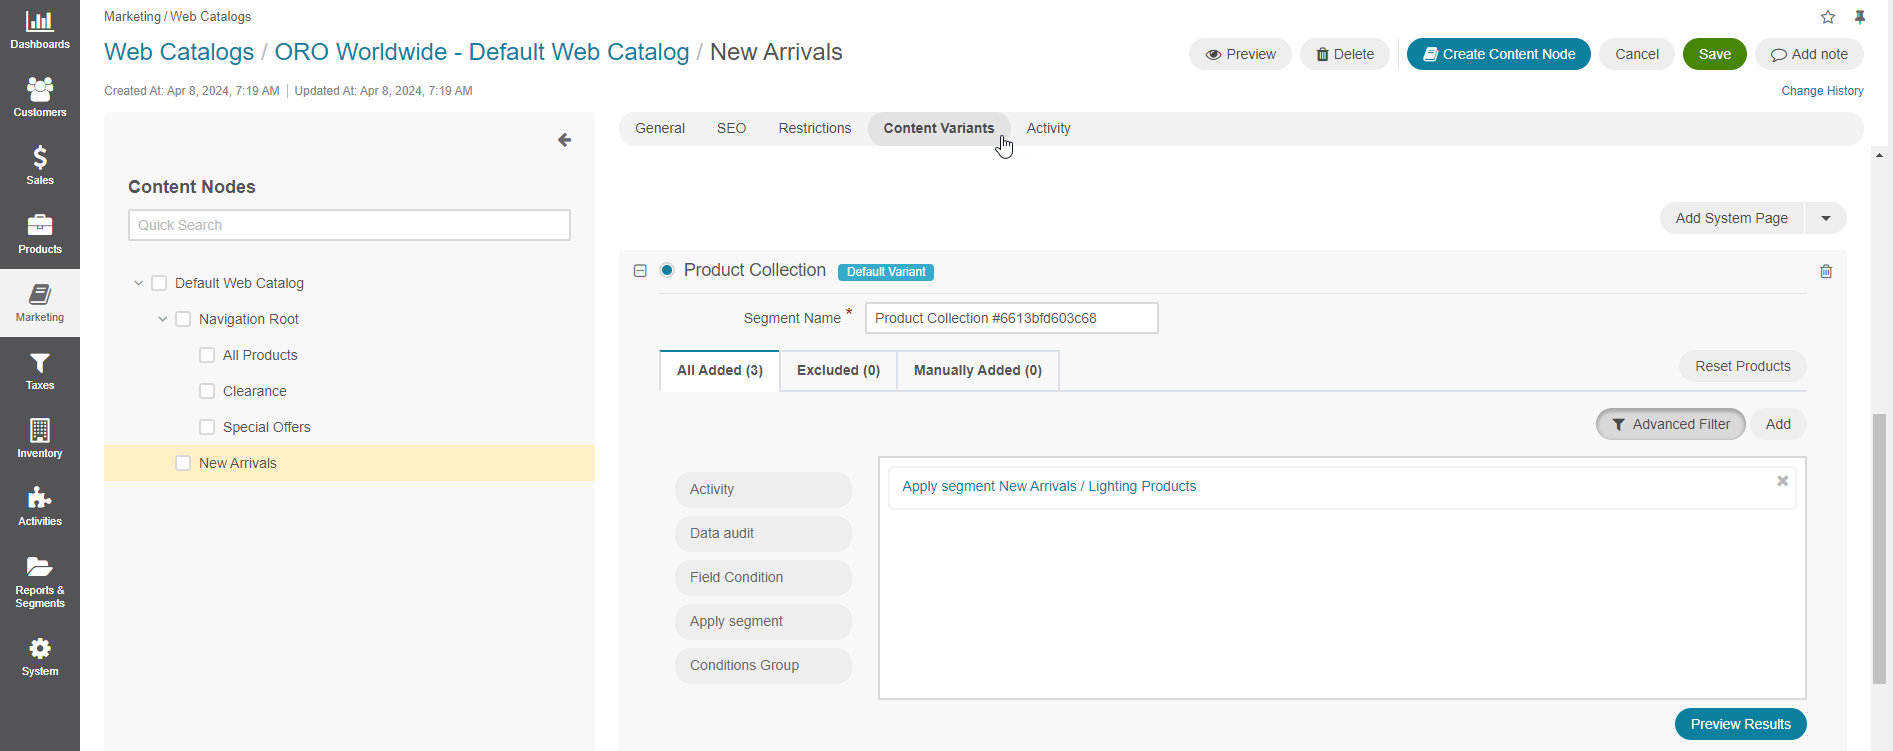
Click Save.
Step 3: Add a Frontend Menu Item
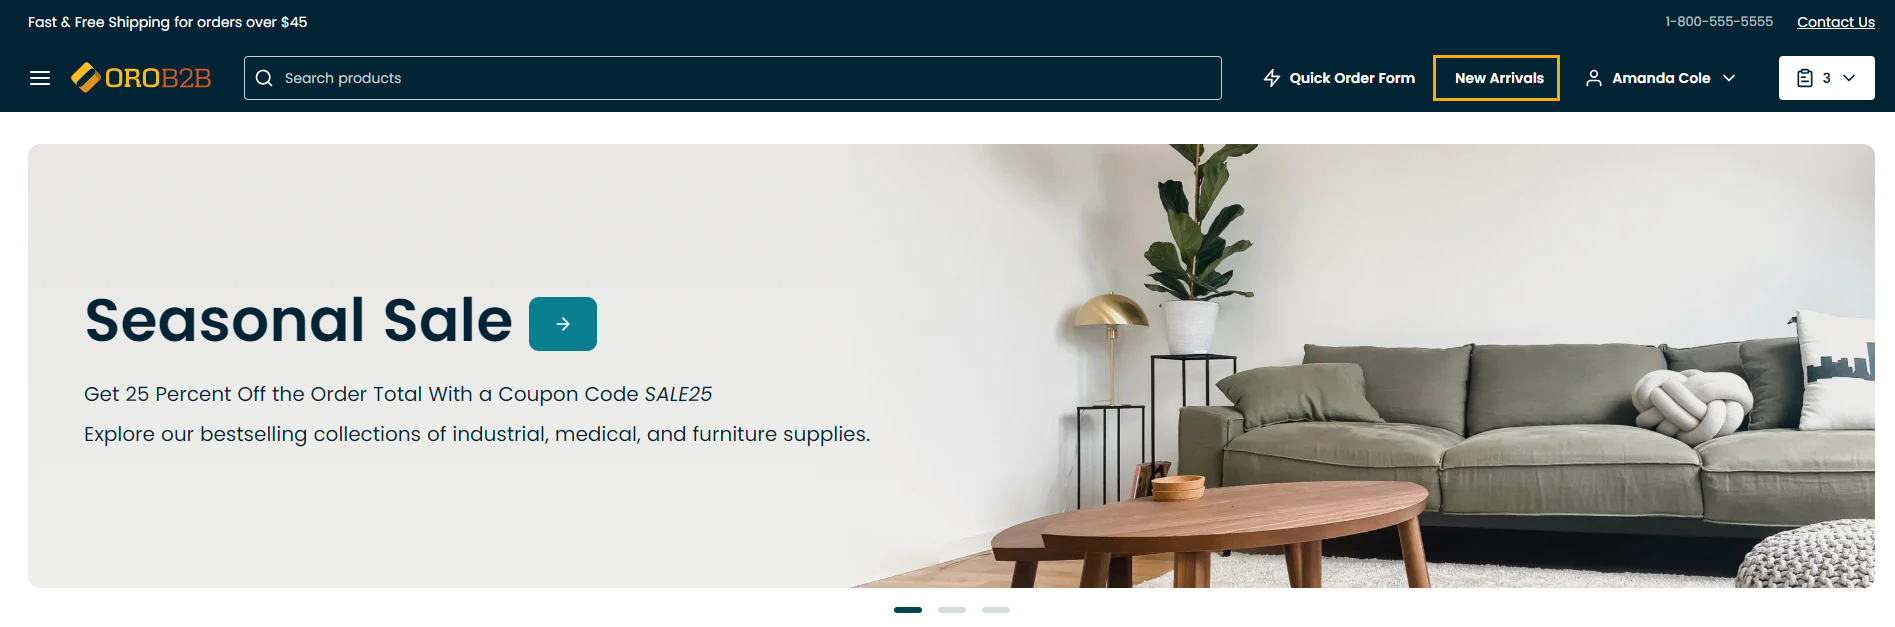
We are now going to add the newly created content node with New Arrivals to the quick access menu, next to the Quick Order Button. You can, of course, add it to any other relevant menu of the storefront theme.
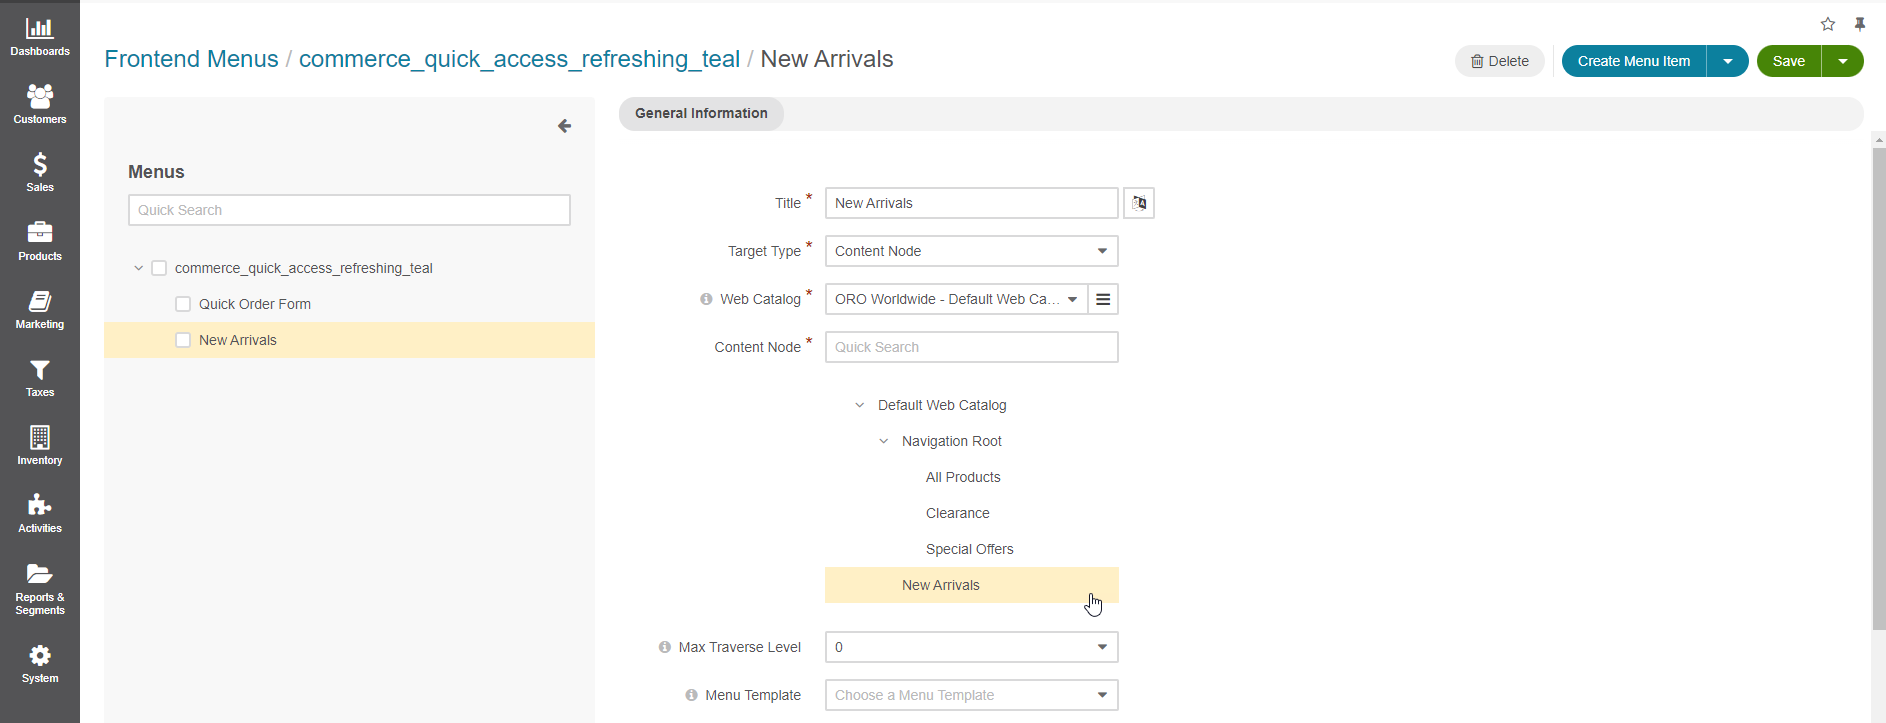
Navigate to System > Frontend Menus in the main menu.
Click once on the commerce_quick_access_refreshing_teal item to open its page.
Click Create Menu Item.
Note
See the Edit a Frontend Menu topic for more information on frontend menu configuration.
Name the menu item, set the Target Type to Content Node, and click on the new node (New Arrivals) in the tree to select it.
Click Save.
Step 4: Add Menu Item to Selected Storefront Theme
We can now connect the commerce_quick_access_refreshing_teal to a storefront menu.
Navigate to System > Theme Configuration.
For the Quick Links Menu option, select commerce_quick_access_refreshing_teal from the dropdown.
Click Save and Close.
The New Arrivals menu item should now be available in the storefront and contain the product collection from the New Arrivals/Lighting segment.
More on Web Catalogs