Important
You are browsing the documentation for version 1.6 of OroCommerce, OroCRM and OroPlatform, which is no longer maintained. Read version 5.1 (the latest LTS version) of the Oro documentation to get up-to-date information.
See our Release Process documentation for more information on the currently supported and upcoming releases.
Merge Accounts
Once the accounts have been added to the system you can merge user-guide-accounts-merge them to get a full view of customer activities, regardless of the channels. This can be useful if, for example, it has turned out that several accounts have been created for the different representatives of the same client, or that your business-to-business partner is co-operating with you from a new channel (e.g. started buying from your other store).
In order to merge accounts:
Navigate to Customers > Accounts in the main menu.
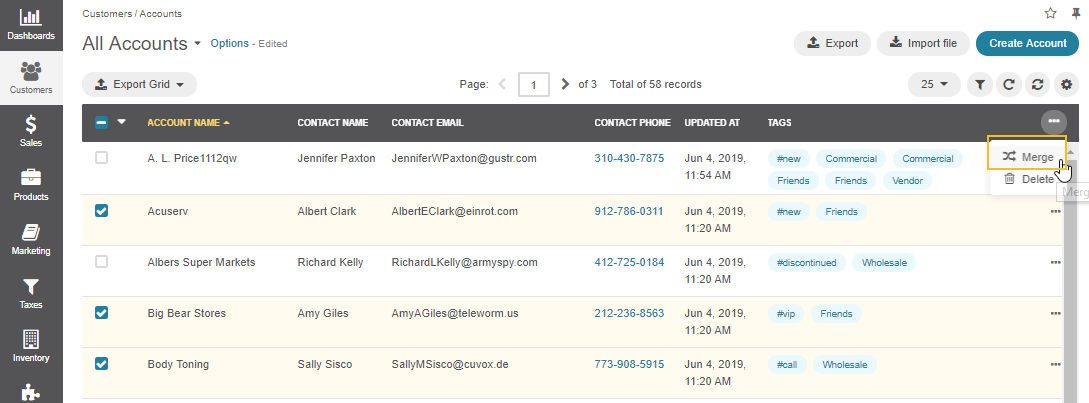
Select the accounts that you want to merge.
Click the ellipsis menu at the right end of the table header row, and then click the Merge icon.
As an example, we are merging three accounts: Acuserv, Big Bear Stores, and Body Toning.

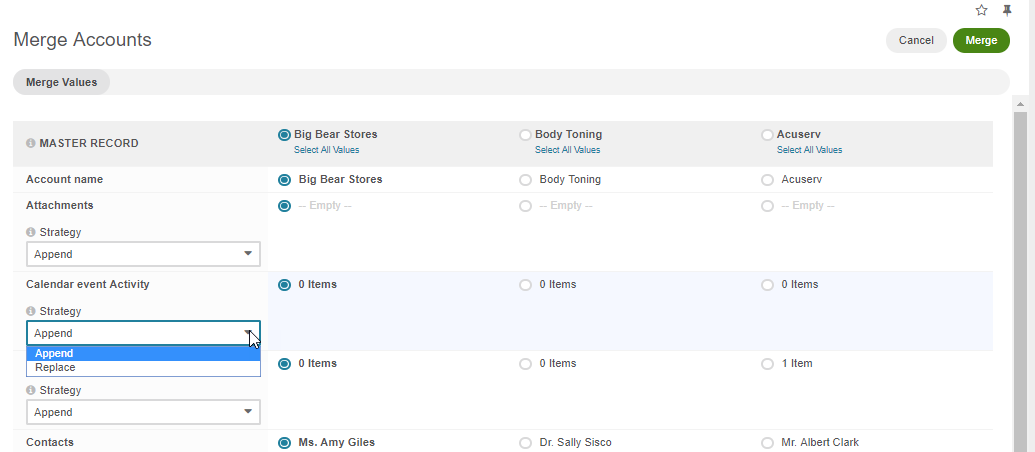
Once you click Merge, a table with the merge-settings appears.

Choose a name of the accounts that are being merged to give to your new account (master record).
Choose the accounts merging strategy:
- Append combines selected values and assigns them to the master record.
- Replace uses the selected value as the new value for the corresponding field.
Apply the strategy to the attachments, calendar event activity, call activity, contacts, email activity, note activity, tags, and task activity.
Choose the default contact of the accounts being merged to give to the master record.
Choose the description of the accounts being merged to give to the master record.
Choose the last contact datetime as well as the last incoming and outgoing contact datetime to give to the master record.
Choose the owner of the accounts being merged to give to the master record.
Choose the total number of incoming and outgoing contact attempts and total times the account has been contacted to give to the master record.
Click Merge.
A master record with merged data of several accounts is created. The rest of the account details, including details of the customer identities are merged using the append strategy.
Note
Keep in mind that after you create a new account profile (a master record), the accounts that were merged are automatically deleted from the list of all accounts.

