Important
You are browsing the documentation for version 3.1 of OroCommerce, OroCRM and OroPlatform, which is no longer maintained. Read version 5.1 (the latest LTS version) of the Oro documentation to get up-to-date information.
See our Release Process documentation for more information on the currently supported and upcoming releases.
Configure Google Single Sign-On in the Back-Office
Oro application supports Google Single Sign-On. This means that for a user that has the same primary email in the Oro application and Google accounts, it is enough to log-in only once during a session.
Google Side
Create Project
To configure single sign-on on the Google side:
Open Google API Console
Navigate to My Project selector in the top left corner and click Create Project.

Define the Project Name and click Create.

Create Credentials
Click Credentials in the menu on the left and open the Credentials tab.
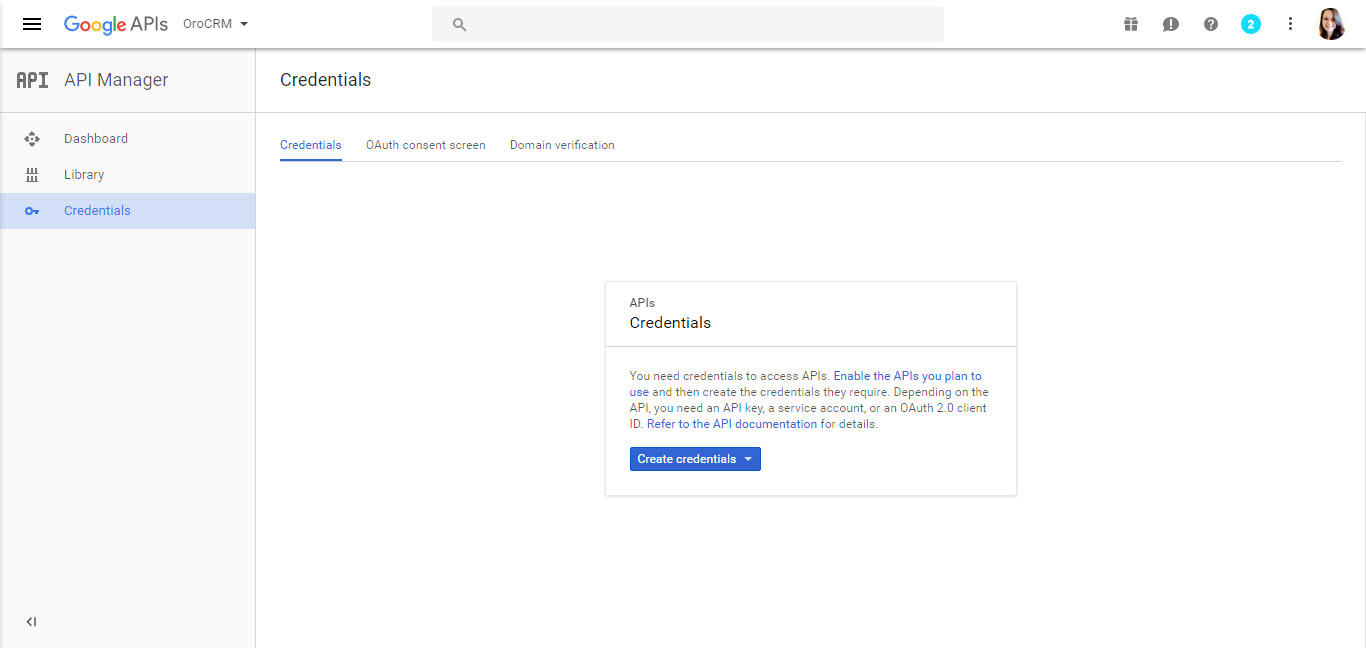
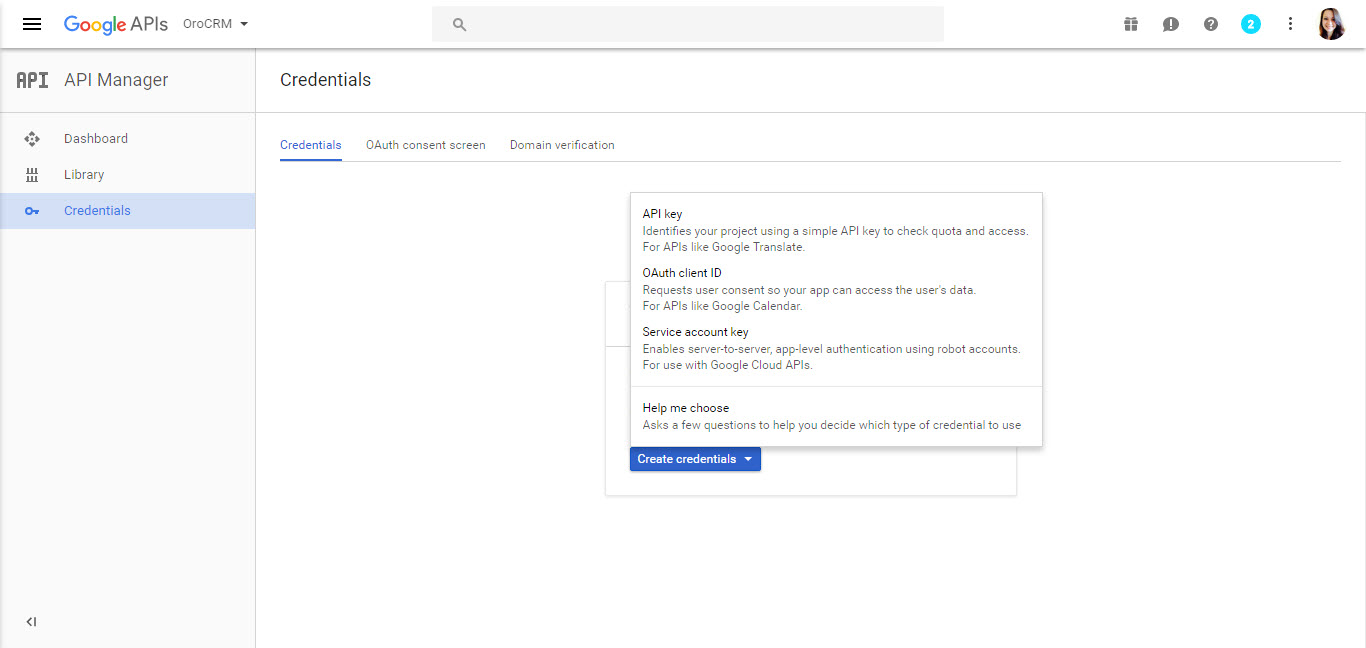
Click Create Credentials and select 0Auth client ID.
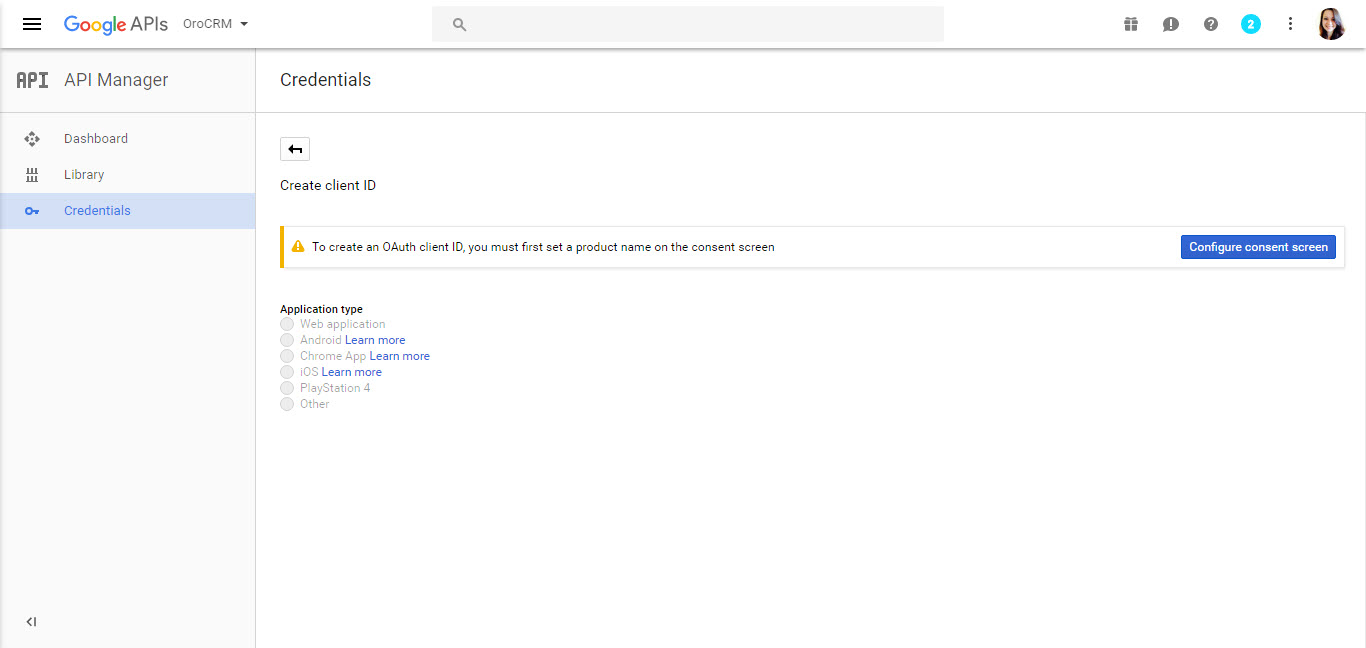
To create an OAuth client ID, first set a product name on the consent screen.
Configure Consent Form
Click Configure Consent Screen.
Complete the form by providing the following details:
Your email address
Project name
Homepage URL
Product logo
Private Policy URL
Terms of Service URL
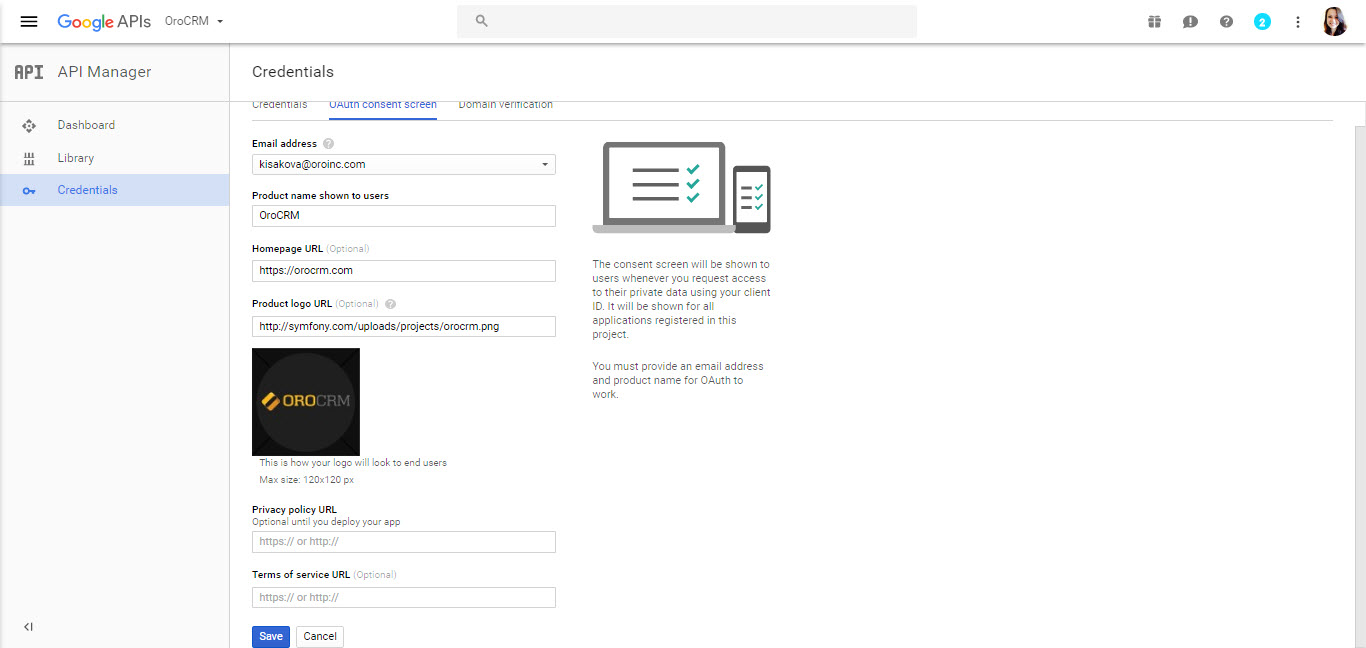
Click Save to launch the Create Client ID page.
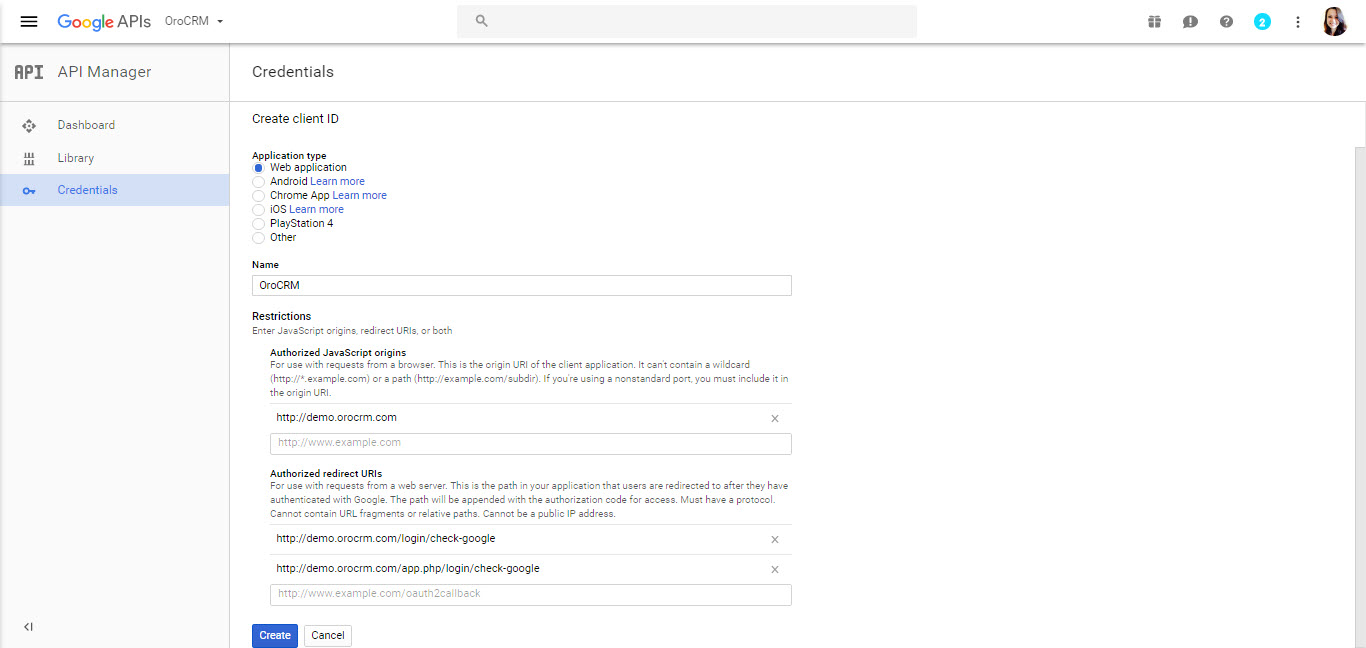
Set the Application Type to Web Application.
For Authorized JavaScript Origins, enter the URL of the Oro application instance for which single sign-on is being enabled.
Authorized Redirect URIs are unified resource names used for the interaction between Google and the Oro application instance. It is recommended to add the following two values:
[Oro application instance URL]/admin/login/check-google
[Oro application instance URL]/index.php/admin/login/check-google
Click Create Client ID.
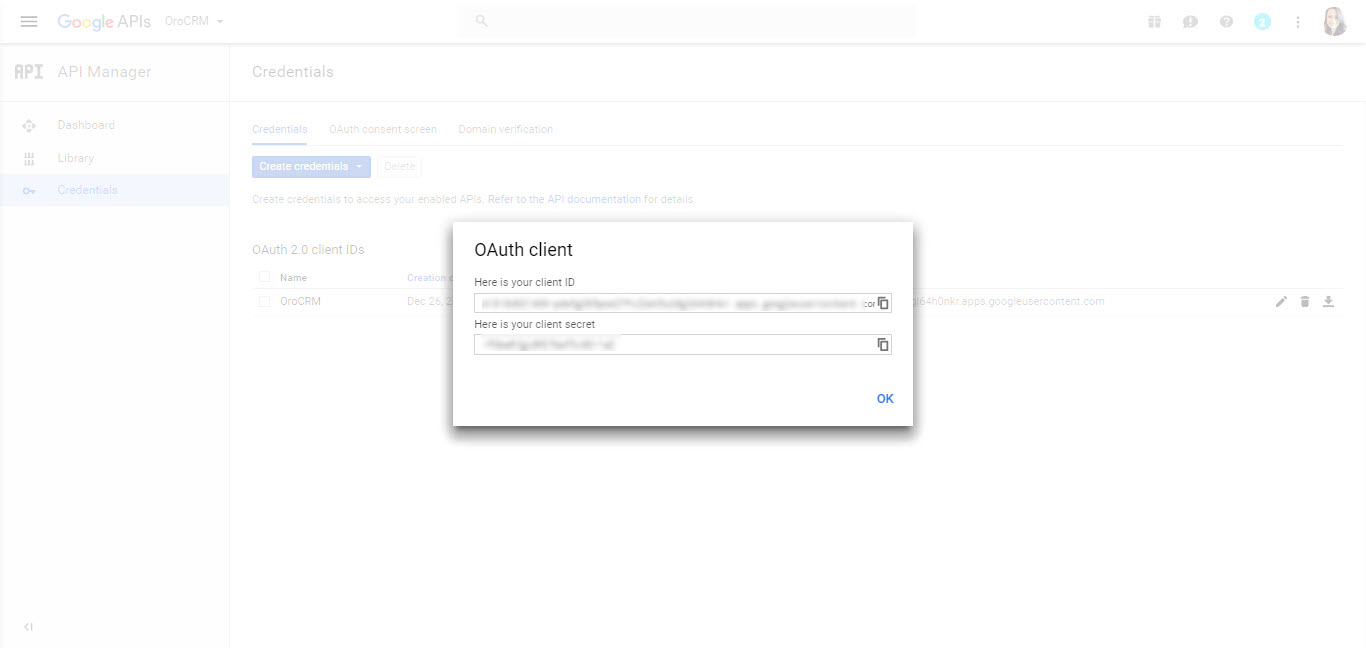
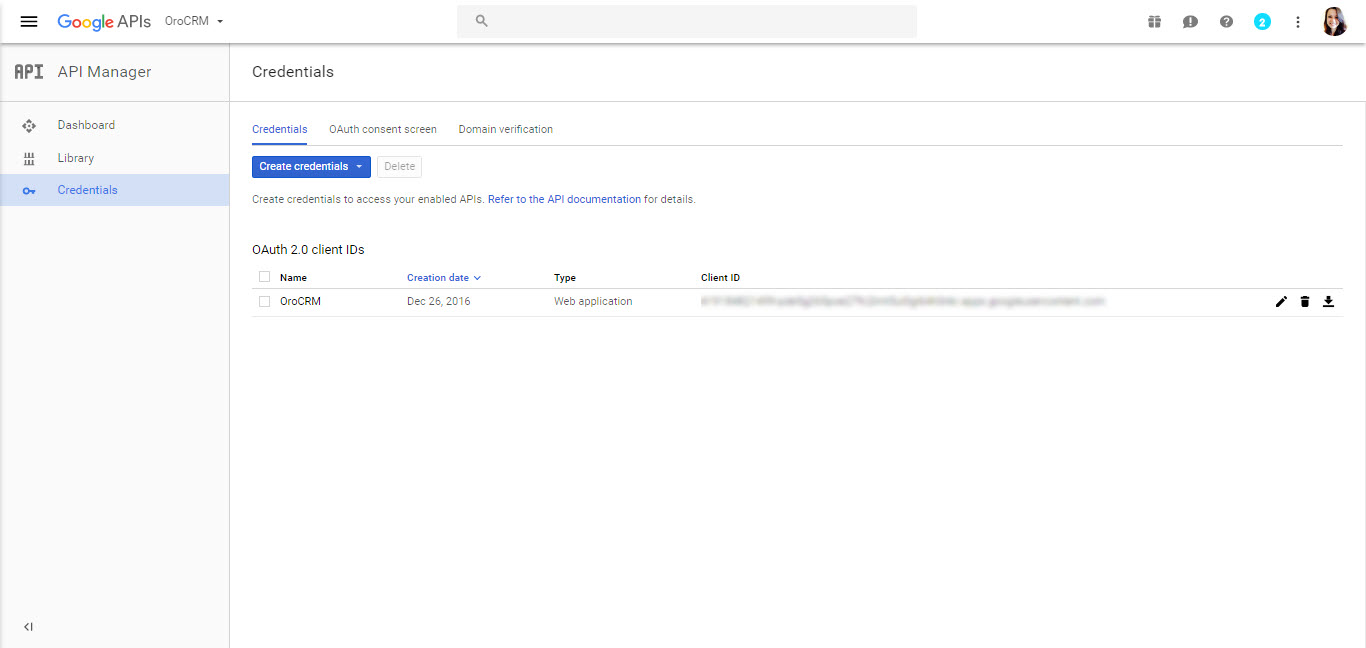
Your client ID is generated.
Oro Application Side
Configure Google Integration
To configure the integration with Google in your OroCRM or OroCommerce application:
Navigate to System > Configuration in the main menu.
In the left panel, click Integrations > Google Settings.
Define the following fields for Google Integration Settings:
Field |
Description |
|---|---|
Client ID |
The Client ID generated in the API console. |
Client Secret |
The Client Secret generated in the API console. |
Google API Key |
The API Key generated in the API console. Provide a valid Google API key to activate maps for addresses in the system. |
Define the following fields for Google Sign-on:
Field |
Description |
|---|---|
Enable |
Check Enable. |
Domains |
Domains is a comma separated list of allowed domains. It limits the list of mailboxes for which single sign-on can be used (e.g., only a domain used specifically by your company). Leave the field empty to set no such limitation. |
OAuth 2.0 for email sync |
Check Enable. |

Log in with Google
When a user gets to the login page of an instance for which single sign-on capability has been enabled, the Login Using Google link is displayed.
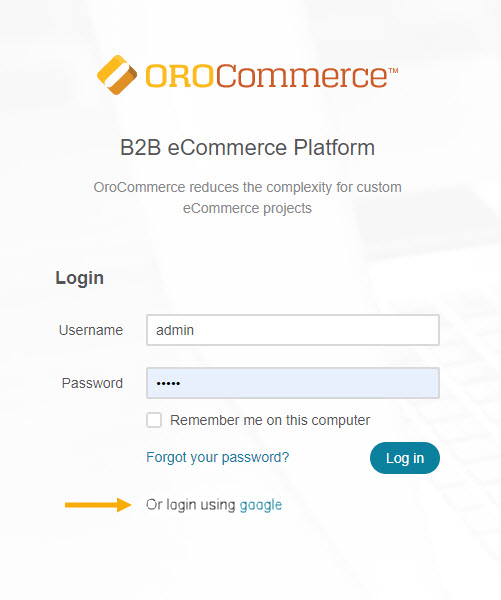
If the user is not logged into any Google accounts after the link has been clicked, a usual Google log-in page will appear.
As soon as the user has logged into their Google account, a request to use the account in order to log-in to Oro application is displayed (details defined for the consent screen is used).
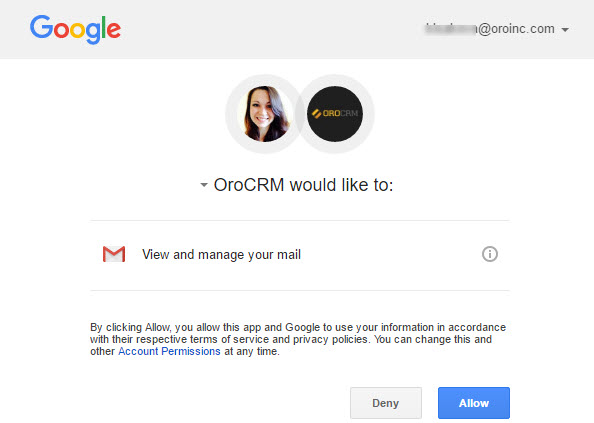
For now on, for a user logged-in into a Google account, it is enough to click the Login using Google link to get into Oro application.
Note
Note that the email used for the Google account and the primary email of the user in Oro application must be the same.