Important
You are browsing the documentation for version 3.1 of OroCommerce, OroCRM and OroPlatform, which is no longer maintained. Read version 5.1 (the latest LTS version) of the Oro documentation to get up-to-date information.
See our Release Process documentation for more information on the currently supported and upcoming releases.
Manage Shopping Lists for Registered Users in the Storefront
Create a Shopping List
Shopping lists can be created using several flows.
Flow 1
Click next to Shopping Lists on the top right of the page.
Click Create New List on the bottom of the drop-down window.
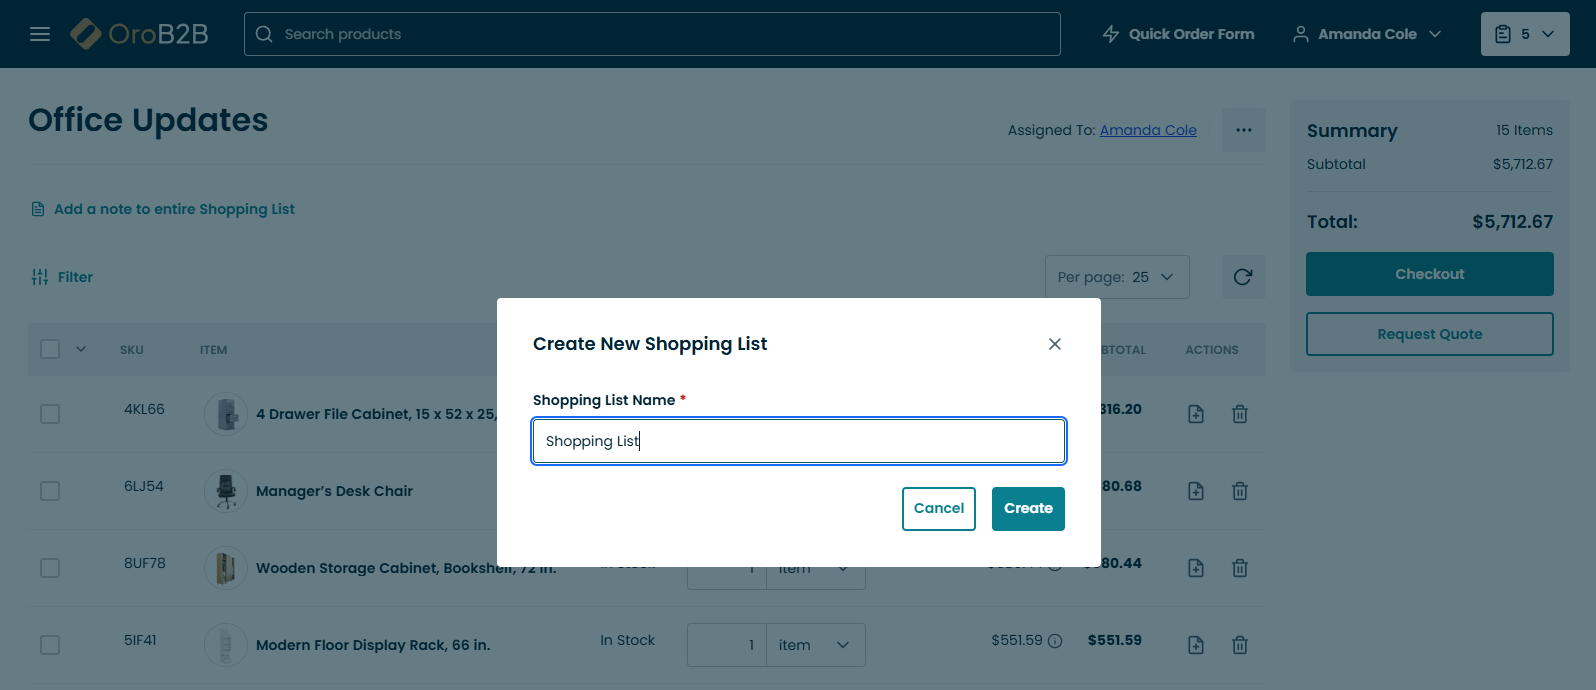
Give the list a name and click Create.
Flow 2
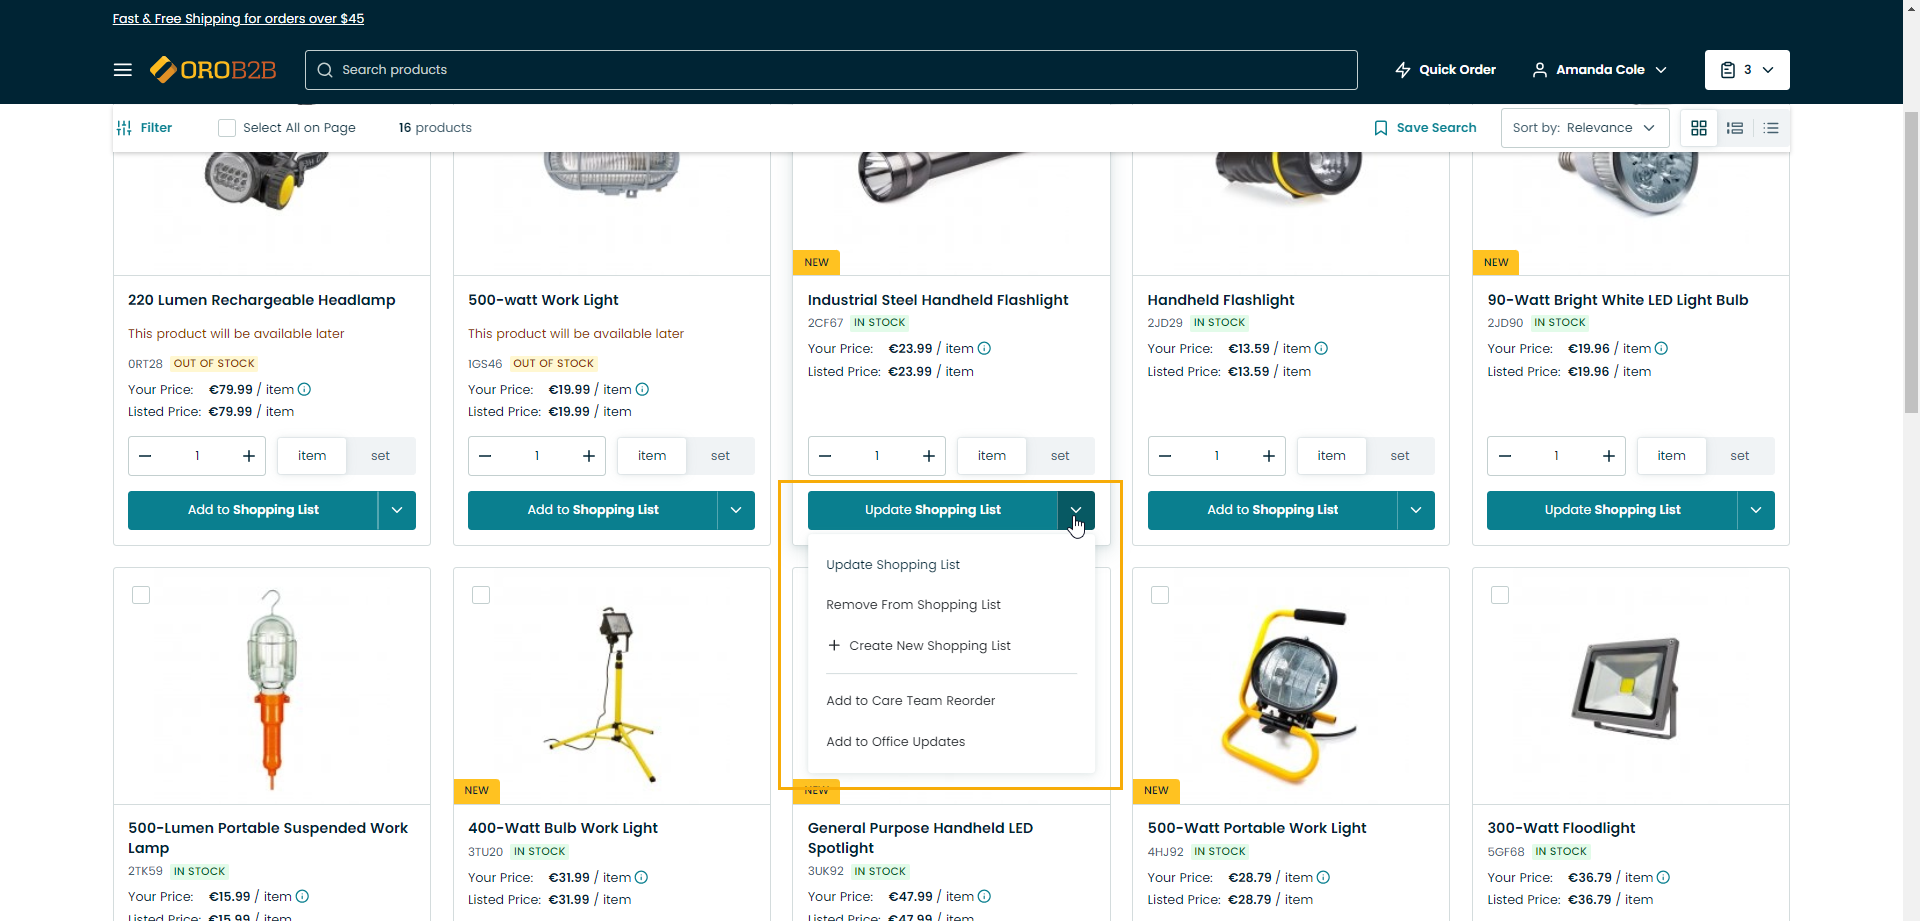
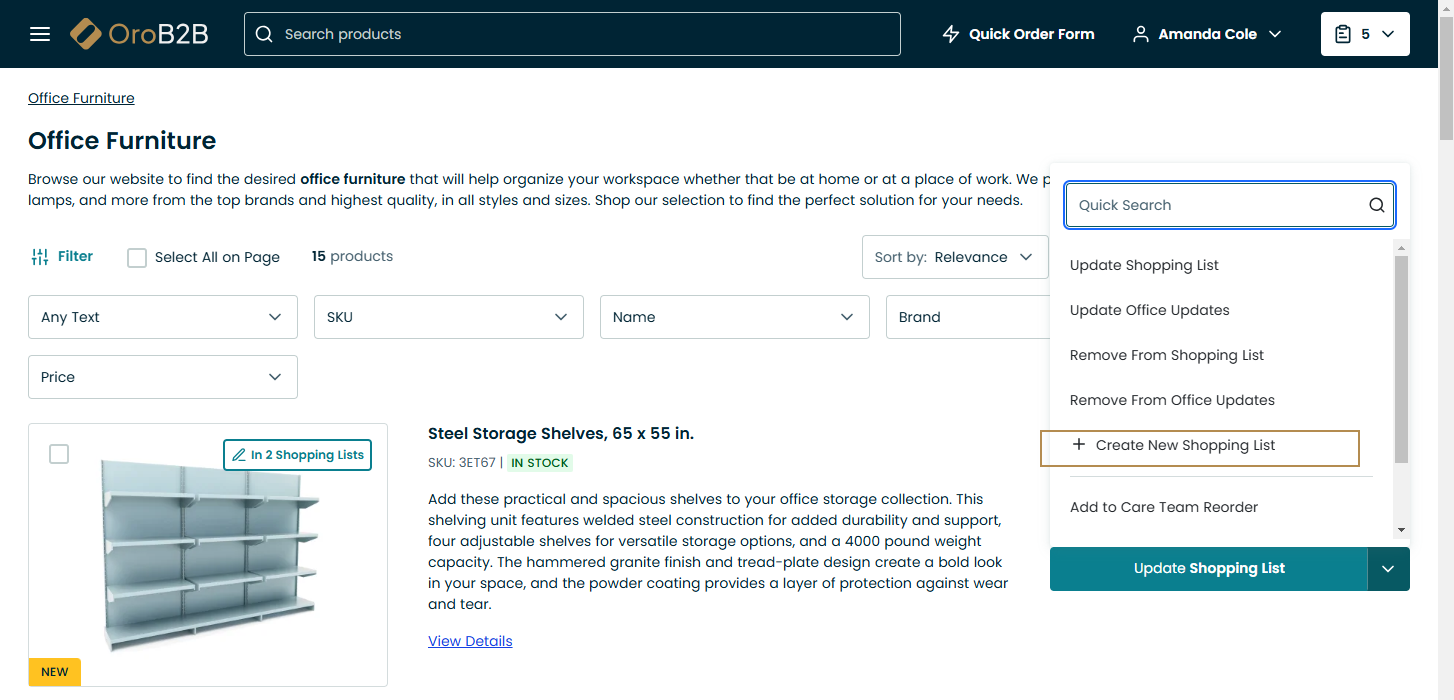
Click on the drop-down icon located in the Add to button next to each product.
Select Create New Shopping List.
Give the list a name and click Create.
Flow 3
Click Quick Order Form on the top right of the page.
Enter product details in the provided fields.
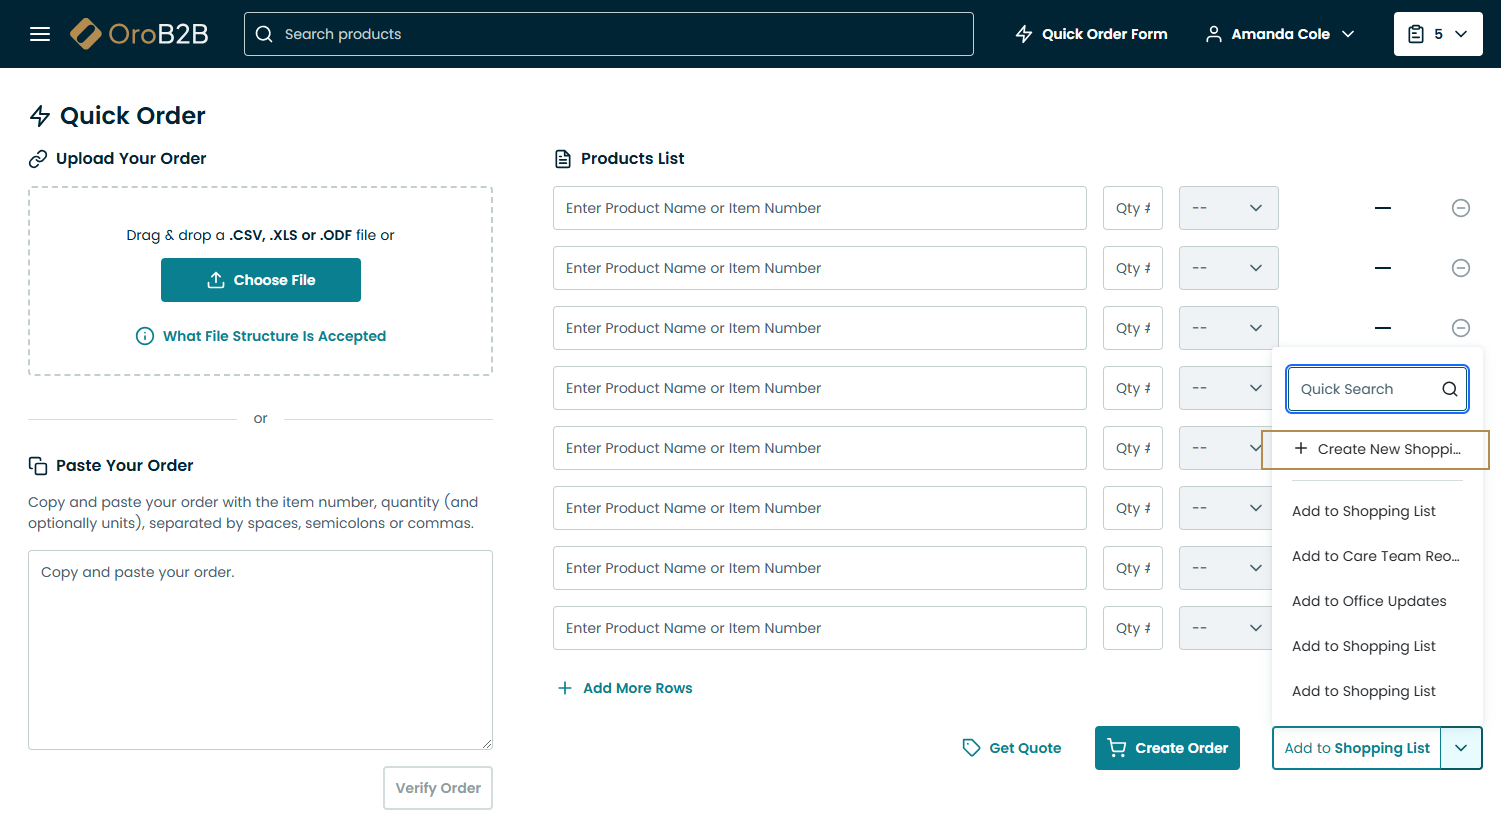
Click Add to on the bottom of the Quick Order page.
Select Create New Shopping List.
Give the list a name and click Create.
Flow 4
In the Quick Order Form, enter product SKU(s) and quantity.
Click Verify Order.
In the Verify Order window, Click Add to on the top.
Select Create New Shopping List.
Give the list a name and click Create.
Flow 5
Open Matrix Ordering Form.

Enter the number of items for each category.

Click on the drop-down icon located in the Add to button next to each product.
Select Create New Shopping List.

Give the list a name and click Create.
Flow 6
Duplicate the already existing shopping list to make multiple similar orders:
Open a shopping list.
Click Duplicate List on the left under the list of items.
A copy of the shopping list will be created.

Flow 7
Create a new shopping list when selecting multiple products using mass action on the product listing page.
Select the required items by clicking Select Item.
Note
Select Item can be placed under or next to the item depending on the display options.
Click Choose Action on the top left next to the Sort by option.
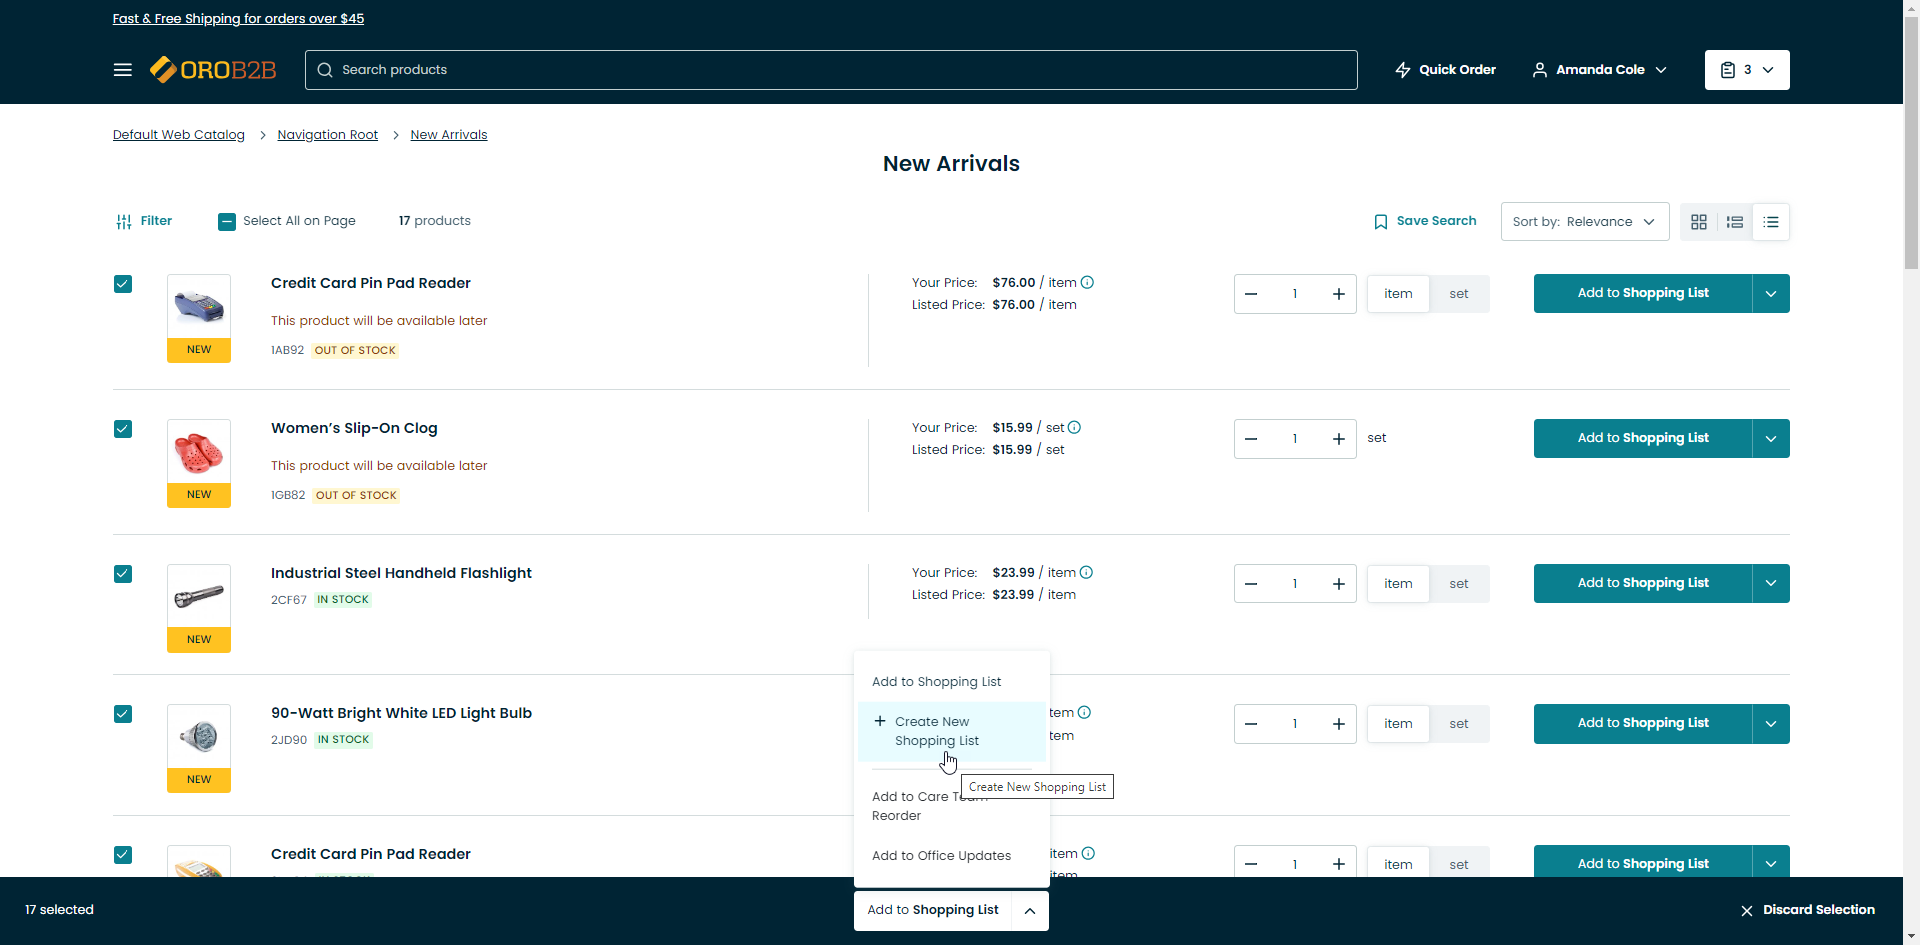
Click Create New Shopping List.
Give the list a name and click Create.
View Shopping Lists
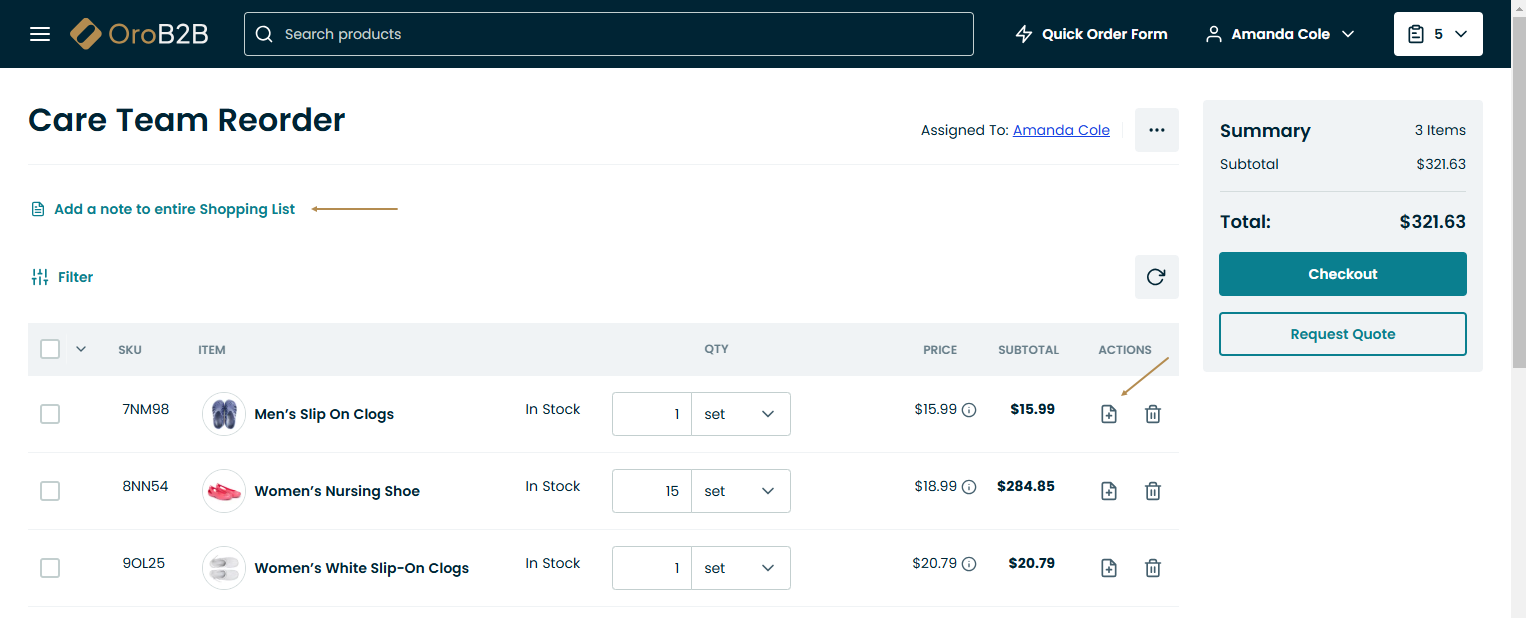
The shopping list view page contains the following information and options:
Customer name (drop-down)
Item name
Availability
Quantity
Price
Subtotal
Total
A list of all shopping lists available
Here you can add a note to the current shopping list, as well as each of the items within this list, by enabling the Add a Note to This Shopping List check box.
Manage Shopping Lists
While adding a product to a shopping list, click to view a list of additional options available for the selected product.
To add the product to the current shopping list, click Add to Shopping List X.
Update the shopping list with a new information regarding the selected product by clicking Update Shopping List.
Add the product to the previous shopping list, in case you have it, click Add to Shopping List Y.
Remove the product from the shopping list, click Remove From Shopping List.
Create a new shopping list with the selected product, click Create New Shopping List.
To edit the shopping list name from within its view page:
Clicking next to the shopping list name.
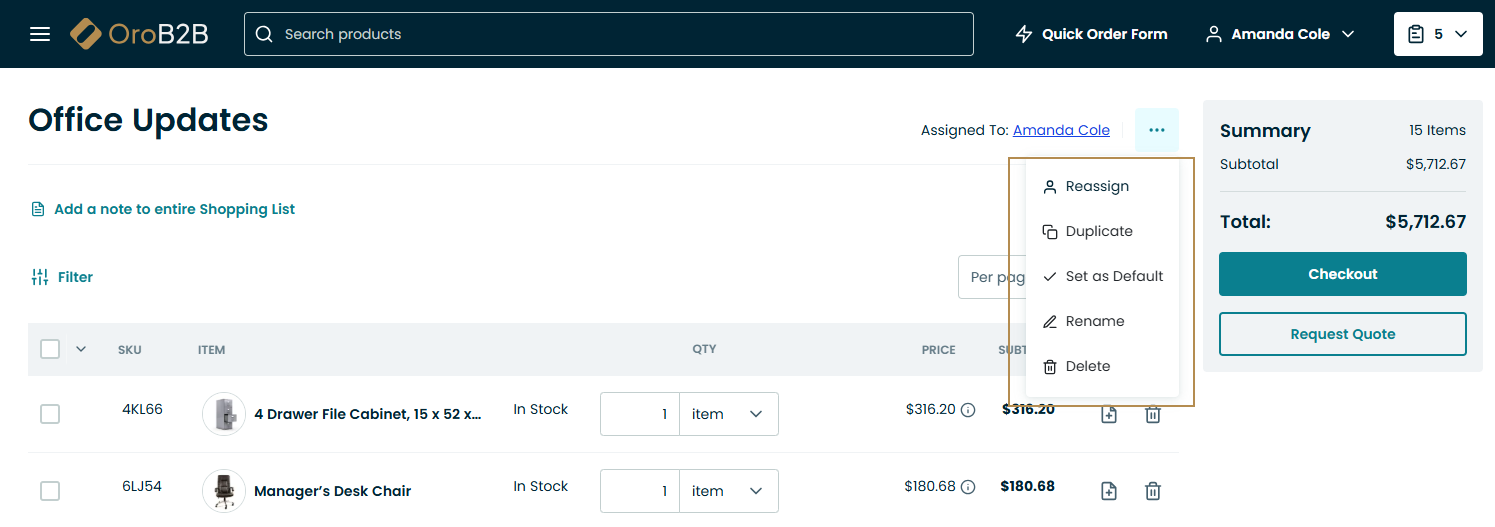
Enter a new name and click Save.

To delete the shopping list:
Click Delete.
Confirm the deletion by clicking Yes, Delete in the confirmation window.

To create an order from the shopping list:
Click Create Order at the bottom of the view page.
Click Create Order on the top right of the view page.
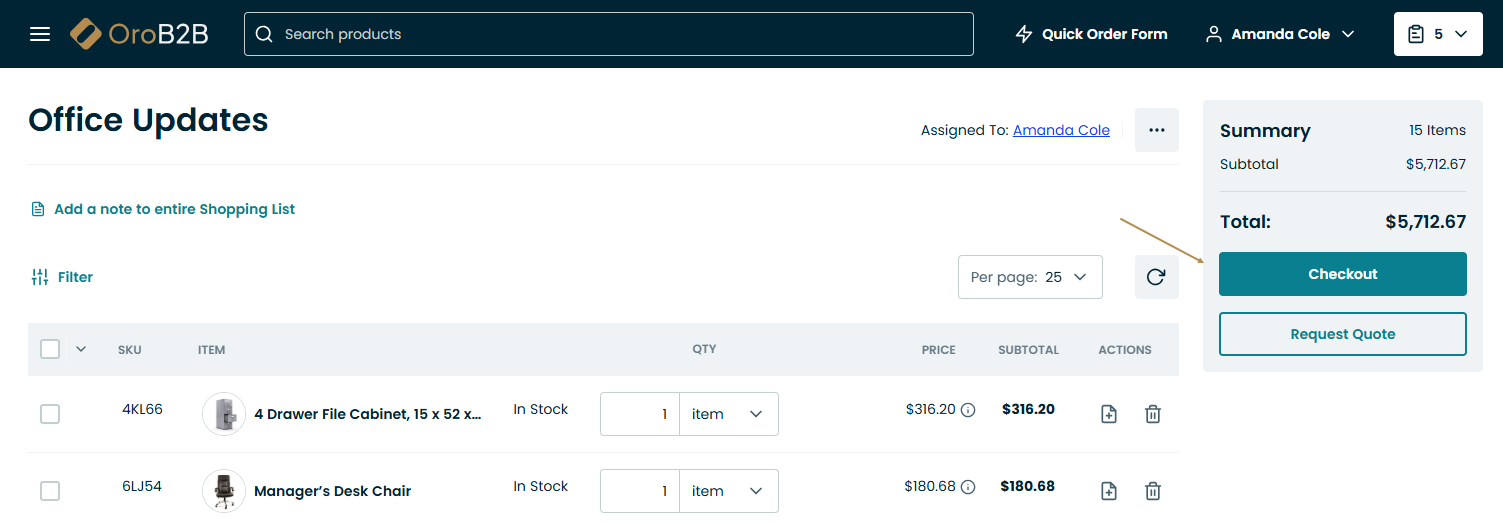
To create a request for quote from the shopping list:
Click Request Quote on the top right of the view page.
Click next to the Create Order button on the bottom of the view page.
Click Request Quote.
