Important
You are browsing documentation for version 5.0 of OroCommerce. Support of this version ended in January 2025. Read the documentation for version 6.1 (the latest LTS version) to get up-to-date information.
See our Release Process documentation for more information on the currently supported and upcoming releases.
Warning
OroCommerce VM for version 5.0 is no longer available on Google Marketplace. You can now deploy an image of the latest LTS version, as illustrated below.
Google Cloud Platform
Google Cloud Platform enables you to deploy your Oro application instance in one click without manually configuring the software and settings. OroCommerce VM images comes with demo data and provides all the necessary information for you to test the application, such as a preconfigured list of customers, products, submitted orders, quotes, the structured master, and web catalogs. You can also explore the storefront using one of the pre-configured demo user roles. Sign in either as a guest user, a buyer (use BrandaJSanborn@example.org as your login and password), or a manager (use AmandaRCole@example.org as your login and password).
Deploy the Solution
Navigate to Google Cloud Marketplace, click Explore the marketplace and then search for your solution provided by Oro Inc.
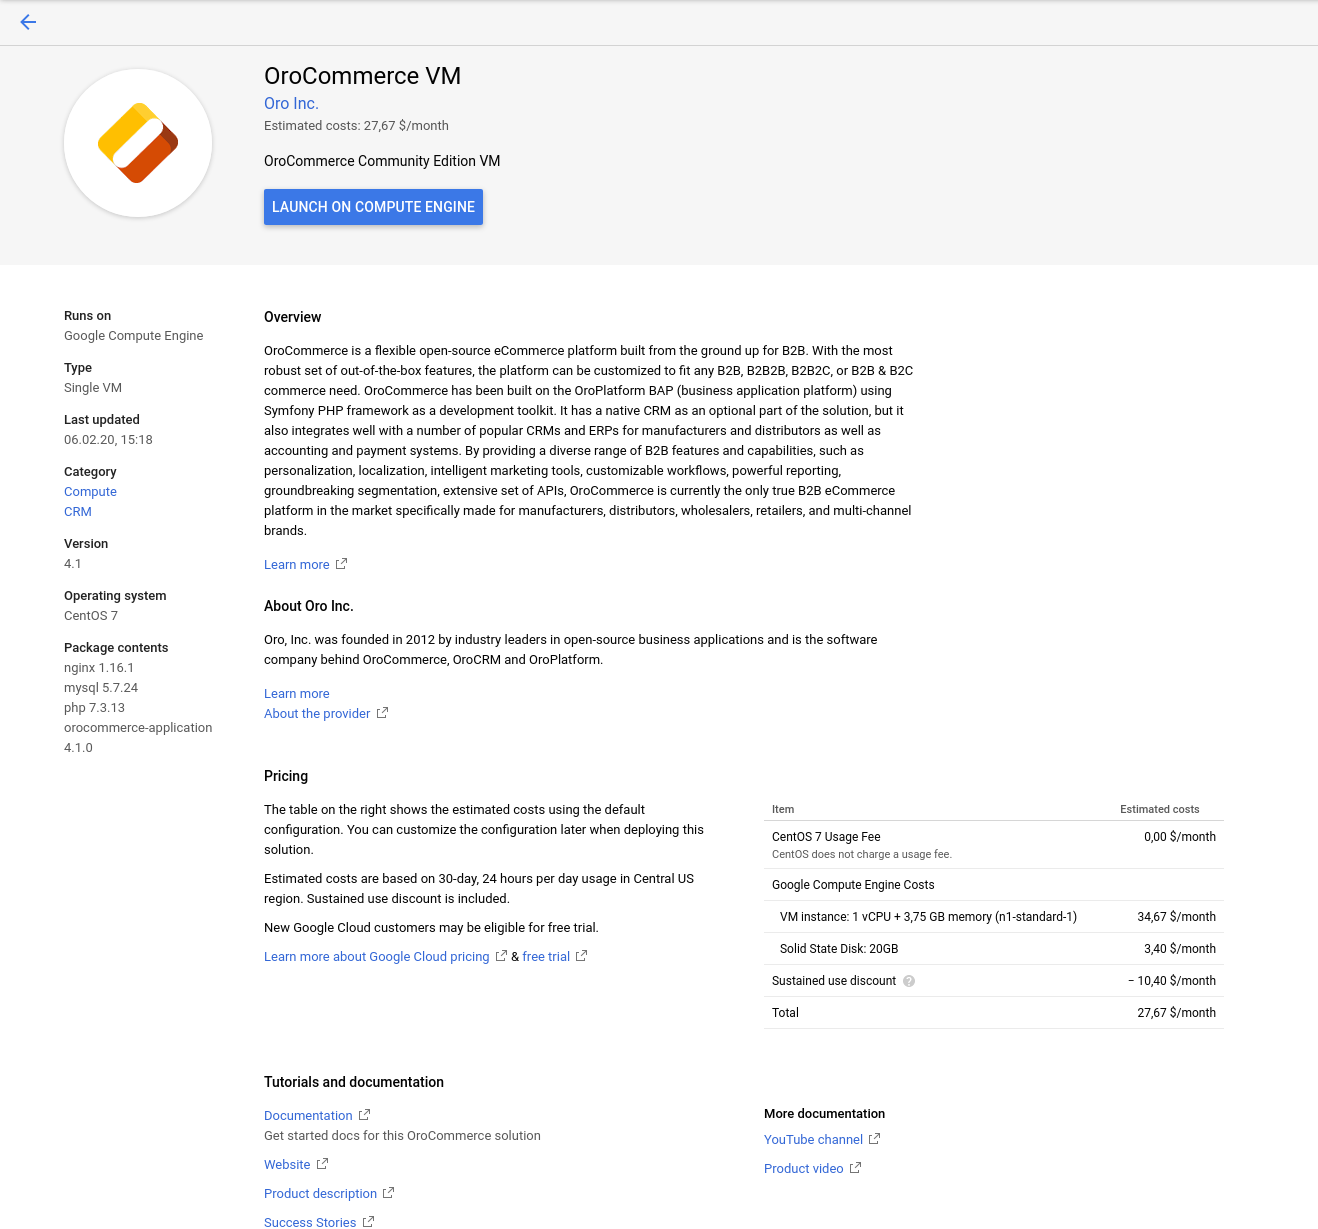
Click Launch.
The Oro solution deployment page displays the default settings (e.g., name, zone, machine type, boot disk type, networking interfaces, etc.). You can accept or customize them if necessary.
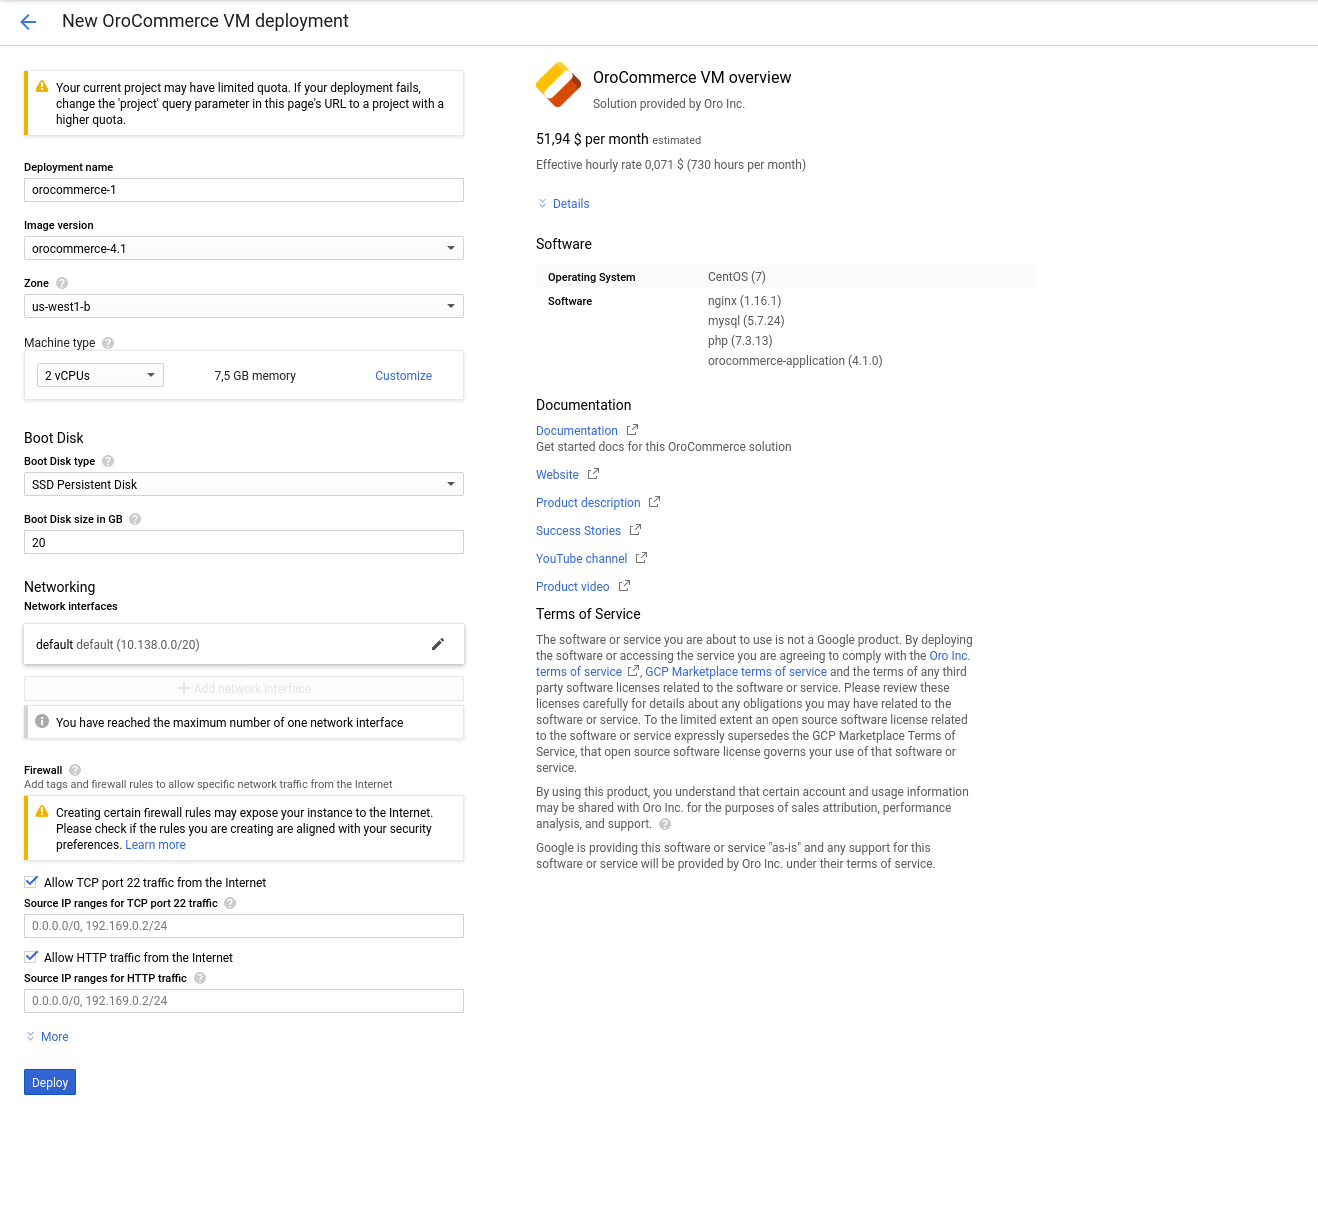
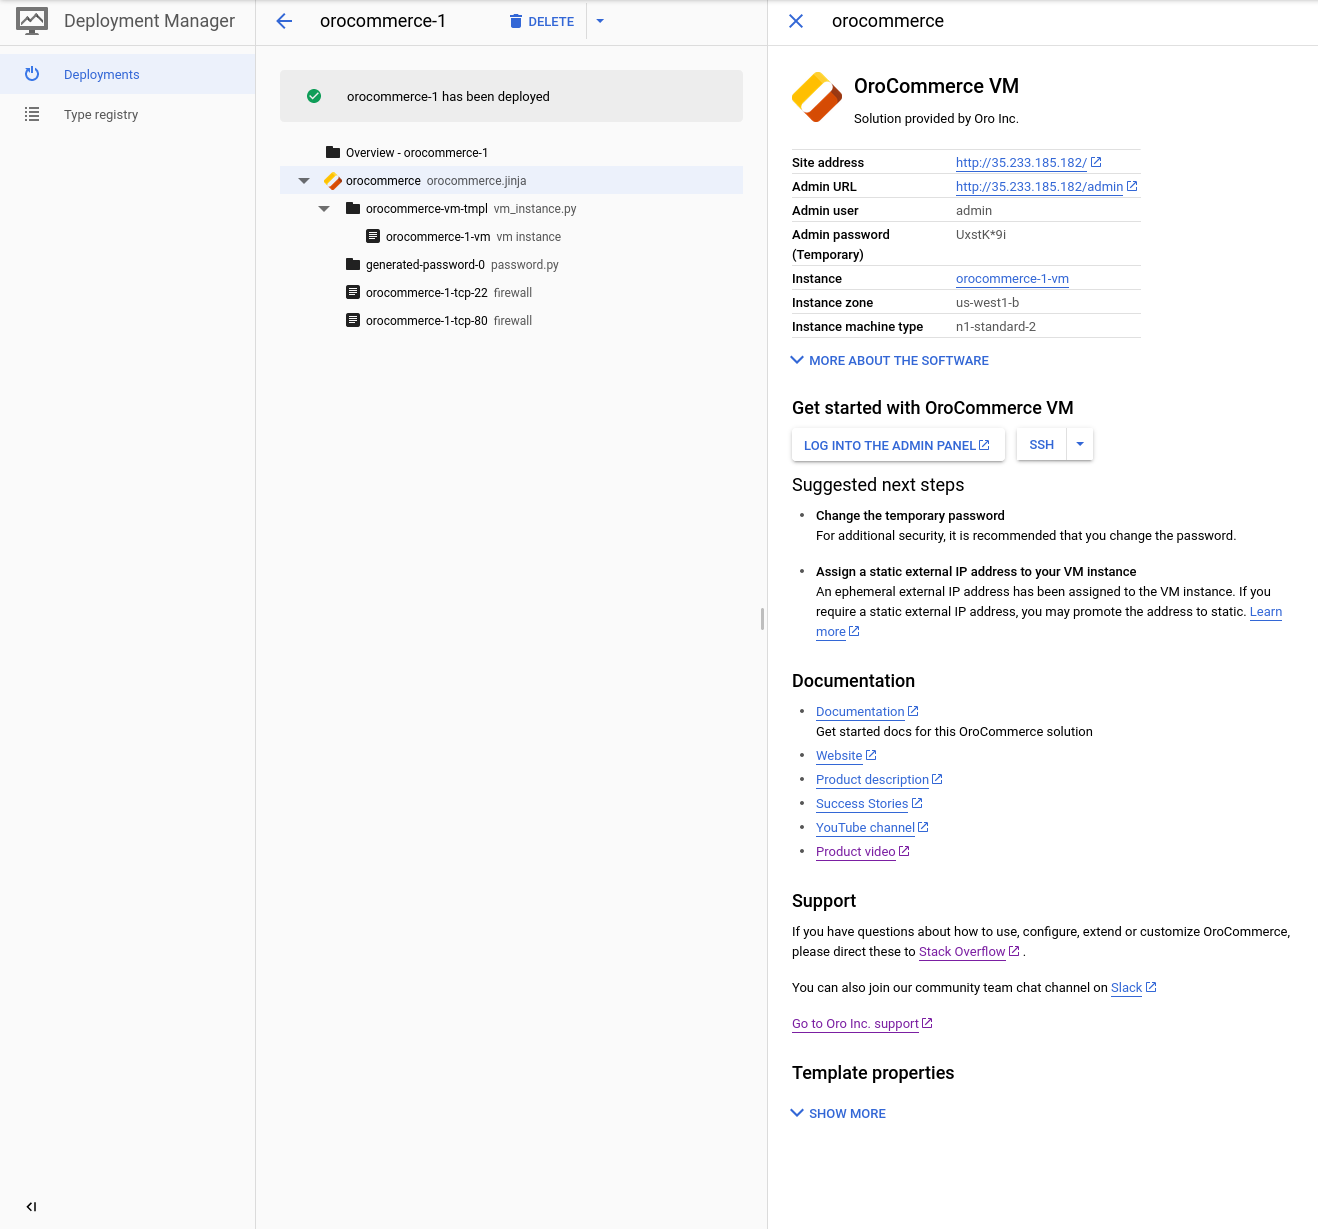
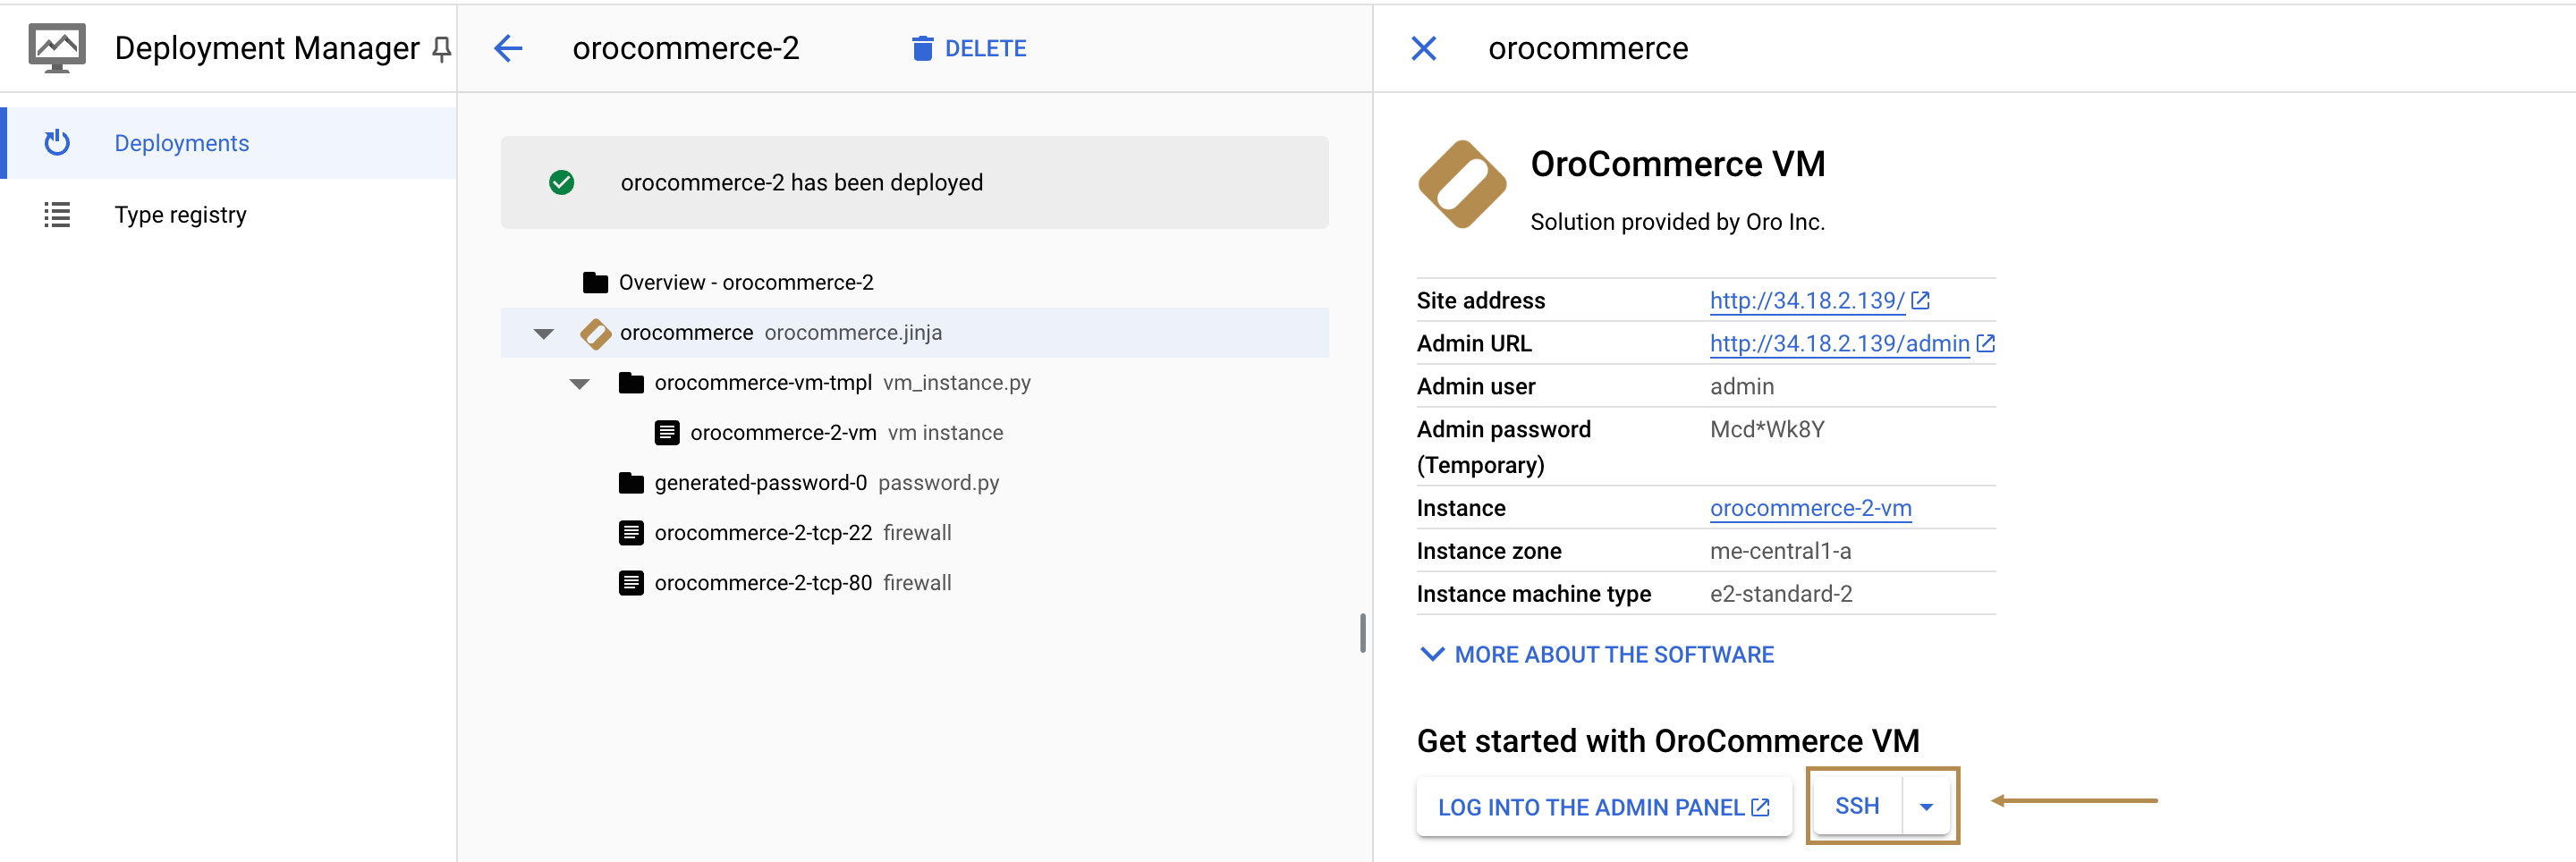
When complete, click Deploy on the bottom left to launch the deployment process. Once the deployment is finished, you should see the following information:
Access the Oro Application
Use the generated credentials to access your Oro application:
Site Address — a link to your Oro application storefront (only for OroCommerce).
Admin URL — a link to your Oro application back-office.
Admin user — a username used to log into the admin panel (back-office).
Admin password - a password used to log into the admin panel (back-office).
Also, you can access the VM instance using SSH by clicking SSH and selecting the required option from the dropdown.
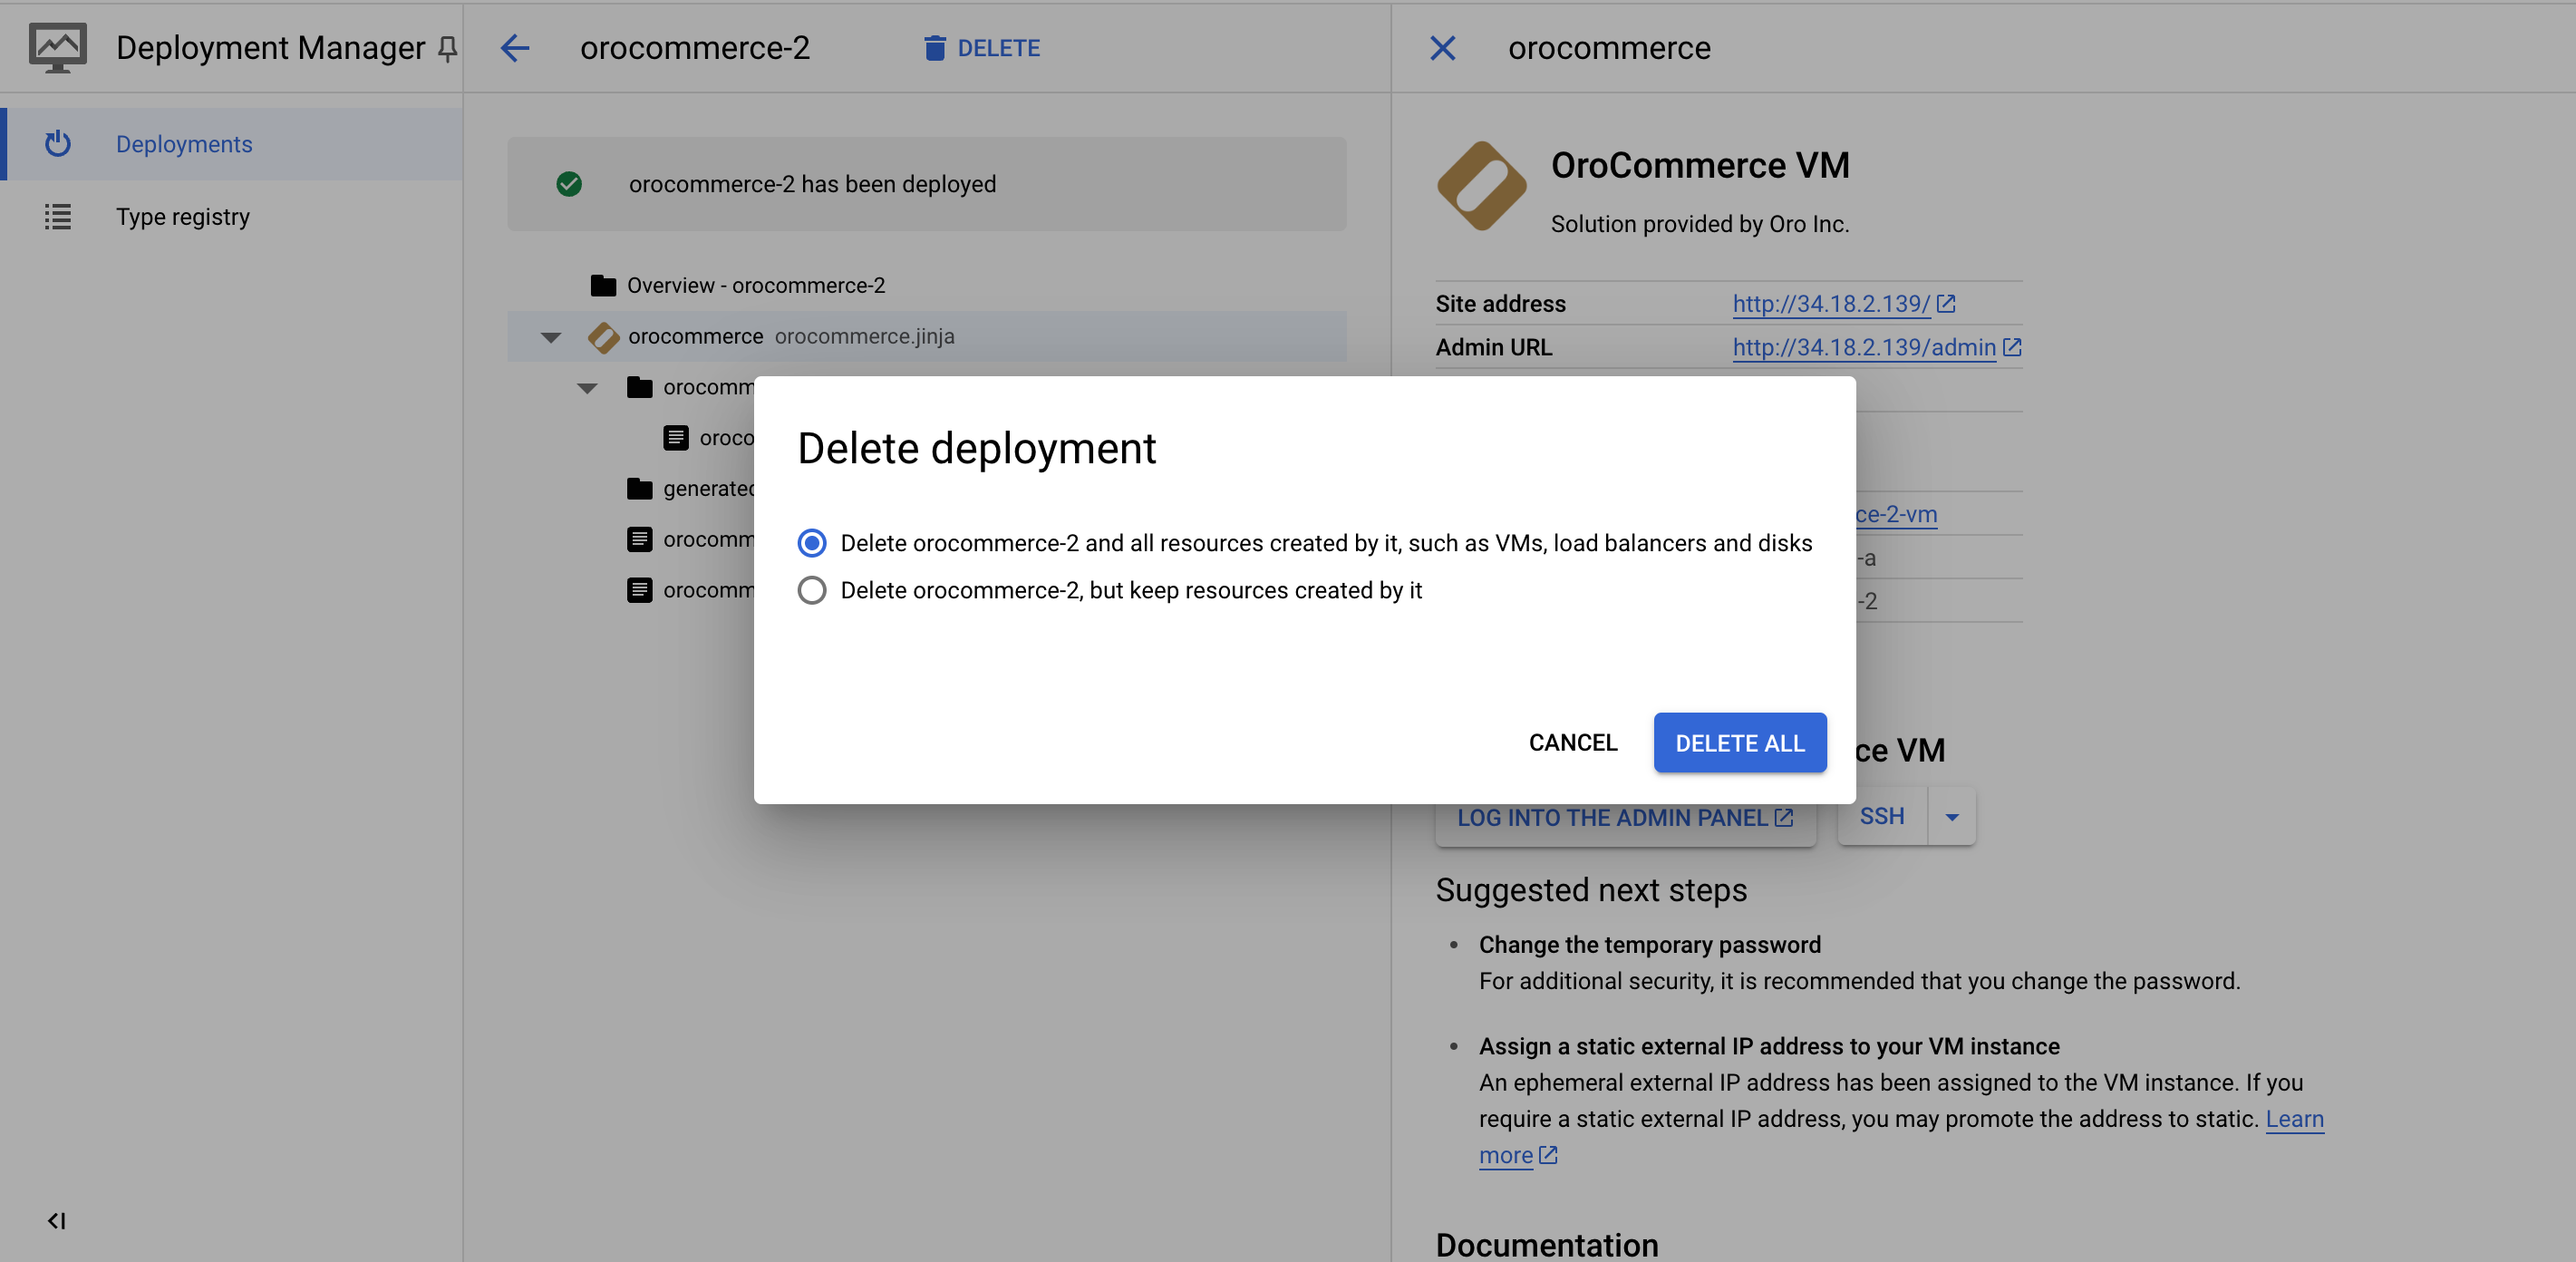
You can delete the deployment by clicking Delete on the upper left, next to the solution name. Resources created by this deployment, including VM instances, disks, and firewalls will be deleted as well.
