Important
You are browsing documentation for version 5.0 of OroCommerce. Support of this version ended in January 2025. Read the documentation for version 6.1 (the latest LTS version) to get up-to-date information.
See our Release Process documentation for more information on the currently supported and upcoming releases.
Create Account in the Storefront
First things first, you need to create a new account to be able to work with the store:
Note
In case there is no such link in the top left corner, which depends on the configuration, click Sign In instead. Then, click Create an Account at the bottom of the form.

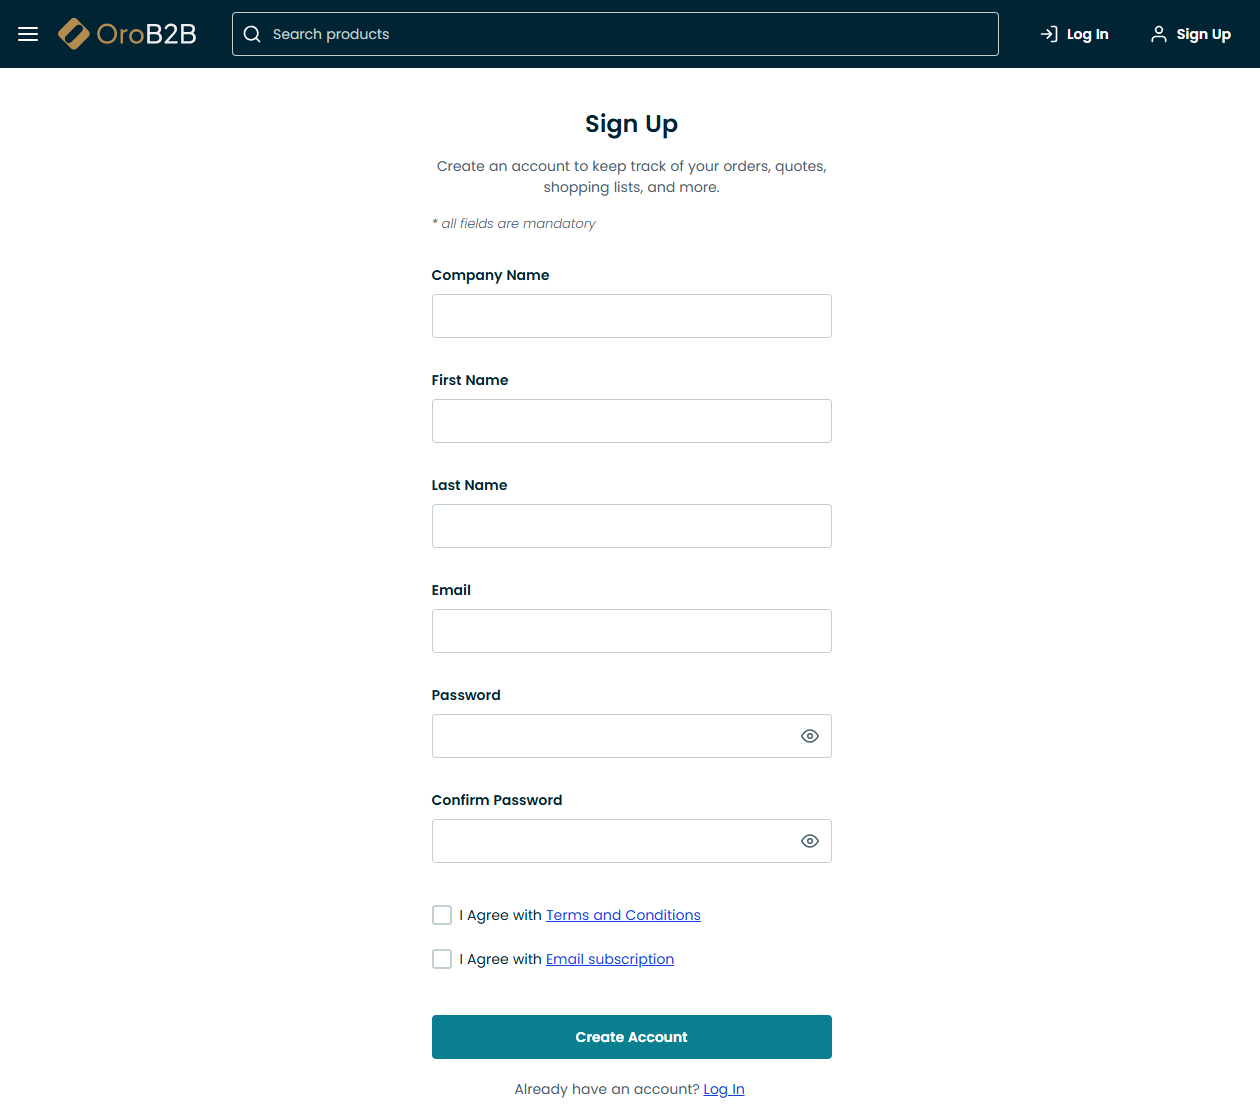
The following page opens:

Enter the required details in the provided fields. All fields are mandatory:
Company Name
First Name
Last Name
Email Address
Password
Confirm Password
Note
The password must include an upper case letter and a number.
Once the details have been provided, click Create an Account. A sales representative may contact you shortly to proceed with registration. Check your email to complete registration.
You may need to read and accept mandatory (and/or optional) agreements to process your personal data before you are allowed to register. Such consents are marked with a red asterisk. Select the checkbox next to the agreement or open the agreement link to view the full text of the agreement. Click Accept to confirm that you have read, understood and accept its conditions. You do not have to accept optional consents; these are not marked with a red asterisk.

