Important
You are browsing upcoming documentation for version 7.0 of OroCommerce, scheduled for release in 2026. Read the documentation for the latest LTS version to get up-to-date information.
See our Release Process documentation for more information on the currently supported and upcoming releases.
Manage Address Book in the Storefront
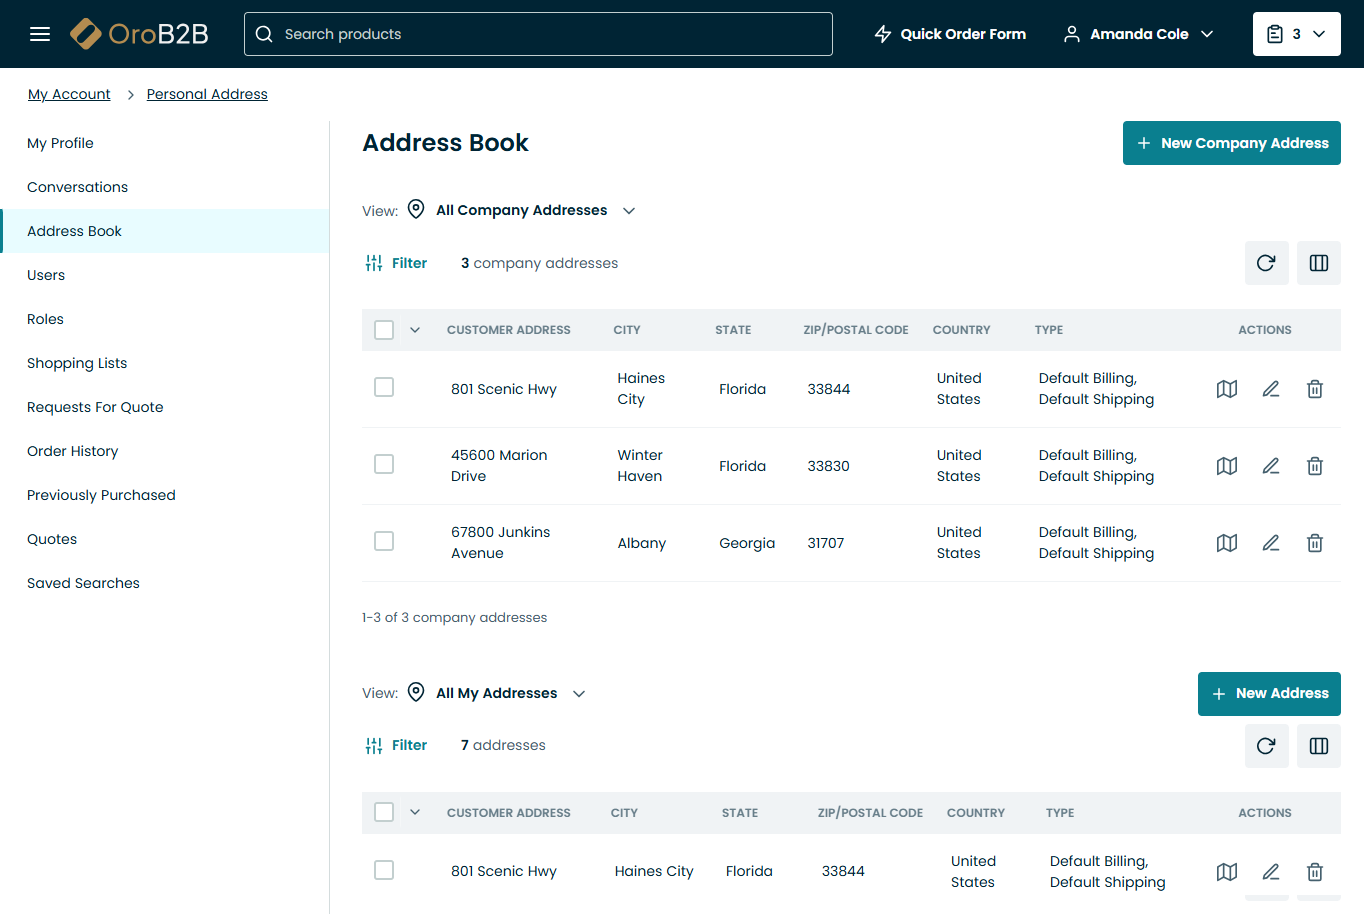
The following information covers the Address Book section of the Account menu in the OroCommerce storefront.
To open the address book, click Address Book under My Profile in the top navigation bar.
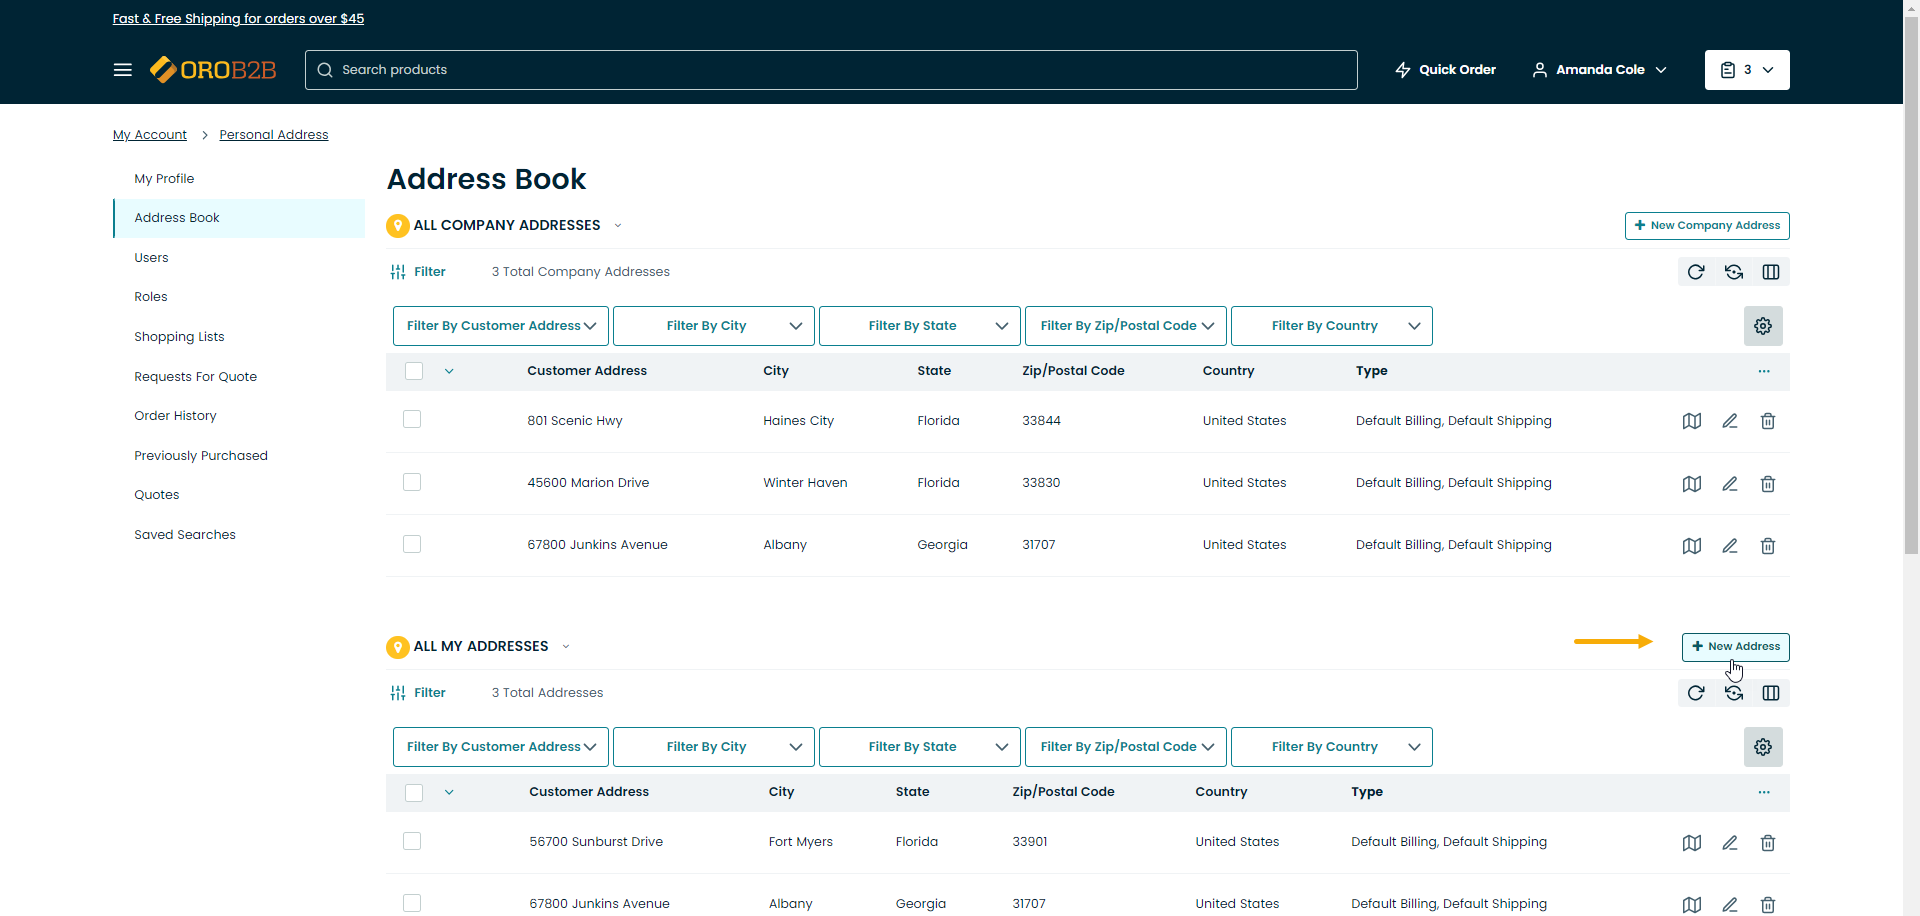
The address book has two sections:
All Company Addresses
All My Addresses

Note
Depending in the storefront settings, the address book lists may appear in the compact format with a map displayed on the right. Please be aware that a valid Google API key is required to display maps in the storefront. Please see the back-office settings for more information.
Manage Company Addresses
To create a new company address:
Click +New Company Address on the top right of the All Company Addresses list.

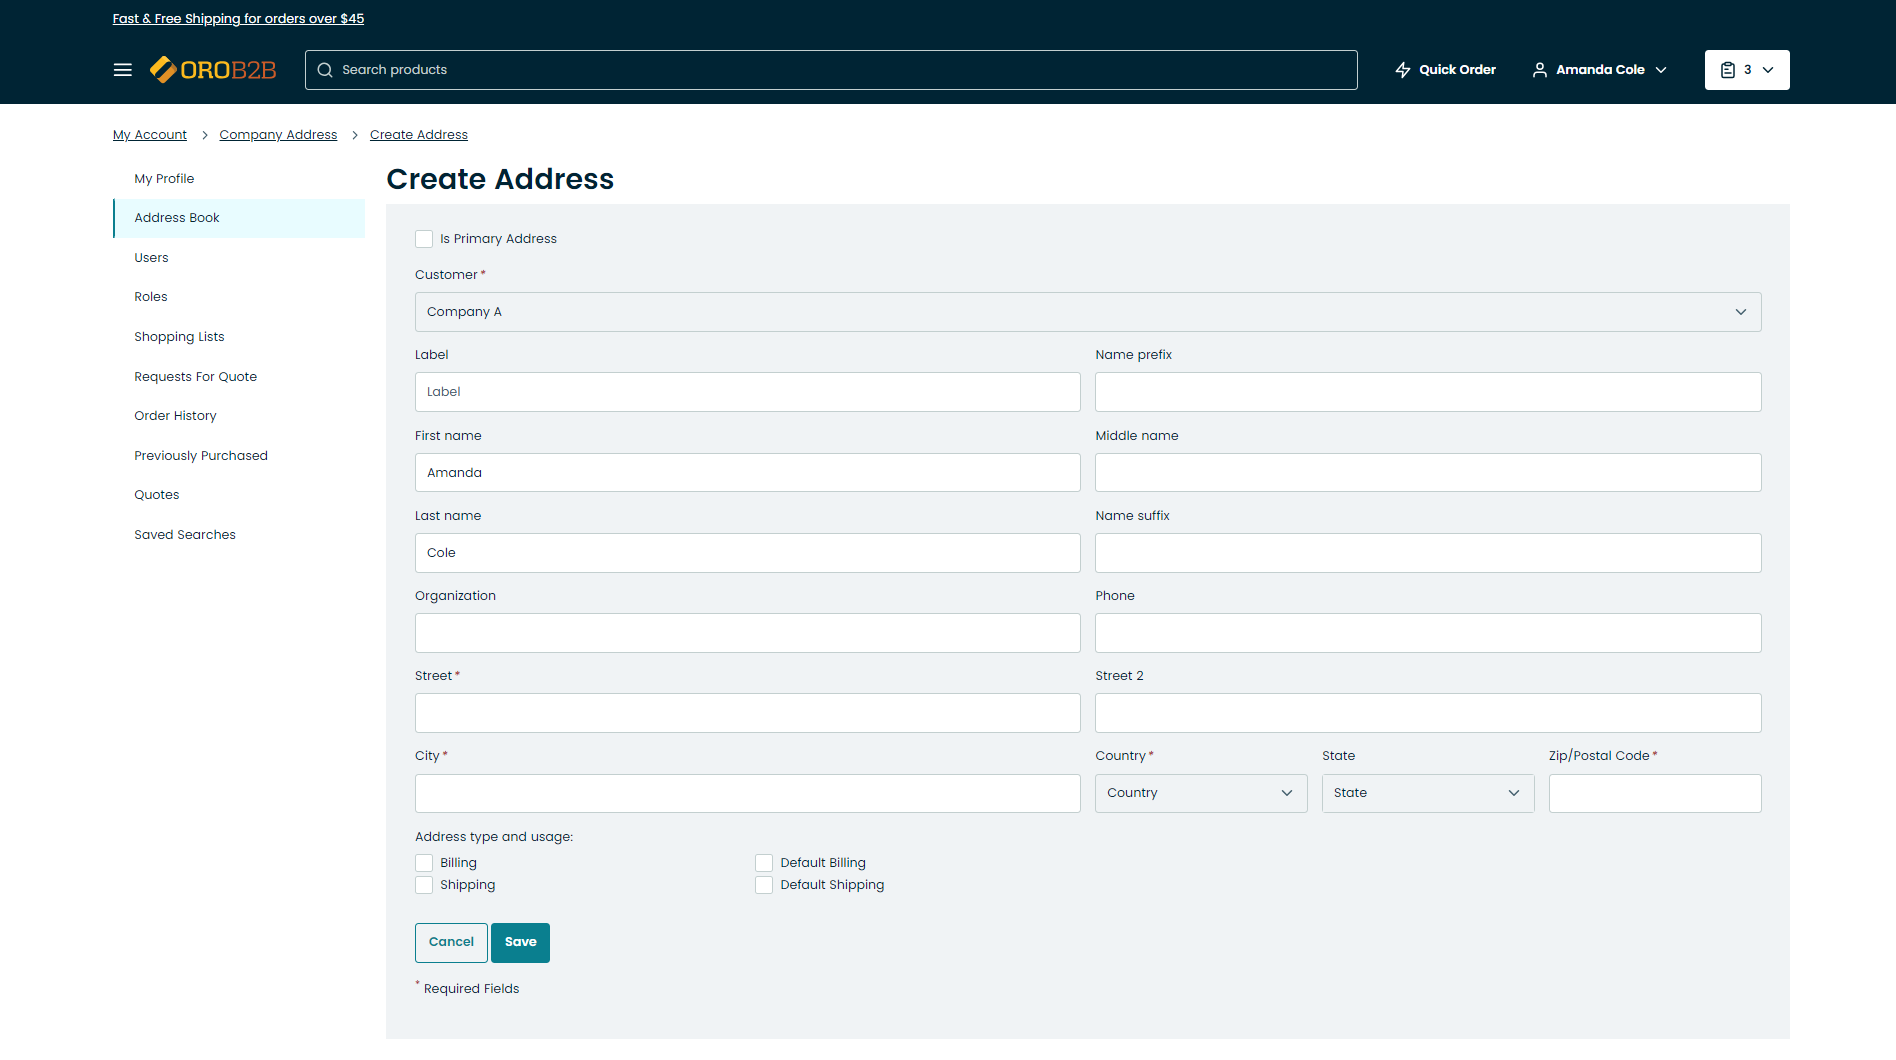
In the Create Address form, define the following fields:
Customer
Label
Name Prefix
First name
Middle Name
Last name
Name Suffix
Organization
Phone
Street
Street 2
City
Country
State
Zip/Postal Code
To make the new address primary, select the Is Primary Address checkbox.
Note
The Is Primary Address checkbox appears only when you already have at least one address in All Company Addresses. If you adding the first address, it will become primary by default.
For address type and usage, enable the following options if required:
Billing
Shipping
Default Billing
Default Shipping
Click Save.
You can perform the following actions for each address record:
Manage My Addresses
To create a new personal address:
In the Create Address form, define the following fields:
Customer
Label
Name Prefix
First name
Middle Name
Last name
Name Suffix
Organization
Phone
Street
Street 2
City
Country
State
Zip/Postal Code
To make the new address primary, select the Is Primary Address checkbox.
Note
The Is Primary Address checkbox appears only when you already have at least one address in All My Addresses. If you are adding the first address, it will become primary by default.
For address type and usage, enable the following options if required:
Billing
Shipping
Default Billing
Default Shipping
Click Save.
You can perform the following actions for each address record in the table:

