Important
You are browsing upcoming documentation for version 7.0 of OroCommerce, scheduled for release in 2026. Read the documentation for the latest LTS version to get up-to-date information.
See our Release Process documentation for more information on the currently supported and upcoming releases.
Manage Shopping Lists for Guest Users in the Storefront
In Oro application, unregistered customers can create and manage a shopping list in the storefront without the need to register. By default, they can have one shopping list per website and browsing session with the possibility of storing such list for up to 30 days in a single browser.
Note
If you seem unable to create a guest shopping list, please refer to your administrator.
Create and Manage a Shopping List
By default, only one shopping list is available for unregistered users:
To add items to the list, click Add to Shopping List next to the product.
Note
You can also create a new shopping list when selecting multiple products using mass action on the product listing page.
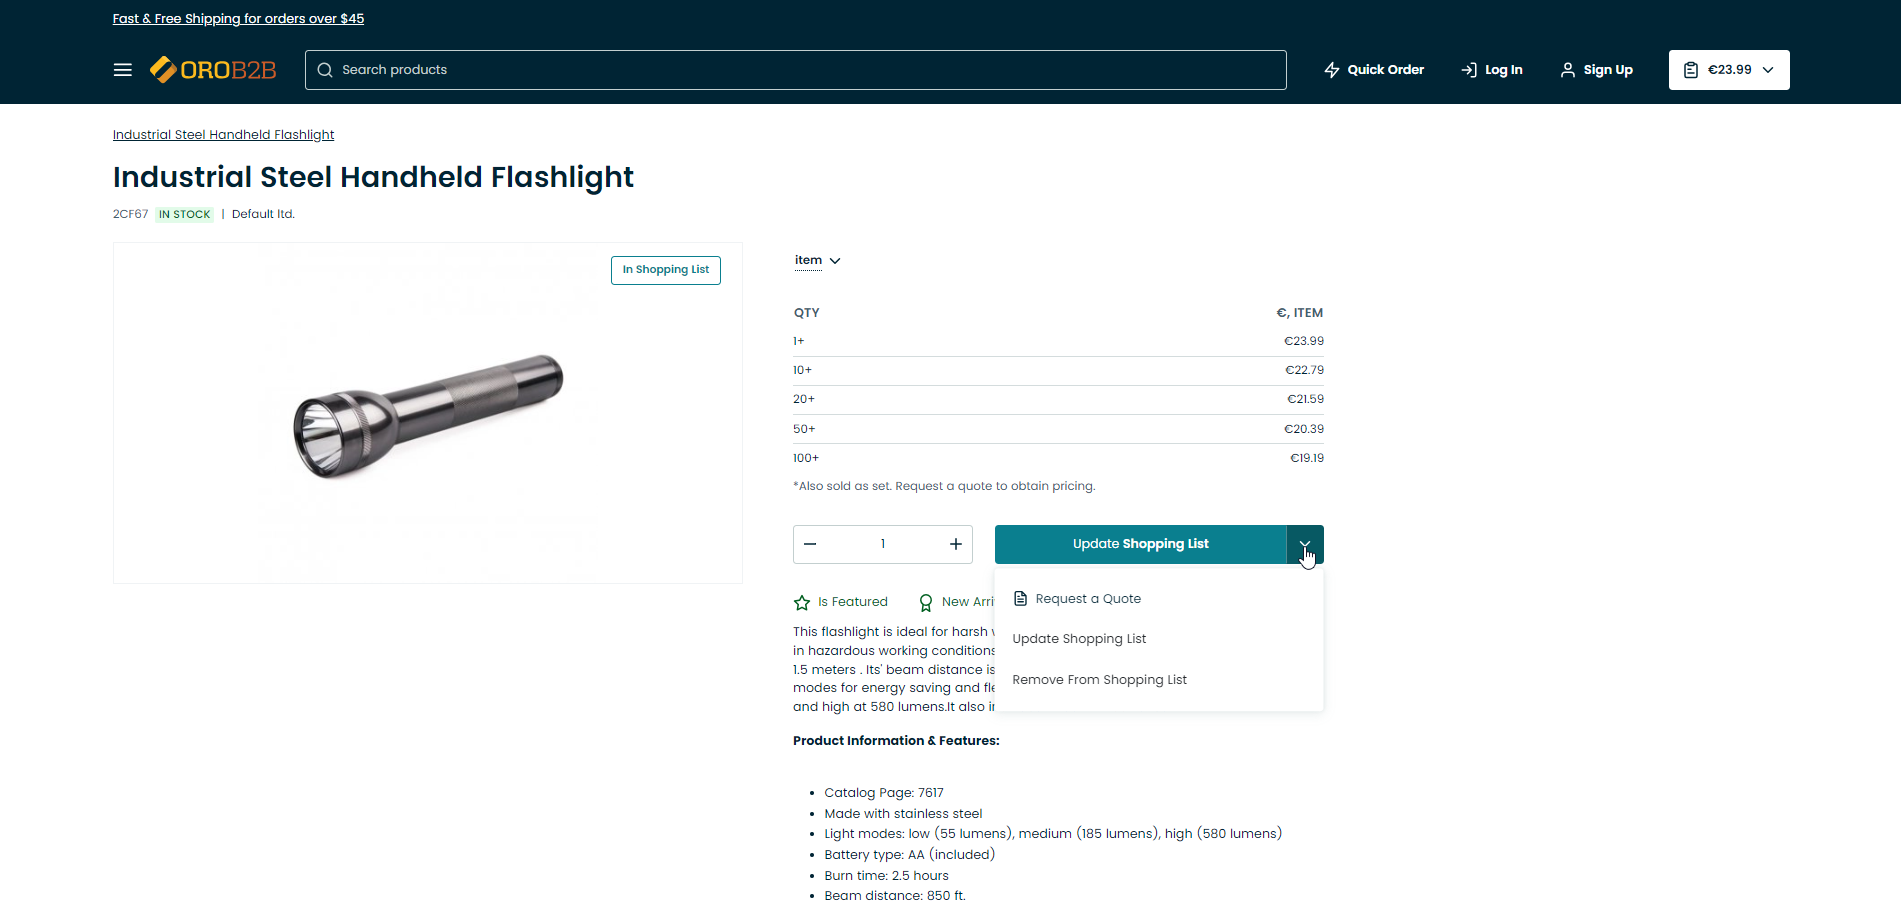
To add more items to the existing list, or change the quantity of the items that are already on the list, click Update Shopping List next to the product.
Alternatively, navigate to the shopping list itself by clicking Shopping List in the top right corner of the store page, and click View Details.
In the Quantity field, change the quantity of the product.
To remove items from the list, click
next to Update Shopping List and click Remove from Shopping List.
