Important
You are browsing the documentation for version 1.6 of OroCommerce, OroCRM and OroPlatform, which is no longer maintained. Read version 5.1 (the latest LTS version) of the Oro documentation to get up-to-date information.
See our Release Process documentation for more information on the currently supported and upcoming releases.
Landing Pages
Overview
Landing Page is a marketing tool that generates interest and leads for your sales pipeline and has a distinct call to action with a single focused objective.

In a landing page, you can:
- Describe a service or product in a compelling way that leads to the informed buying decision and moves your customer one step closer to the purchase.
- Share a promo (e.g., use a promo code to get 10% discount off the Winter items).
- Offer an ebook download, webinar registration, or notification of a new product line launch in exchange to registering an account in your eCommerce website.
Create a Landing Page
To create a new landing page:
Navigate to Marketing > Landing Pages in the main menu.
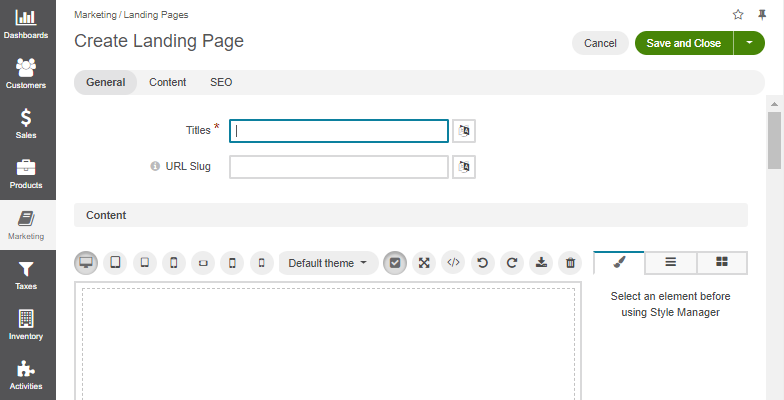
Click Create Landing Page.

Fill in the landing page title (Titles) and translate it into the languages supported in your Oro configuration.
To manage title translations, click next to the Titles box and follow the guidance here).
Click on the Slug Prototypes box. The default slug prototype will be autogenerated. Edit the value to customize the default.
To ensure that slug prototype translation is localization-friendly, manage slug prototype translations: click next to the Slug Prototypes box and follow the guidance here).
Enter the landing page content in the WYSIWYG text editor or use the source code mode (<>) to enter the html code.
Note
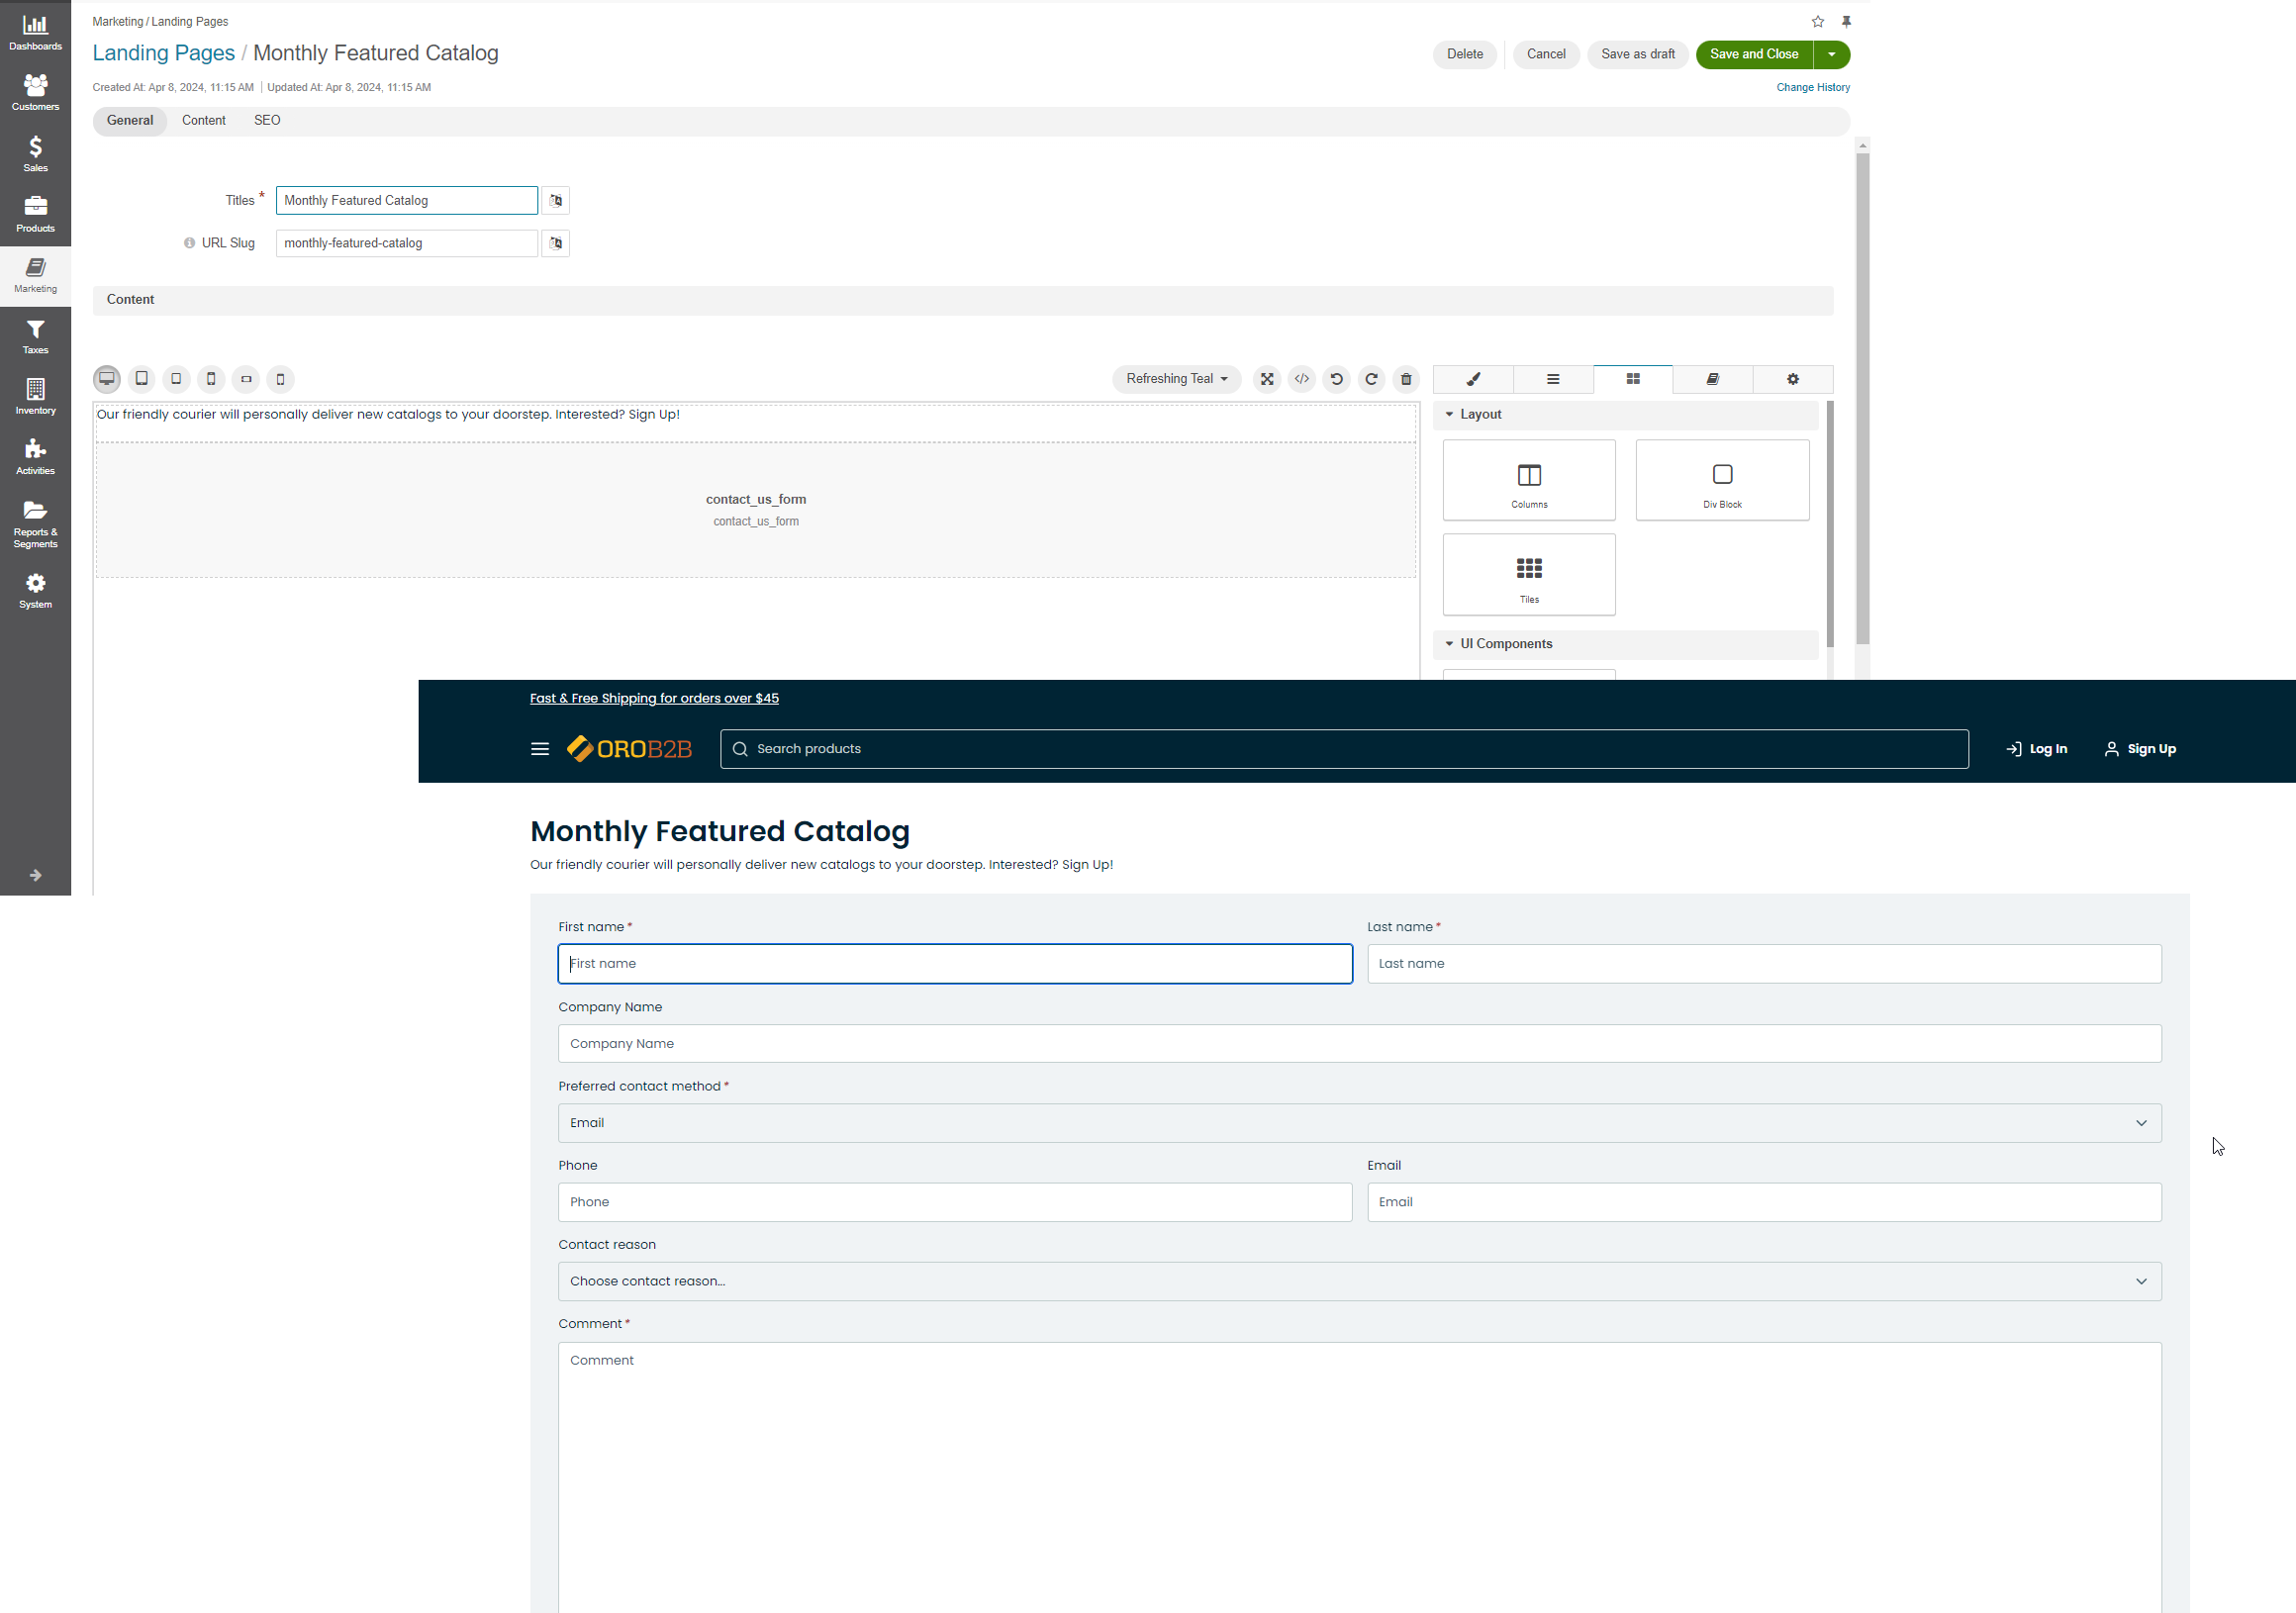
You can insert the Contact Us widget into the required page. For this, enter
{{widget('contact_us_form')}}in the text editor and click Save in the top right corner. The form should then become visible in the storefront.
In the SEO section, manage the meta description and meta keywords that will be incapsulated in the landing page.
Meta information helps search engines index and display the landing page in the search results when it becomes relevant.
Meta description would summarize the page contents in one or several sentences (~160 characters).
Meta keywords are comma separated words and phrases that describes the content in the most precise and relevant way that help find the page via the search engines (e.g., Google, Yahoo, Bing, etc.)
Once you have completed editing the new landing page details, click Save on the top right of the page.
The new landing page is created and is available by the following URL:
1 | <OroCommerce application URL>/<slug prototype>/
|
For example, http://acme.orocommerce.com/online-webinar-jan2017/
Note
You can also create a landing page from the web catalog configuration page following the guidance described in the Add a Landing Page topic.
Next steps
Use the landing page URL in your marketing activities (email campaigns, advertisement, etc).
Manage Landing Pages
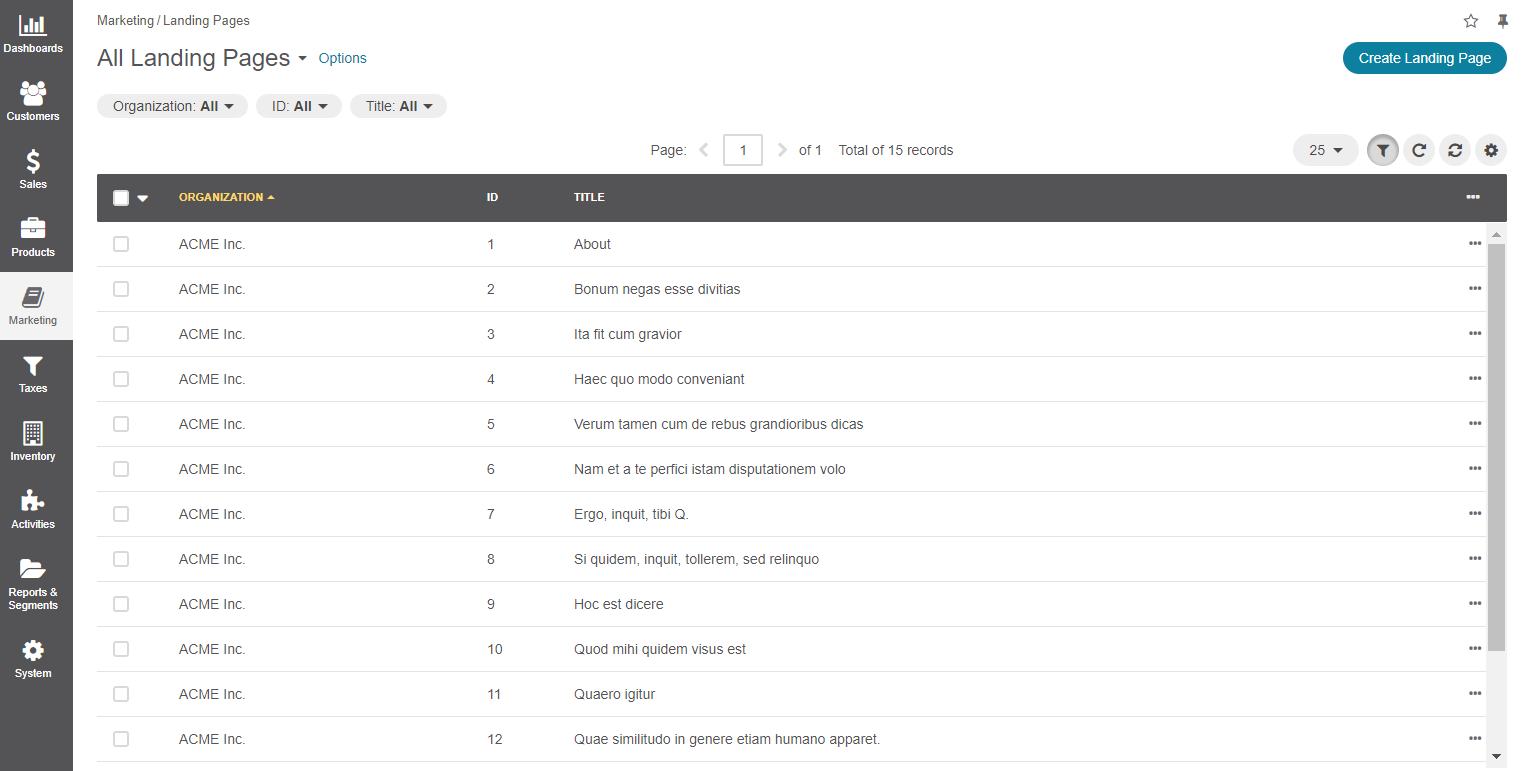
To manage landing pages, navigate to Marketing > Landing Pages in the main menu.

Here, you can perform the following actions:
- Create a new landing page by clicking Create Landing Page on the top right.
- Bulk delete landing pages: In a bulk select to the top left, select one of the following options: All, All Visible, None. On the top right of the list (grid), click bulk More Options menu and click the to remove all selected landing pages.
- View a landing page by clicking on the item to open its details page.
- Hover over the More Options menu to the right of the item and select either to view, edit , or delete the landing page.
- Filter landing pages by ID or Title.
View and Edit a Landing Page
To view the landing page details:
- Navigate to Marketing > Landing Pages in the main menu.
- Find the line with the necessary landing page and click on it. You can preview the landing page detailed information.
- Click Edit on the top right of the page to update the landing page title and content, edit meta information, change slug prototypes and their translation.
- Click Save on the top right of the page.

