Important
You are browsing the documentation for version 4.1 of OroCommerce, OroCRM and OroPlatform, which is no longer maintained. Read version 5.1 (the latest LTS version) of the Oro documentation to get up-to-date information.
See our Release Process documentation for more information on the currently supported and upcoming releases.
Configure Embedded Forms in the Back-Office
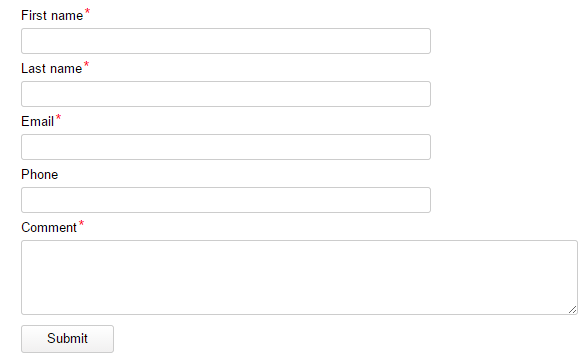
In Oro application, embedded forms help create the code that may be added to a third-party website to enable communication between the third-party website users and the Oro application.
Embedded forms may be used to collect requests of marketing, technical, commercial or any other nature.
The fields of an embedded form depend on its type. The two out-of-the-box types of the embedded forms are:
Contact Request
Hint
The Magento Contact Us Request feature is deprecated since OroCommerce v4.1.6. To check which application version you are running, see the system information.
Magento Contact Us Request
Additional embedded form types may be created in the course of integration with the Oro application, subject to your specific business needs.
Create an Embedded Form
In order to create a new embedded form:
Navigate to System > Integrations > Embedded Forms in the main menu.
Click Create Embedded Form.
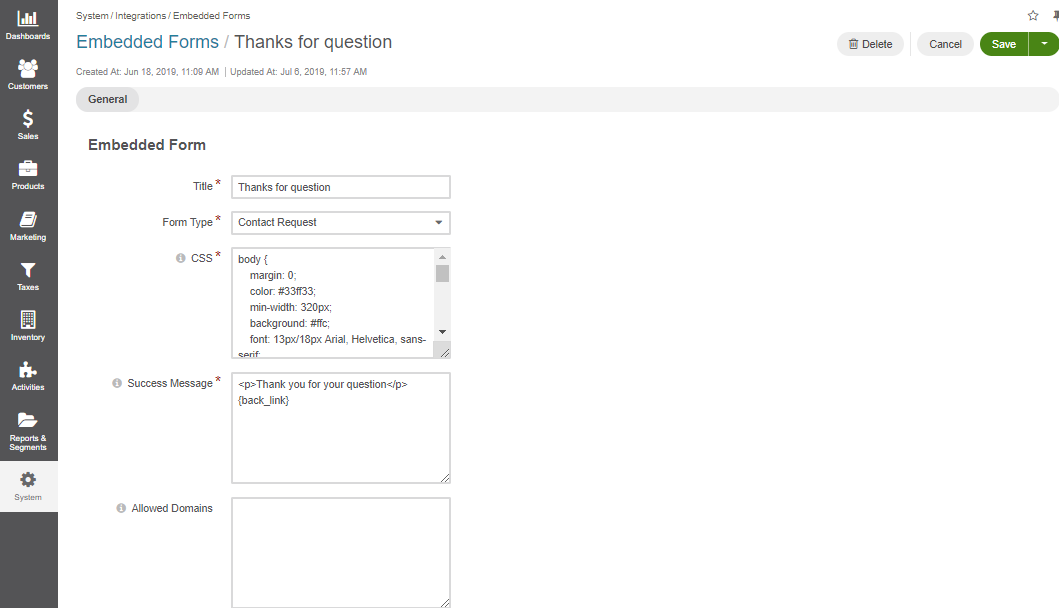
Provide the following details:
Title — The title used to refer to the form in the system. The field must be defined.
Form Type — Choose one of the form types described above. Please note, that while the Magento Contact Us Request type is sharpened to suit the Magento design, you can choose the type regardless of the Channel chosen. Keep in mind that Magento Contact Us Request is deprecated since OroCommerce v4.1.6.
CSS — Editable CSS. The default CSS corresponds to the initial form design, subject to its type. You can edit the CSS to change such settings as the border width, color, fonts etc.
Success Message — The message to be displayed on the website following the successful form submission. By default is set to Form has been submitted successfully.
Allowed Domains — Allowed cross origin domains where the form can be embedded. Supports wildcard, e.g., X.example.com.

Click Save and Close.

Once saved, the form is displayed on the page of all embedded forms under System > Integrations > Embedded Forms.

You can view , edit , and delete contact requests using the corresponding action icons.
Add Embedded Forms to Your Site
To add the necessary embedded form to your website:
Navigate to System > Integrations > Embedded Forms in the main menu.
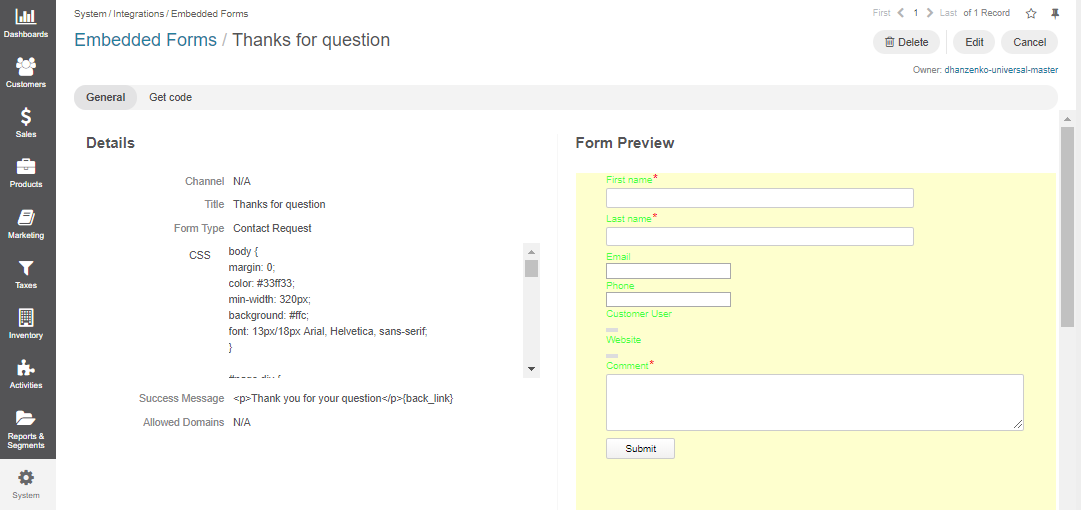
Click once on the form to open its details page.
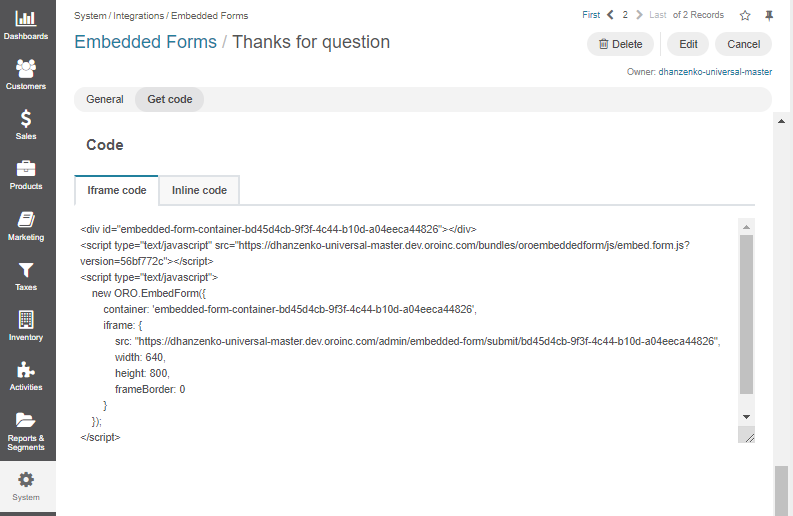
In the Get Code section, copy the provided code and paste it to the required section of your website.


