Important
You are browsing upcoming documentation for version 7.0 of OroCommerce, scheduled for release in 2026. Read the documentation for the latest LTS version to get up-to-date information.
See our Release Process documentation for more information on the currently supported and upcoming releases.
Create a Lead
To create a lead manually:
Navigate to Sales > Leads in the main menu,
Click Create Lead.

In the General section, provide the following information:
Owner — Limits the list of users who can manage the opportunity to users whose roles allow managing opportunities assigned to the owner (e.g., the owner, members of the same business unit, system administrator, etc.). By default, the user creating the record is selected as the owner.
Lead Name — The name used to refer to a lead in the system.
Status — Three statuses are available for a lead:
New - a newly created lead.
Qualified - a lead is recognized as valid as a result of the initial analysis (e.g., an interested person or organization behind the lead).
Disqualified - a lead is recognized as invalid as a result of the initial analysis, e.g., no person or organization was found behind the lead).
The rest of the fields are optional.
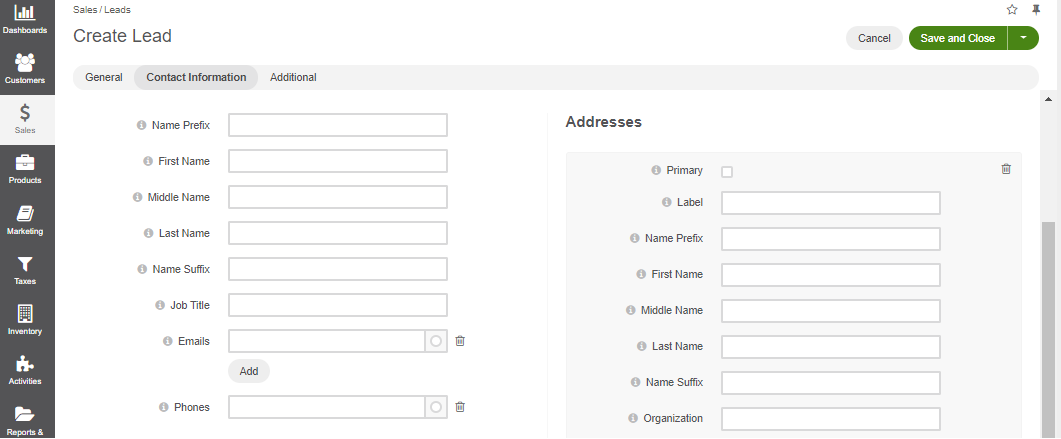
In the Contact Information section, provide contact details to be entered for a lead. You can enter multiple emails, phones, and addresses for a lead.

In the Additional section, provide additional information on the lead (if available).
Click Save and Close.