Important
You are browsing upcoming documentation for version 7.0 of OroCommerce, scheduled for release in 2026. Read the documentation for the latest LTS version to get up-to-date information.
See our Release Process documentation for more information on the currently supported and upcoming releases.
Configure Global Customer User Settings
Customer User settings can be configured globally, per organization, and per website.
To change the default customer user configuration settings globally:
Navigate to System > Configuration in the main menu.
Select Commerce > Customer > Customer Users in the menu to the left.
Note
For faster navigation between the configuration menu sections, use Quick Search.
To customize any of the options for customer users:
Clear the Use Default box next to the option.
Select the new option.
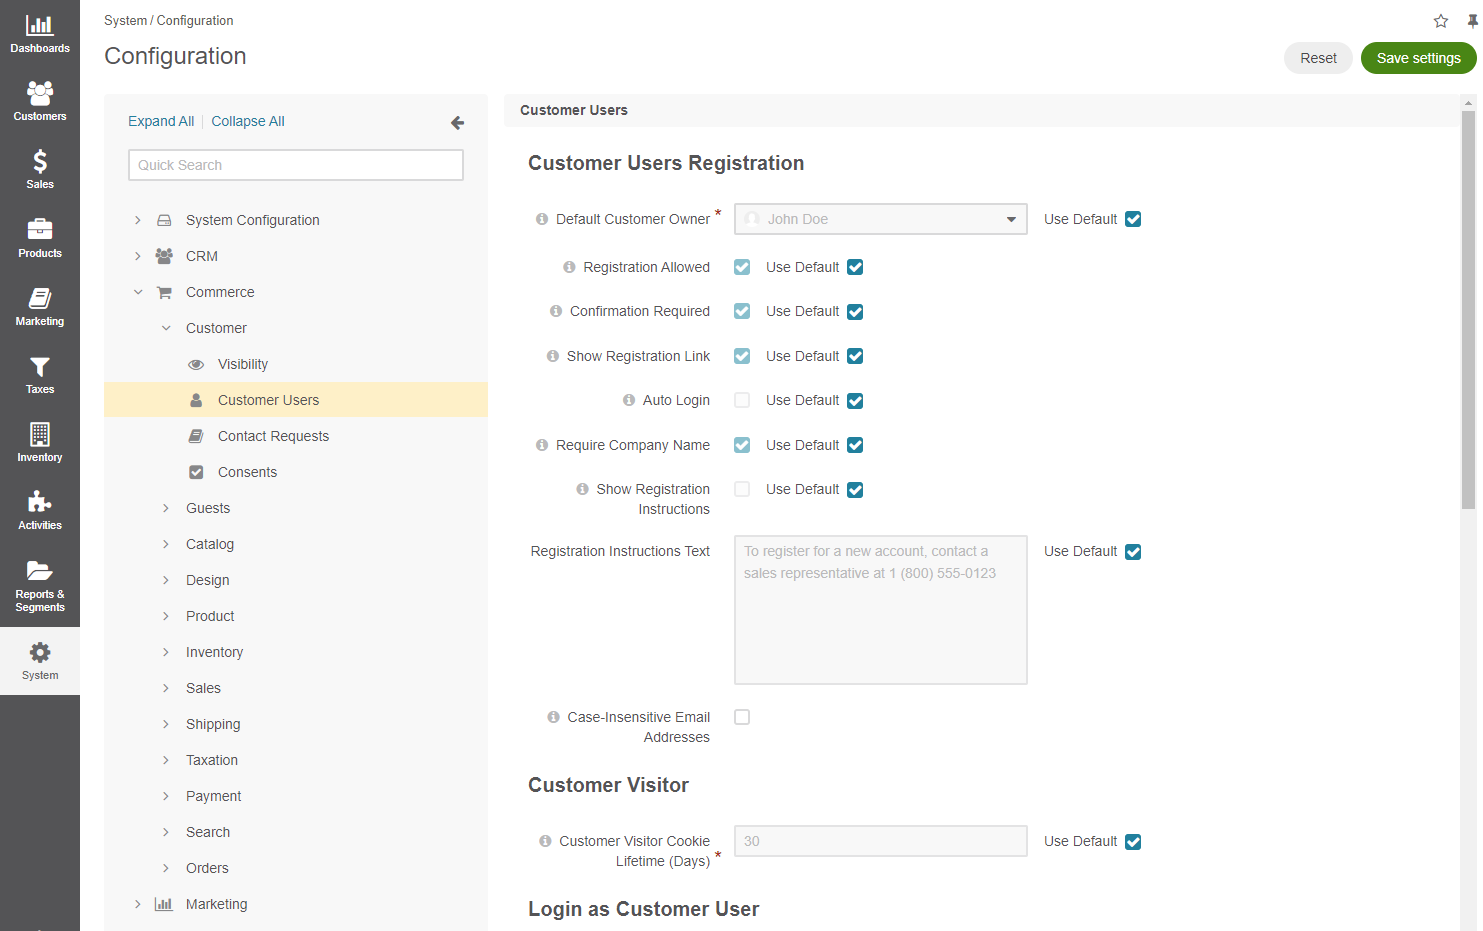
In the Customer Users Registration section, configure the following options:
Default Customer Owner — Service information that determines which user has full access to managing and viewing customer information. Usually, this is the default customer administrator or the administrator assigned to the customer. Applies to the customers created in the back-office as well as to those who register on the OroCommerce website.
Registration Allowed — Enables/disables registration of new customers from the storefront login screen.
Confirmation Required — Enables/disables the email confirmation step following user registration.
Show Registration Link — Shows/hides the registration link from the storefront login screen. The link is next to the Sign In link in the top bar.
Auto Login —Enables/disables customer users to login after registration or email confirmation. Disabled by default.
Required Company Name — Shows/hides the company name field in the registration form in the storefront. Required for individual customers who do not belong to any company.
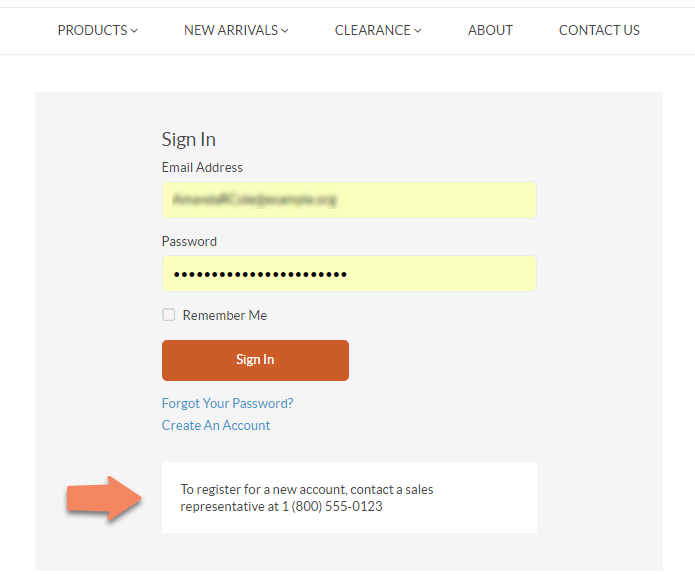
Show Registration Instructions — Enables/disables registration instructions in the storefront login page. This option is disabled by default.
Registration Instructions Text — If Show Registration Instructions is enabled, the text provided in the field is displayed in the storefront login page.
Case-Insensitive Email Addresses — If this option is enabled, the letter case is ignored when comparing email addresses. For example, john.doe@example.com and John.Doe@example.com are treated equally. By default, the option is disabled. The identical option for back-office users is managed here. Keep in mind that the uniqueness of email addresses and personal data is checked only for the registered users. It means that no two users can have identical personal information unless they are customer visitors (guest users). Multiple guest customers are allowed to have exactly the same data, including email addresses.
Customer User Email Enumeration Protection — Typically, when a user attempts to register an account with an email that already exists in the system, an email address uniqueness validation message is displayed indicating that the email is already in use. With this option enabled, the validation message will no longer appear for duplicate emails. Instead, an email notification will be sent to the existing customer user, informing them of the registration attempt using their email. Enabling the feature helps enhance security and prevent fraudulent activities with known emails.
In the Customer Visitor section, configure the options for the anonymous users:
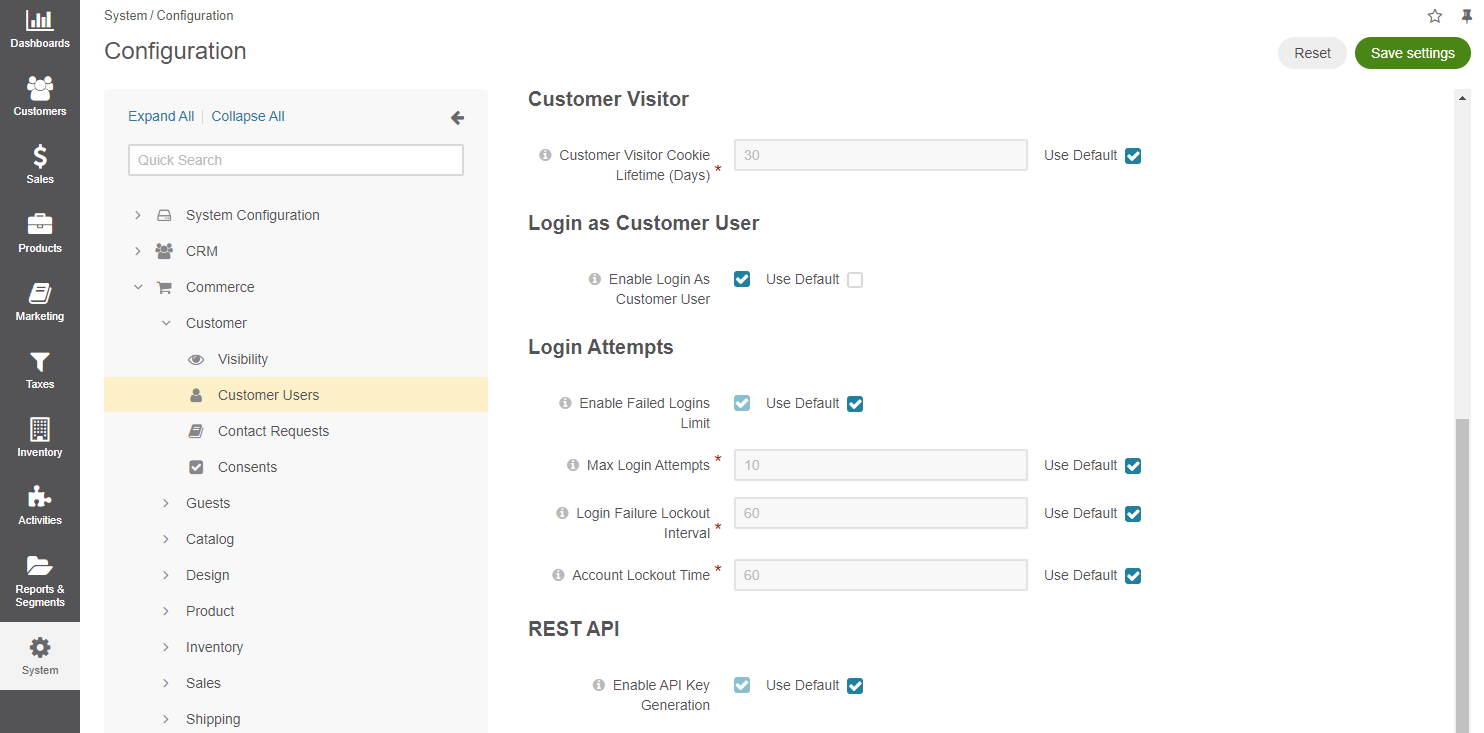
Customer Visitor Cookie Lifetime (Days) — Once the provided period expires, active customer visitor (anonymous user) sessions will be reset. Keep in mind that the uniqueness of email addresses and personal data is checked only for the registered users. It means that no two users can have identical personal information unless they are customer visitors (guest users). Multiple guest customers are allowed to have exactly the same data, including email addresses.
In the Login as Customer User section, configure the option for customer users. Keep in mind that this feature is available in the Enterprise edition.
Enable Login As Customer User — The option enables back-office users with the Login as Customer User role capability assigned to them to temporarily sign into the OroCommerce storefront and operate it as a specific customer user (i.e., impersonate a customer user). This option is disabled by default. User impersonation is also available at the organization level.
In the Login Redirect section, configure the following option:
Do Not Leave Checkout — Enable this option to redirect a user back to the checkout page after a successful login. This will override the Redirect After Login setting on the website configuration level that may specify a different target page.
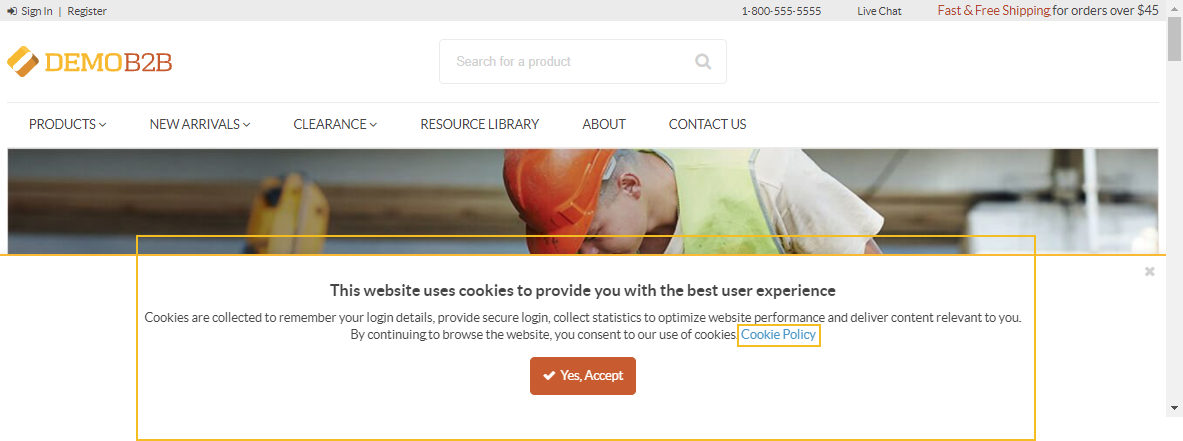
In the Cookies Banner section, you can enable a cookie consent banner. A cookie consent banner is the cookie warning that pops up on websites when a user visits the site for the first time. This banner lets visitors know that their data is being collected and get their consent to use the data. The CookieConsentBannerBundle allows to show such warning to the user.
If the application was installed without demo data, the banner is disabled. Configure the following options to enable cookie consent banner on the global level:
Show Banner — Select the checkbox to display the cookie consent banner to the website’s visitor.
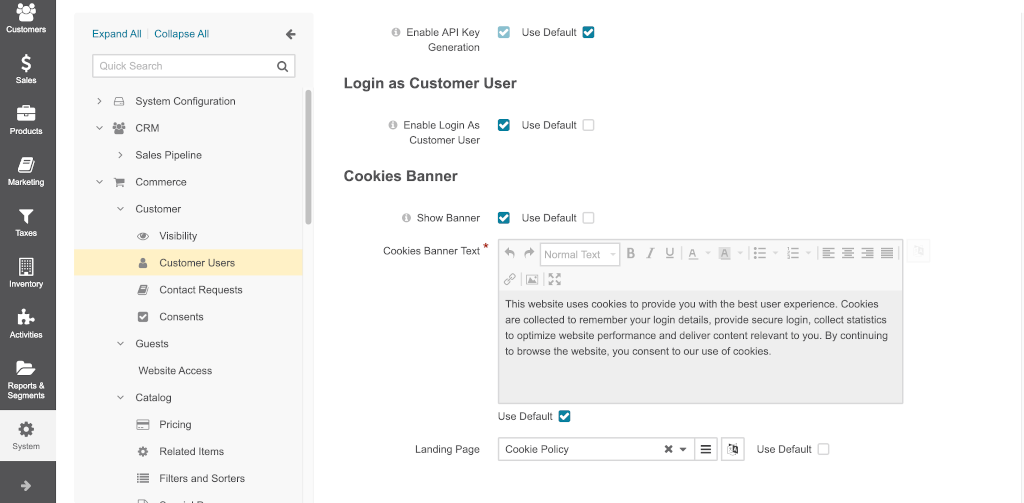
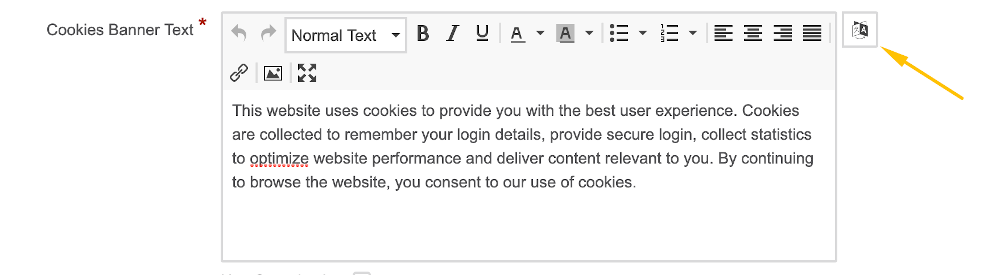
Cookies Banner Text — Provide the message of the cookie banner. To edit the text for a specific language, click the language button and edit the text for the needed language.
Landing Page - Select the landing page with cookie policy of the application, if any. This landing page will be highlighted as a link on the banner. To translate the landing page title to the specific language, click the language button and edit the title as required.
Click Save Settings.