Important
You are browsing upcoming documentation for version 7.0 of OroCommerce, scheduled for release in 2026. Read the documentation for the latest LTS version to get up-to-date information.
See our Release Process documentation for more information on the currently supported and upcoming releases.
Configure User Roles in the Back-Office
You can create new roles and apply permissions to fit specifically your business processes, clone and modify the existing roles.
Create a Role
To create a new role in:
Navigate to System > User Management > Roles in the main menu.
Click Create Role on the top right.
In the General section, provide the role name.
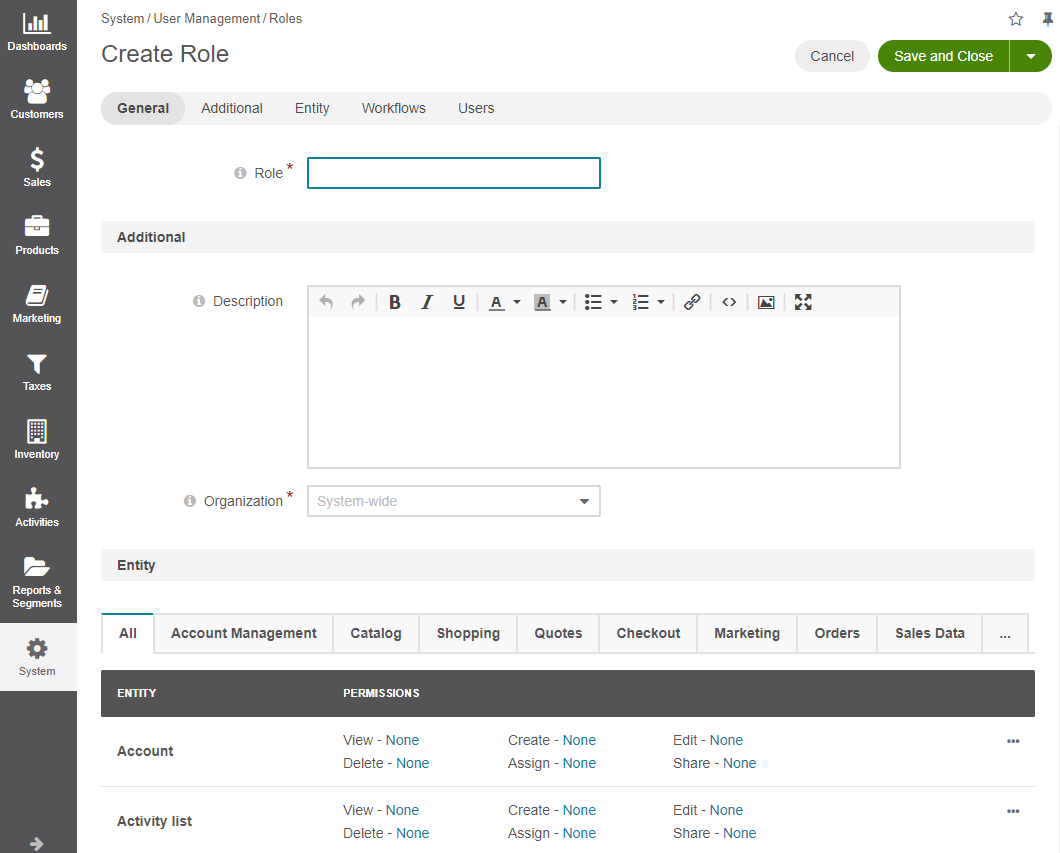
In the Entities section, you can set three types of permissions - entity-level, field-level and system capabilities:
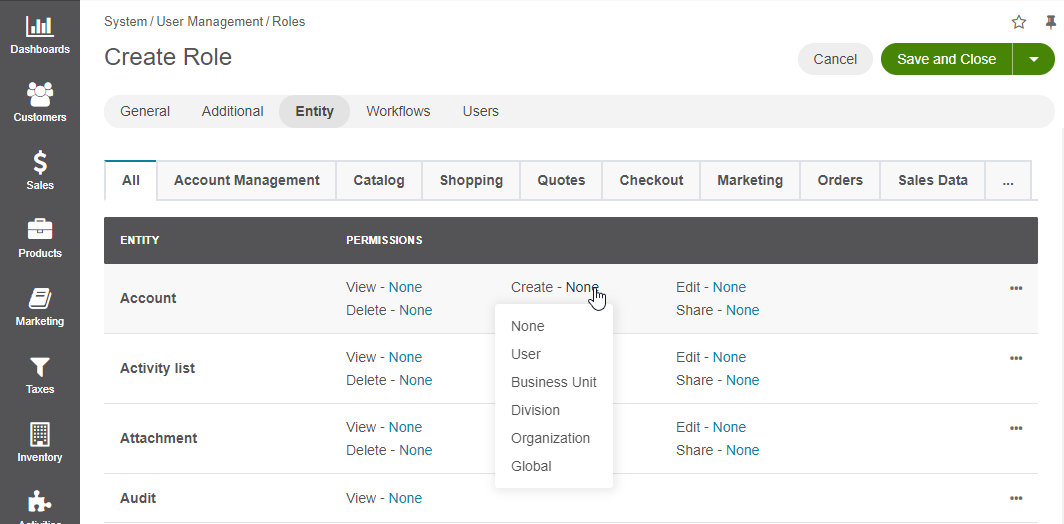
To specify access levels for entity-level permissions, click on the arrow icon next to the required permission (e.g., create or assign), and select the access level from the list. By default, access levels for each permission are set to None.
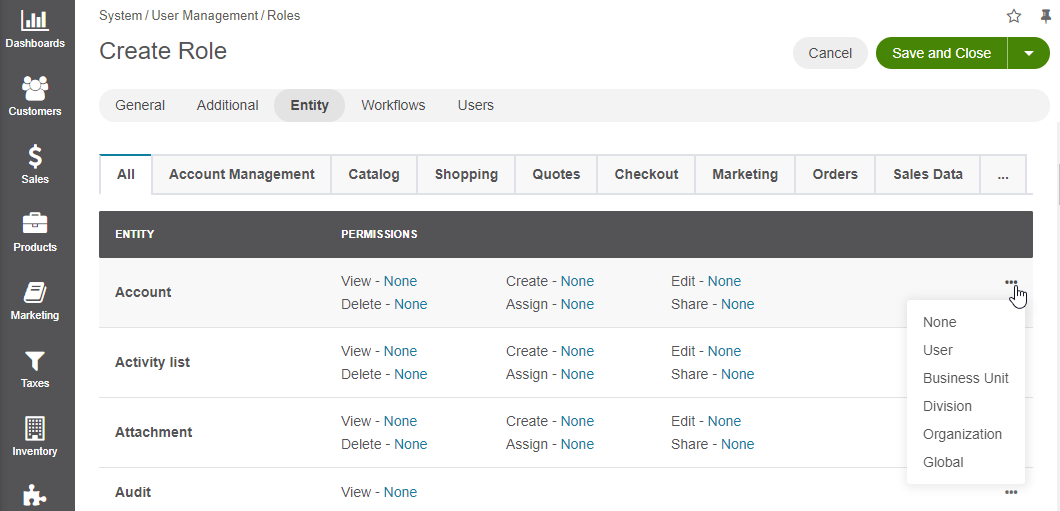
To set the same access level for all actions on entity, select the required access level from the ellipsis menu at the end of the entity row.
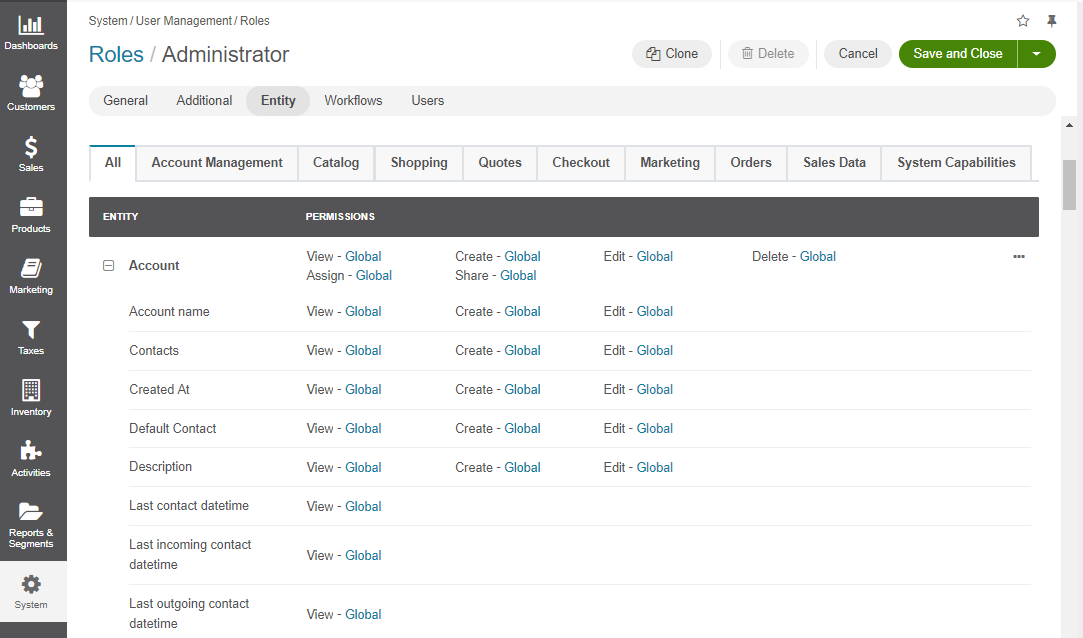
To specify access levels for field-level permissions, click + to the left of the entity name. Click on the arrow icon next to the required permission, and select the access level from the list. Read more on how to enable field-level permissions in the Apply Permissions to Entity Fields topic.
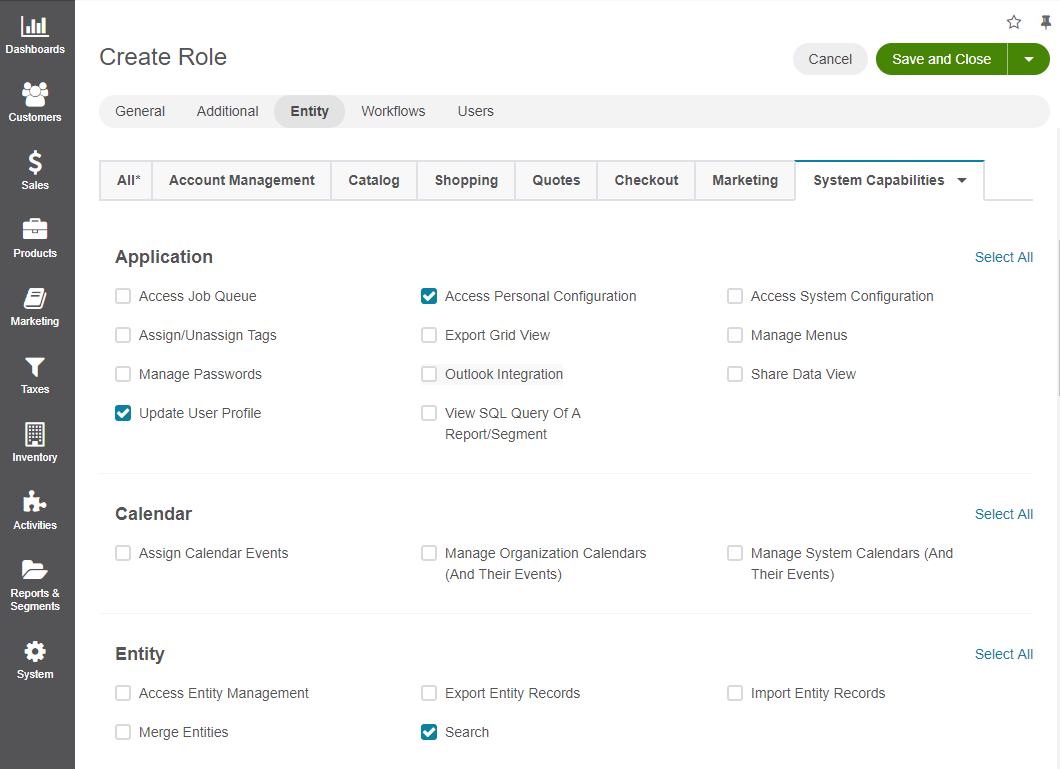
To set system capabilities, enable or disable the checkbox next to the required options.
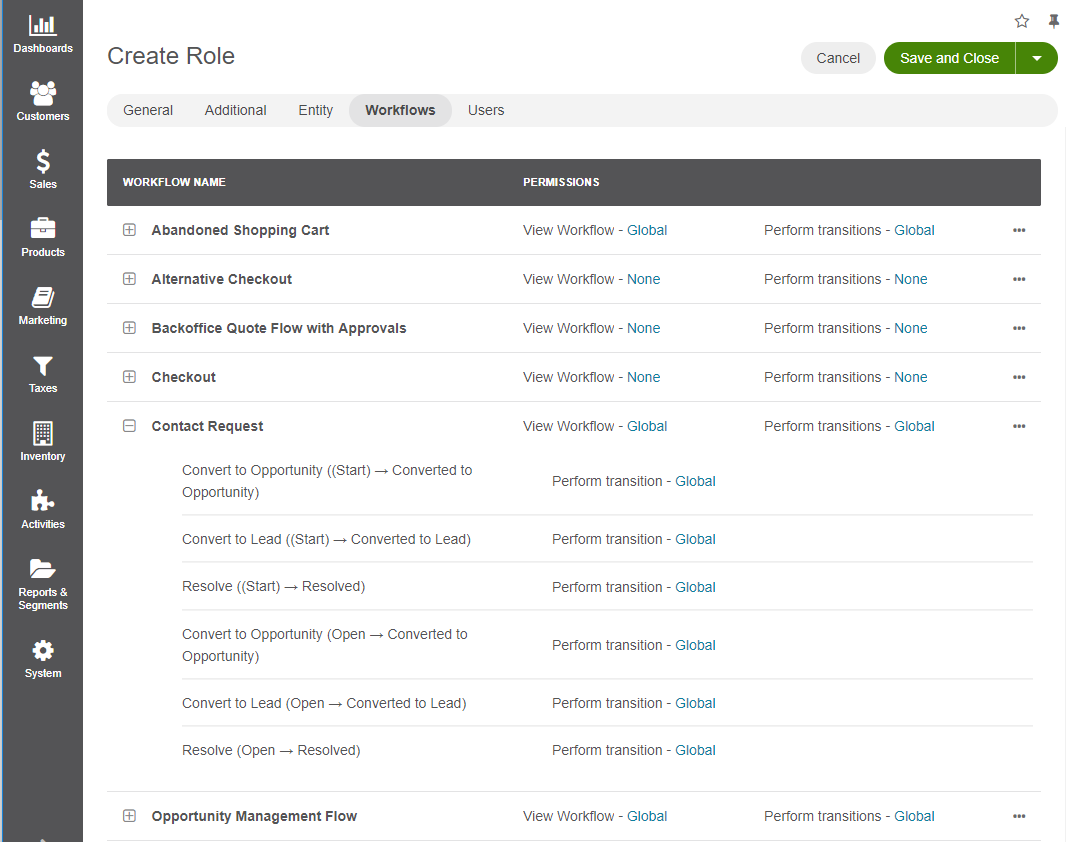
In the Workflows section, specify access levels for workflows and workflow transitions. There are two permissions for workflows, View Workflow and Perform transitions. By default, all workflow access levels are set to None. Choose the workflow or the transition to which you want to assign different permissions, click on the action name and select the required access level from the list.
Tip
If you do not see individual transitions of the workflow, click the + Expand icon in front of the workflow name to expand the list of transitions.
In the Users section, select checkboxes in front of the users to whom you want to assign this role.
In the Additional section, specify the following:
Description — Use the built-in text editor to format the provided description.
Organization — Select the organization that the user role belongs to.
Note
If you want this role to be applicable for all organizations defined in the system, do not specify any organization. In this case, the field value becomes System-wide. If there is only one organization defined in the system or you do not have global access rights, there is no option for selecting an organization.
Click Save.
Clone a Role
You can create a role by cloning the existing one:
Navigate to System > User Management > Roles in the main menu.
On the page of All Roles, click the ellipsis menu at end of the corresponding row of the selected role, and then click the Clone icon.

Alternatively, you can clone the role from the page of the selected role by clicking Clone on the top right.

The page that opens has all of the settings as the original role. Modify the settings as required.
Click Save.
Edit a Role
To edit an existing role:
Navigate to System > User Management > Roles in the main menu.
On the page of All Roles, click the ellipsis menu at end of the corresponding row of the selected role, and then click the Edit icon.

Alternatively, you can edit the role from the page of the selected role by clicking Edit on the top right.

On the page that opens, update the information as necessary.
Delete a Role
You can delete roles if they are not assigned to any user, and if you are granted permissions to delete roles.
To delete an existing role:
Navigate to System > User Management > Roles in the main menu.
On the page of All Roles, click the ellipsis menu at end of the corresponding row of the selected role, and then click the
Delete icon.

Alternatively, you can edit the role from the page of the selected role by clicking
Delete on the top right.

Related Articles
