Important
You are browsing upcoming documentation for version 7.0 of OroCommerce, scheduled for release in 2026. Read the documentation for the latest LTS version to get up-to-date information.
See our Release Process documentation for more information on the currently supported and upcoming releases.
Configure Invoice Settings per Website
You can configure invoice-related sales globally, per organization, website, customer group and customer.
To configure invoices per website:
Navigate to System > Websites in the main menu.
For the necessary website, hover over the More Options menu to the right of the necessary website and click to start editing the configuration.
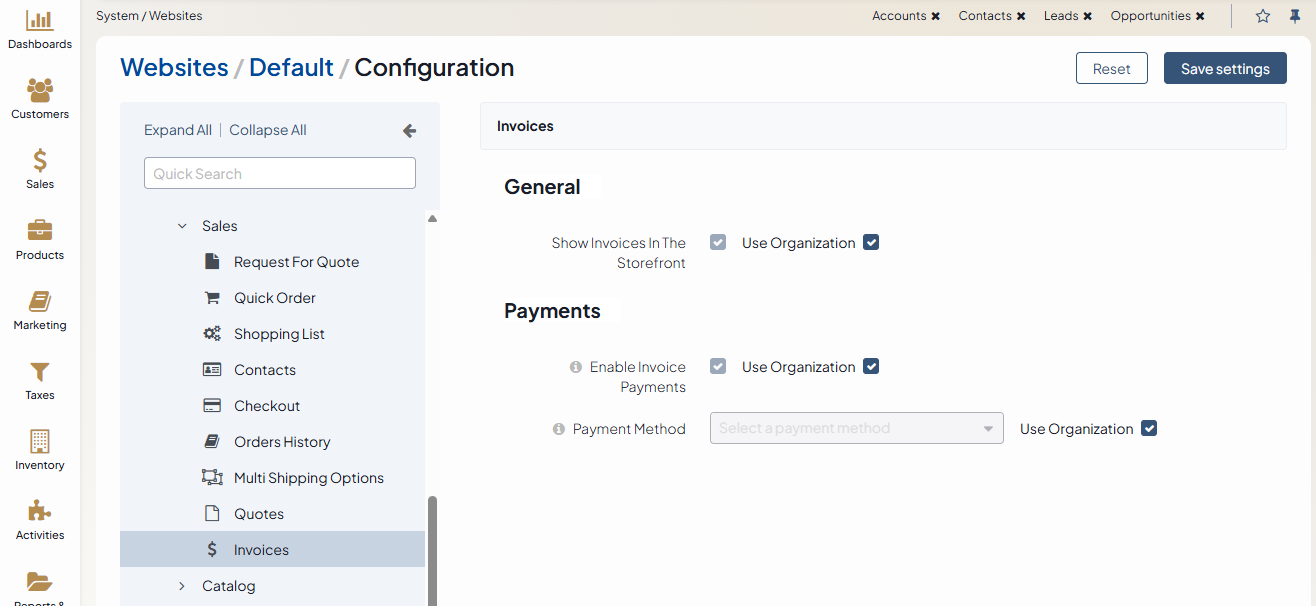
Select Commerce > Sales > Invoices in the menu on the left.
Note
For faster navigation between the configuration menu sections, use Quick Search.

In the General section, toggle the following options:
Show Invoices in the Storefront — enable this option to display invoices in the storefront.
In the Invoice PDF section, configure the following options:
Generate PDF When Invoice Becomes Posted — Enable the option to generate a PDF file when the invoice is marked as Posted. Once created, the PDF will not be re-created, even if the invoice is modified later.
Enable Invoice PDF Download in Customer Portal — Enable the option to display a Download button on invoice pages in the storefront, if a PDF file has been created and attached to the invoice.
In the Payments section, toggle the following options:
Enable Invoice Payments — Enables or disables the invoice payment functionality system-wide. When enabled, a Pay button is displayed in the storefront, and a Payments section is added to the invoice view page in the back-office.
Payment Method — Specifies the payment method used for invoice payments in the storefront. Currently, only the Stripe Integration Element and OroPay are supported. Ensure that a Stripe integration or OroPay is configured under System > Manage Integrations before selecting it here.
Click Save Settings.