Important
You are browsing upcoming documentation for version 7.0 of OroCommerce, scheduled for release in 2026. Read the documentation for the latest LTS version to get up-to-date information.
See our Release Process documentation for more information on the currently supported and upcoming releases.
Add a Consent Landing Page to a Web Catalog
Note
To add the consents to a web catalog, make sure that consents are enabled in the application.
To be able to display the text of the consent to customers in the storefront, you need to create a consent landing page with the corresponding description and add it as a content variant for a specific node in a web catalog.
Important
Please be aware that if your consent does not require any descriptive text, or if your consent is optional, you do not have to add it to the web catalog node as a landing page. However, if you need to comply with the GDPR, make sure that the mandatory consent has detailed description of the terms that the buyer should agree to, in which case you do need to add this consent as a landing page to the selected web catalog node.
To add a consent landing page to a web catalog content node:
Navigate to Marketing > Web Catalogs in the main menu.
For the necessary catalog, hover over the More Options menu to the right of the necessary catalog, and click to start editing the catalog content tree.
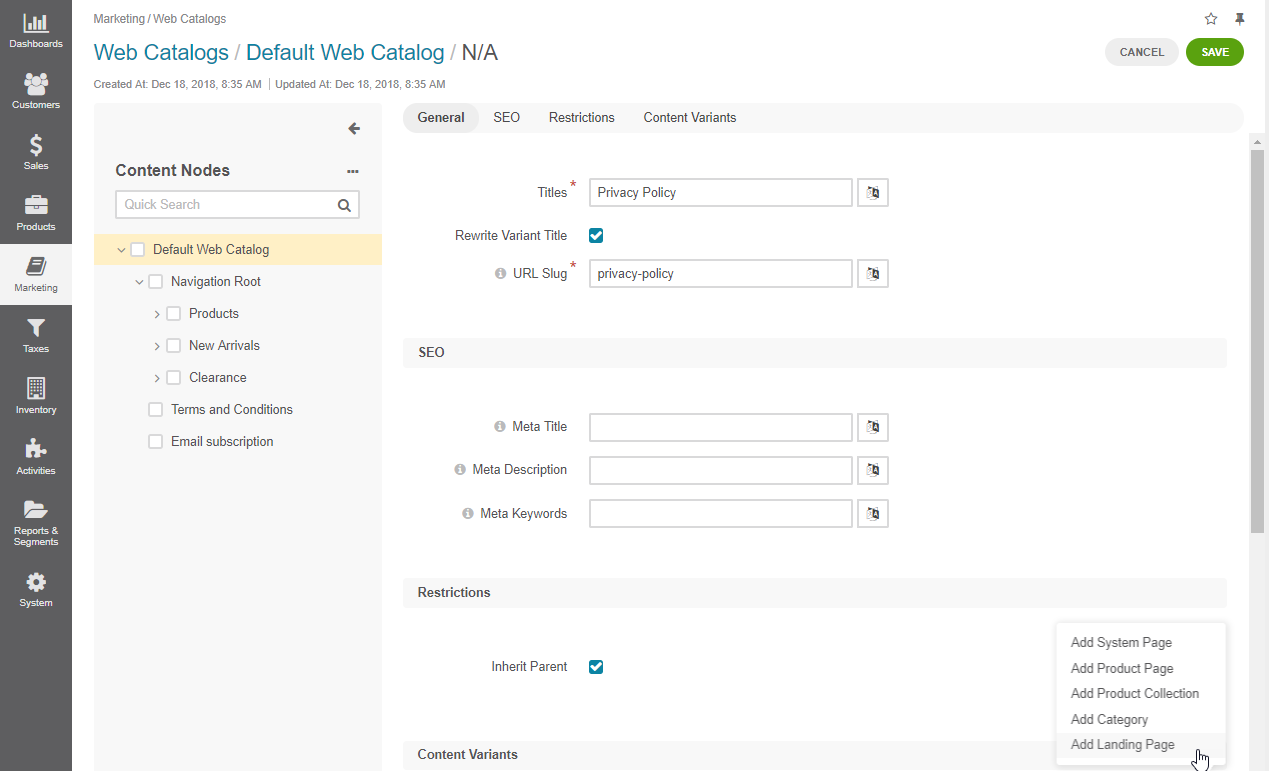
Click on the required root content node where you want the consent to be displayed.
Note
If you do not want the consent to be displayed in the storefront menu, add it to the 5th menu level to hide it from the storefront, or apply appropriate restrictions.
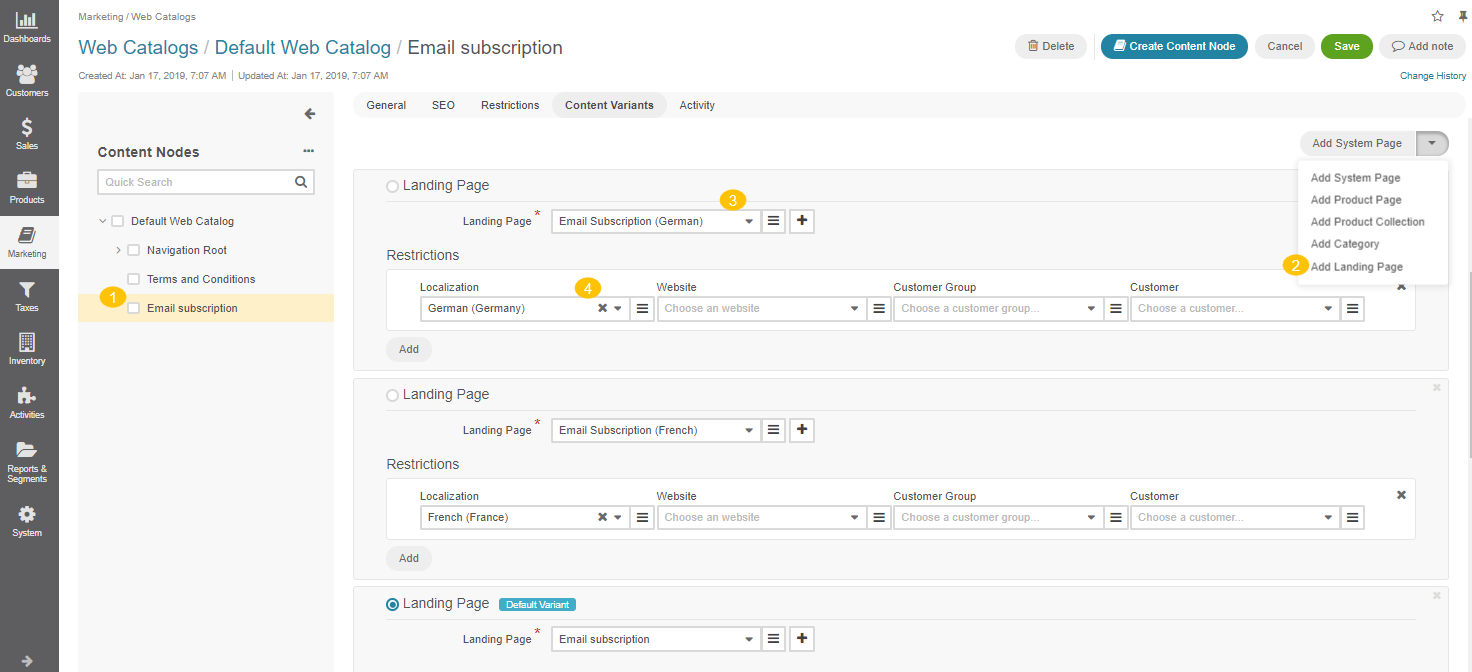
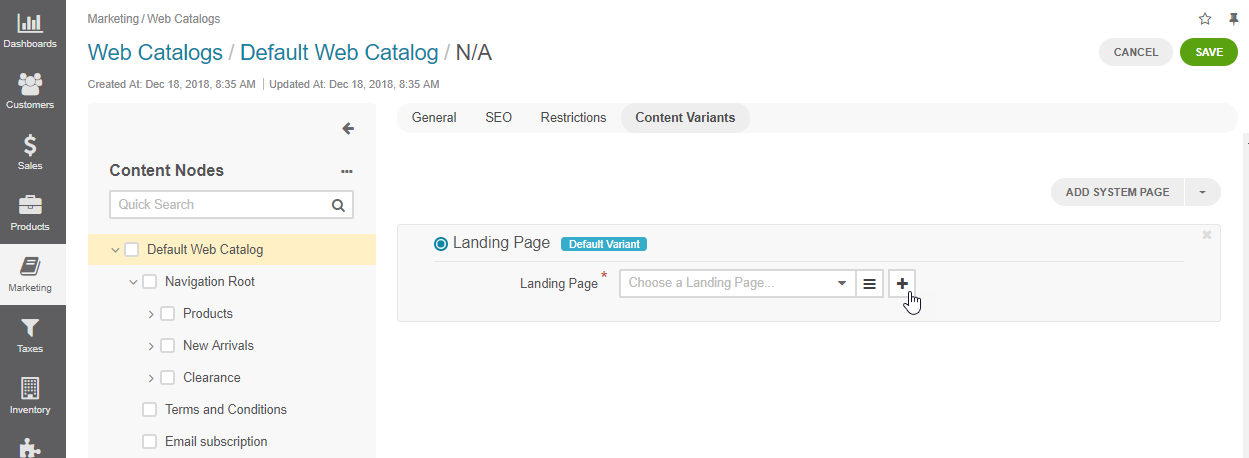
In the Content Variants section, click Add Landing Page in the Content Variants list.
Select a landing page with the consent description from the list, if such landing page has been created previously under Marketing > Landing Pages.
To create a new landing page from within the web catalog, click + next to the hamburger menu in the Landing Page field.
In the dialog that opens, provide the following key details:
Titles — Provide the name for the consent.
Content — Provide the consent description. The text that you enter will be displayed to customers in the storefront.
Note
To localize the consents, you need to create separate landing pages for each target language and add all related landing pages to the content node. Set the proper restrictions to limit the consent visibility to a certain localization when it is selected in the storefront. See the Localize Consents guide for more details on how to translate consents into different languages.

Note
You can read more on creating and managing landing pages in the corresponding Landing Pages topic.
Click Save at the bottom of the dialog to save consent details.
The consent is now added to the Landing Page content variant field.
Important
Be aware that web catalog restrictions can affect the visibility of the consent in the storefront. Make sure that the visibility restriction are configured properly. Read more on restrictions in the Set Up Content Variant Visibility topic.
Click Save on the top right to save the content node.
Once the landing page with the consent description is added to a web catalog node, you can create a new consent under System > Consent Management, and link it to the required web catalog node.
Important
Keep in mind that for the consents to be displayed in the storefront, you need to add them to the list of enabled consents in the system configuration.
Important
You can view all consents accepted by your customer users in the Consents section of their pages under Customers > Customer Users.

Important
Keep in mind that once a consent is accepted by at least one person in the OroCommerce storefront, it becomes uneditable and unremovable as well as the associated landing page.
Related Topics

