Important
You are browsing upcoming documentation for version 7.0 of OroCommerce, scheduled for release in 2026. Read the documentation for the latest LTS version to get up-to-date information.
See our Release Process documentation for more information on the currently supported and upcoming releases.
Manage Shopping Lists in the Storefront
In OroCommerce, shopping lists are much more than a list of items in a cart. Registered customers can create and manage not just one, but multiple shopping lists. This is useful when customers have to work on many projects that need different products for various needs. Unregistered customers, in turn, can purchase goods without the need of going through the registration process, which simplifies their shopping experience and saves time.
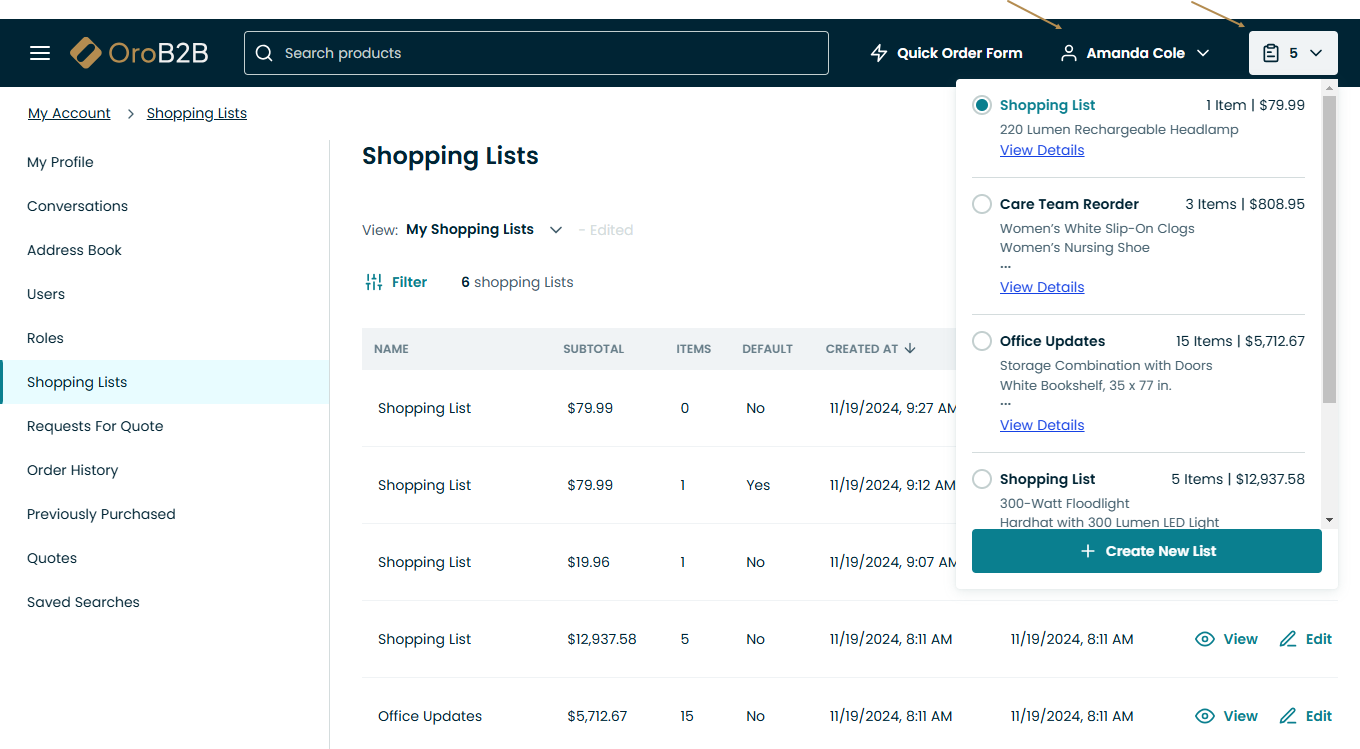
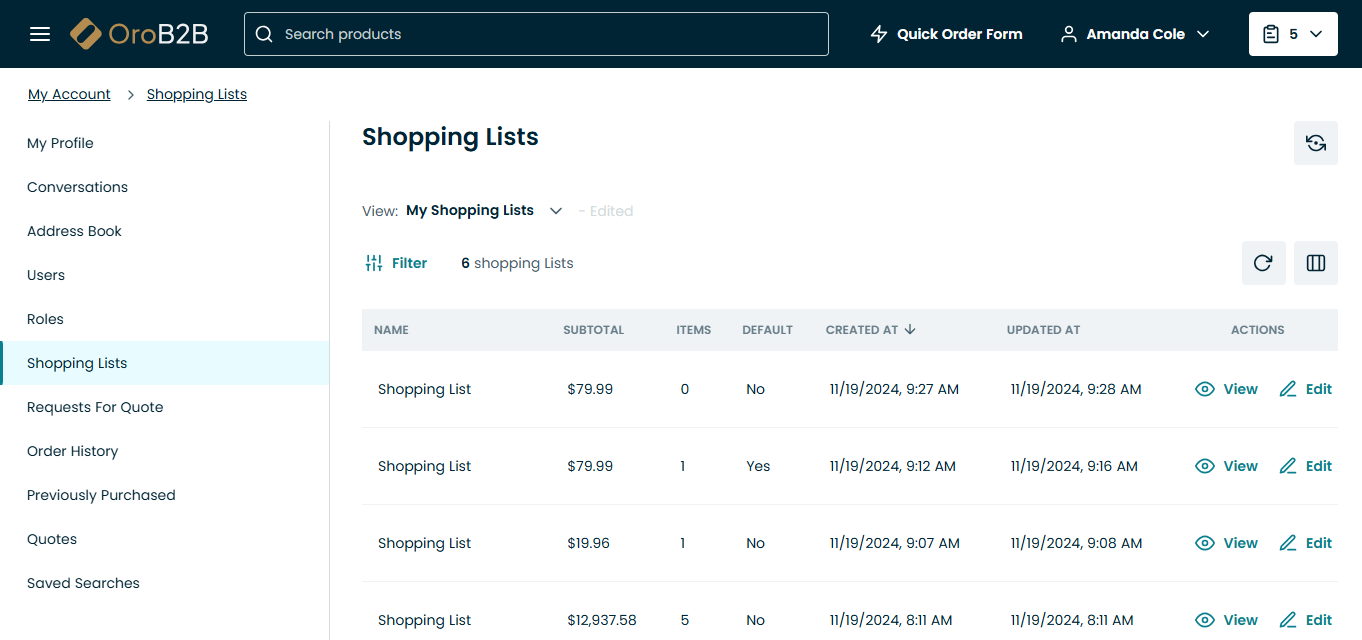
You can reach shopping lists under the account menu in the top navigation bar or in the shopping list widget in the top right corner.

Shopping List Widget
The shopping lists button in the widget displays the number of shopping lists that have been created.
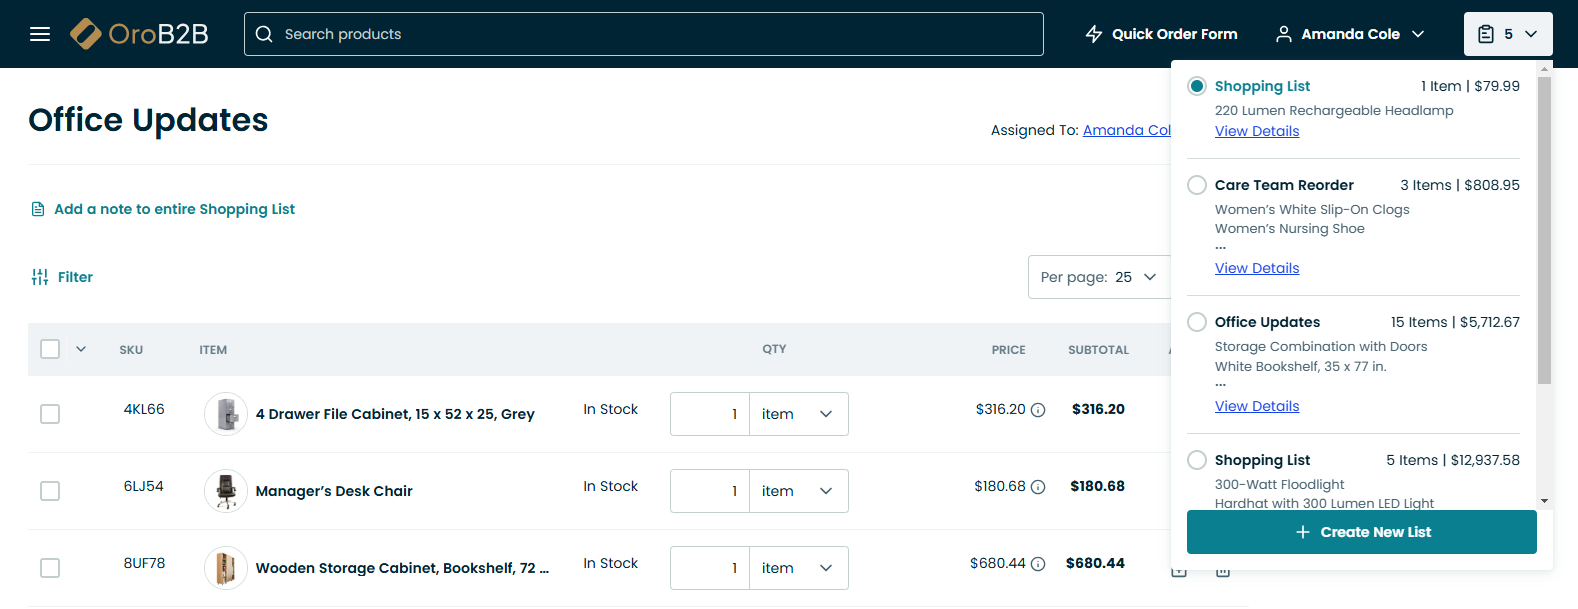
Clicking on the icon next to the button will open a drop-down with all available shopping lists, the number of items in each of them, and a button to create a new shopping list.

Note
If the content of the shopping list has changed, the attempt to resume checkout process from the shopping list view page will restart the checkout process. The data provided previously (e.g., new addresses in address form and other form field) are preserved.
