Important
You are browsing the documentation for version 4.1 of OroCommerce, OroCRM and OroPlatform, which is no longer maintained. Read version 5.1 (the latest LTS version) of the Oro documentation to get up-to-date information.
See our Release Process documentation for more information on the currently supported and upcoming releases.
Prerequisites for Apruve Services Integration in the Back-Office
Before adding Apruve as a payment method in OroCommerce, you need to create an Apruve business account and a dedicated API key via the official Apruve website.
The role in the Apruve system is determined by the way you participate in a particular transaction. There are two different roles:
Role |
Description |
|---|---|
Shopper |
The person shopping for products or services and selecting the Apruve payment method during the checkout. |
Merchant |
The person who owns the store. |
Register a Business Account with Apruve
To register a business account and enable a checkout credit program integration with OroCommerce, follow the next steps:
Contact https://apruve.com/ to get started and schedule a time for a conversation with a member of the Apruve Sales Team.

From the Apruve support team, obtain the following credentials:
Email Address — Email address used to receive notifications after submitted orders, issued invoices and finalized payments.
Password — Password used to log into your Apruve account to view all the details.
You will use these credentials to set up the integration between Apruve and OroCommerce (see more details on how to set up this integration in the Apruve Payment Method Integration topic).
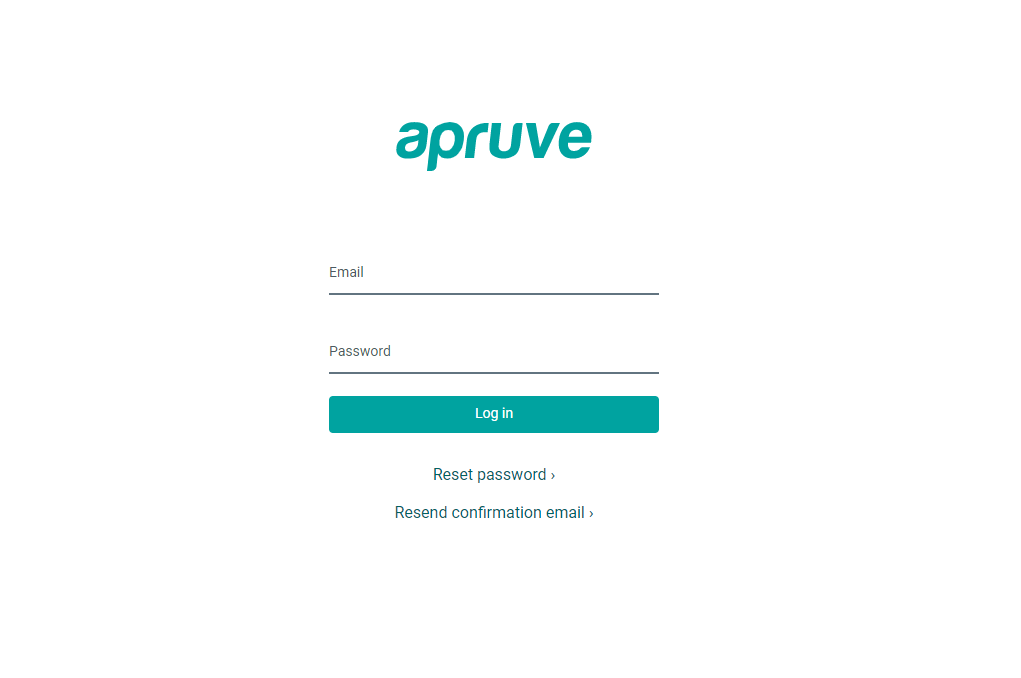
Log into the https://app.apruve.com with your email address and password generated in the previous step.

Create a Test Account
The OroCommerce Apruve configuration offers you a possibility to select a test mode to test your store first and ensure that the integration is working properly. Test mode activation should be performed on both sides.
On the OroCommerce side, you need to enable the test mode when setting up the integration by selecting the Test Mode check box (see Apruve Payment Method Integration).
On the Apruve side, you need to follow the https://test.apruve.com link and create a test account. This test account is identical to the https://app.apruve.com regular one but exists only as a test environment that can be used for exploring the Apruve software and its functionality without any risks of the money being charged.
Additionally, the Apruve test account provides the ability to create test credit cards and bank accounts (see Add Bank Account Information for details).
To create an Apruve test account, proceed with the following steps:
Log into the https://test.apruve.com with the credentials generated at the stage of registering a business account.
Note
You can change the credentials any time by navigating to Settings > User Profile in the main menu on the left.
Configure your store settings by adding the business information, linking your bank account to the Apruve system, and generating an API key.
Add Business Information
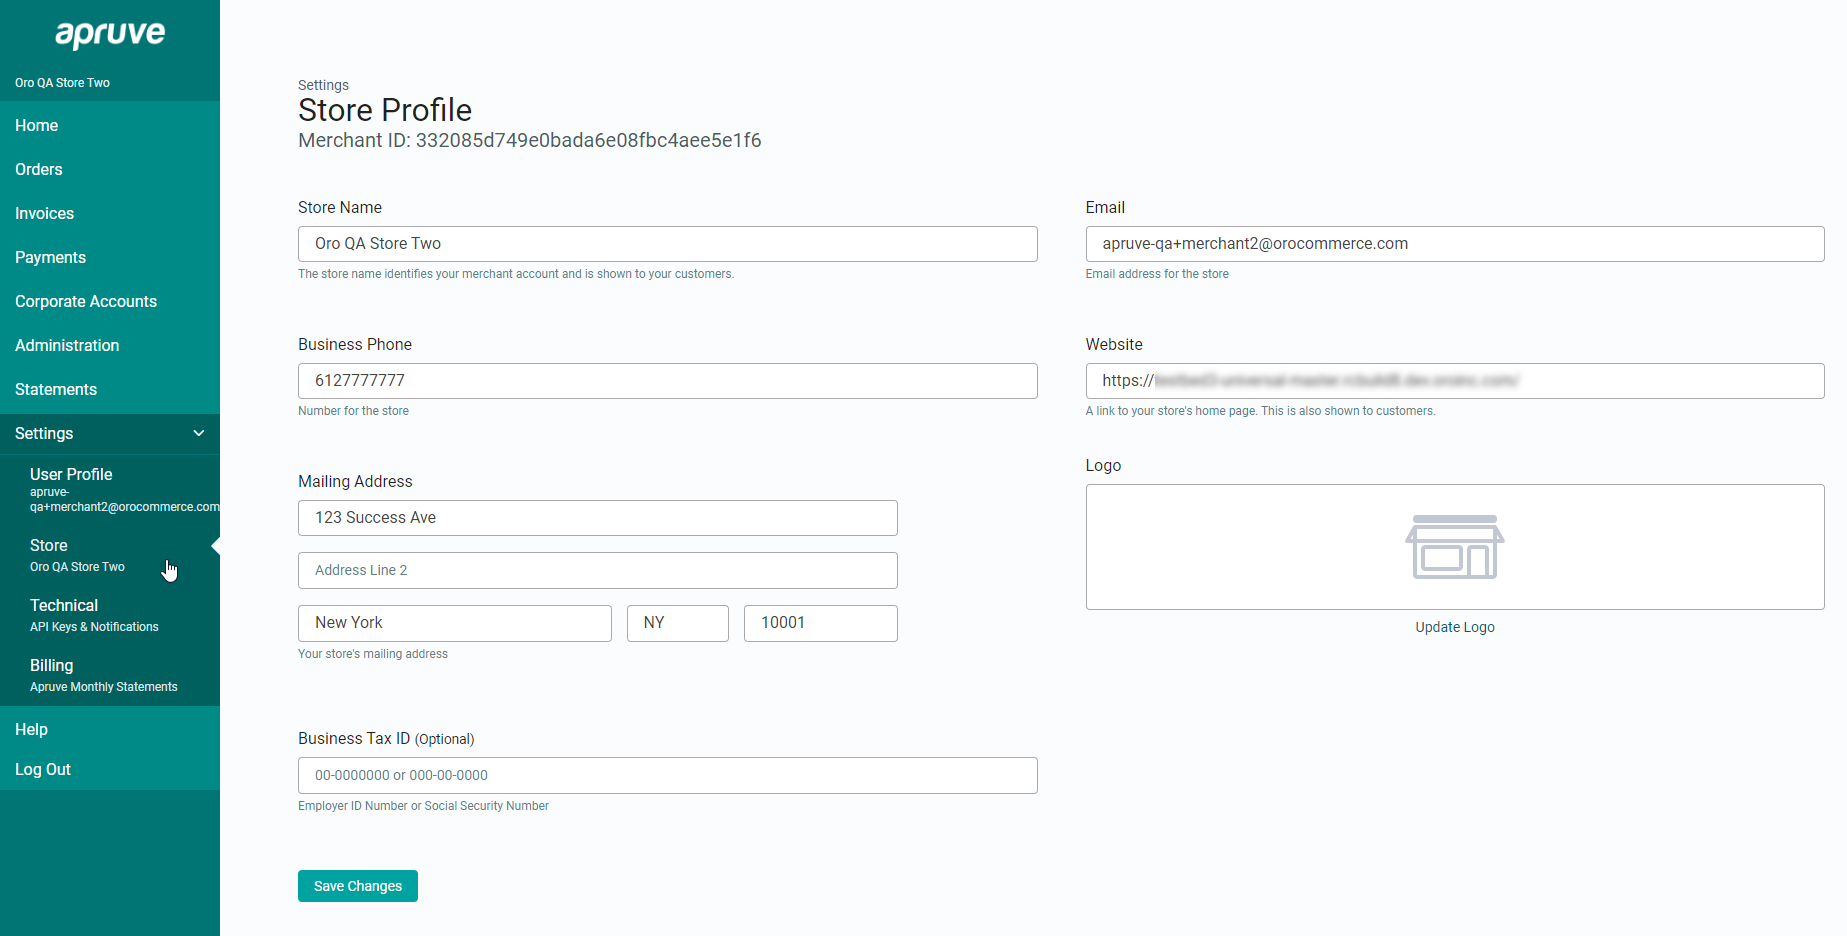
To modify your store profile settings and add contact information, navigate to Settings > Store in the main menu on the left.
Here, you can check your Merchant ID which is automatically generated by Apruve along with your password. You will need this Merchant ID when integrating the Apruve payment method with your store.
Fill in Store Profile Details, such as your store name, email, phone, website, and mailing address. Optionally, enter your Business Tax ID.
Upload the logo image of your store.
Important
A high-quality logo image should use the .PNG image extension with a file size smaller than 2MB, dimensions of at least 200 pixels in width, and a transparent background.

Add Bank Account Information
Your debit bank account information is required while processing various of payments with the help of Apruve.
To connect your debit bank account to Apruve:
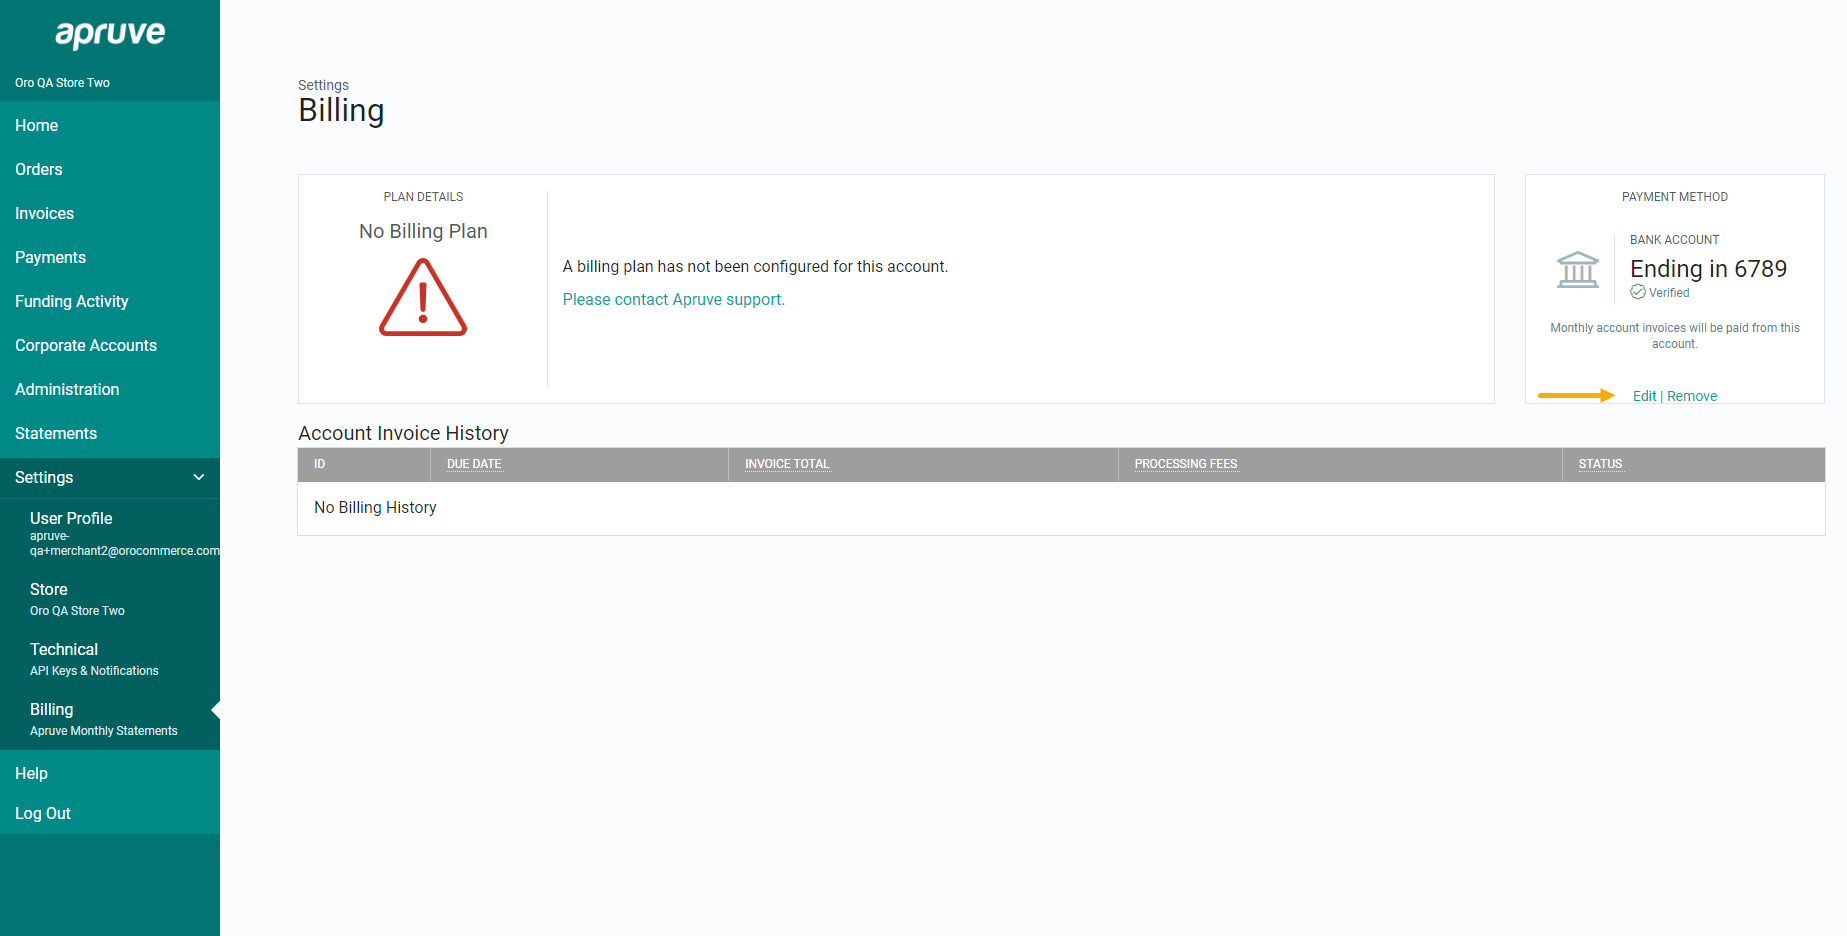
Navigate to Settings > Billing in the main menu on the left.
Click Edit in the Payment Method section.

Fill in all the required information regarding your debit card.
Click Save Bank Account.
Note
Apruve offers to create a test account to check the procedure of its integration with your store.

Create an API Key
An API key is used to secure your business profile information and provide automated access to your Apruve data.
To generate the API key:
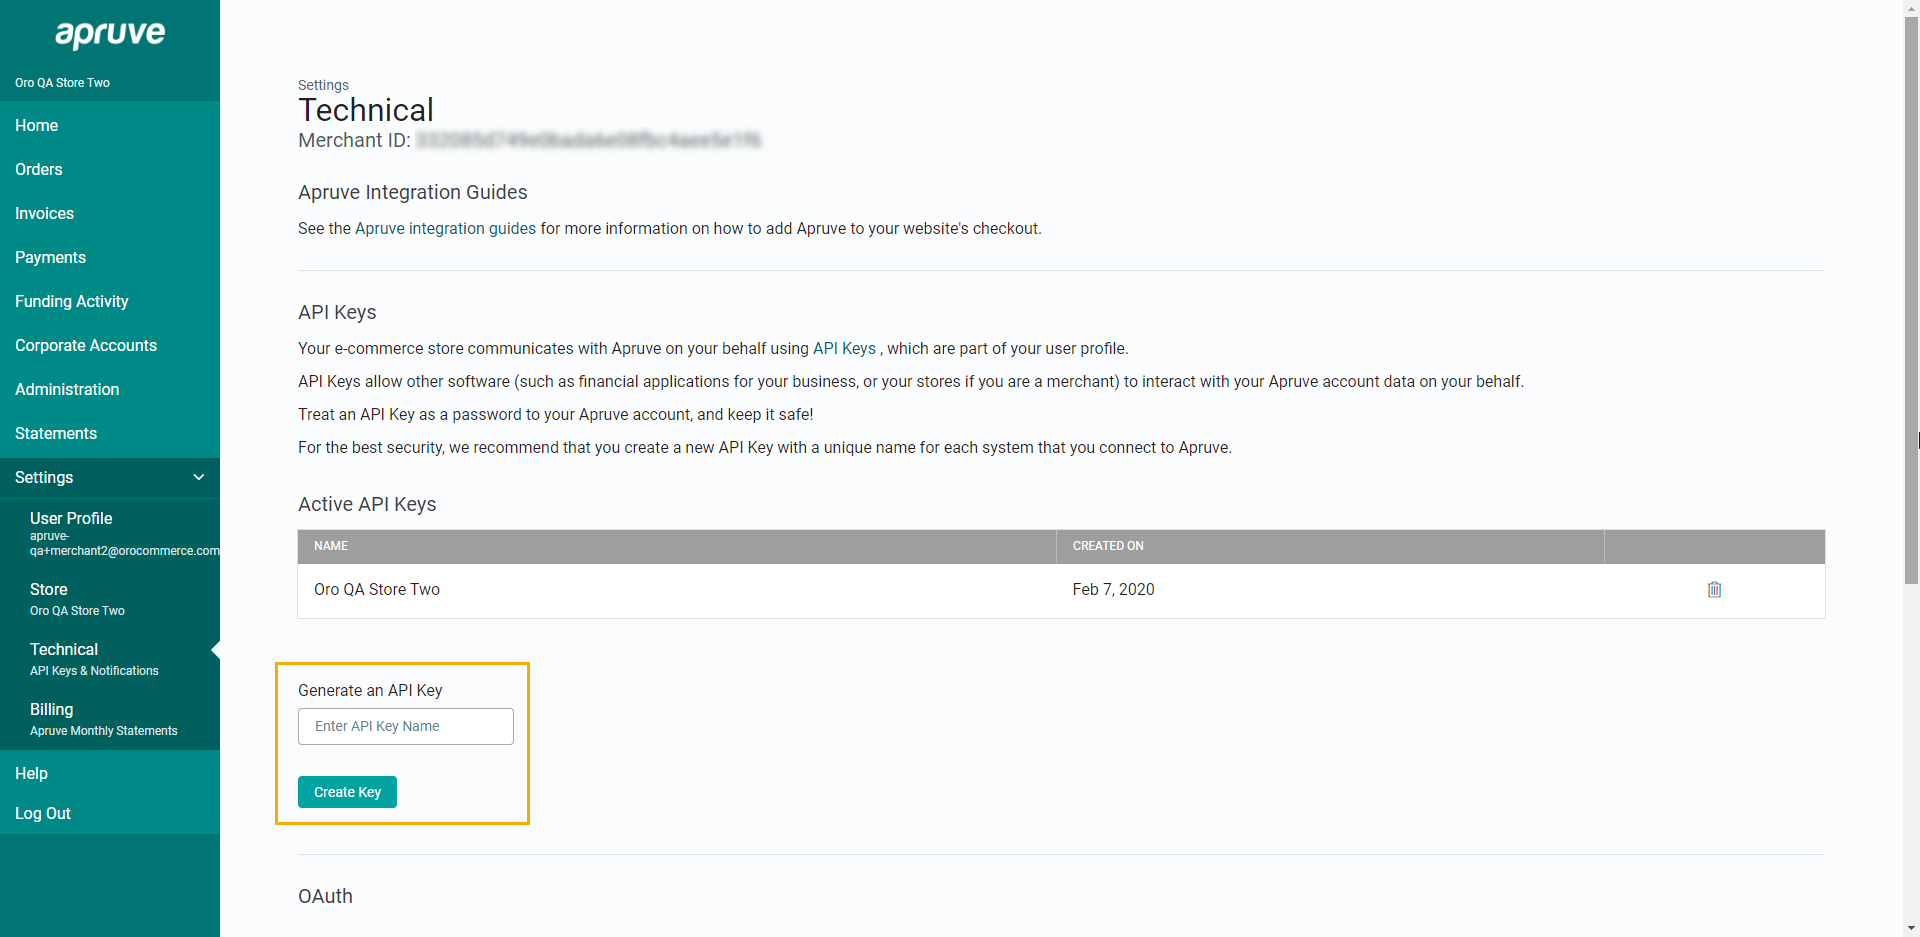
Navigate to Settings > Technical in the main menu on the left.
Type in the name of your new API key in the Generate API key Name field.
Save it by clicking Create Key.

You will need this API Key when integrating the Apruve payment method with your store.
Configure Notifications
To configure notification options to receive emails on activities performed through Apruve:
Navigate to Settings > Technical in the main menu on the left.
In the Notification Preferences section, enter Webhook URL, which is generated at the stage of integrating the Apruve payment method with your store (see Apruve Payment Method Integration topic for more details).
Click Save Notification Preferences.
