Important
You are browsing documentation for version 5.1 of OroCommerce, supported until March 2027. Read the documentation for the latest LTS version to get up-to-date information.
See our Release Process documentation for more information on the currently supported and upcoming releases.
View Payments at Checkout
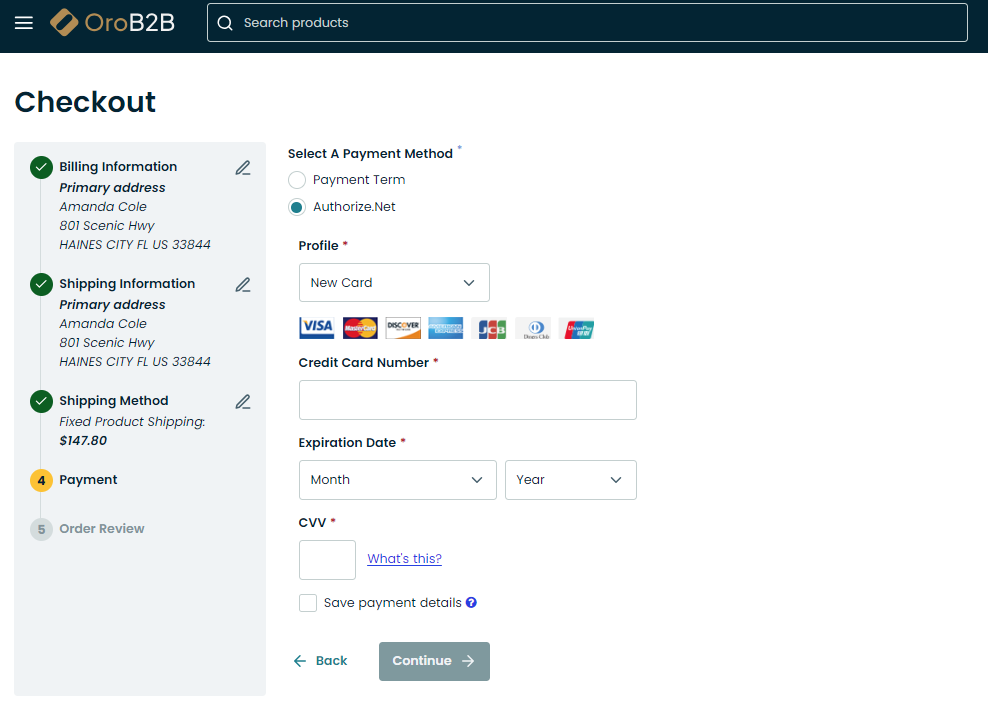
After the integration is complete, the customer user may select one of the payment methods that are shown after the connectivity check and payment rules evaluation.
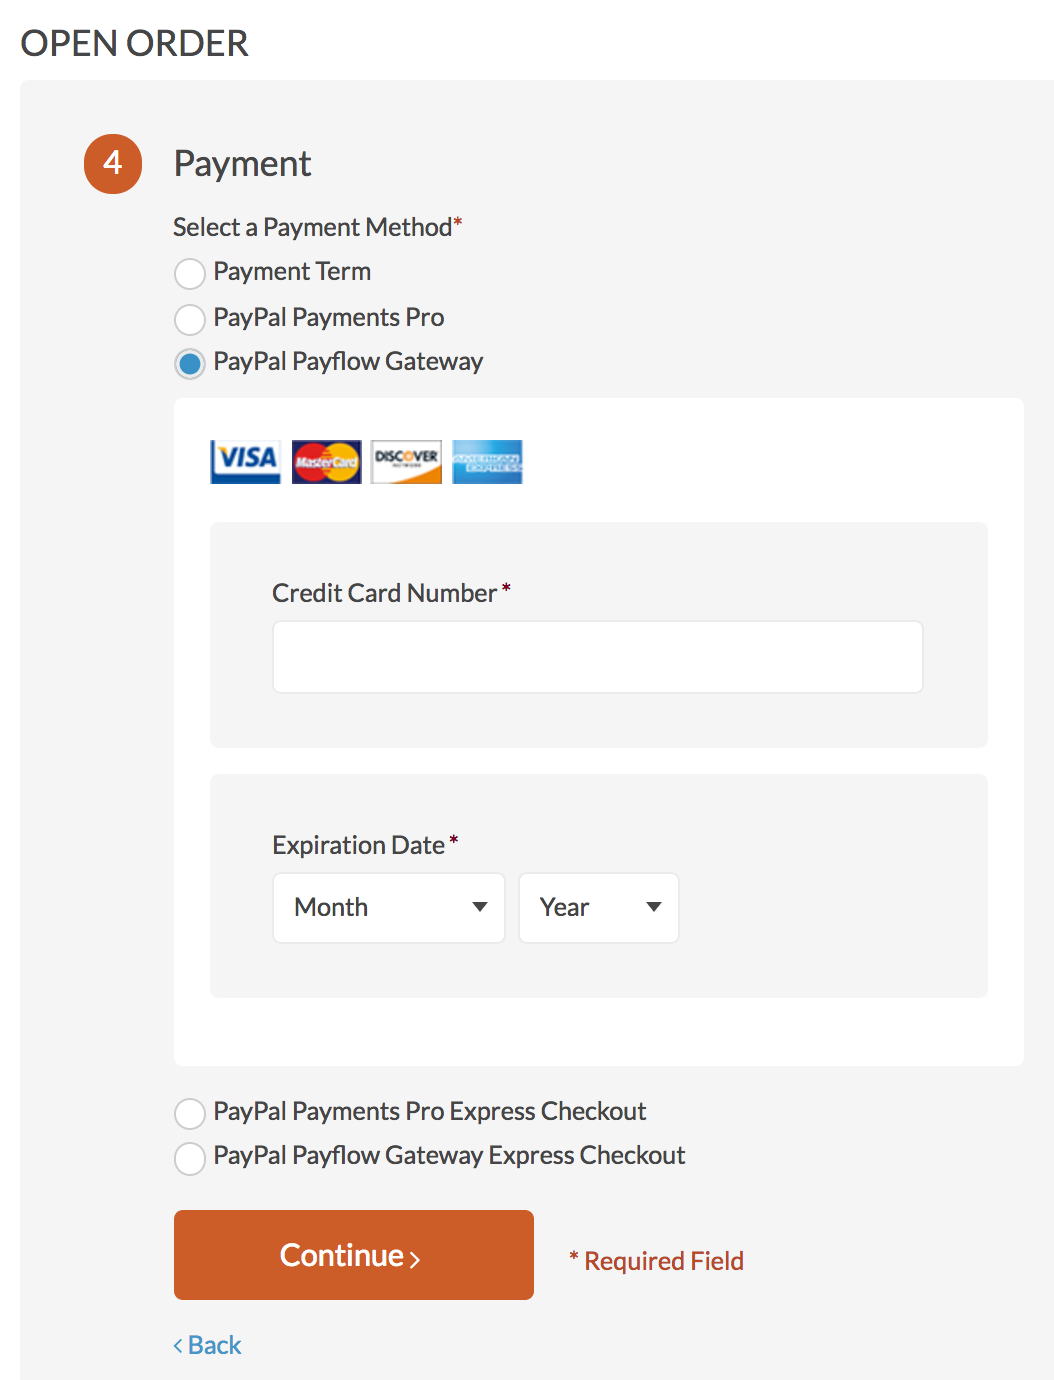
PayPal Payflow Gateway with No CVV Required
Note
If the order total is zero, the PayPal Payment method will be hidden and unavailable for selection.
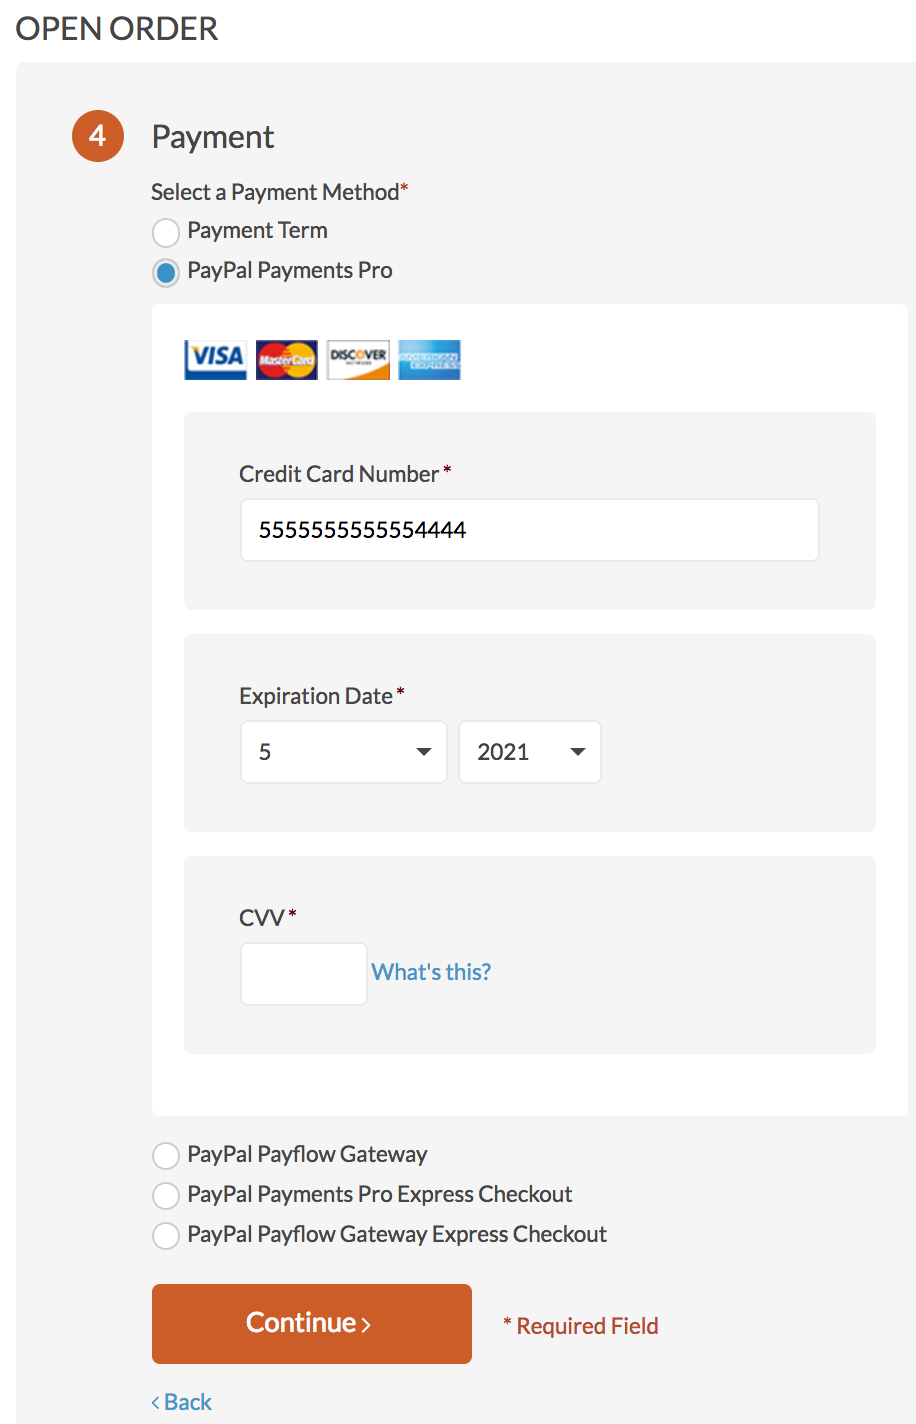
PayPal Payments Pro with Require CVV Entry Enabled
Note
If the order total is zero, the PayPal Payment method will be hidden and unavailable for selection.
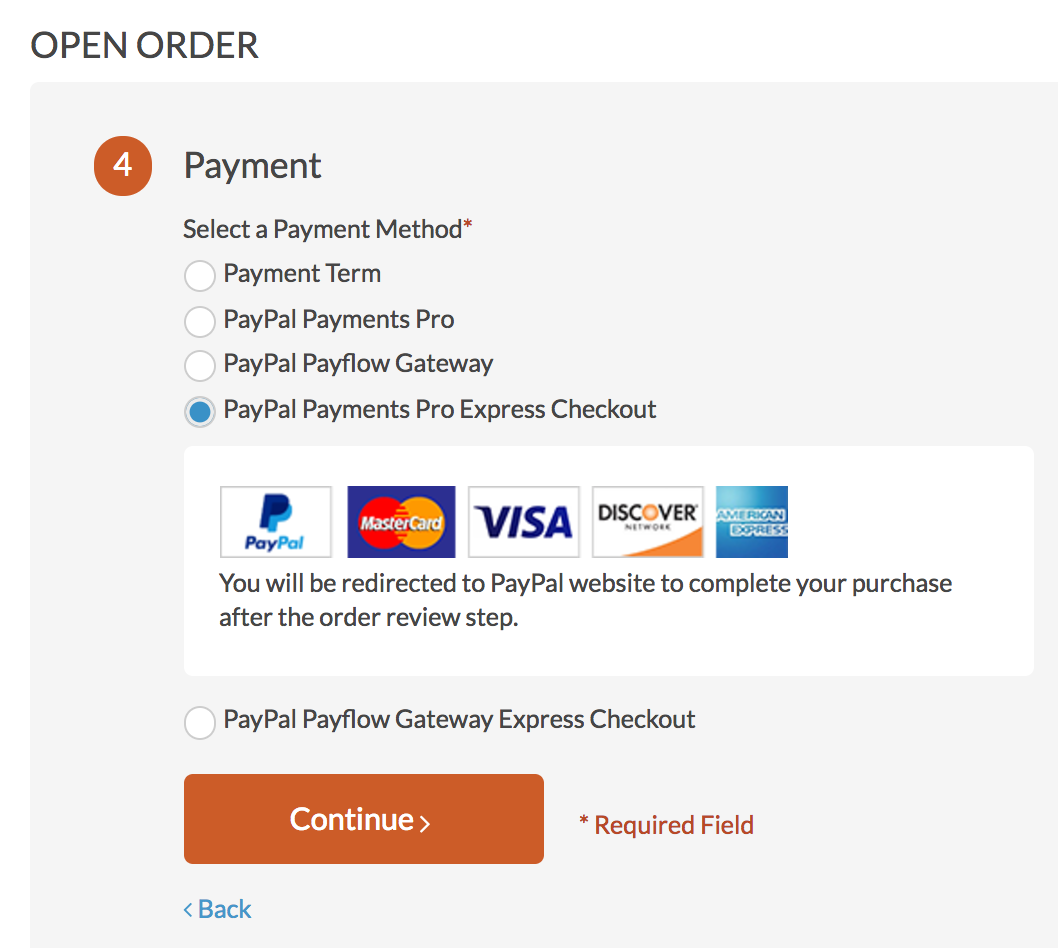
PayPal Payments Pro Express Checkout
Note
If the order total is zero, the PayPal Payment method will be hidden and unavailable for selection.
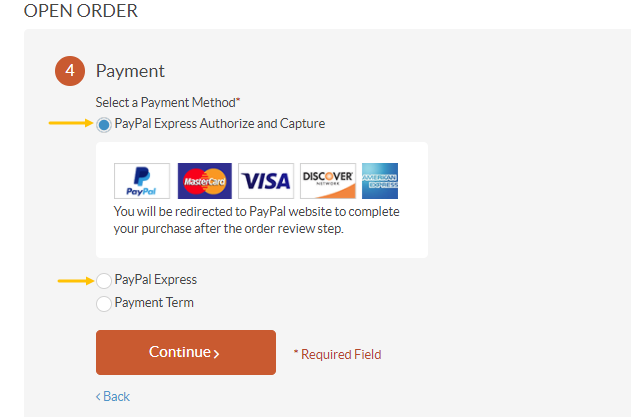
PayPal Payments Express Checkout
Note
Before you can use PayPal Express in OroCommerce, install the Oro PayPal Express Integration package.
Note
If the order total is zero, the PayPal Payment method will be hidden and unavailable for selection.
Apruve Checkout
To checkout with Apruve, make sure you have registered the account in the Apruve system (see more details on how to create either Shopper or Merchant account in the Prerequisites for Apruve Services Integration topic).
Once a customer selects the Apruve payment method for their order, they are asked to log into their Apruve corporate account to authorize this payment.
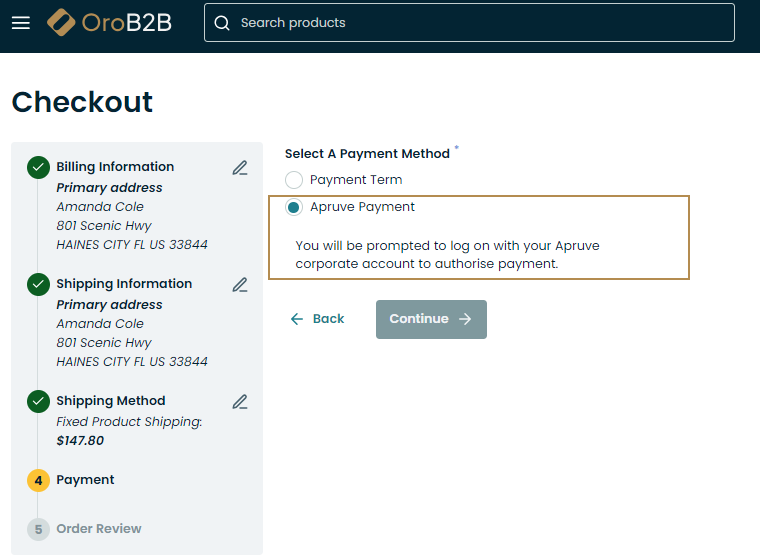
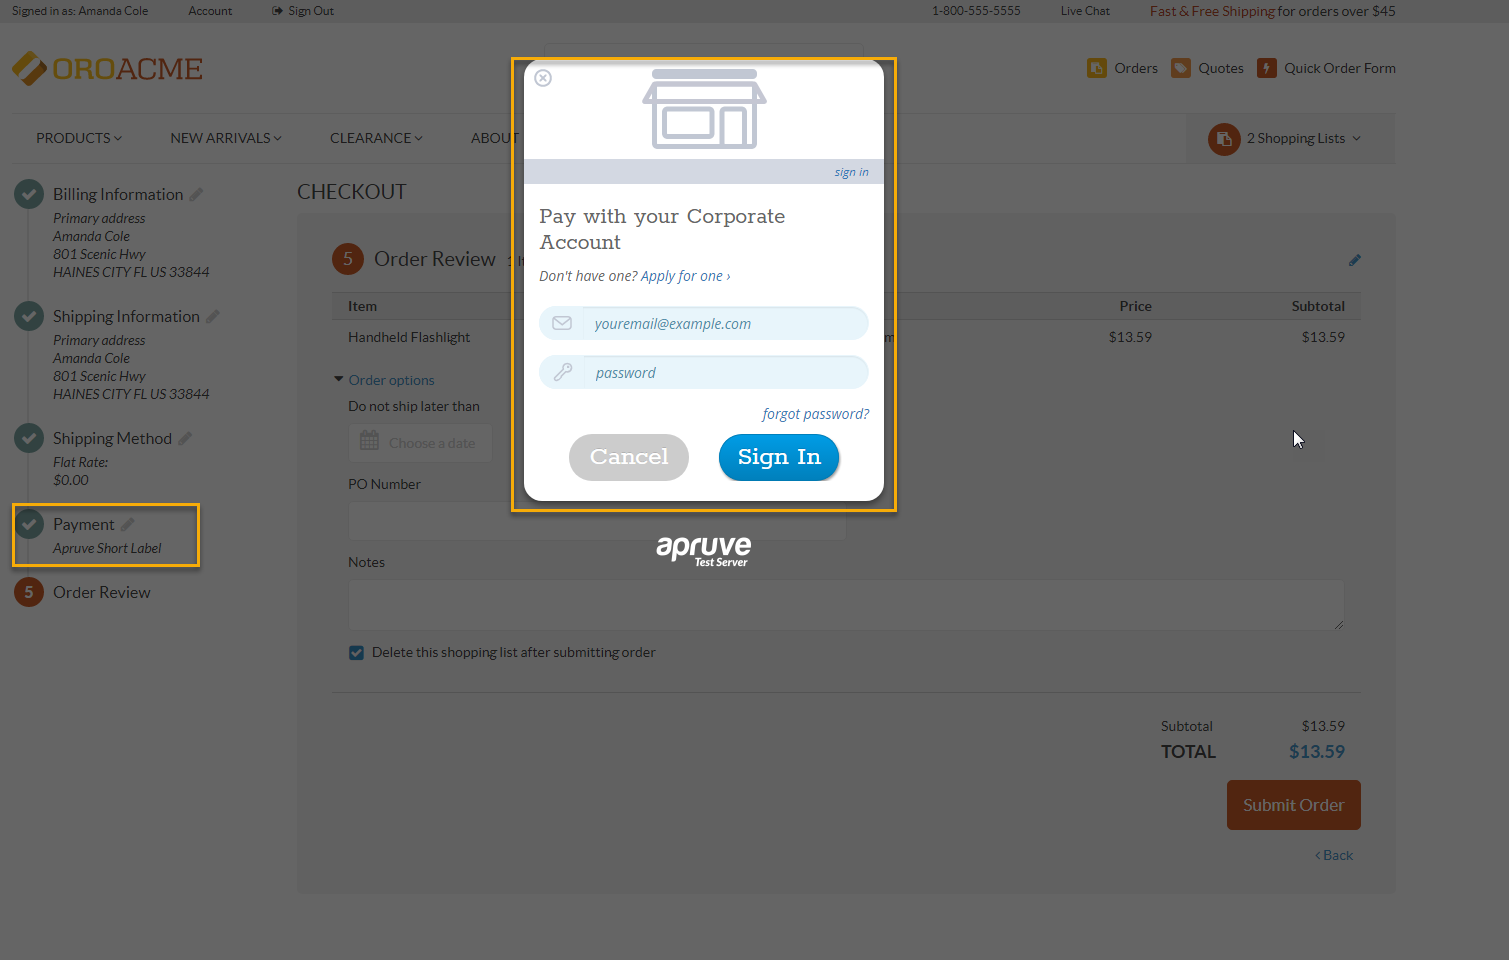
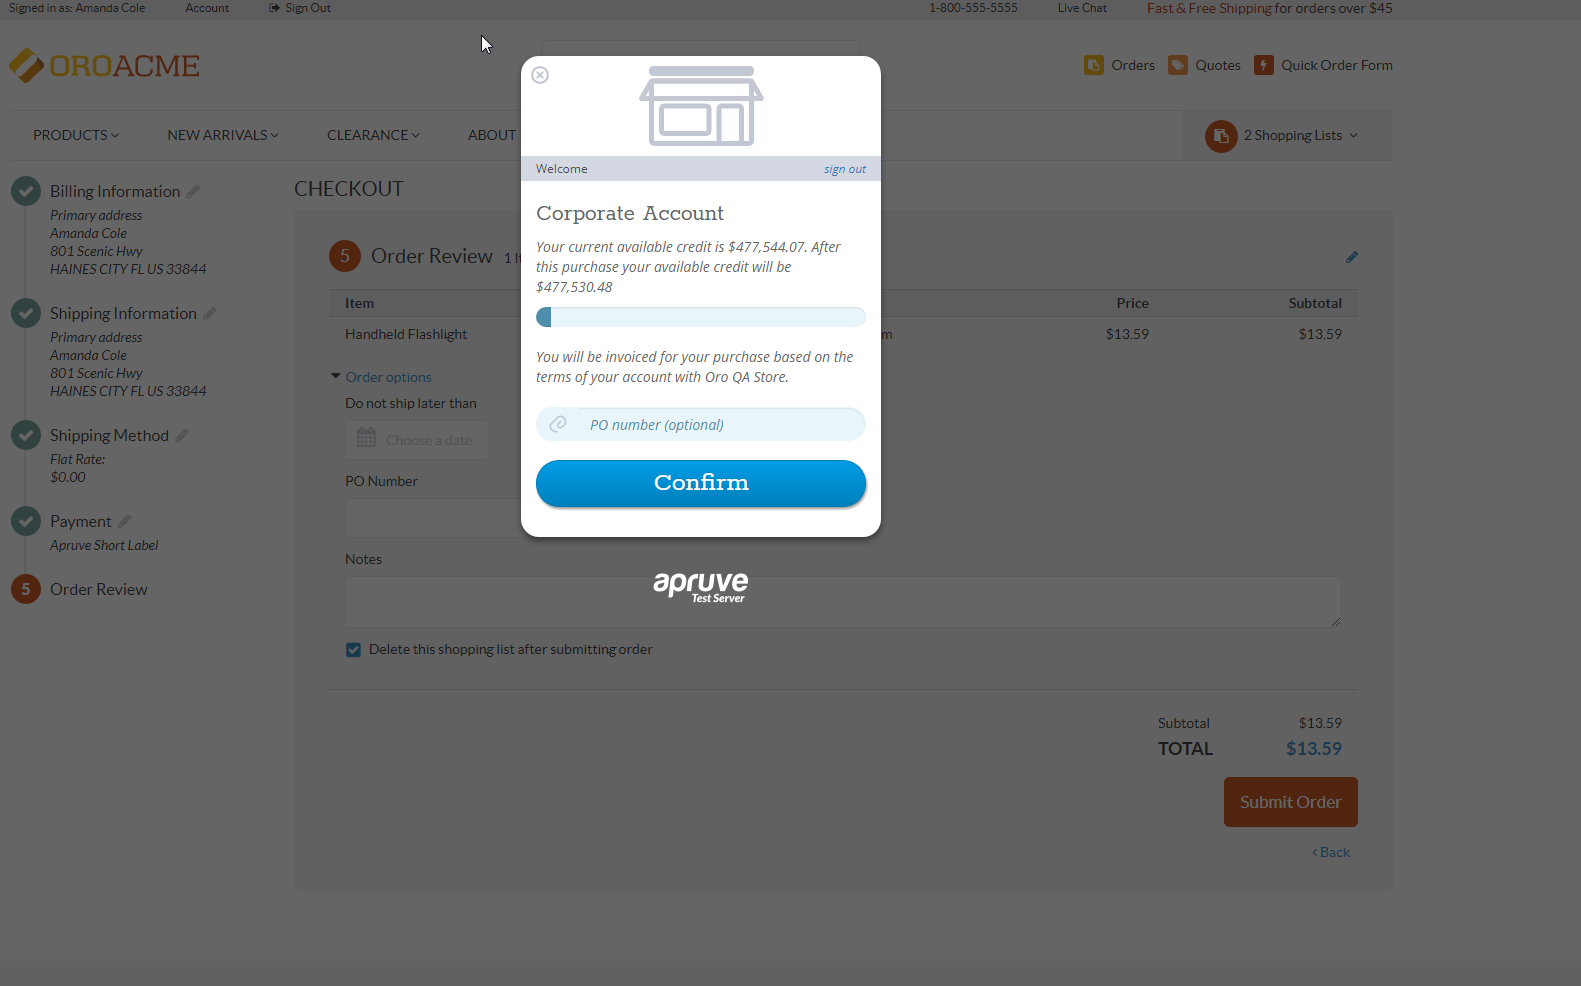
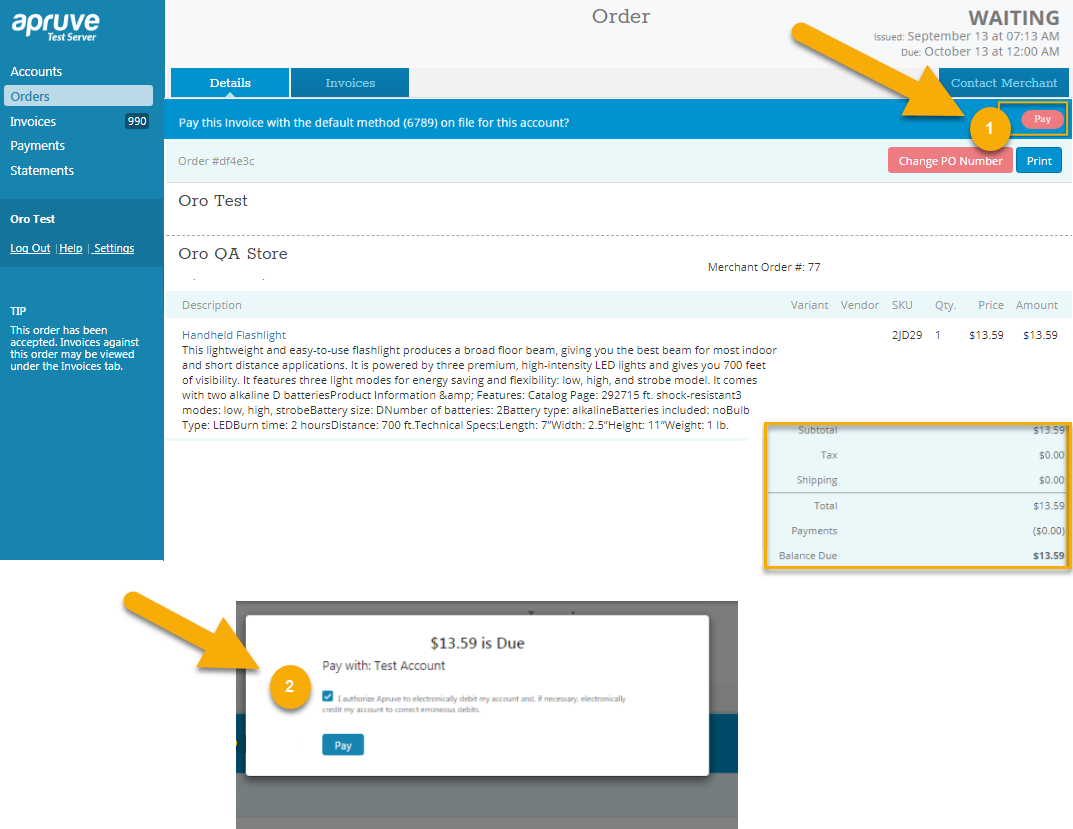
In the Apruve account, under the Shopper role, the customer can view their order details by navigating to Orders menu on the left and selecting the corresponding order.
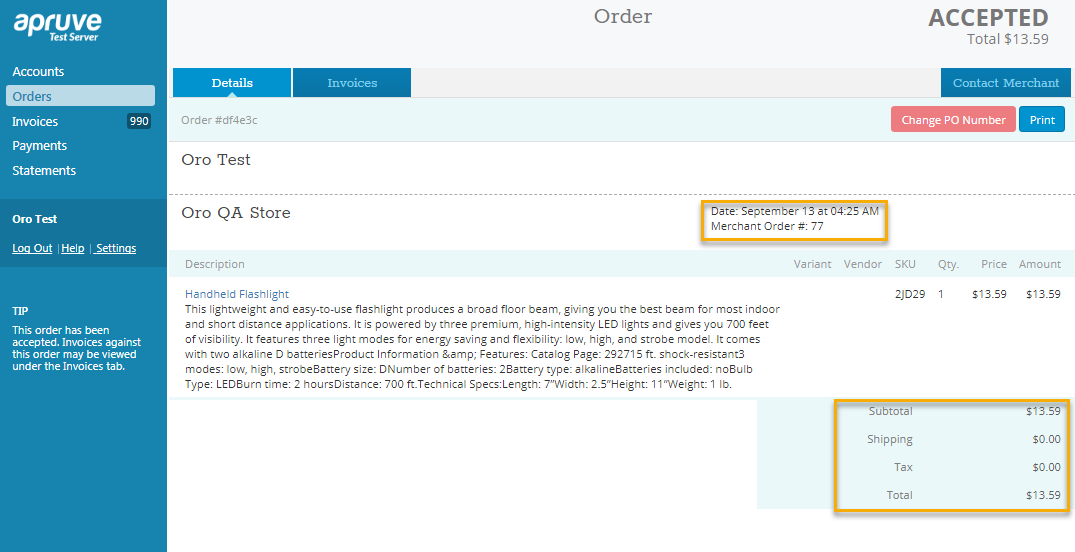
Before the customer proceeds with the payment, the sales representatives should invoice them via the back-office by clicking Send Invoice and confirm to charge the customer.
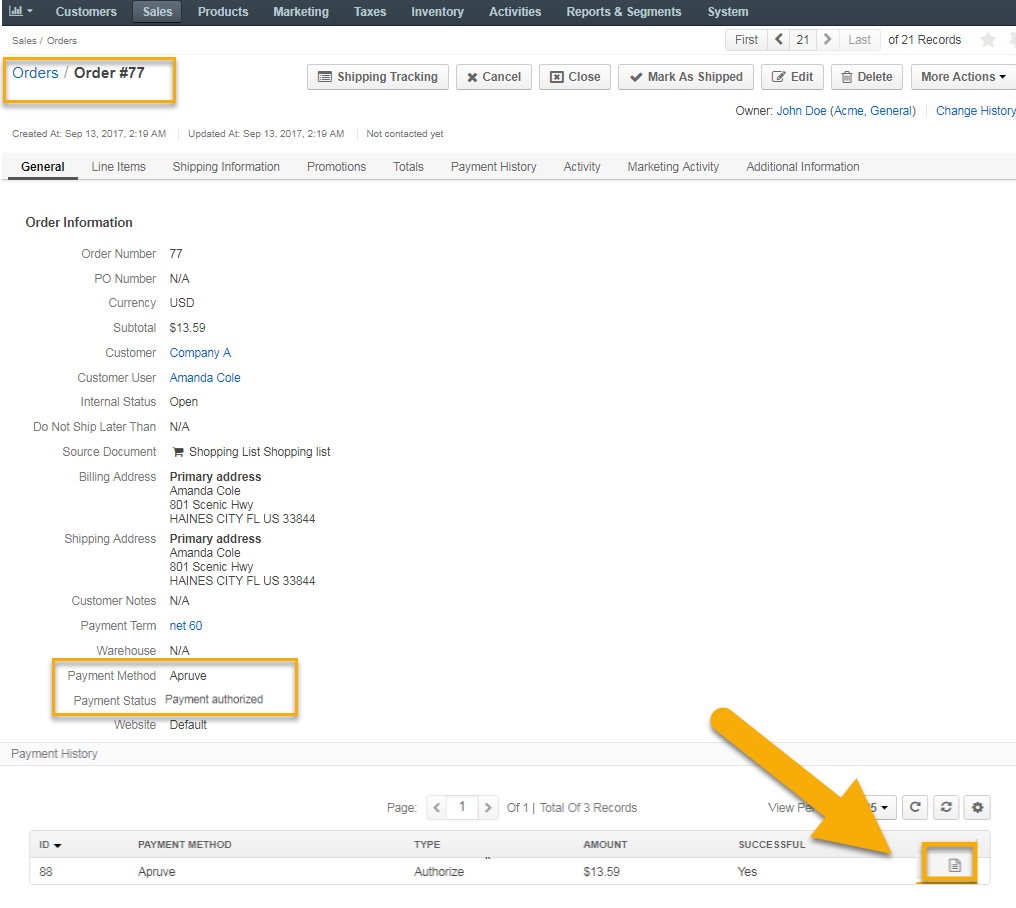
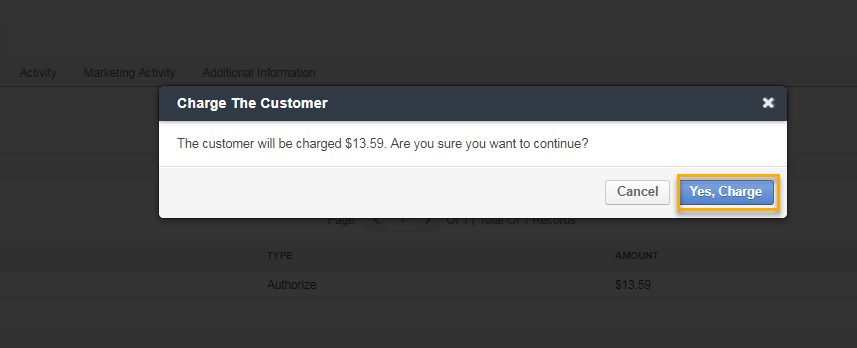
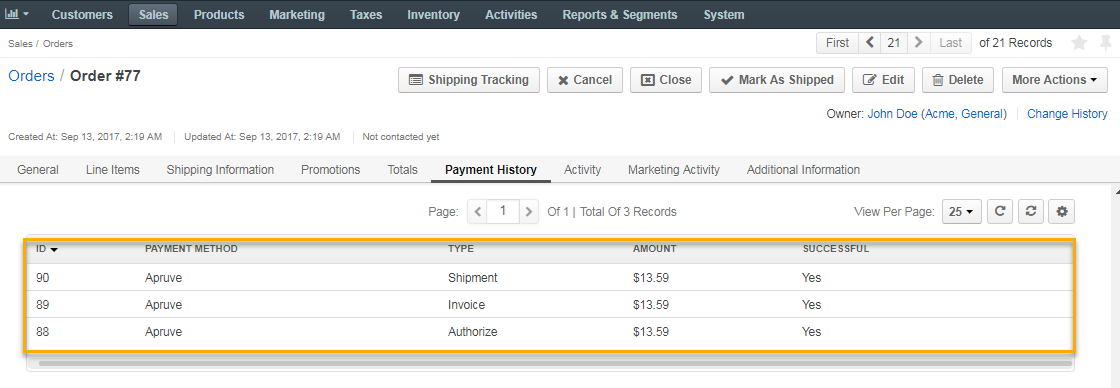
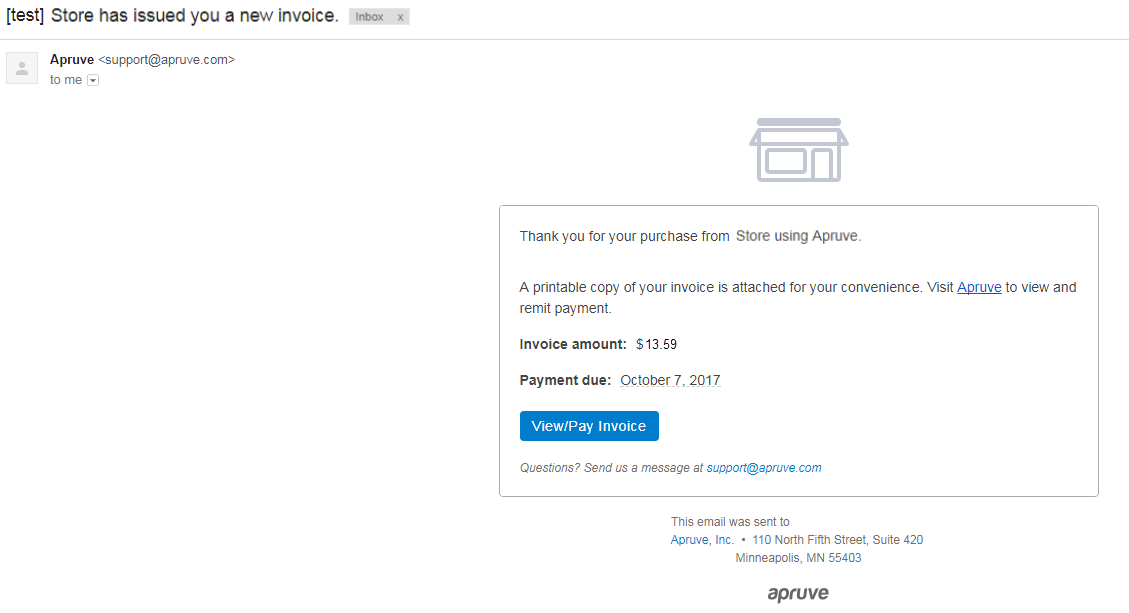
Upon receiving the invoice with the link to the Apruve system for further payment, the customer should then log into their Apruve account and pay this invoice by clicking Pay on the far right.
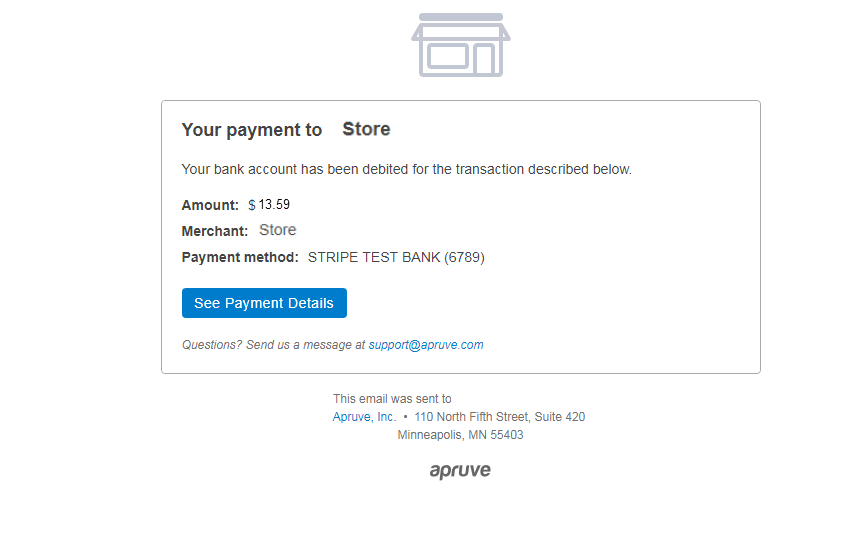
Once the payment is made, the customer receives the notification email to view the payment details.
Important
A customer is paying the invoice on the terms you set (e.g. net 30, net 60), but Apruve is paying you within 24 hours for any invoice that is generated through the back-office.
