Important
You are browsing documentation for version 5.1 of OroCommerce, supported until March 2027. Read the documentation for the latest LTS version to get up-to-date information.
See our Release Process documentation for more information on the currently supported and upcoming releases.
Configure Display Settings per Organization
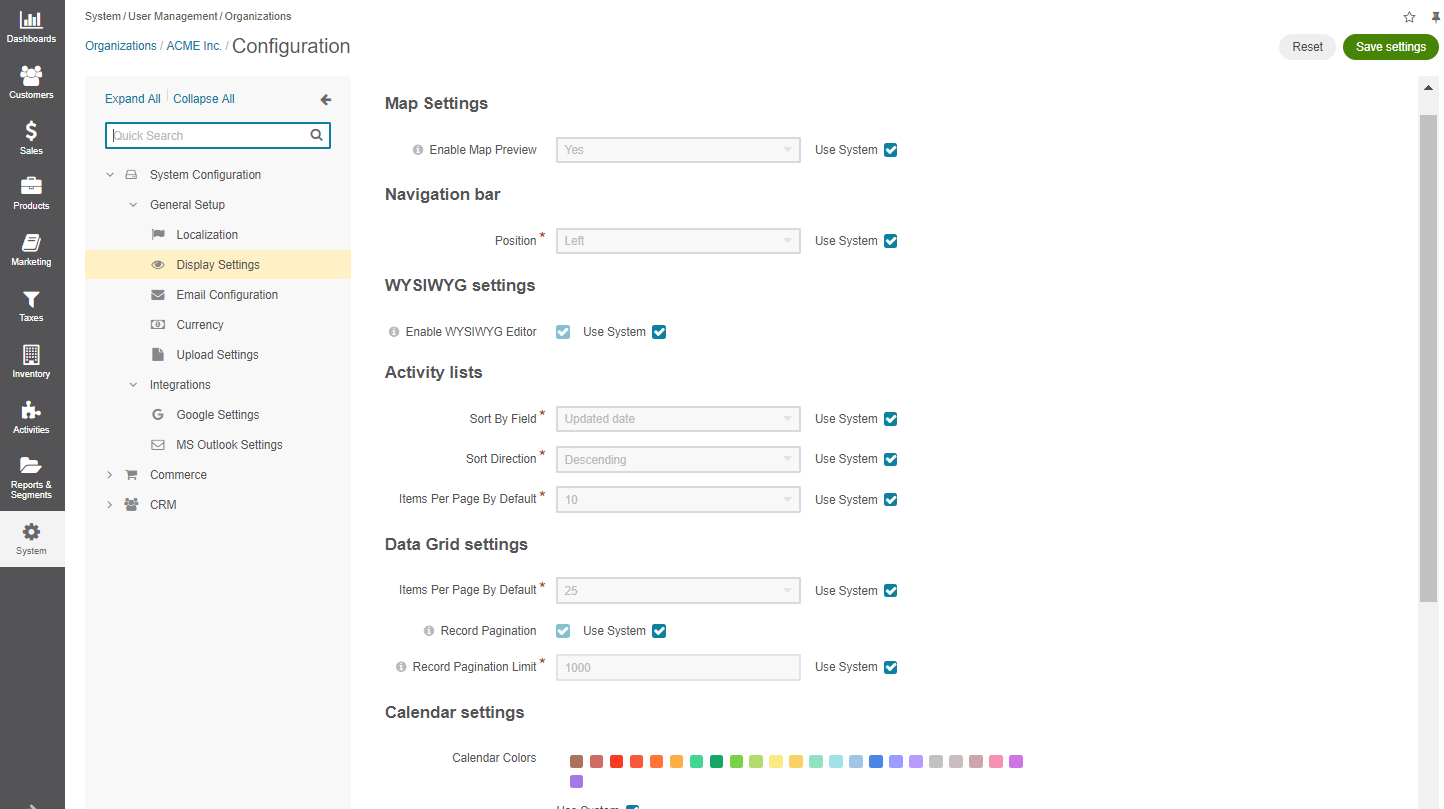
In this section, you can specify the display settings for the organization.
Note
The organization-level configuration has higher priority and overrides the system settings.
Navigate to System > User Management > Organization in the main menu.
For the necessary organization, click the More Options menu at the end of the row, and then click the Configure icon to start editing the configuration.
Select System Configuration > General Setup > Display Settings in the menu to the left.

Clear the Use System checkbox to change the system-wide setting.
In the Map Settings section, configure the map preview settings:
Enable Map Preview — Select whether to show the location on a map when a customer views an address in the storefront. This option does not affect maps in the back-office.
In the Navigation bar section, configure the setting:
Position — Select whether the OroCommerce main menu will be positioned at the top of the page or on its left.
In the WYSIWYG Settings section, enable the WYSIWYG Editor setting:
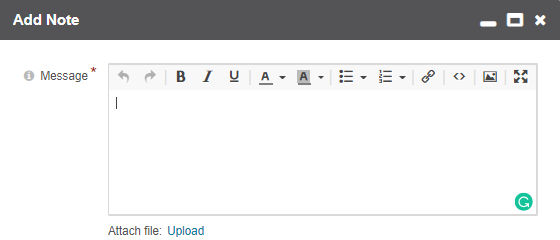
Enable WYSIWYG Editor — Select this checkbox to enable text formatting tools for emails, notes and comments.

In the Activity Lists section, configure the options to display activities.
Sort By Field — Select whether to sort activity records by the date when they were created or by the date when they were updated for the last time.
Sort Direction — Select whether to sort records in the ascending or descending direction.
Items Per Page By Default — Select how many records will appear on one page of the activity grids.
In the Data Grid Settings section, configure the options to display all the record lists (grids) in the back-office:
Items Per Page By Default — Defines the number of items displayed on one page of the grid by default (every time you open the grid).
Record Pagination — Enables the user navigation to the previous or next grid record from a record view page.
Record Pagination Limit — Type the maximum number of records that the user can navigate from a record view page.

In the Calendar Settings section, specify the colors available to manage calendars:
Calendar Colors — A set of colors available for color coding different organization calendars.
Event Colors — A set of colors available for color coding different organization events.
To change any color in the set:
Click it. The color picker opens.
Drag and drop a dot on the color picker wheel to select a new color.
Adjust the color brightness by dragging the level on the shades bar.
11. In the Sidebar Settings section, enable or disable the left and/or right sidebar to keep your sticky notes and task lists:
Enable Left Sidebar — Select Yes to enable the user to see and utilize the left sidebar.
Enable Right Sidebar — Select Yes to enable the user to see and utilize the right sidebar.
In the Reports Settings section, configure the following settings:
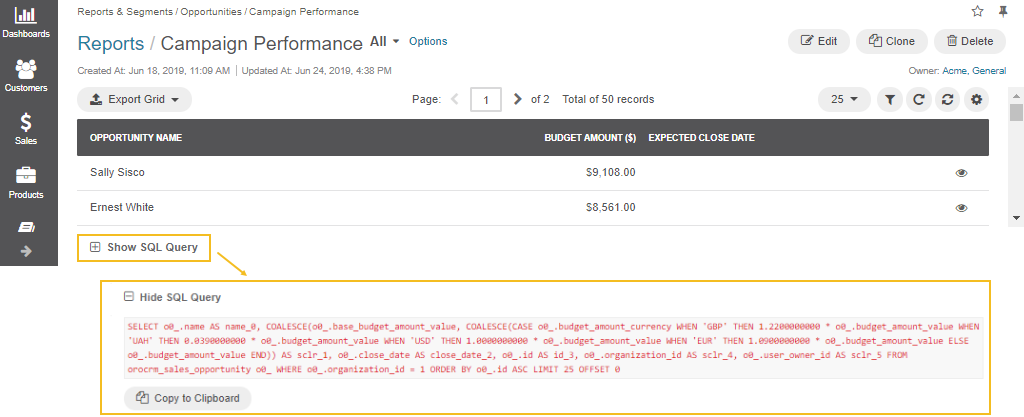
Display SQL In Reports And Segments — Select this checkbox to enable the user to review the SQL request sent to the system for a report or a segment. This way, users can check if a report has been developed correctly.

In the Window Settings section, configure the following settings:
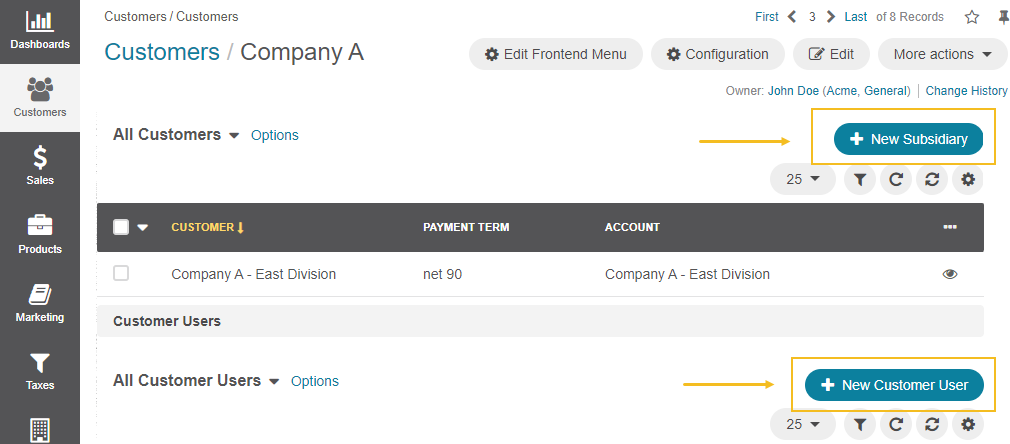
Quick Create Actions — Select the preferred way to display the quick creation buttons form. The buttons with quick actions appear on the customer, customer user, and customer group view pages. When clicked, the form can be displayed in a new browser tab, a popup dialog window, or replace the current page.
