Important
You are browsing upcoming documentation for version 7.0 of OroCommerce, scheduled for release in 2026. Read the documentation for the latest LTS version to get up-to-date information.
See our Release Process documentation for more information on the currently supported and upcoming releases.
Configure Global Interactions Settings
The Interactions settings allow you to interact with your customer users, enabling conversations between back-office users and customer users, provide the option to display the Contact Us form in the storefront, and manage user consents, ensuring a smooth and compliant user experience.
Interactions can be configured globally, per organization, and per website.
To configure the interactions settings globally:
Navigate to System > Configuration in the main menu.
Select Commerce > Customer > Interactions in the menu to the left.
Note
For faster navigation between the configuration menu sections, use Quick Search.
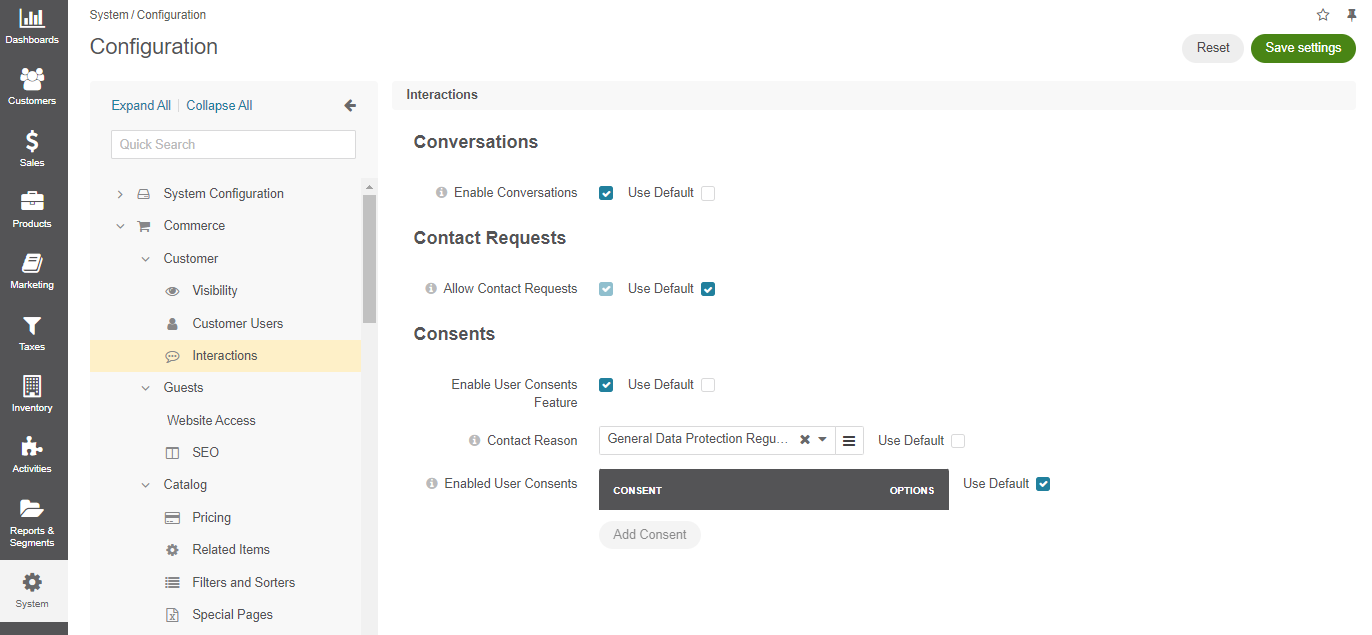
Enable the Conversations Feature
Conversations enable communication between back-office users and customer users.
Clear the Use Default checkbox to adjust the system settings.
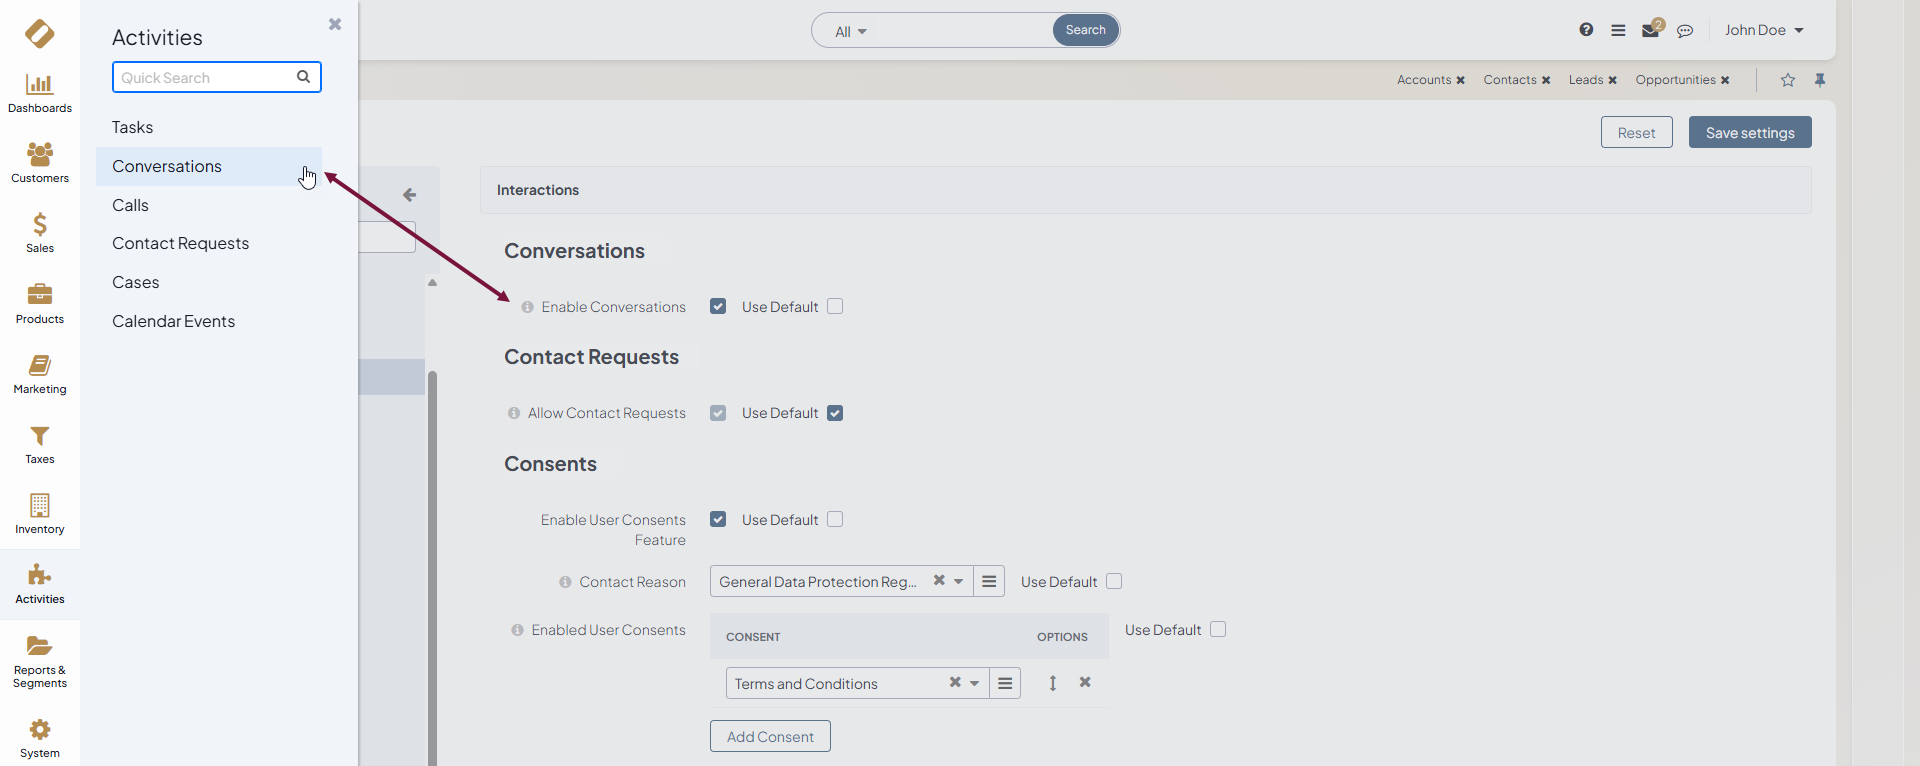
Toggle the Enable Conversations checkbox to activate or deactivate the feature.
Click Save Settings.
Enabling conversations adds the Conversations menu under Activities.
Configure Global Contact Requests Settings
To enable or disable the display of the Contact Us form in the storefront globally:
Clear the Use Default checkbox to adjust the system settings.
In Contact Requests, toggle the Allow Contact Requests checkbox to enable or disable the Contact Us form in the storefront.
If the form is disabled, you can still use the Contact Us widget in your web catalog pages.
Click Save Settings.
Enable The Consents Feature
Hint
Read more on this topic in Data Protection and Consent Management.
If your company processes, stores and transmits personal data belonging to EU residents, you may be required to comply with the General Data Protection Regulations (GDPR). OroCommerce can assist you in observing these regulations by providing consent management mechanisms that enable you to create and manage new consents, and help your buyers view, manage and revoke consents applicable to them.
Important
You can find more information on data protection regulations in the official GDPR portal and the EU Commission web page, or see the ICO's Guide to the GDPR before you proceed.
Consents are disabled by default, but you can enable them globally in the system configuration. If you have more than one website, you can add corresponding consents to specific websites, once consents are enabled and created globally.
To enable consents:
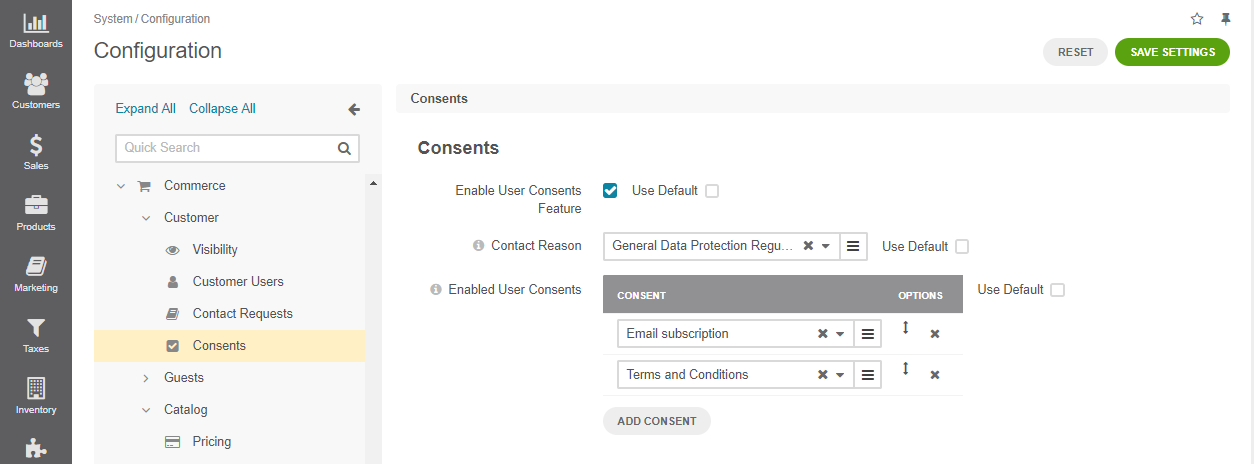
Under Consents, toggle the Enable User Consents Feature checkbox to activate or deactivate the feature.
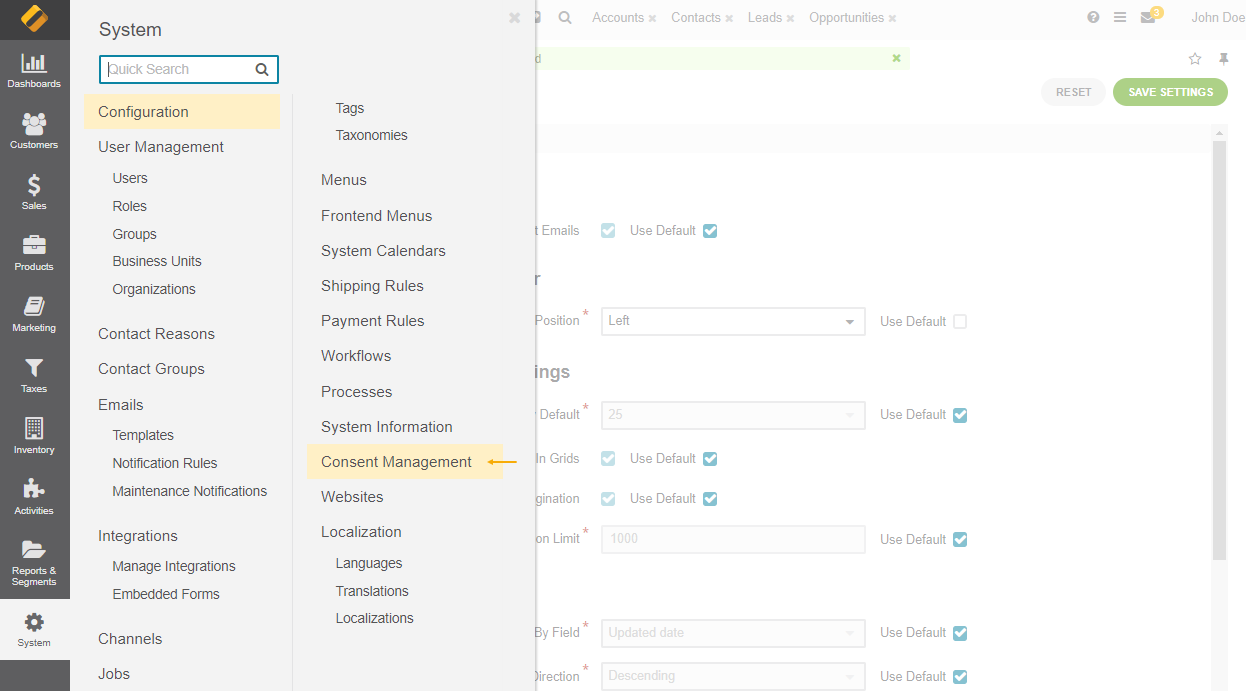
Enabling consents adds the Consent Management menu under System.
Under the Contact Reason field, specify the a contact reason for a notification generated when a customer declines consent in the storefront. When a consent is declined, the system automatically creates a notification in the back-office, and this field allows you to categorize that notification by selecting the appropriate reason from a predefined list.
Under the Enabled User Consents field, add consents to the list of enabled consents to display them in the storefront. If there are no consents in the application yet, create them under System > Consent Management, as described in the Create Consents topic.
Clear the Use Default checkbox.
Click Add Consent and select the required consent(s) from the list. Alternatively, click on the hamburger menu and select the consent(s) from its list.
If more than one consent is added to the Enabled User Consents list, you can drag and drop them to set the order in which these consents will be displayed in the storefront.
To delete a consent from the list of enabled consents, click x next to it.
Note
The number of consents that can be added to the list equals the number of consents created in the application. In addition, one consent cannot be added twice.
Click Save Settings on the top right.
Related Topics