Create a Price List
Note
See a short demo on how to configure price lists for customers and customer groups in OroCommerce, or keep reading the step-by-step guidance below.
To create a new price list:
Navigate to Sales > Price Lists using the main menu, and click Create Price List.
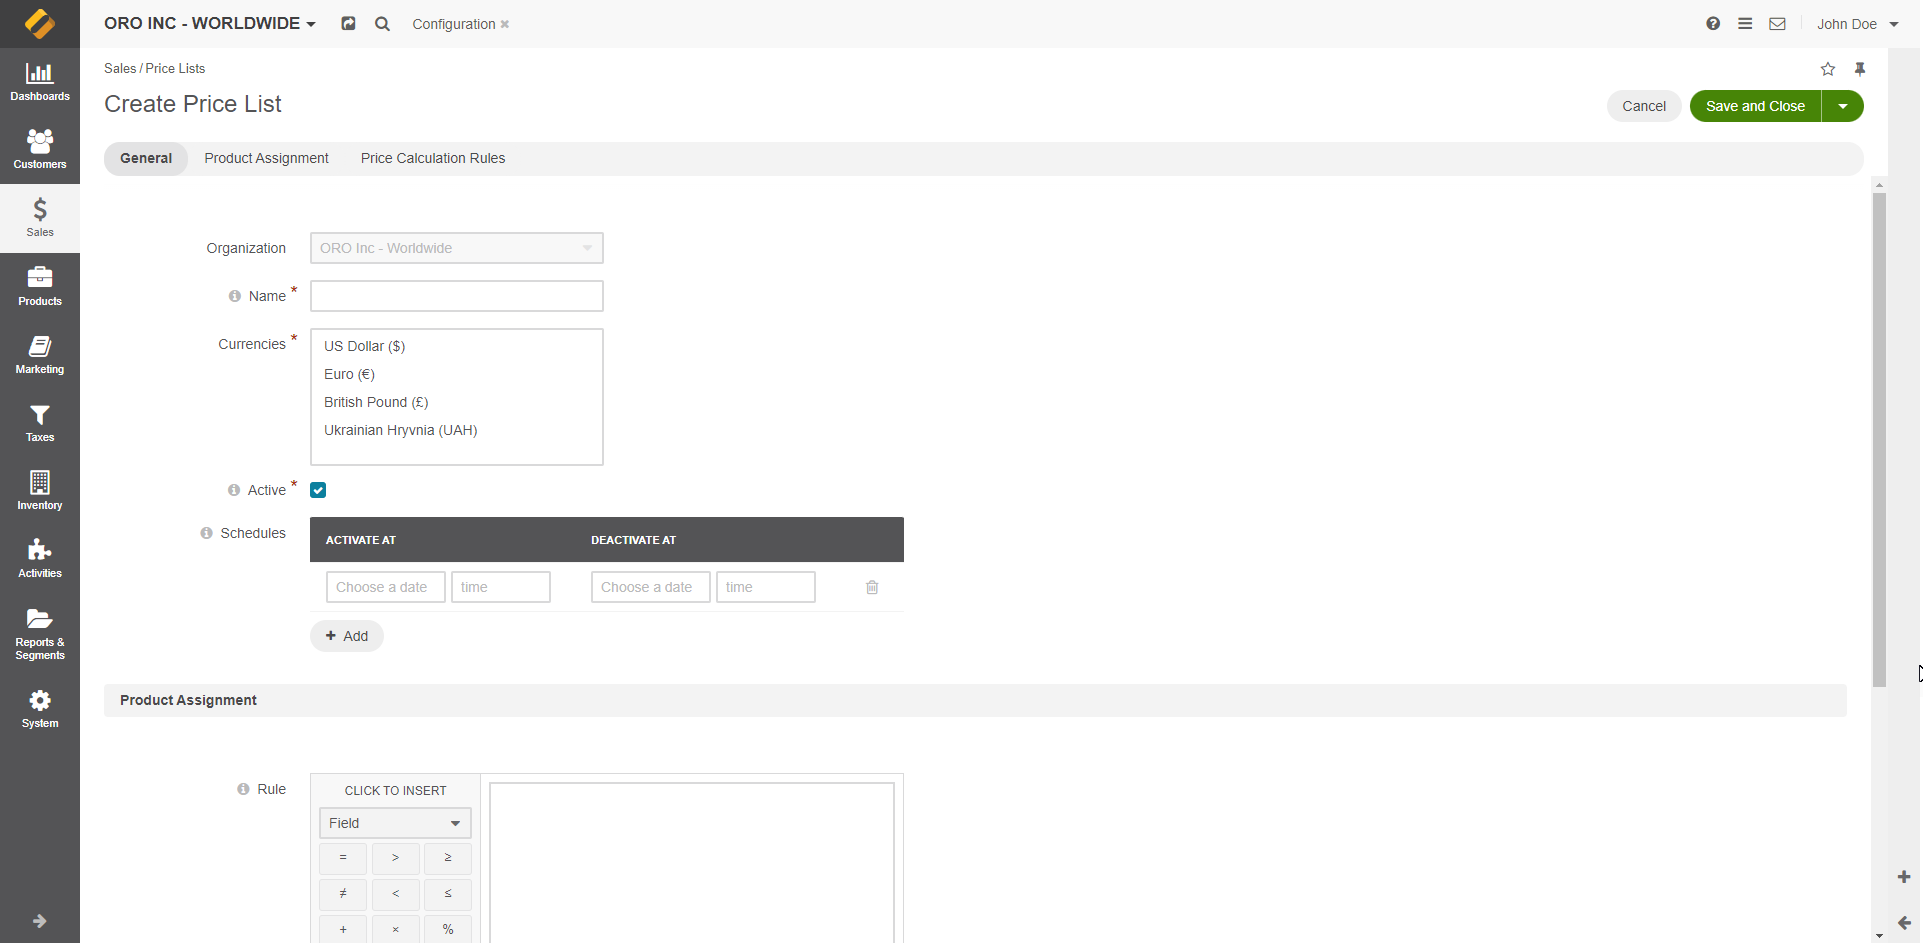
If you have more than one organization in the application, select the organization for which you are creating the price list.
In the General section, provide the following information:
Name — Type in the price list name.
Currencies — Select one or more currencies you would like to enable for the prices in the price list.
Note
You should provide the price in every currency explicitly. There is no automatic conversion.
Active — Set the option to enable the price list. Keep the price list inactive while drafting the prices. Deactivate the price list to temporarily disable the prices it contains.
Schedule — Add a timetable for price list activation and deactivation.
Click Choose a date to open a calendar and pick the date.
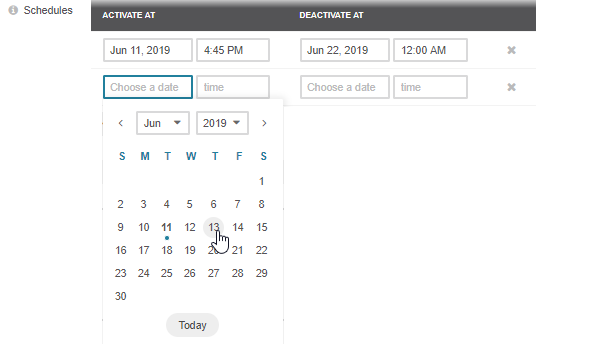
Click time and select the activation or deactivation time from the list. Alternatively, type it in and press Enter.
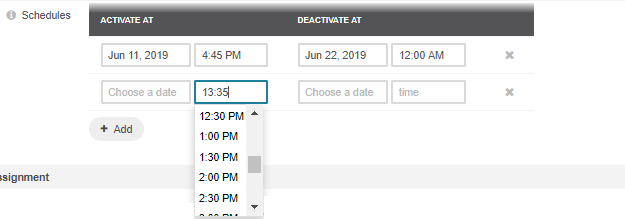
Click + Add below the timetable to add another time slot. Add as many slots as you need.
In the Product Assignment section, enter criteria to filter the products and add them to the price list. See Automated Rule-Based Price Management for more information.
Note
Optionally, in addition to rule-based product assignment, you can add a product price to the price list manually in one of the following ways:
While editing a product (in the Product Prices section).
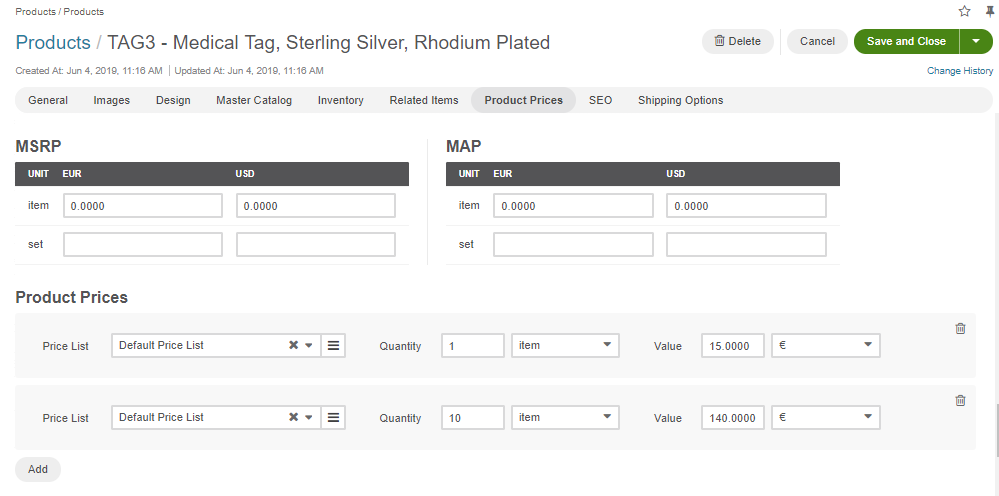
Click + Add Product Price when viewing the price list details.
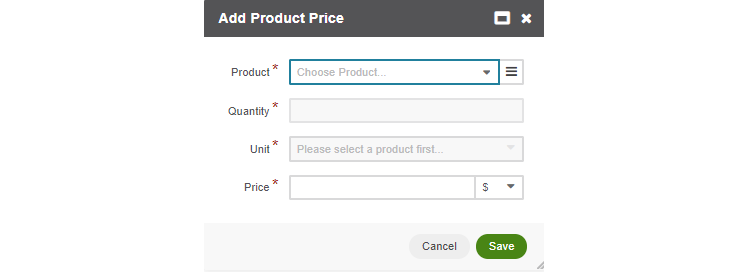
You can override the existing rule-based price. A manual entry has a higher priority.
In the Price Calculation Rules section, specify rules for price calculation based on the price attributes (e.g., MSRP) and other product details. You may use conditions to apply the rule to the subset or the filtered products. See Automated Rule-Based Price Management for more information.
Click Save.