Configure Seller Info Settings per Organization
Note
The Seller Info settings are available as of OroCommerce version 6.1.1.
Note
Seller information can be configured globally, per organization, and per website.
To configure the seller information settings per organization:
Navigate to System > User Management > Organizations in the main menu.
For the necessary organization, hover over the More Options menu to the right of the necessary organization and click to start editing the configuration.
Select Commerce > Contacts > Seller Info in the menu to the left.
Note
For faster navigation between the configuration menu sections, use Quick Search.
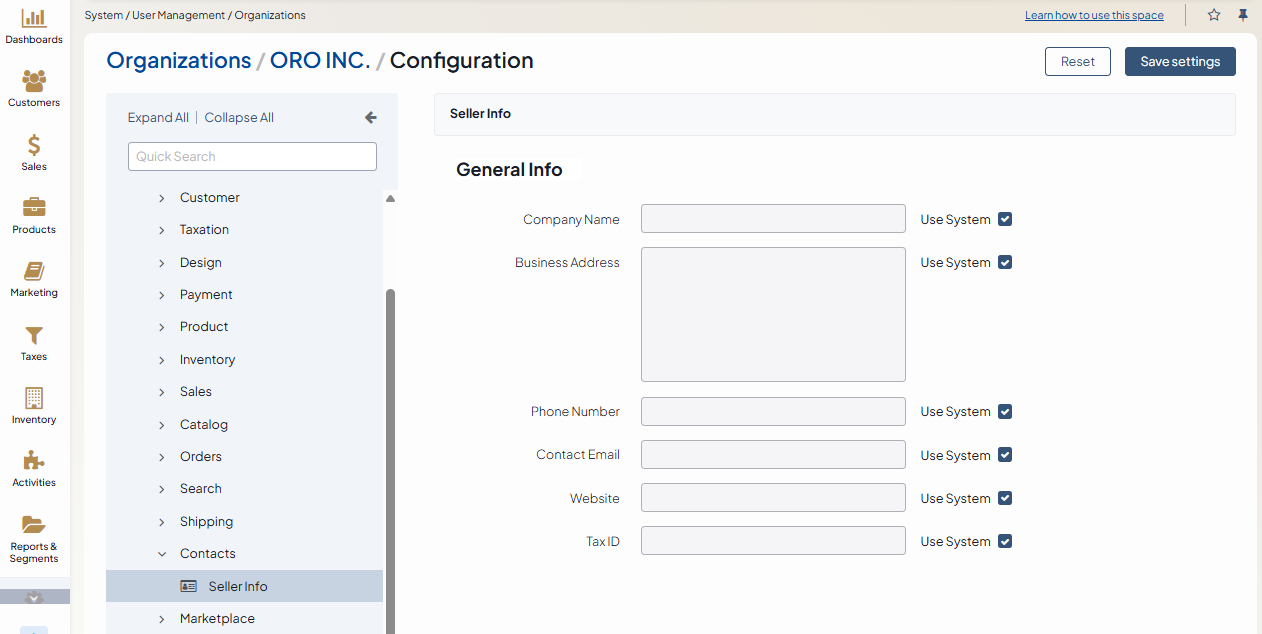
Clear the Use System checkbox to adjust the settings for your organization.
In the General Info section, enter the following information about your business:
Company Name – Enter your official business name.
Business Address – Enter your full business address.
Phone Number – Enter a contact phone number.
Contact Email – Enter your official email address. It must be a valid email format (e.g.,
info@example.com).Website – Enter your website’s address. It must be a valid URL starting with http or https.
Tax ID – Enter your business tax identification number.
Click Save settings.
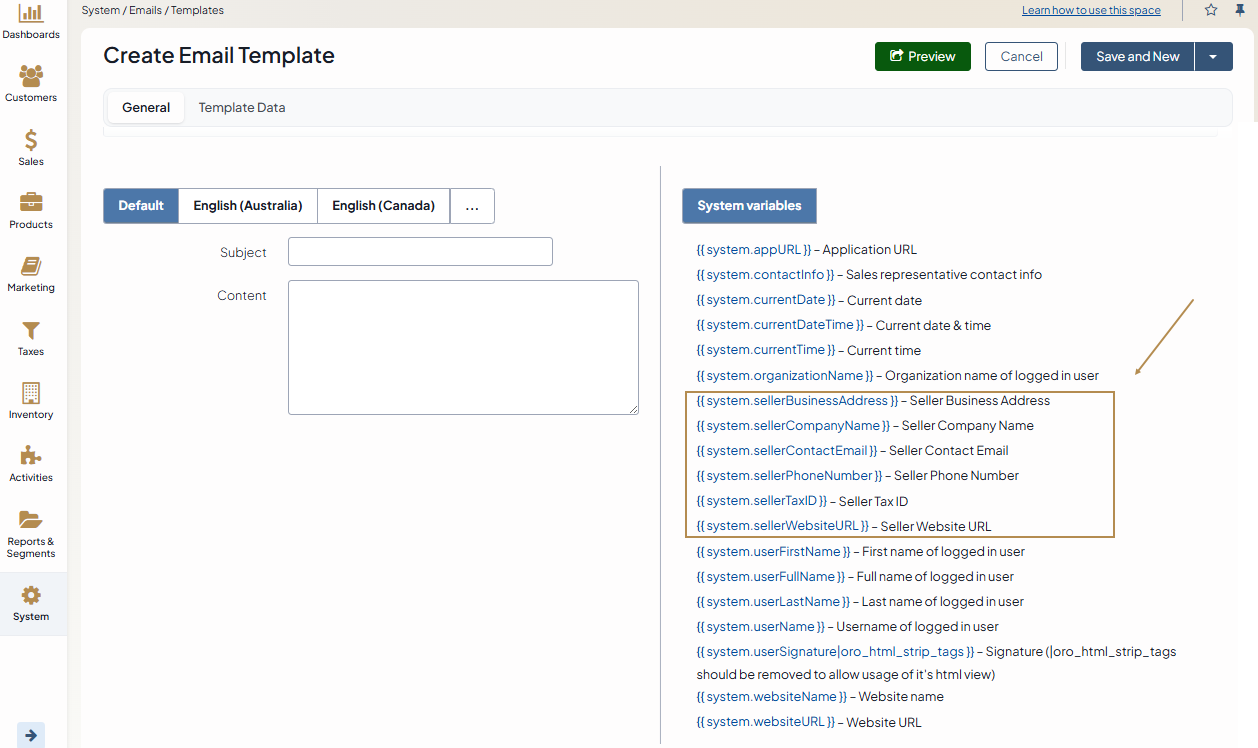
Once configured, you can use this information in:
Email templates - Add the corresponding variables (e.g., {{ system.sellerCompanyName }} ) to the email template content box to personalize your emails.
Invoices