Configure Price Lists per Website
Important
Multi-website management is only available in the Enterprise edition.
To change the default price list settings for the website:
Navigate to System > Websites in the main menu.
Click the More Options menu to the right of the necessary website and click the Edit icon to start editing the website details.
In the Price Lists section:

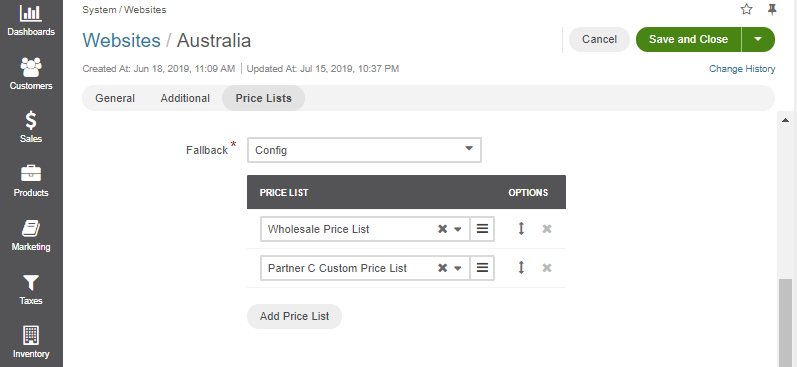
Select one of the following values for the Fallback option for the users who are visiting this website:
Config — OroCommerce uses Default Price Lists from the system configuration to calculate the prices shown in the storefront.
Current website only — For price calculation, OroCommerce uses the configuration from the website settings.
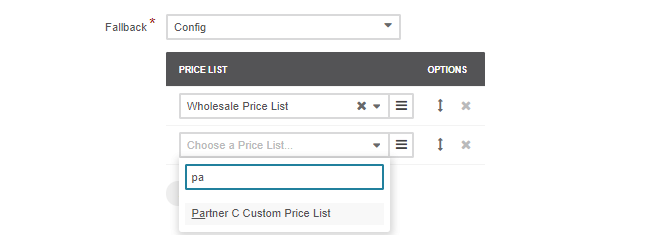
To add a price list, click + Add Price List and select the price list in the newly added line. After you start typing the price list name, the list of suggestions appears. Press Enter or click the suggested value to add the price list.

Note
The price list is appended to the bottom of the list and, initially, has a lower priority than the existing price lists. Adjust the price list priority if necessary and specify whether the merge is allowed (the later is shown only for the Merge by priority price selection strategy).
To control the way prices are merged into the combined price list, select or clear the Merge Allowed option for the price lists.
When merge is allowed, the prices for the tiers and units that are missing in the higher priority price list may be covered by the prices from the lower priority price lists that support the price merge.
To delete a price list from the default price lists, click the Deactivate icon at the end of the corresponding row.
To change the price list priority, click and hold the Sort icon, and drag the price list up or down the list.
Click Save.
Related Articles