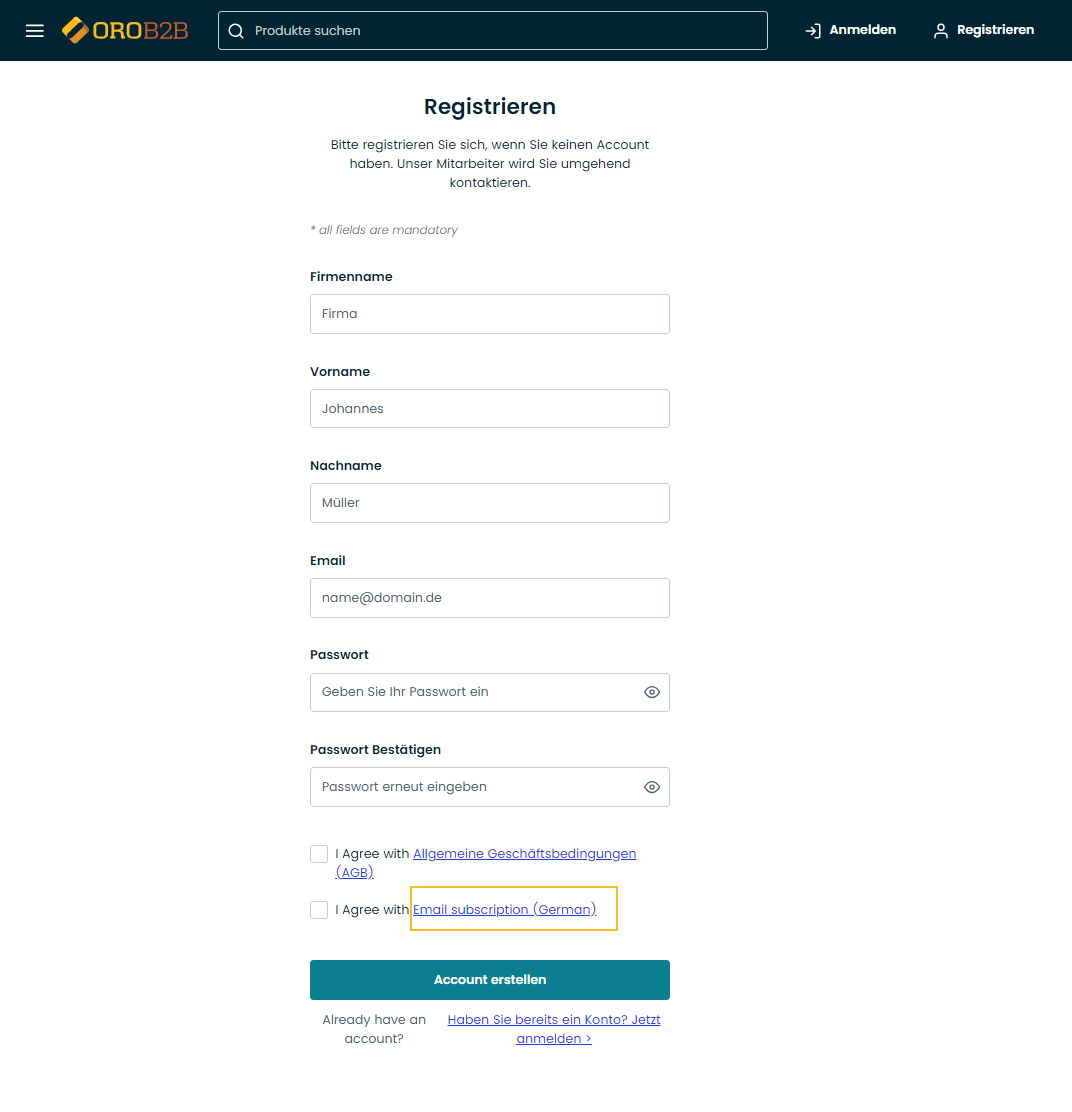
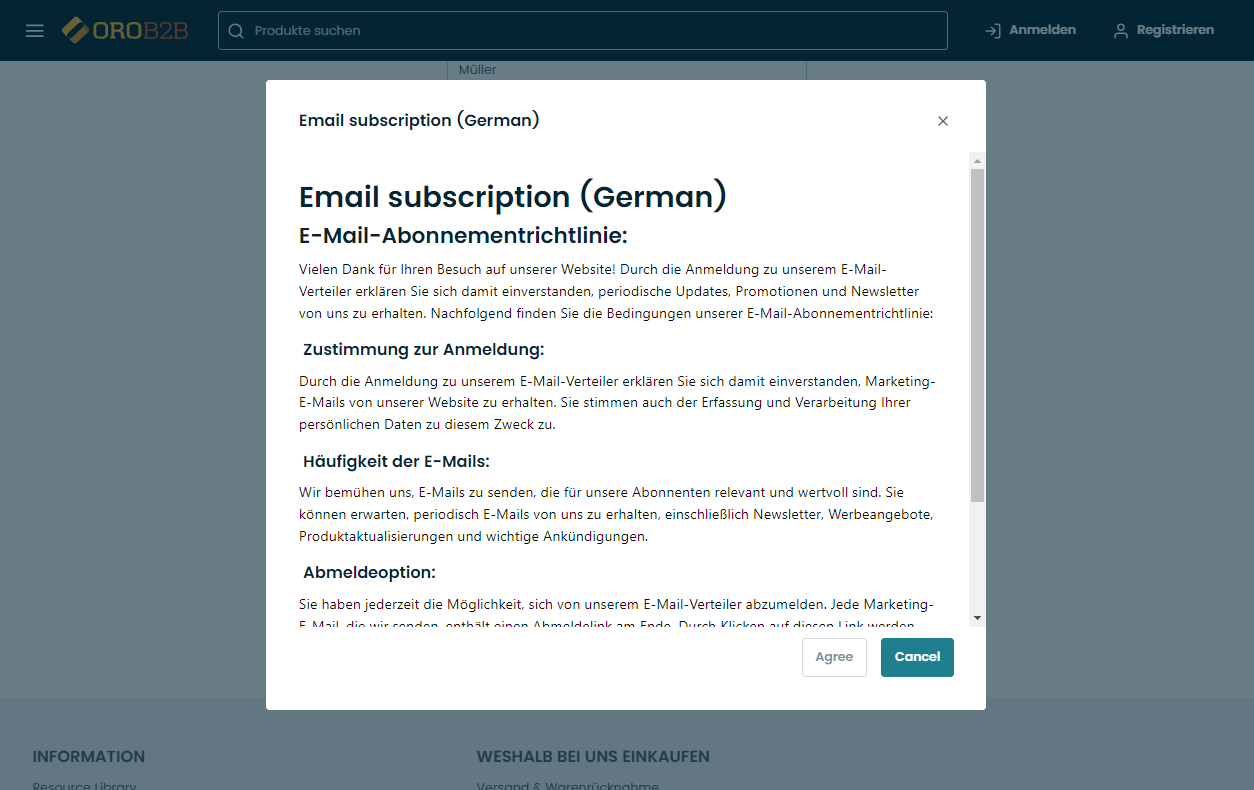
Localize Consents
To translate the consent labels and content from English into the required language, make sure to take the following steps:
Create a necessary localization under System > Localization > Localizations.
Add the required localization to the list of enabled localizations under System > Configuration > System Configuration > General Setup > Localization. It enables customers to select a desired language of the website content in the storefront.

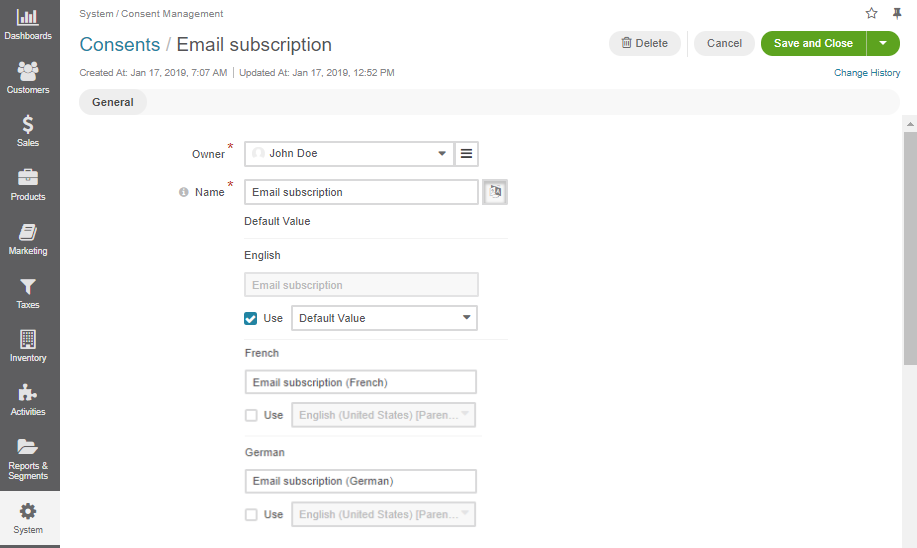
Select a consent that needs to be localized under System > Consent Management and provide a translation of the consent name following the guidance in the Translations and Localizations section.
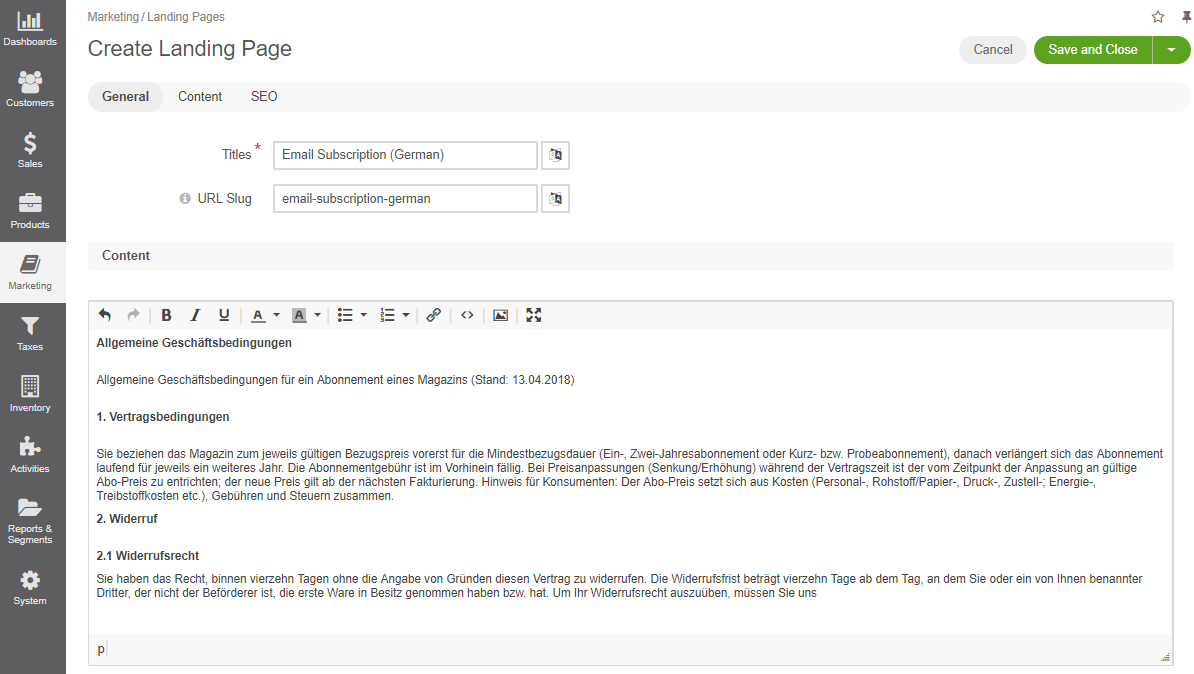
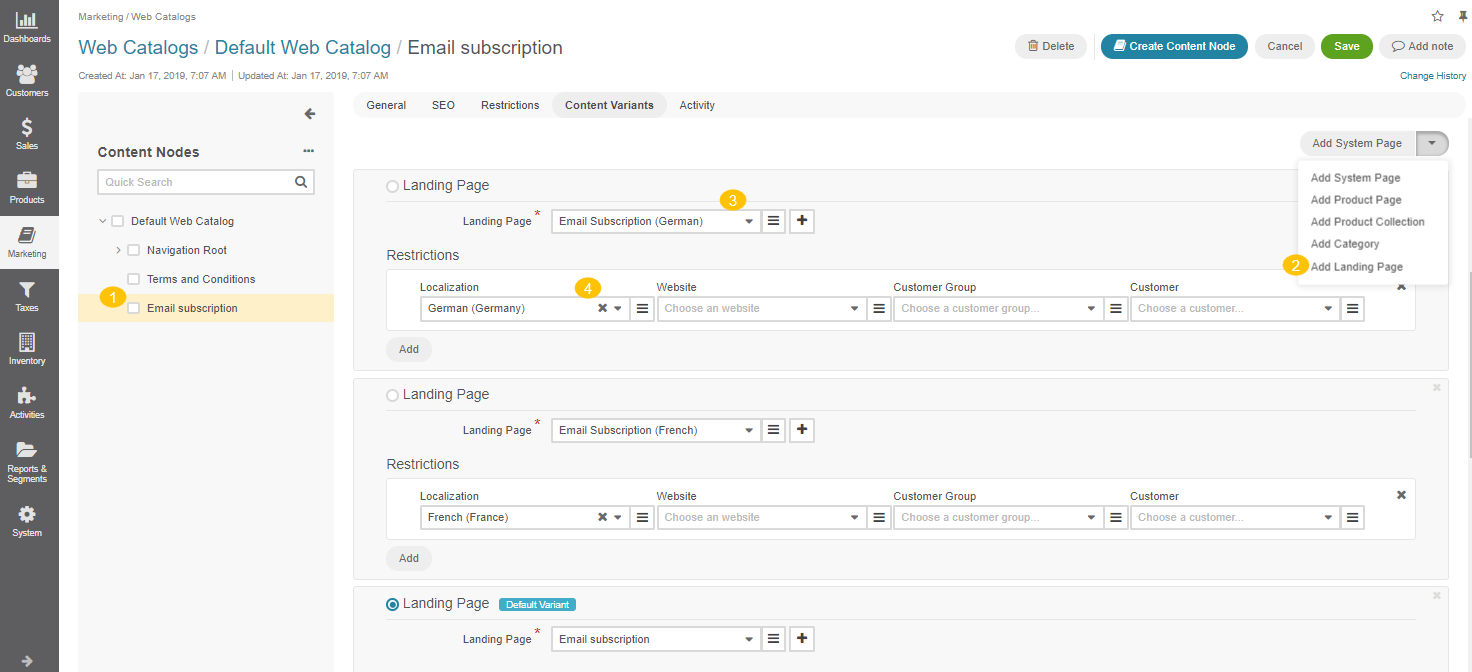
Create a consent landing page with the title and description of the consent in the target language (e.g., German, French, etc) and add the landing page to the existing content tree node that requires translation.
Note
Keep in mind that for each localization you need to create a new landing page in the corresponding language.
Set the visibility restriction of the consent landing page to a certain localization. This defines which consent variant to display to the customer based on the language they select in the storefront.
The changes in the storefront are applied immediately once the settings are saved.
