Important
You are browsing the documentation for version 4.2 of OroCommerce, OroCRM and OroPlatform, which is no longer maintained. Read the latest LTS version of the Oro documentation to get up-to-date information.
See our Release Process documentation for more information on the currently supported and upcoming releases.
Customize Product View Page
In this example, we are looking at how to customize a product of different types and change the product page by category.
Every product view page contains the current product_type in the layout context. You can use it in your layout update conditions. When you customize any page, remember to use Symfony Profiler and look into the Layout section, where you can find the current layout context data and layout tree.
Hint
See the Debug Information section for more details.
First, create a layout update and a template to use in a Simple Product and a Configurable Product.
Import:
 layout:
     actions:
         - '@setBlockTheme':
             themes: '@AcmeDemo/layouts/default/oro_product_frontend_product_view/static_block.html.twig'

     - '@add':
         id: static_block_example_1
         parentId: product_view_description_container
         blockType: container
         prepend: true
Template:
{% block _static_block_example_1_widget %}
    <div class="cms-typography">
        <blockquote>
            Whatever your RV, our RV service team will keep you on the road.
            We offer a variety of services for all types of RVs.
        </blockquote>
    </div>
{% endblock %}
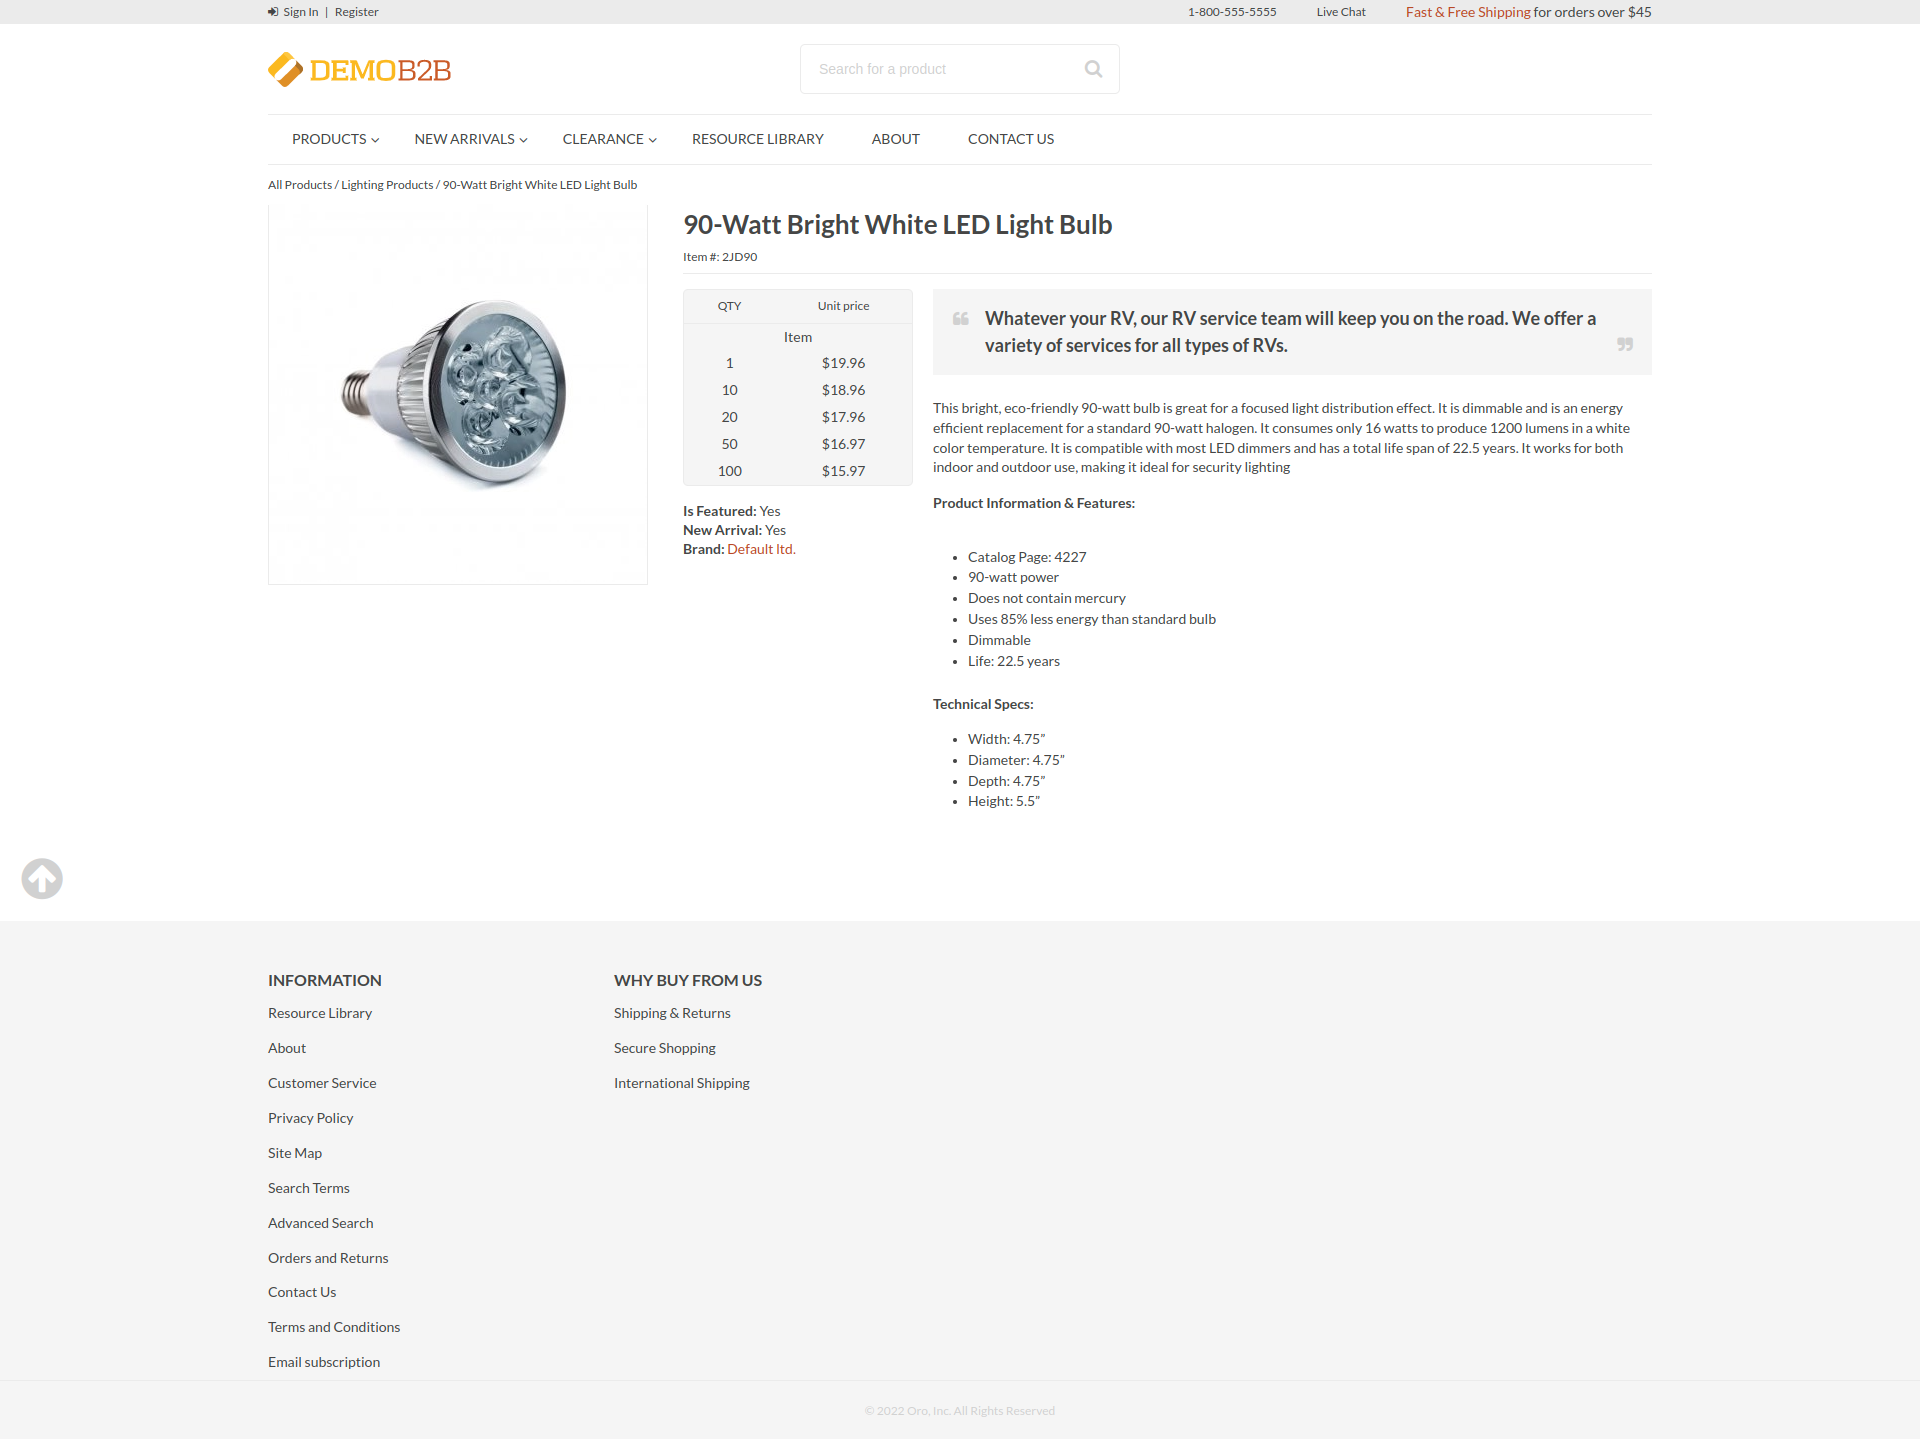
Simple Product
In our case, a simple product inherits all import properties.
Create a layout update with the conditions to check if the current product has a simple product type.
 layout:
     - '@setOption':
         id: product_view_description_container
         optionName: attr.class
         optionValue: 'text-capitalize'

     conditions: 'context["product_type"] == "simple"'
The simple product looks as follows:
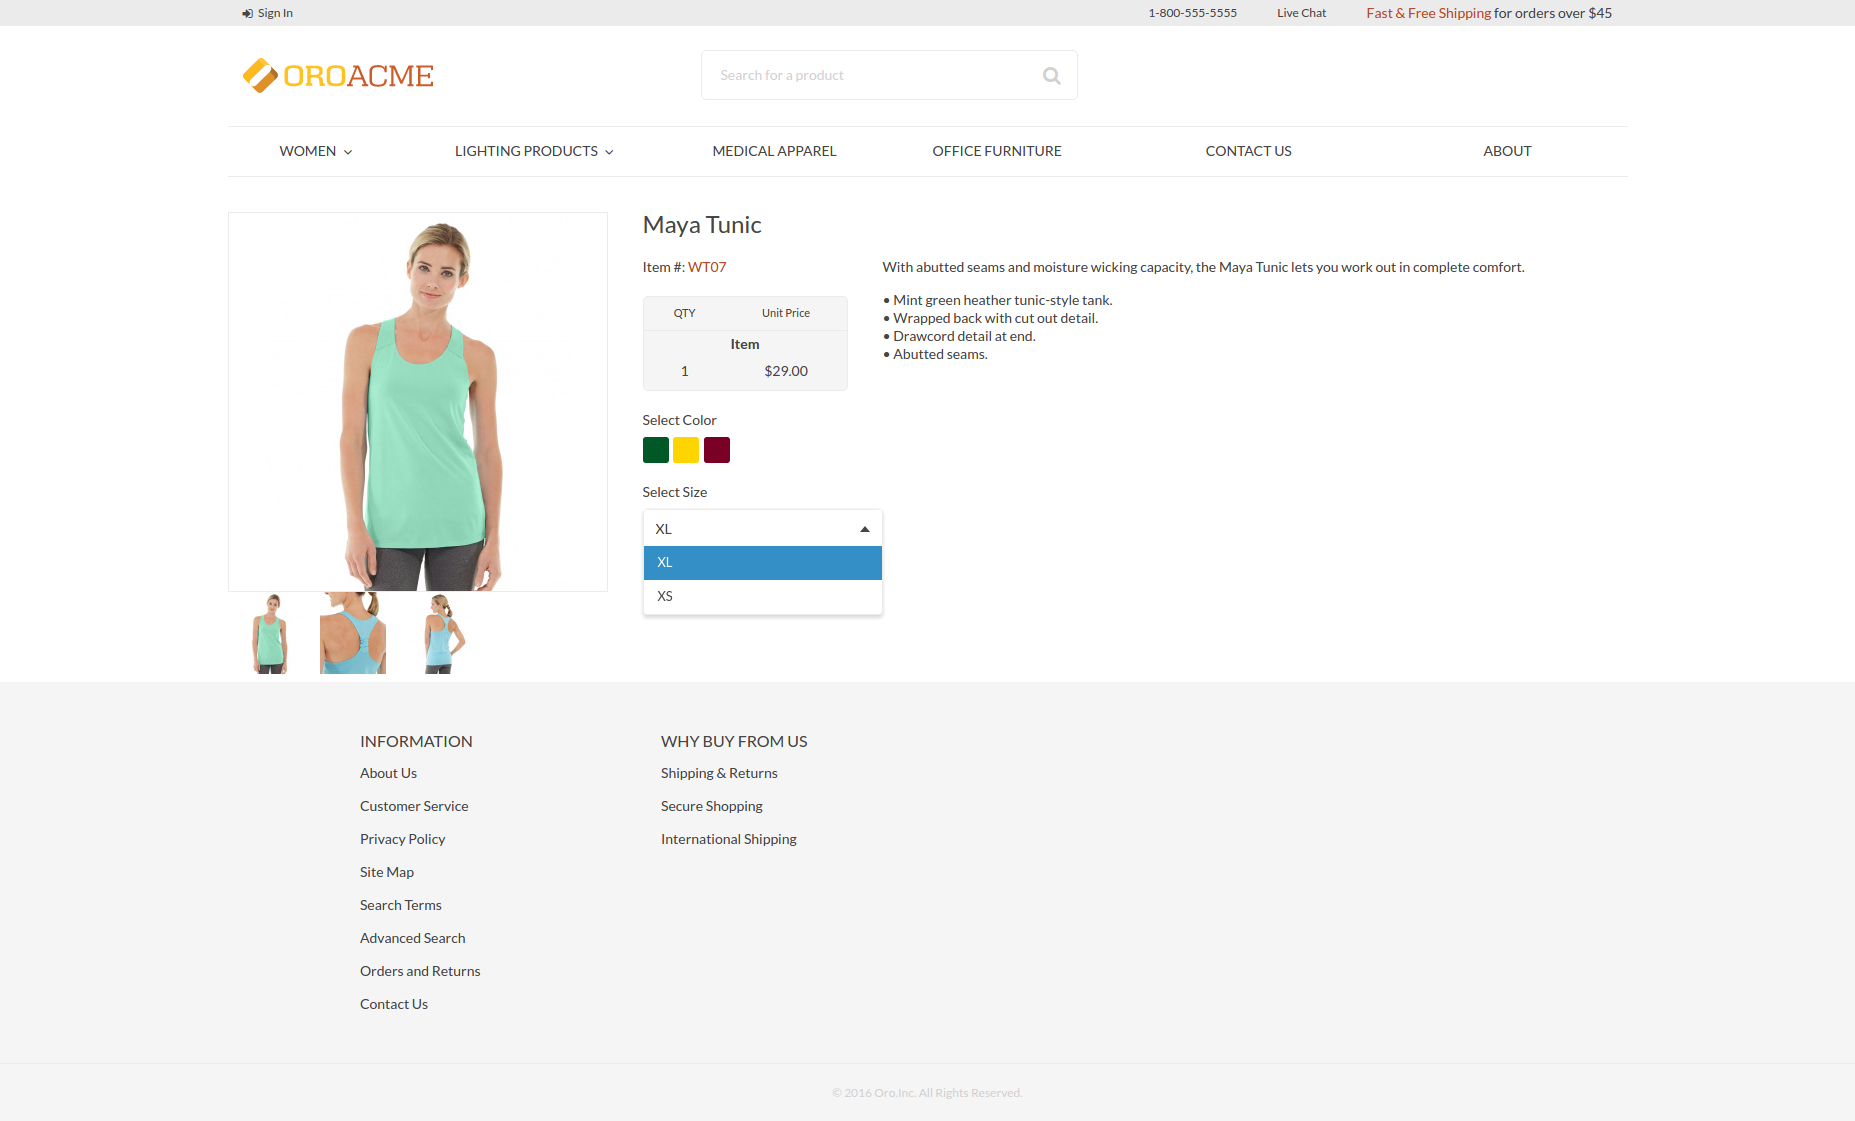
Configurable Product
Create a layout update that includes the oro_product_view import and has the conditions to check if the current product has a configurable product type.
Add the product variants block and the template.
The configurable product looks as follows:
Product Variants Block:
 layout:
     imports:
         - oro_product_view

     actions:
         - '@setBlockTheme':
             themes: '@AcmeDemo/layouts/default/oro_product_frontend_product_view/configurable_product.html.twig'

         - '@add':
             id: product_variants
             blockType: product_variants
             parentId: product_specification_container
             siblingId: product_specification
             options:
                 variants: '=data["product_variants"].getVariants(data["product"])'

     conditions: 'context["product_type"] == "configurable"'
Template:
 {% block _product_variants_widget %}
     {% for variant in variants %}
         {% set key = variant.name|lower %}
         <div class="product-variants">
             {% set selectId = 'product-variants-'|uniqid %}
             <label for="{{ selectId }}">Select Color</label>
             {% if key == 'color' %}
                 {% for key, name in variant.elements %}
                     <span class="product-color-{{ key }}">
                         <input type="checkbox" name="{{ key }}" name="{{ name }}">
                     </span>
                 {% endfor %}
             {% else %}
                 <select id="{{ selectId }}" class="select">
                     {% for key, name in variant.elements %}
                         <option value="{{ key }}">{{ name }}</option>
                     {% endfor %}
                 </select>
             {% endif %}
         </div>
     {% endfor %}
 {% endblock %}
Block Types
For this example, create a product_variants block type used in the configurable product layout update.
 services:
 ...
     acme_demo.layout.type.product_variants:
         parent: oro_layout.block_type.abstract_configurable_container
         calls:
             - [setOptionsConfig, [{variants: {required: true}}]]
             - [setName, ['product_variants']]
         tags:
              - { name: layout.block_type, alias: product_variants }
 ...
Data Providers
You also need to create a product_variants data provider used in the configurable product layout update.
 services:
 ...
     acme_demo.layout.data_provider.product_variants:
         class: Acme\Bundle\DemoBundle\Layout\DataProvider\ProductVariantsProvider
         tags:
             - { name: layout.data_provider, alias: product_variants }
 ...
The following is an example of the data provider:
 namespace Acme\Bundle\DemoBundle\Layout\DataProvider;

 use Symfony\Component\PropertyAccess\PropertyAccess;

 use Oro\Bundle\EntityExtendBundle\Entity\AbstractEnumValue;
 use Oro\Bundle\ProductBundle\Entity\Product;

 class ProductVariantsProvider
 {
     /**
      * @param Product $product
      * @return array
      */
     public function getVariants(Product $product)
     {
         $variants = [];
         $variantFields = $product->getVariantFields();
         foreach ($variantFields as $variantField) {
             $variants[strtolower($variantField)]['name'] = $variantField;
         }

         $propertyAccessor = PropertyAccess::createPropertyAccessor();

         $variantLinks = $product->getVariantLinks();
         foreach ($variantLinks as $variantLink) {
             $childProduct = $variantLink->getProduct();
             foreach ($variants as $key => $variant) {
                 /** @var AbstractEnumValue $enumValue */
                 $enumValue = $propertyAccessor->getValue($childProduct, $key);
                 $variants[$key]['elements'][$enumValue->getId()] = $enumValue->getName();
             }
         }

         return $variants;
     }
 }
Change Product Page by Category
Every product view page contains the current category_id and the category_ids in the layout context. You can use these values to evaluate the layout conditions. When you customize any page, remember to use Symfony Profiler and look into the Layout section, where you can find the current layout context data and layout tree.
Hint
Please see the Debug Information section for more details.
Example 1 (by category ID)
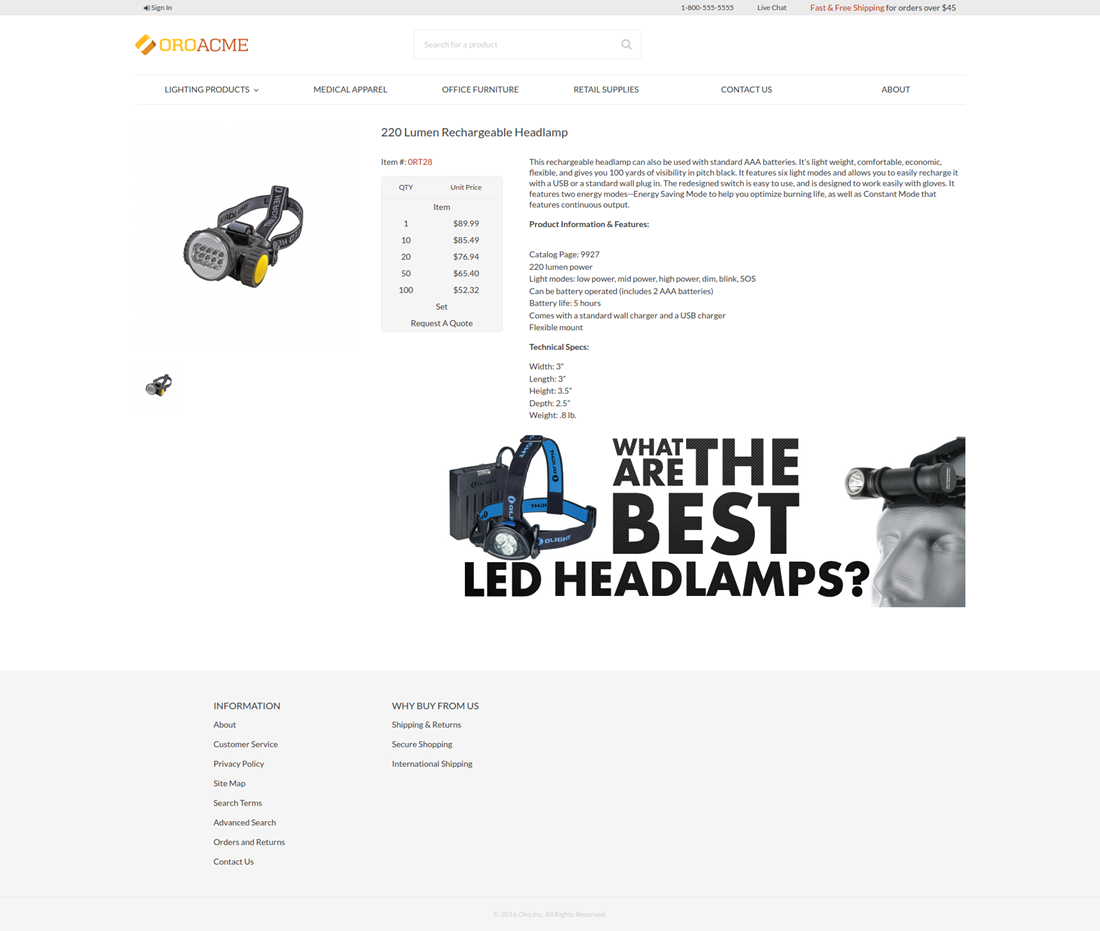
As an illustration, we are adding static HTML to all products in the category Headlamps.
The condition is: conditions: ‘context[“category_id”] == 4’.
The result is:
 layout:
     actions:
         - '@setBlockTheme':
             themes: '@AcmeDemo/layouts/default/oro_product_frontend_product_view/headlamps.html.twig'

         - '@add':
             id: product_sale_banner
             blockType: block
             parentId: product_view_main_container
             siblingId: ~
             prepend: false

     conditions: 'context["category_id"] == 5'
Template:
 {% block _product_sale_banner_widget %}
     <div class="text-right">
         <img src="{{ asset('bundles/acme/default/images/headlamps.jpg') }}" title="The best headlamps">
     </div>
 {% endblock %}
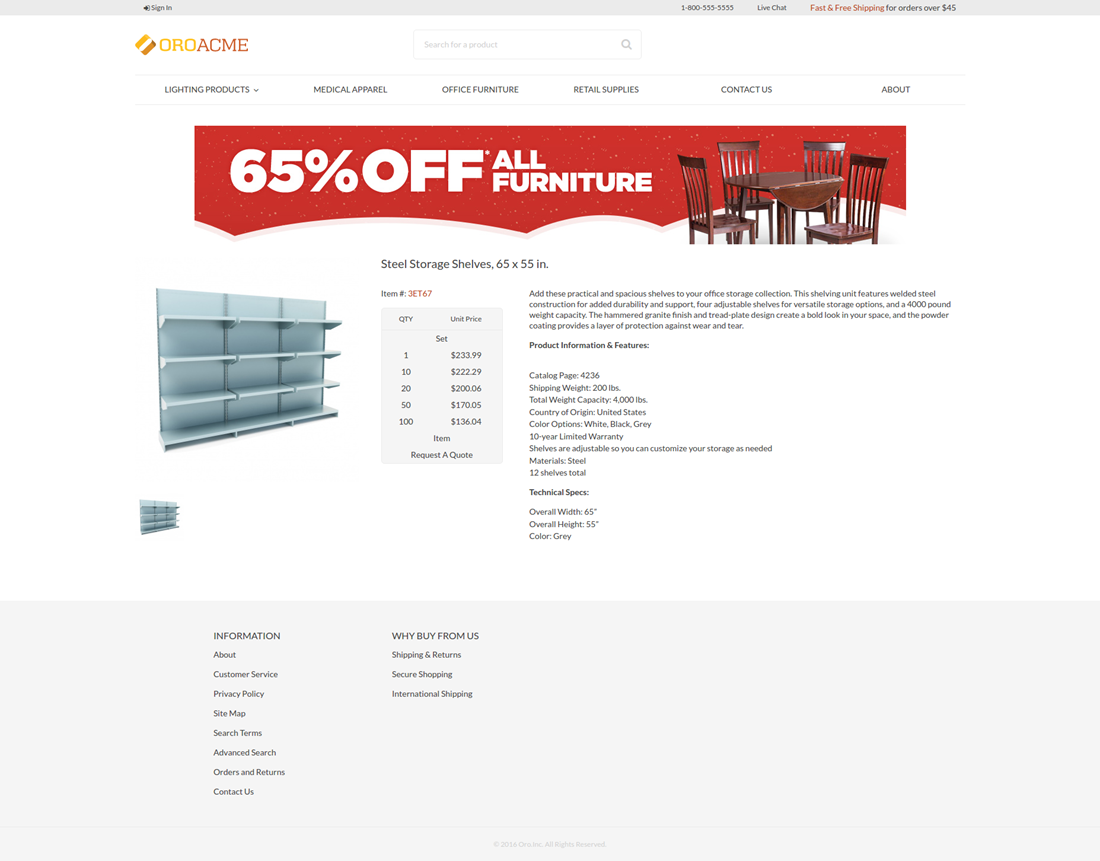
Example 2 (by parent category ID)
As an illustration, we are assigning a sale banner to all products in the first level category Furniture (id=12) and their children.
The condition is: conditions: ‘12 in context[“category_ids”]’.
The result is:
 layout:
     actions:
         - '@setBlockTheme':
             themes: '@AcmeDemo/layouts/default/oro_product_frontend_product_view/furniture.html.twig'

         - '@add':
             id: product_sale_banner
             blockType: block
             parentId: page_content
             siblingId: ~
             prepend: true

     conditions: '12 in context["category_ids"]'
Template:
 {% block _product_sale_banner_widget %}
     <div class="text-center">
         <img src="{{ asset('bundles/acme/default/images/furniture_sale.jpg') }}" title="65% off all furniture">
     </div>
 {% endblock %}
Product Page Templates
Hint
See the Page Templates section for more details.
You can modify the visual presentation of the product view page for every product or choose a page template for all of them by default.
Create a config for the page_templates in the theme of choice.
 templates:
     -
         label: Custom page template
         description: Custom page template description
         route_name: oro_product_frontend_product_view
         key: custom
     -
         label: Parent Additional page template
         description: Additional page template description
         route_name: oro_product_frontend_product_view
         key: additional
 titles:
     oro_product_frontend_product_view: Product Page
Add layout updates:
 layout:
     actions:
         - '@remove':
             id: product_view_attribute_group_images

         - '@move':
             id: product_view_specification_container
             parentId: product_view_aside_container
 layout:
     actions:
         - '@setBlockTheme':
             themes: '@AcmeDemo/layouts/default/oro_product_frontend_product_view/page_template/additional/layout.html.twig'

         - '@add':
             id: product_view_banner
             blockType: block
             parentId: product_view_content_container
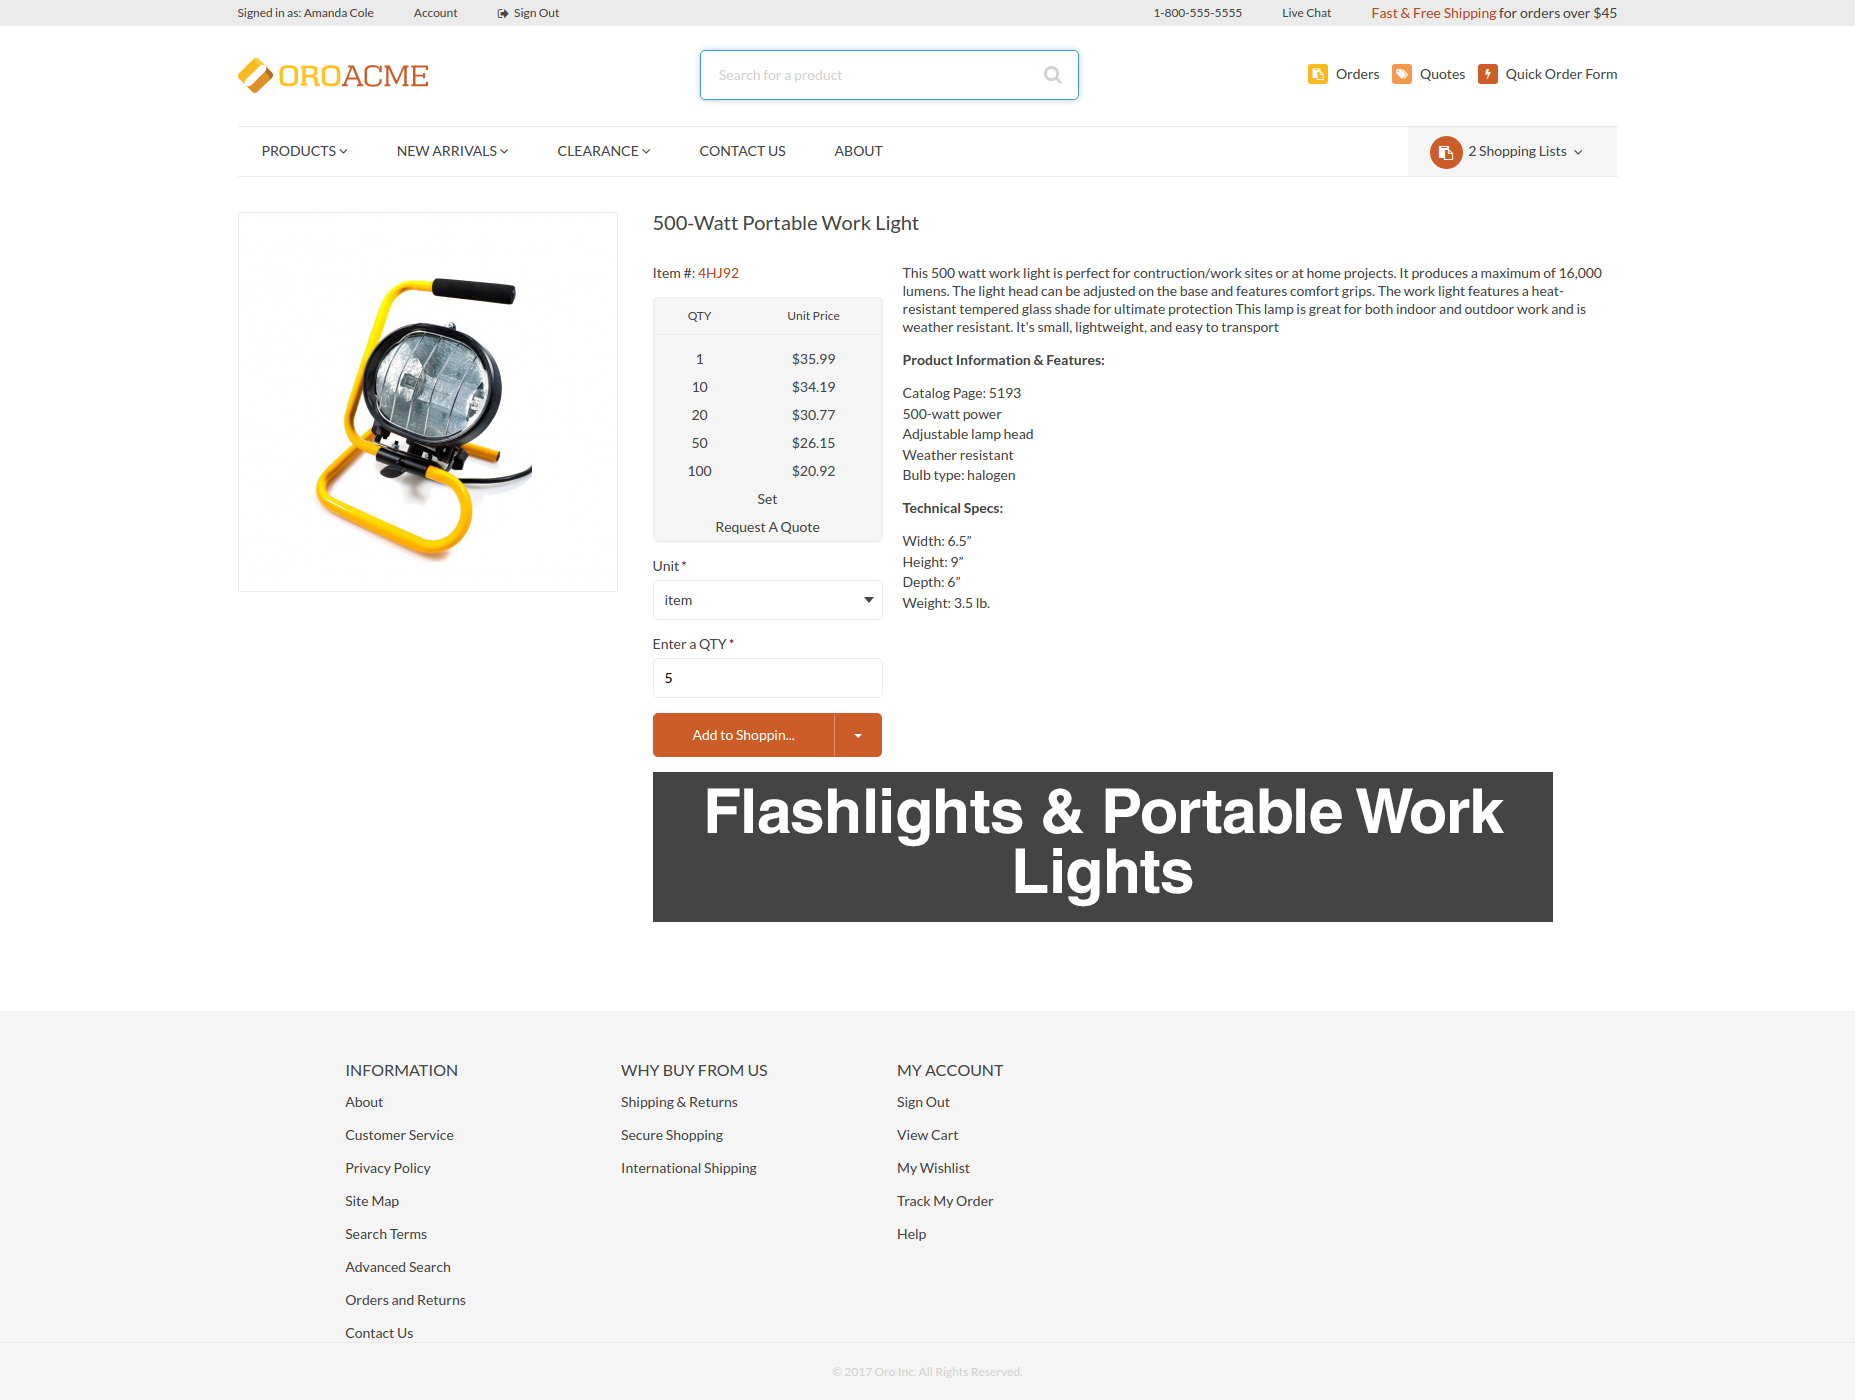
Add templates:
 {% block _product_view_banner_widget %}
     <div class="text-center">
         <img src="{{ asset('bundles/acme/default/images/flashlights.png') }}" title="Flashing and portable work lights">
     </div>
 {% endblock %}
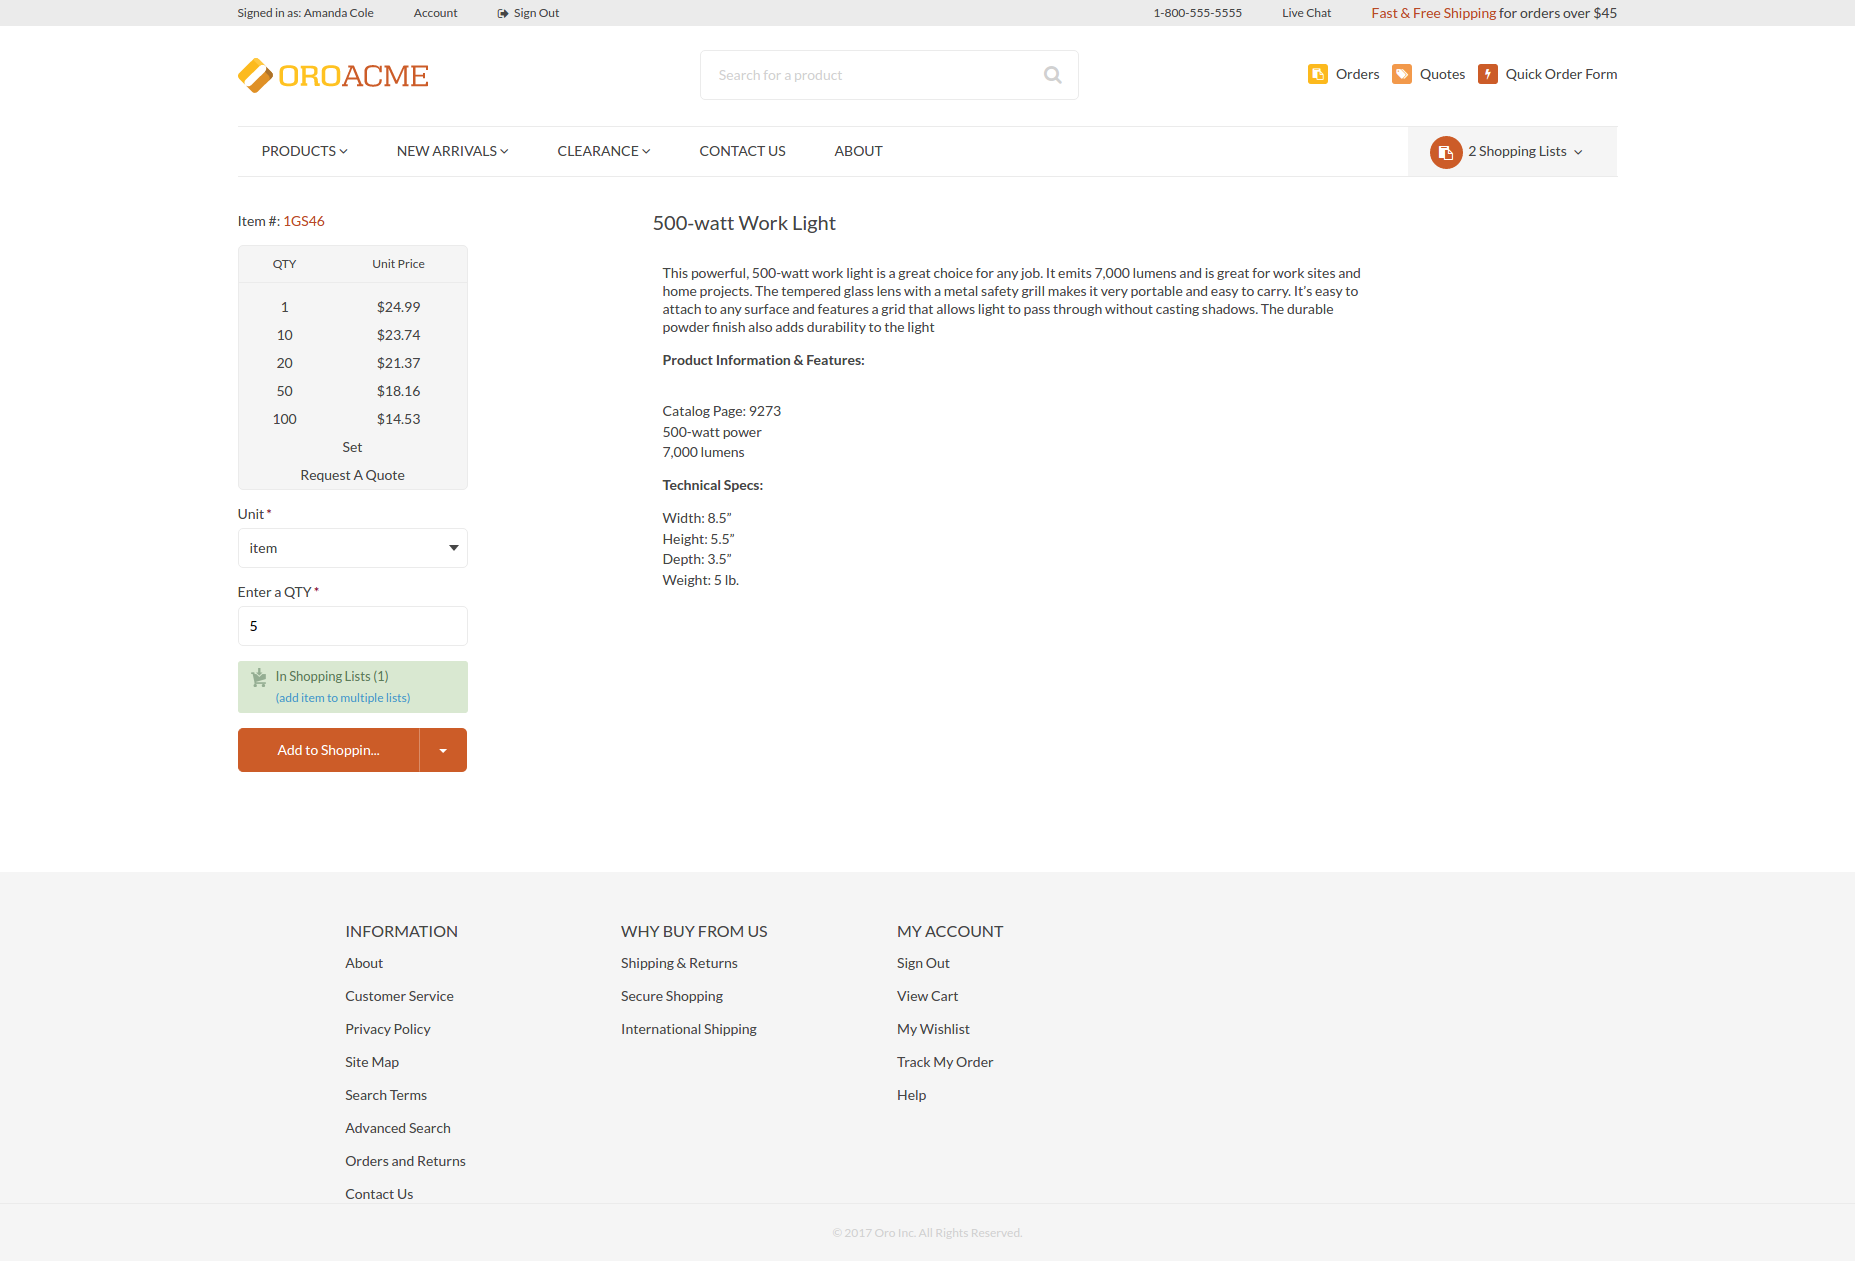
Global Level
To apply a custom page template to all products:
Navigate to System > Configuration > Commerce > Design > Theme.
In the Page Templates section, choose Custom page template in the Product Page select. Below is an example of what it might look like in the storefront.
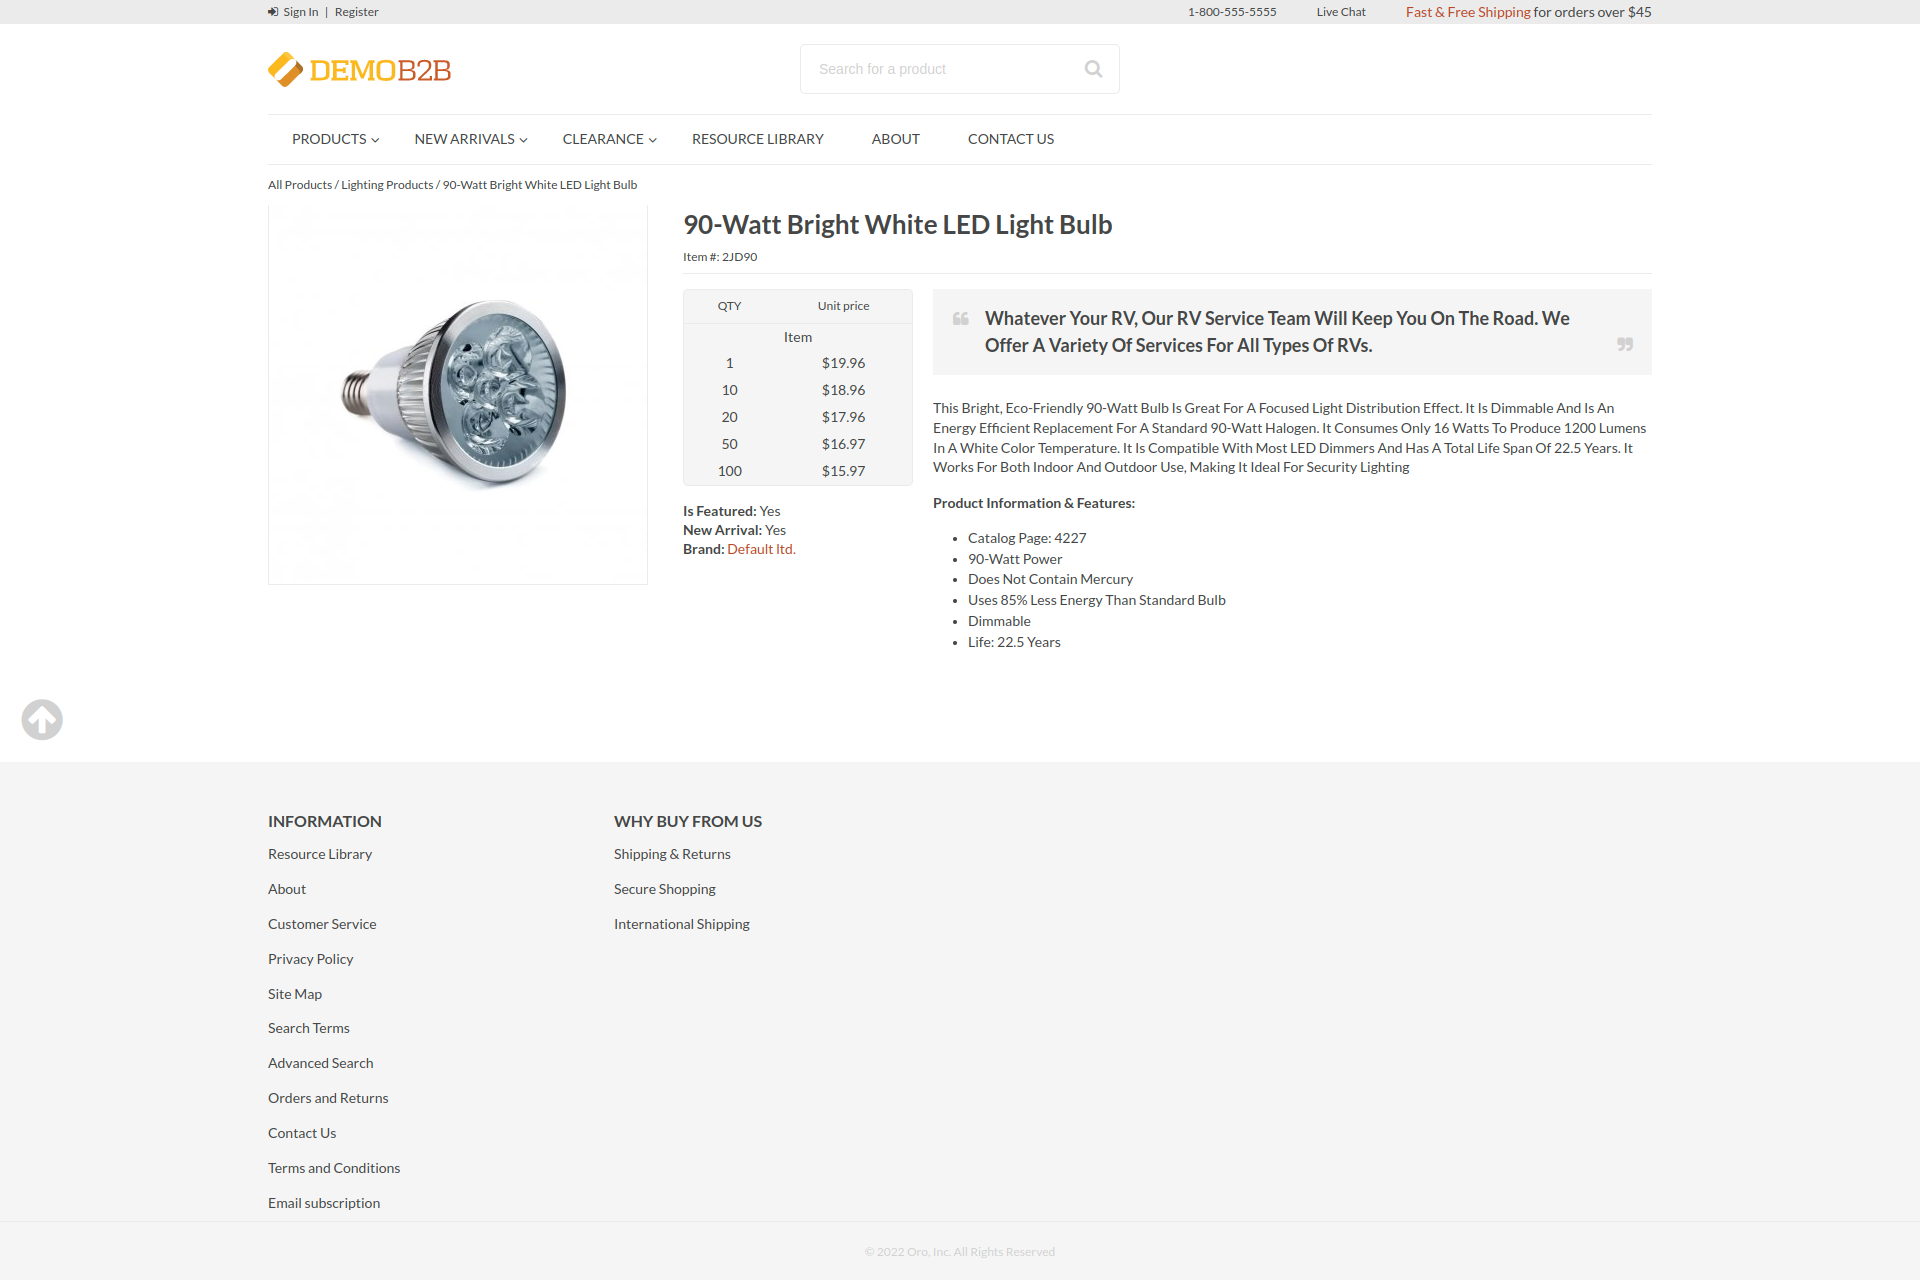
Entity Level
To apply a custom page template to the selected products:
Navigate to Products > Products, find your product, and click Edit.
In the Design section, choose Additional page template in the Page Template select. Below is an example of what it might look like in the storefront.