Important
You are browsing the documentation for version 4.1 of OroCommerce, OroCRM and OroPlatform, which is no longer maintained. Read the latest LTS version of the Oro documentation to get up-to-date information.
See our Release Process documentation for more information on the currently supported and upcoming releases.
Azure VM
Azure Marketplace enables you to deploy pre-configured demo instances of the latest LTS releases of OroCRM and OroCommerce Community Editions with or without demo data.
To proceed with the installation, make sure you have registered with Azure marketplace and have a valid Azure portal account.
Deploy the Solution
To deploy the solution, follow the steps below:
Navigate to Azure Marketplace and search for the required Oro application (OroCRM VM or OroCommerce VM) in the search bar.

Once you selected the type of the application to deploy, click GET IT NOW under the application logo on your left.
In the pop-up dialog, select the software plan – an instance with or without demo data. The application with demo data provides all the necessary information for you to test the application, such as a preconfigured list of customers, products, submitted orders, quotes, the structured master and web catalogs.

Click Continue.
You are redirected to Azure Portal to complete the installation. At this point, you are asked to log into Azure Portal if you have not already done so.
Once again, select the type of the application to deploy.
Click Create.

Complete the required fields in the Basics tab:
Subscription - Select your subscription type
Resource Group - Create a new resource group, or select an existing one.
A resource group is a container that holds related resources for an Azure solution. Resource group names only allow alphanumeric characters, periods, underscores, hyphens and parenthesis and cannot end in a period.
Virtual Machine Name - Provide a virtual machine name.
Virtual machines in Azure have two distinct names: a virtual machine name used as the Azure resource identifier and in the guest host name. When you create a VM in the portal, the same name is used for both the virtual machine name and the host name. The virtual machine name cannot be changed after the VM is created. You can change the host name when you log into the virtual machine.
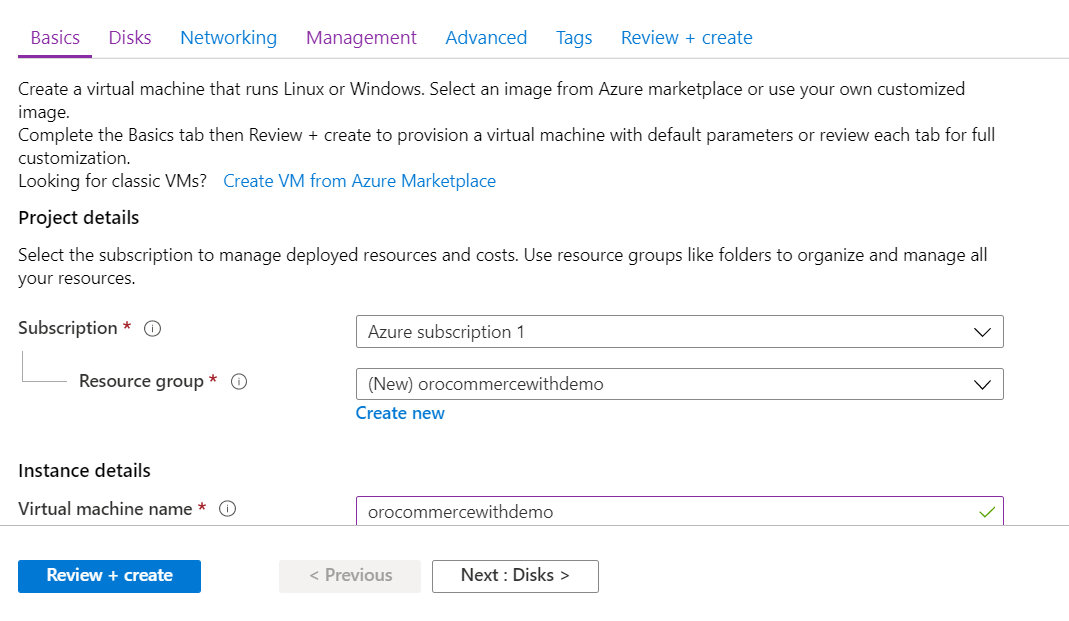
Region - Choose your region, e.g., (US) East US
Availability Options - Set to No infrastructure redundancy required
Image - Choose the base operating system or application for the virtual machine, e.g. OroCommerce with demo data VM
Size - Select a VM size to support the workload that you want to run. The size that you choose then determines factors such as processing power, memory, and storage capacity.
Authentication type - Choose whether to use password or SSH public key for authentication.
For password, complete fields Username, Password, Confirm password
For SSH public key, complete fields Username and SSH public key

Click Next:Disks. The fields in the next step are predefined with demo data.
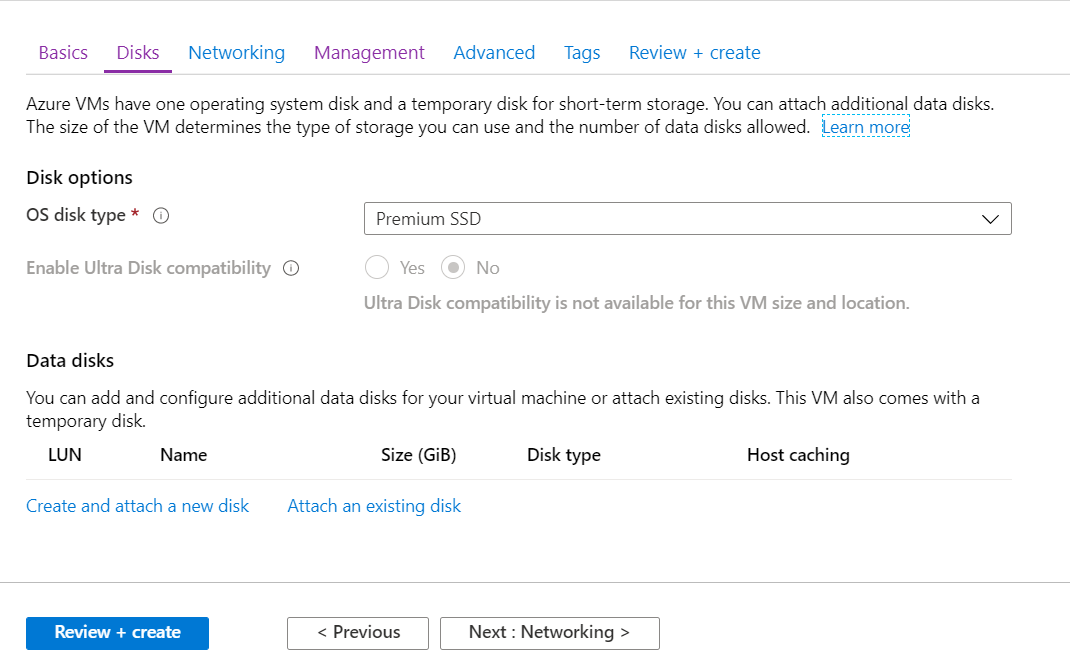
Click Next:Networking. The fields in the next step are predefined with demo data.

Click Next:Management. The fields in the next step are predefined with demo data.
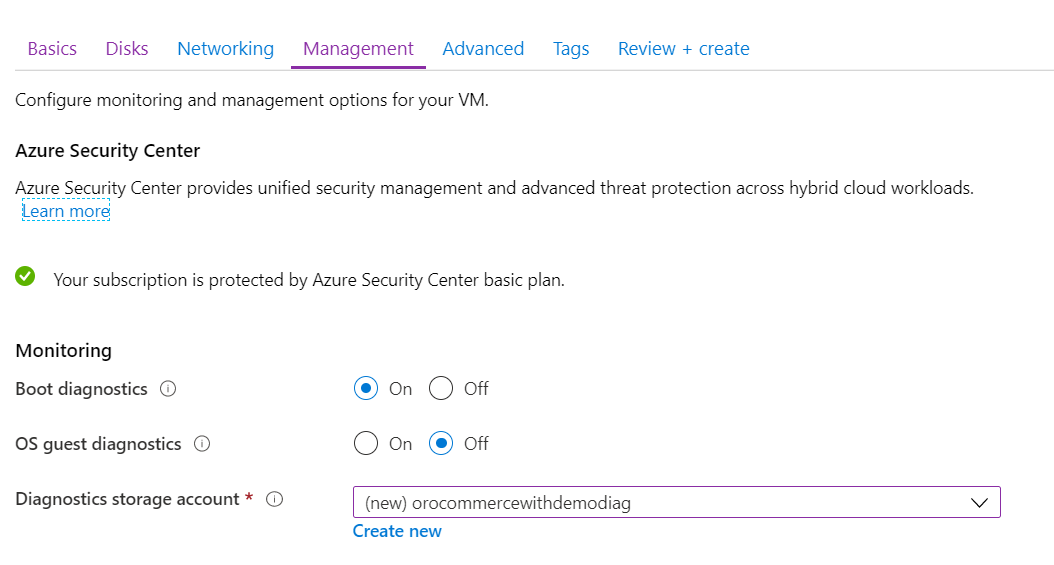
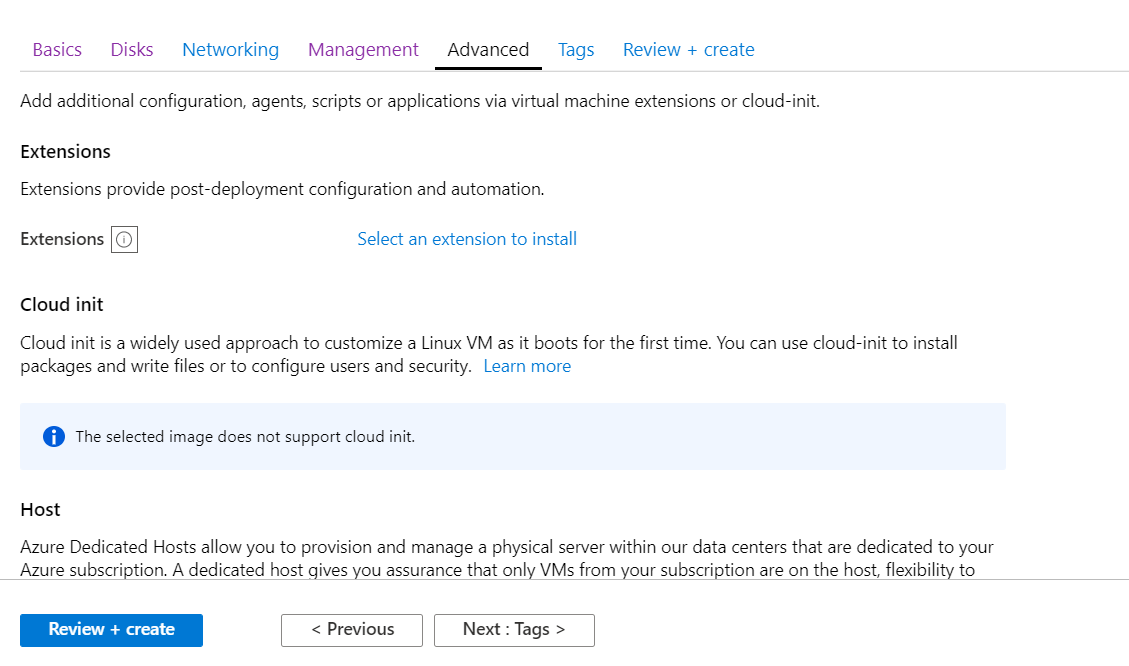
Click Next:Advanced. The fields in the next step are predefined with demo data.
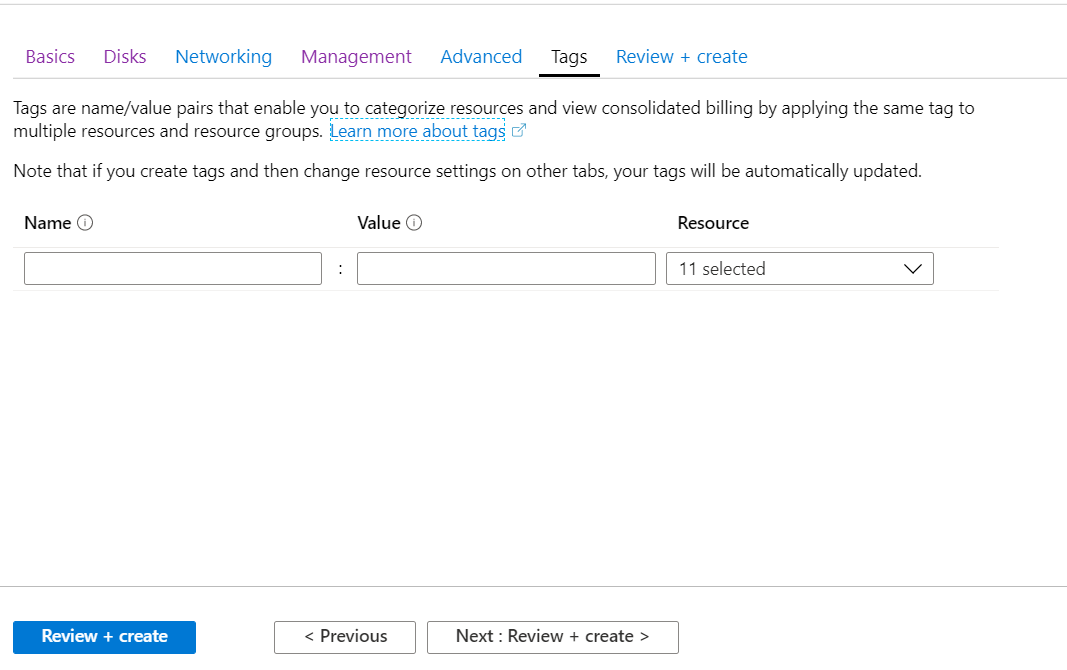
Click Next:Tags. The fields in the next step are predefined with demo data.
Click Next:Review+create. The fields in the next step are predefined with demo data.
You should see Running Final Validation, followed by Validation Passed.
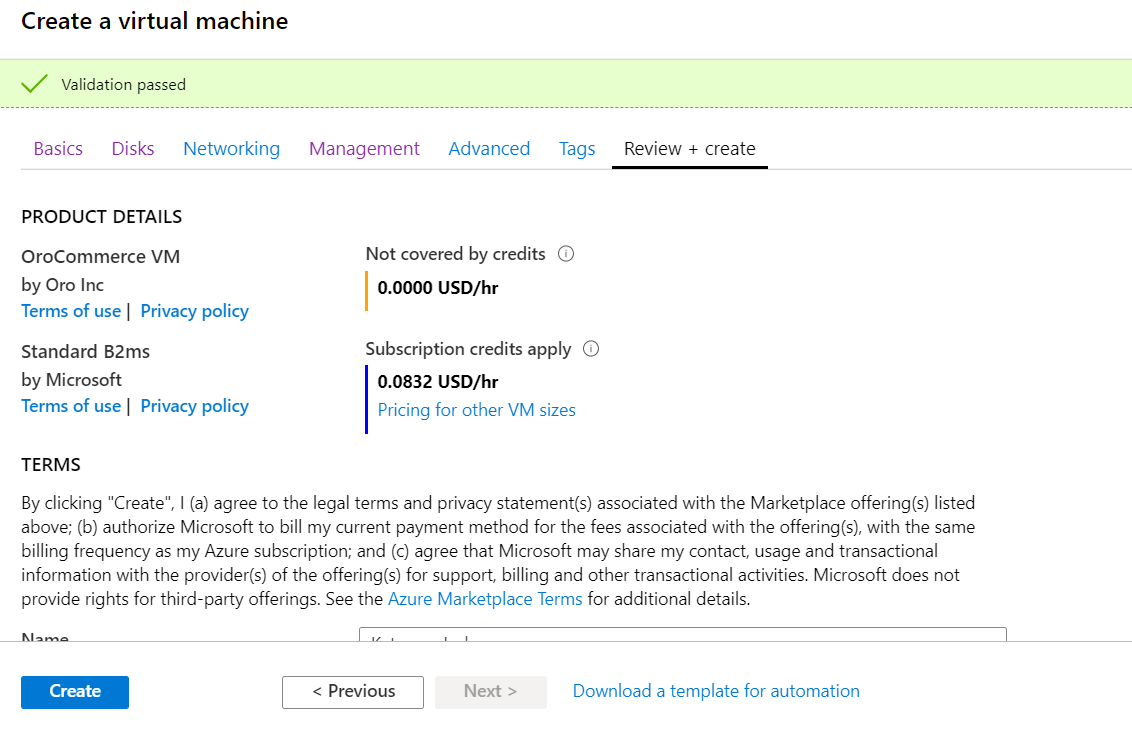
Click Create at the bottom.
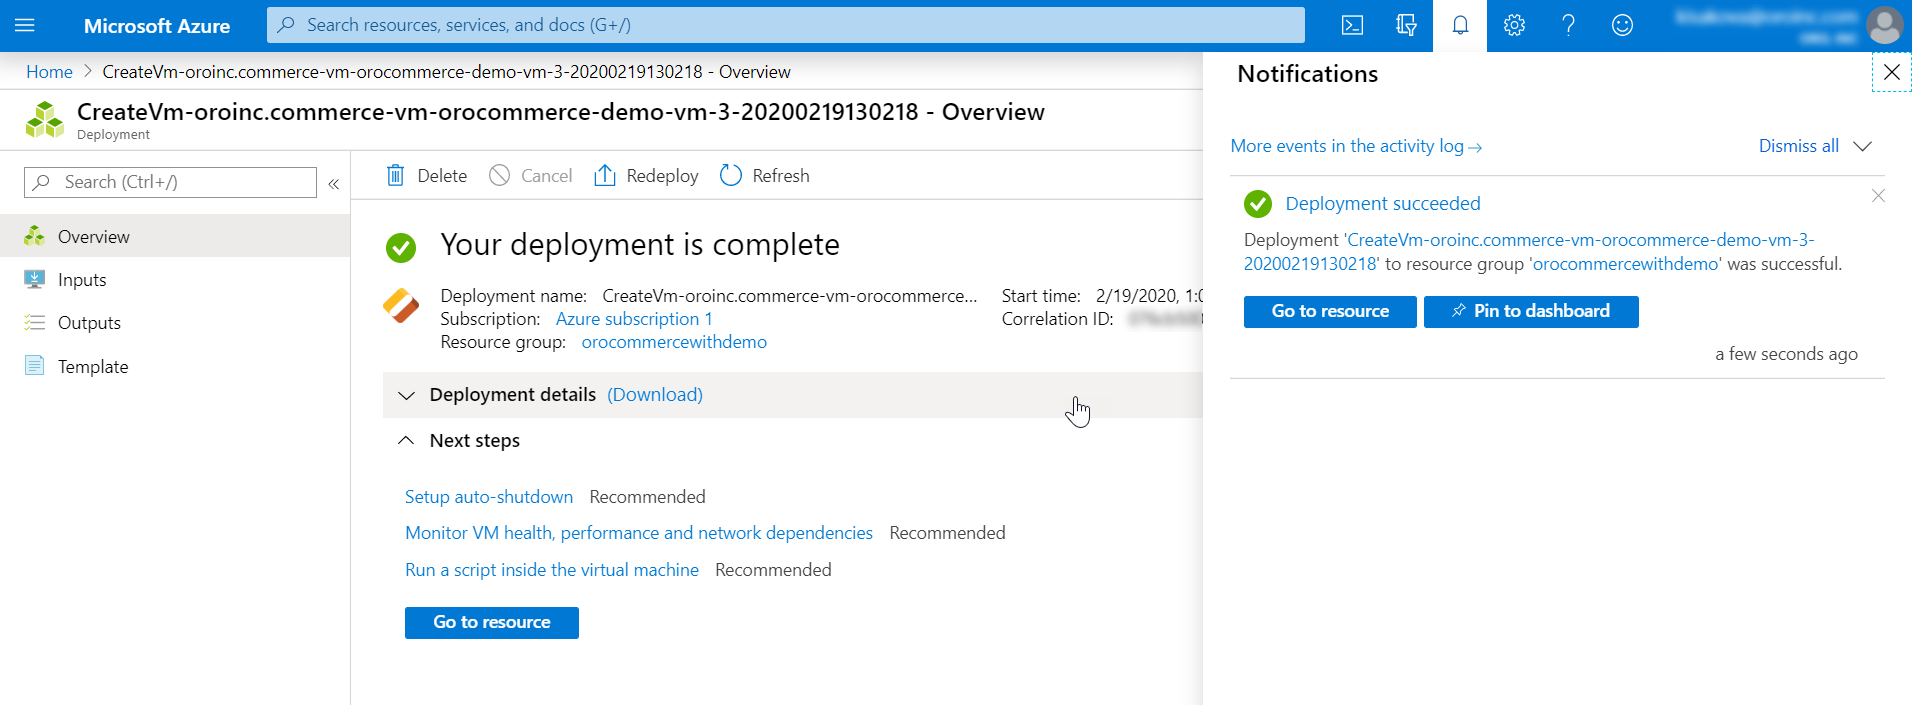
Track the deployment process in the notification dialog.
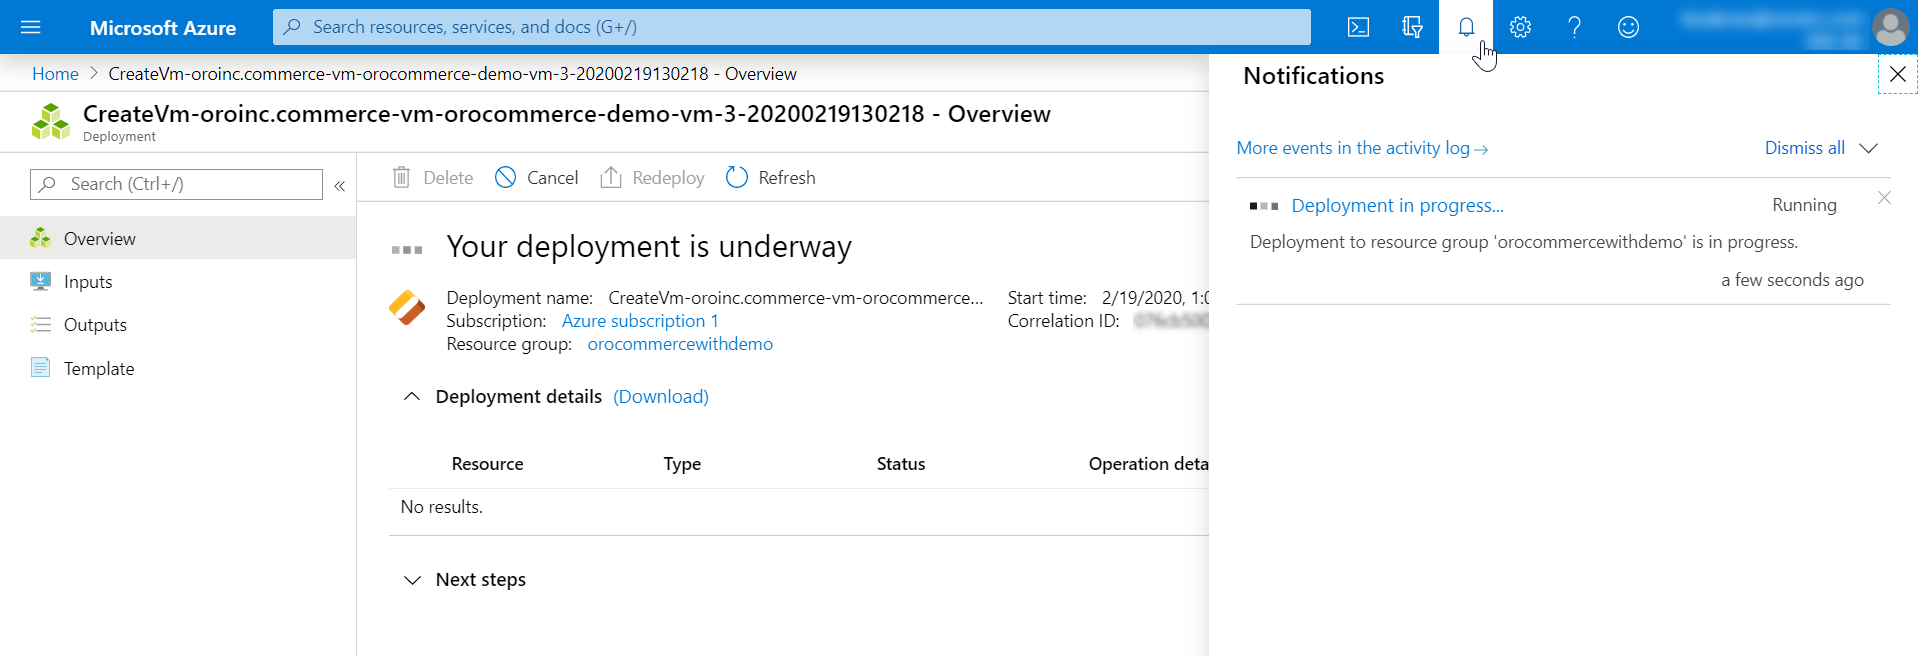
Make sure that the deployment is completed successfully, and click Go to resource.
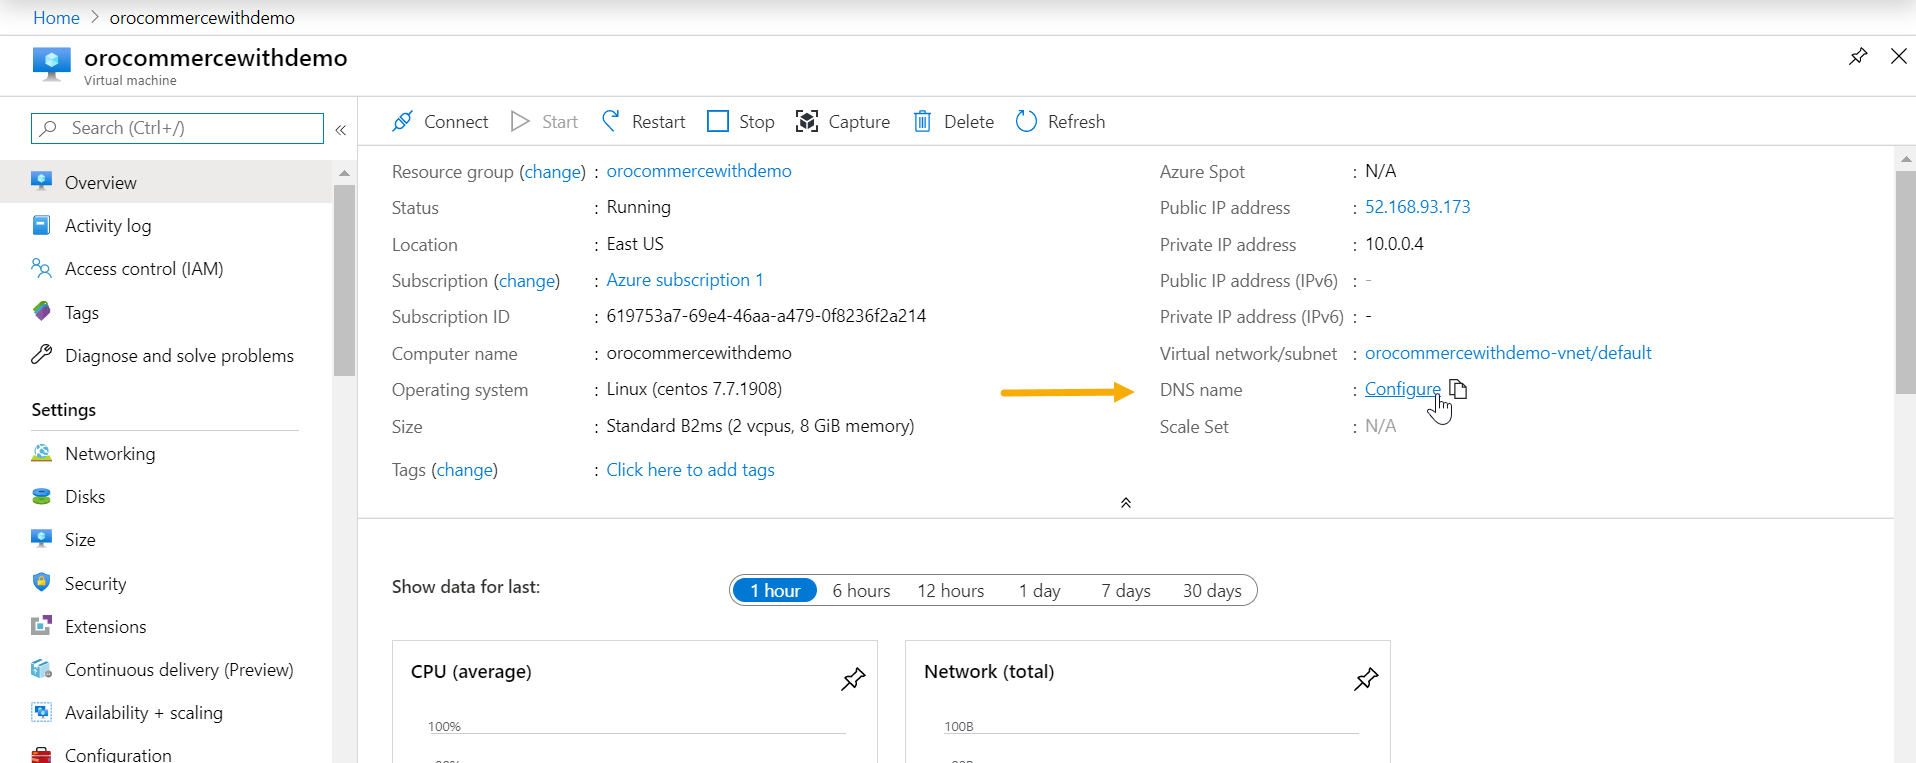
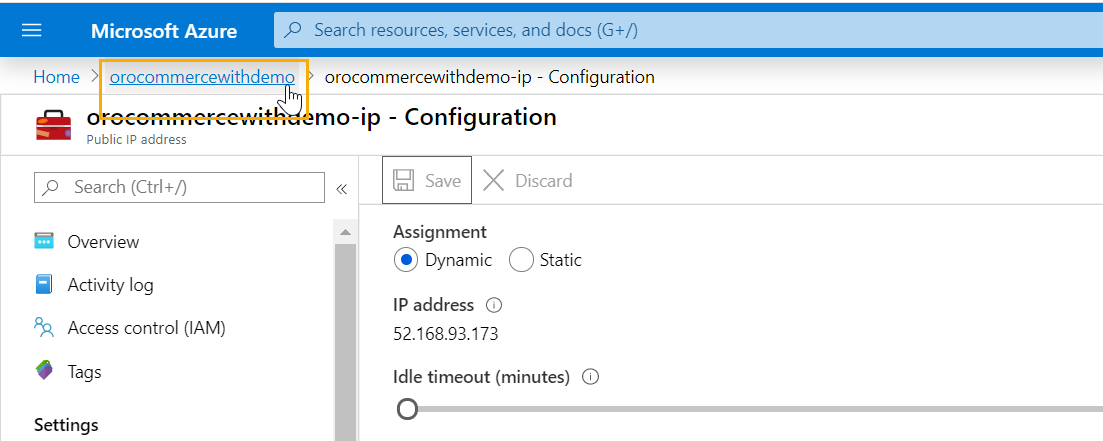
Click DNS name: Configure, and fill DNS name label.
Click Save.

Return to the virtual machine and refresh the page.
Next to the DNS Name, click Copy to Clipboard.
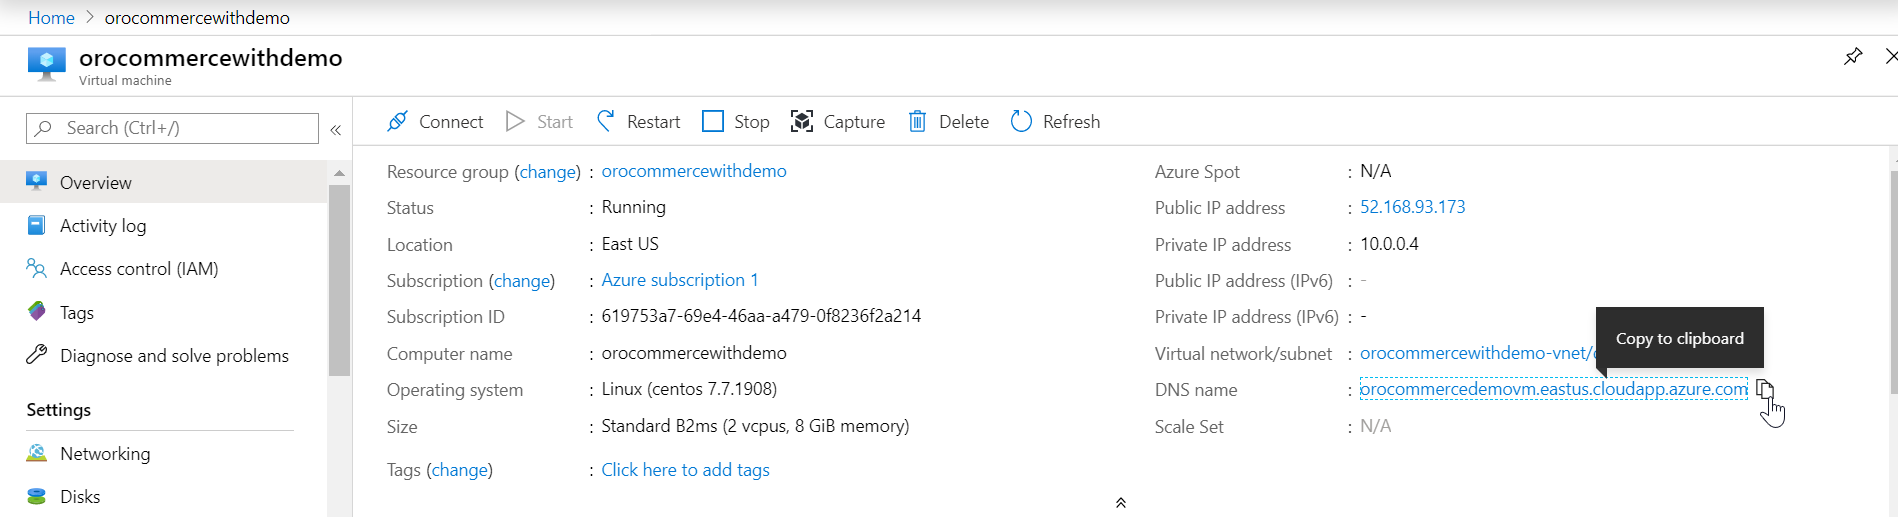
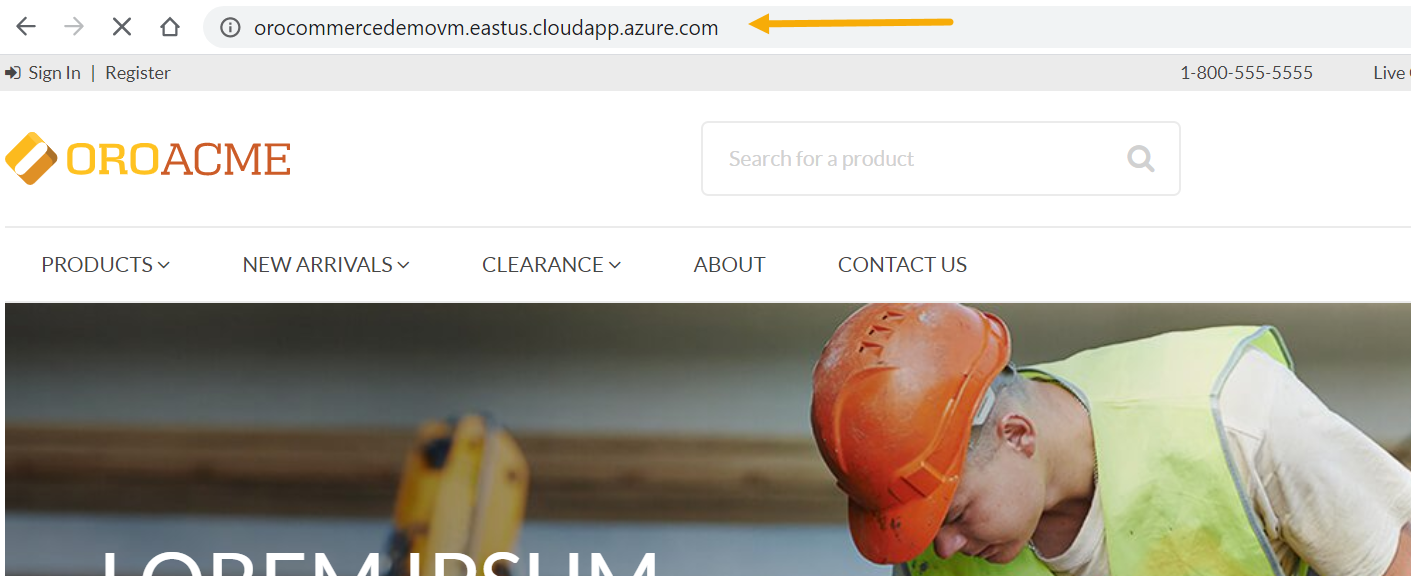
Paste the DNS into the address bar of a new browser window, and add /admin to the URL (e.g., http://<DNSprefix>.cloudapp.azure.com/admin).

The Oro application interface should now be displayed.
Important
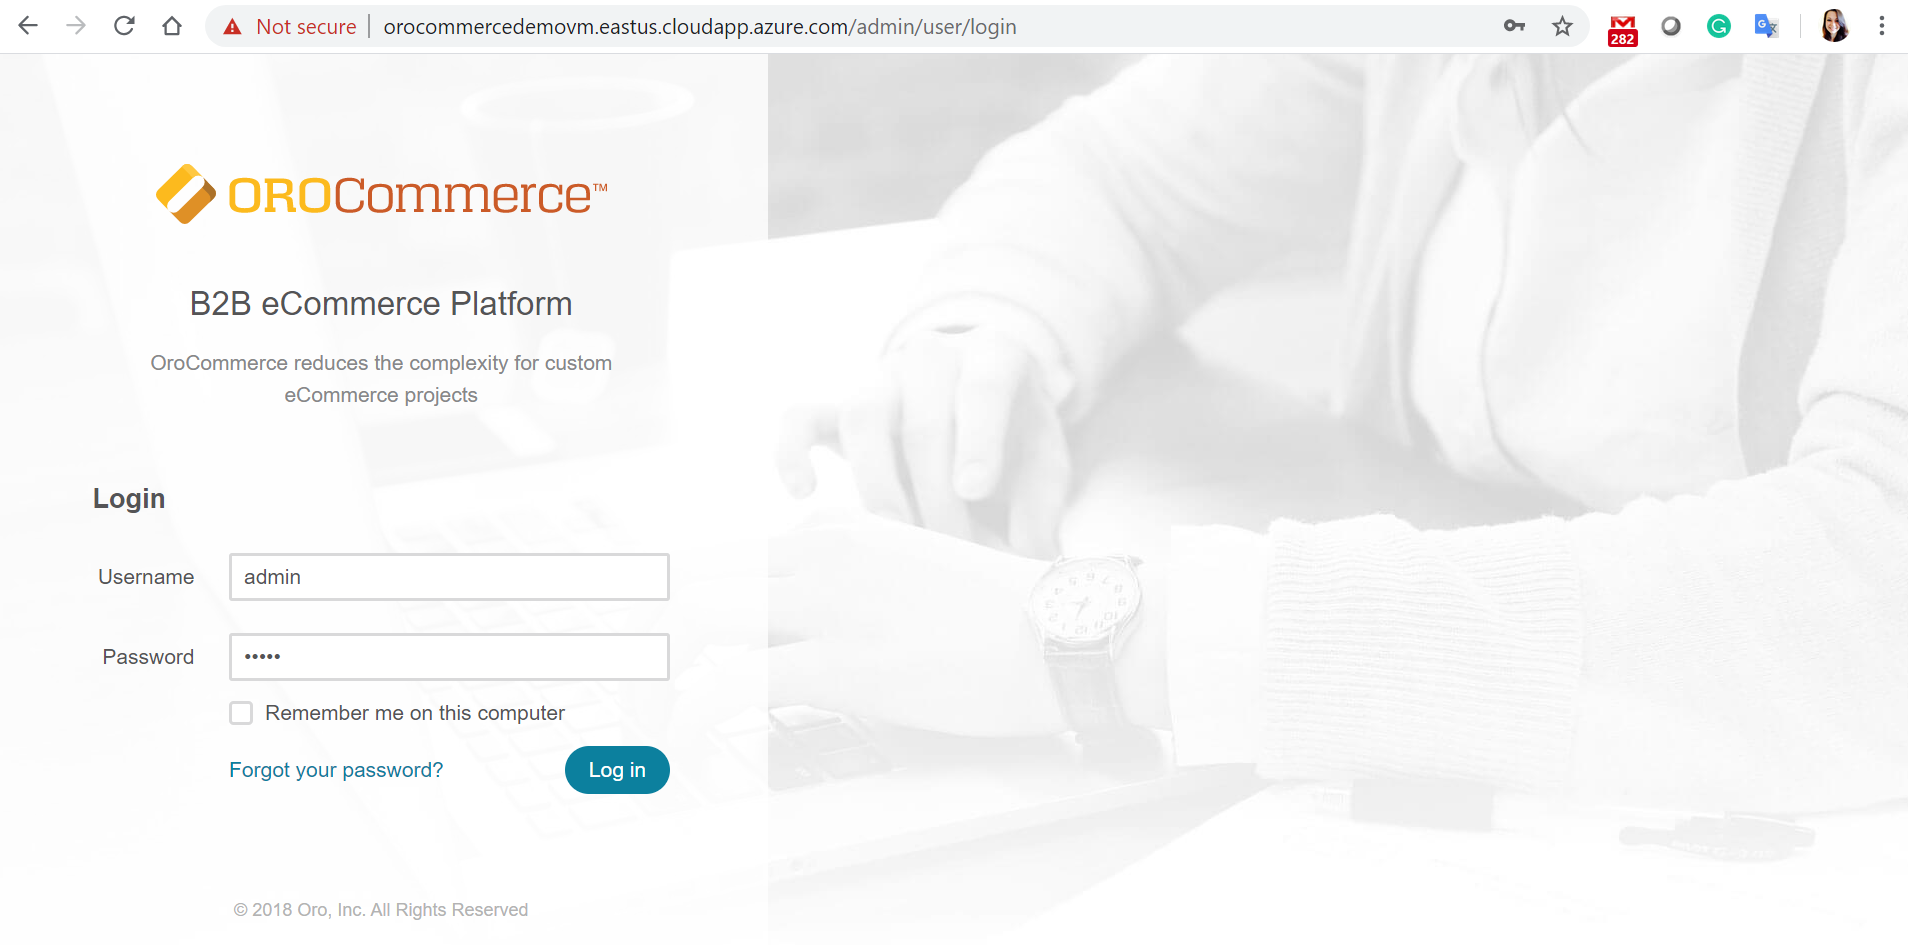
OroCRM VM Demo Data: If you have deployed OroCRM VM with demo data, use admin as login and the password to access the back-office of the application. To access the application via SSH, specify your username and password/public key, and restart services (systemctl restart oro*).
OroCommerce VM Demo Data: If you have deployed OroCommerce VM with demo data, use AmandaRCole@example.org both as your login and password to access the storefront (http://<DNSprefix>.cloudapp.azure.com). To access the back-office of the application (http://<DNSprefix>.cloudapp.azure.com/admin/admin), use admin as login and password. To access the application via SSH, specify your username and password, or a public key, and restart services (systemctl restart oro*).
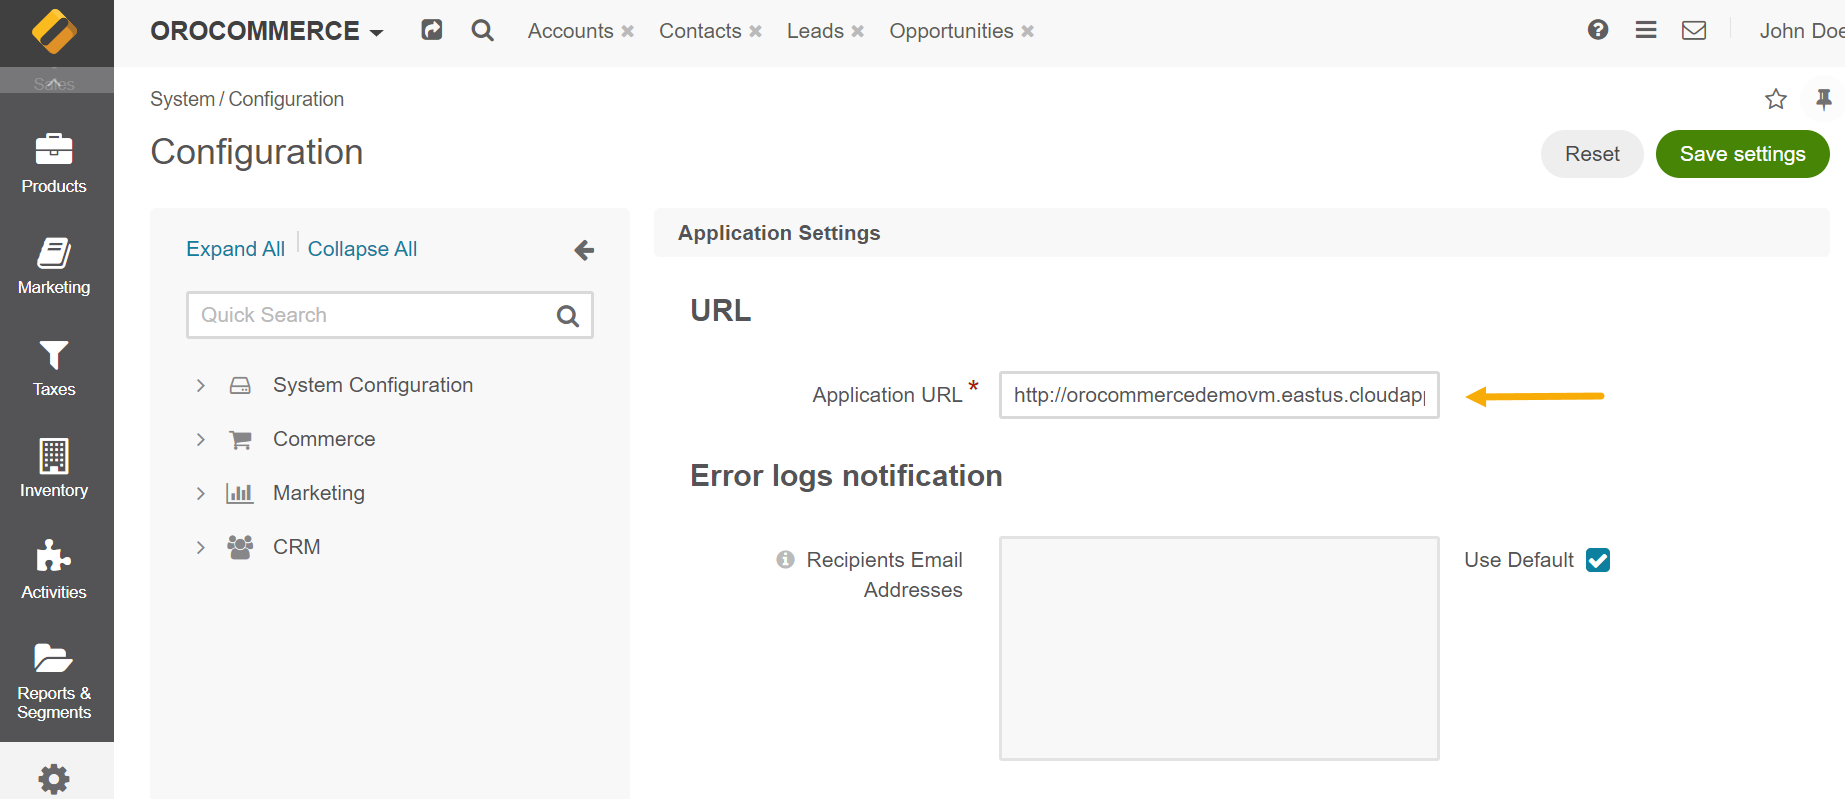
Configure Application URL
For the demo applications to work correctly, you need to configure the application URL (for OroCRM and OroCommerce), and Secure URL and URL (for OroCommerce).
Navigate to System Configuration > General Setup > Application Settings in the application back-office, and provide the Application URL (e.g., http://<DNSprefix>.cloudapp.azure.com, or a different domain).
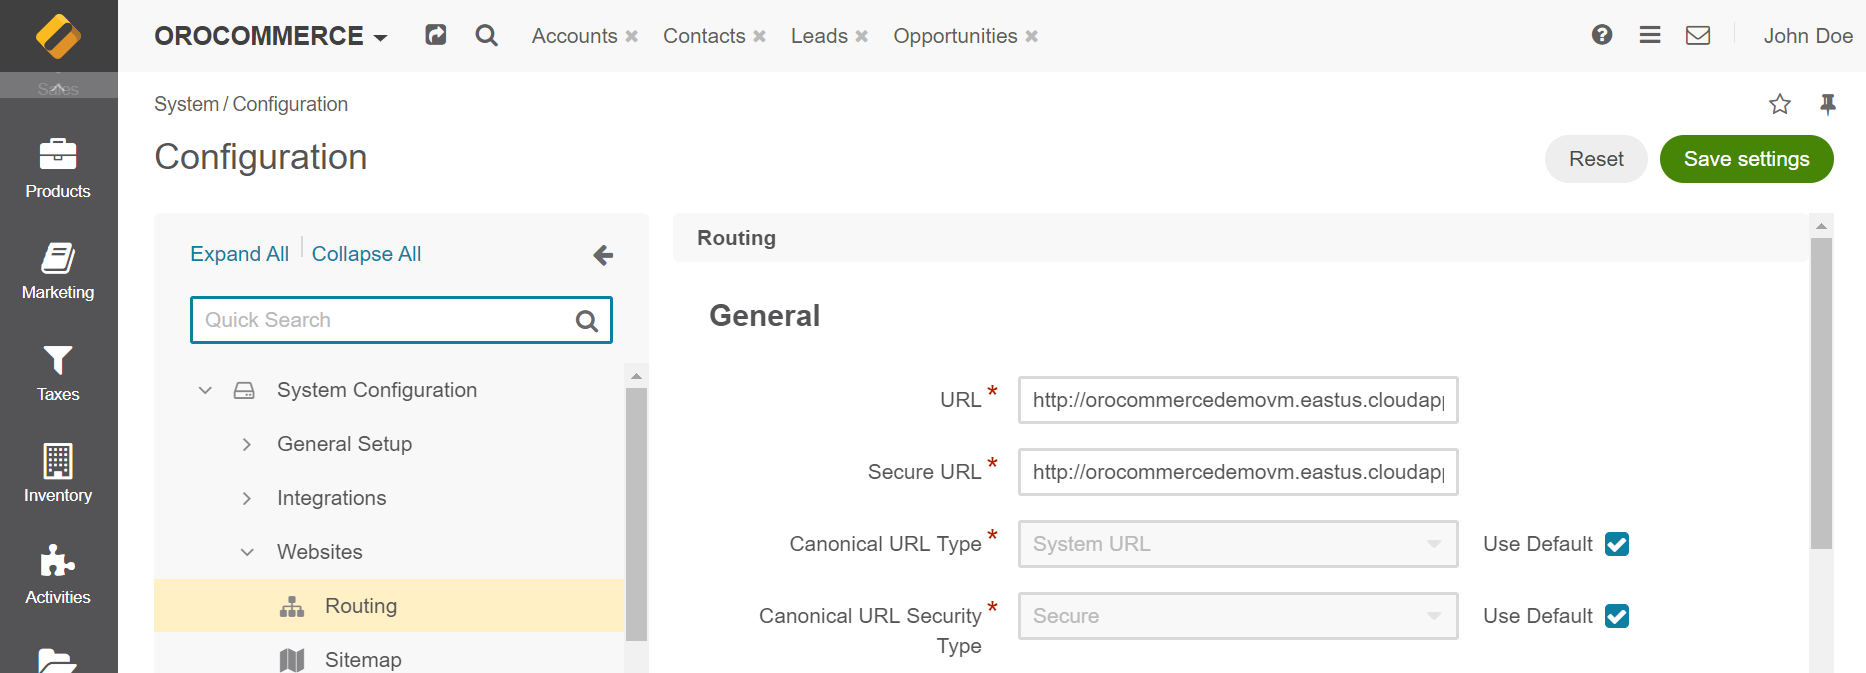
(For OroCommerce only) Navigate to System Configuration > Websites > Routing in the application back-office, and provide Secure URL and URL.
Return to the Azure Portal, and reboot the virtual machine.
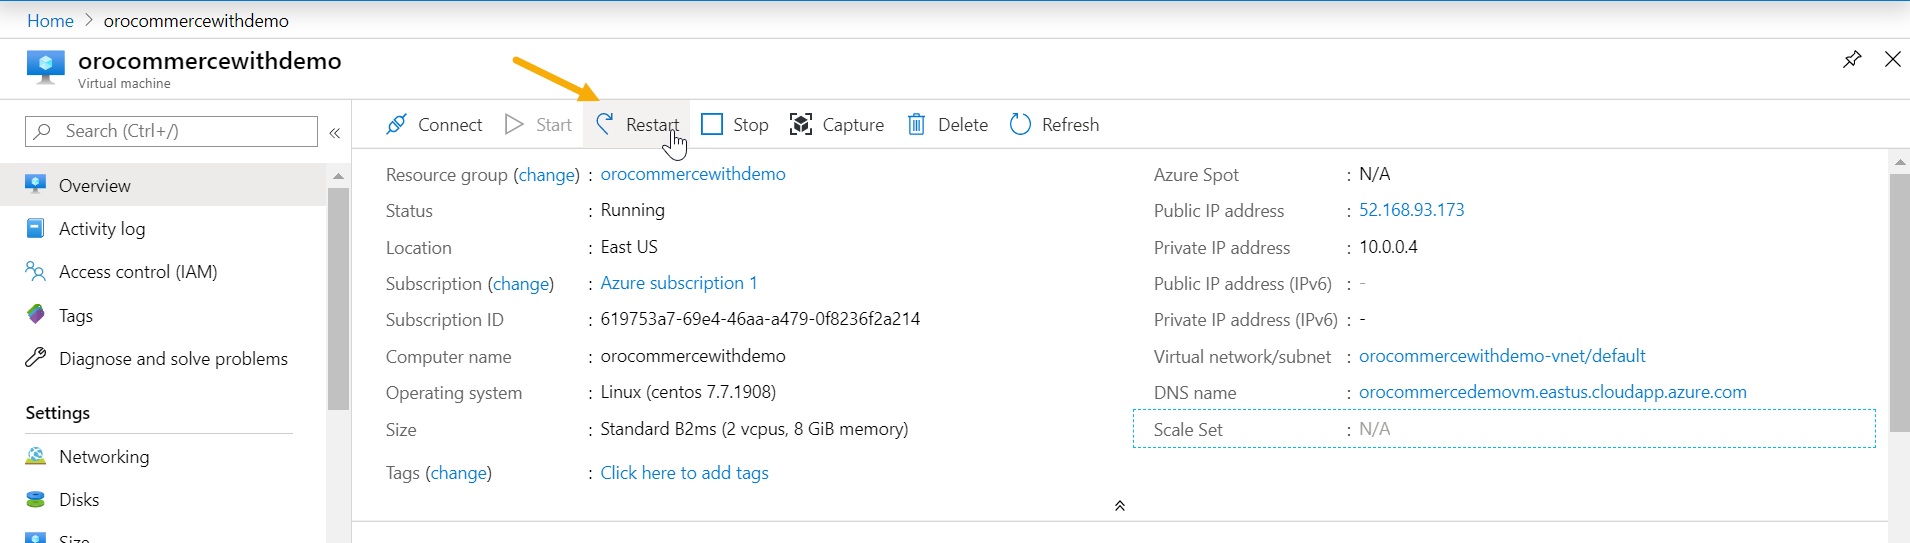
Follow the progress of the restart in the notification bar on your top right.
Copy and paste the DNS into the address bar of a new browser window and press Enter.
If you have deployed the OroCommerce application, the storefront should now be displayed.
Note
Due to Azure blocking port 25, we recommend configuring SMTP settings once you install the application if you would like to send messages from the Oro application you have deployed.