Important
You are browsing the documentation for version 4.2 of OroCommerce, OroCRM and OroPlatform, which is no longer maintained. Read the latest LTS version of the Oro documentation to get up-to-date information.
See our Release Process documentation for more information on the currently supported and upcoming releases.
Configure Apruve Payment Method Integration in the Back-Office
This section describes the steps that are necessary to expose the Apruve service as a payment method for OroCommerce orders and quotes.
Note
Before you begin, see Apruve Services overview and learn about the Apruve integration prerequisites– the preparation steps that should be performed on the Apruve service side.
To set up a payment method integration with Apruve, perform the following steps:
Navigate to System > Integrations > Manage Integrations in the main menu.
Click Create Integration.

In the Basic Integration Details section, provide the following details:
Type — Select Apruve for Type
Name — The payment method name that is shown as an option for payment configuration in the OroCommerce back-office.
In the Display Options section, provide the following details:
Label — The payment method name/label displayed as a payment option for the buyer in the OroCommerce storefront during the checkout. To translate the label into other languages, click on the icon next to the field.
Note
It doesn’t have to include the payment processor name if you want to hide it from the buyers. For example, you can enter ‘Credit Card Payments’ if you have a single payment method configured for processing credit cards.
Short label — The payment method name/label that is shown in the order details in the OroCommerce back-office and storefront after the order is submitted. To translate the label into other languages, click on the icon next to the field.
In the Integration section, provide the following information:
Test Mode — If the check box is selected, the Apruve interaction process can be checked in the test mode without any charges. It enables you to connect to the gateway in a safe environment with no risk to both customers and sales representatives.
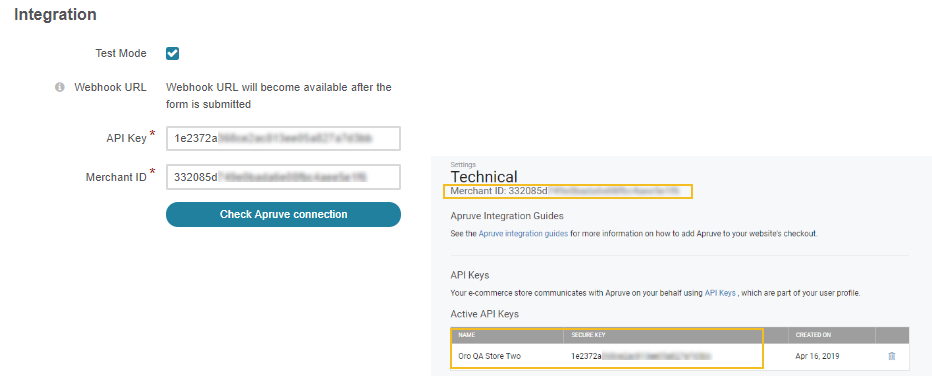
API Key — An identifier that helps authenticate your account, it is generated individually through the Apruve website.
Merchant ID — It is generated individually through the Apruve website.
Note
See more details on how to create an API key and a merchant ID in the Prerequisites for Apruve Services Integration topic.
Click Check Apruve Connection to verify the API key and the Merchant ID to proceed with integration.
In the Other section, provide the following information:
Status — Set the status to Active to enable the integration.
Default Owner — A user who is responsible for this integration and manages it.
Click Save and Close.
Once the Apruve Integration is saved, the Webhook URL becomes available. You can check it by loading the Apruve page again. If necessary, the Webhook URL can be regenerated to prevent any attempted fraud.
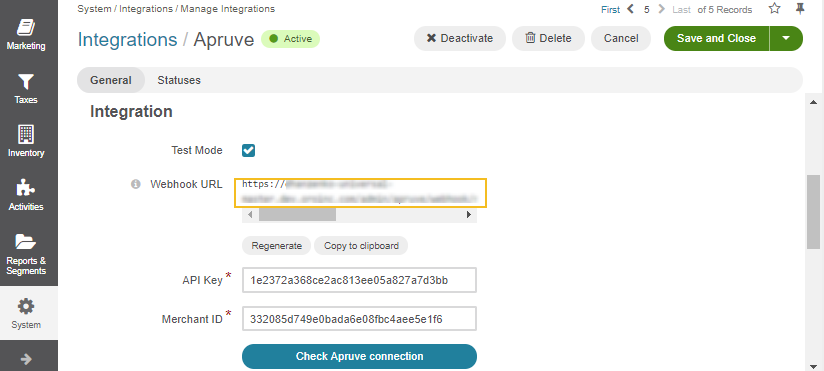
Copy the webhook URL to your clipboard and paste it into the Notifications section in the Apruve system. It enables Apruve to send you notifications regarding any activity performed via Apruve.

Next, set up a payment rule that enables this payment method for all or some customer orders via the Payment Rules Configuration page.