Important
You are browsing the documentation for version 4.1 of OroCommerce, OroCRM and OroPlatform, which is no longer maintained. Read the latest LTS version of the Oro documentation to get up-to-date information.
See our Release Process documentation for more information on the currently supported and upcoming releases.
Manage Contacts in the Back-Office
Hint
This section is a part of the Customer Management topic that provides the general understanding of accounts, contacts, customers and customer hierarchy available in Oro applications.
In your Oro application, you can use contacts to save details of actual people with whom you are getting in touch during the business activities.
Note
For a quick guidance, please see a short demo on accounts, contacts and customers.
Create a Contact
Note
Checkout a short video on how to create and edit contact records, or keep reading the step-by-step guidance.
In order to create a contact:
Navigate to Customers > Contacts in the main menu.
Click Create Contact.
In the General section, define the basic settings of the contact created.
The following fields are mandatory and must be defined in the section.
Name
Description
Owner
Define users that can manage the contact, subject to the role settings.
First Name and Last Name
Name used to refer to the contact in the UI.
The rest of the fields are optional. They can be used to define additional details of the contact, such as the name prefix and suffix, the middle name, free-text description, emails and phone numbers, birthday, etc.
With the optional field Assigned To you can specify a User record, to which the contact will be assigned.
With the optional field Reports To you can specify another Contact record, that corresponds to a person in charge of the contact added (e.g. manager of the department, CEO of the company etc.).
You can also add a picture (upload a picture to be used for the contact in the UI) and/or tags related to the contact.
With the Addresses form you can define Billing and Shipping addresses of the contact. Any amount of the addresses may be added.
The Groups section contains all the contact groups available in the system. Check the boxes to assign the contact to a group. One contact may be assigned to several groups.
The Accounts section contains all the accounts available in the system. Check the boxes to assign the contact to an account. One contact may be assigned to several accounts.
View and Manage a Contact
All contacts available in the system are displayed on the page of all contacts (Customers > Contacts). Here, you can view, edit, delete, and bulk delete contacts.
Inline editing can help you amend details of contacts without opening the edit contact form. For contacts, it is available from records’ grids and view pages.
If the Edit Inline icon appears next to a value, inline editing is available for it.
To edit contacts from the grid using inline editing, perform the same actions as for inline editing from the contact page.
Create an Address
For customers, customer users contacts in Oro application, the address book allows to enter and view account address details.
To add an address to the address book:
Click Add Address in the right corner.
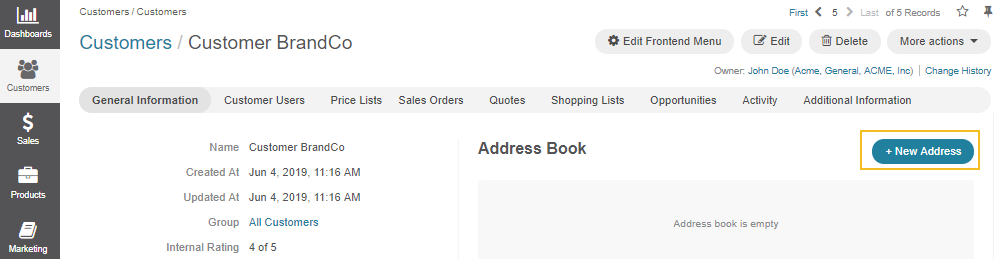
A popup form appears with the following fields to fill in:
Field
Description
Types
Defines the type of the address to be entered:
Billing
Shipping
Default Billing
Default Shipping
Note: More than one type can be selected for one address.
Primary
Checking the Primary box marks the address primary. Note that only one primary address is possible. Marking a different address primary will by default delete this mark from the address that has previously been marked Primary.
Label
Identify the address by adding a label. This can help distinguish addresses if there is more than one address in the address book for one account.
Name prefix
If applicable, add a prefix to the name, e.g., Dr., Mrs., etc.
First name
Enter the first name of the account representative.
Middle name
Enter the middle name of the account representative.
Last name
Enter the last name of the account representative.
Name suffix
If applicable, add a suffix name, e.g., IV, Jr., etc.
Organization
Specify the organization represented by the account.
Country*
This field is mandatory. Select the country from the list. Selecting a country prompts additional fields to appear (Street, City, State, Zip/postal code, Phone). Street, City, and Zip are mandatory fields.
Note
Either the Organization or both the First and Last Name fields are mandatory.
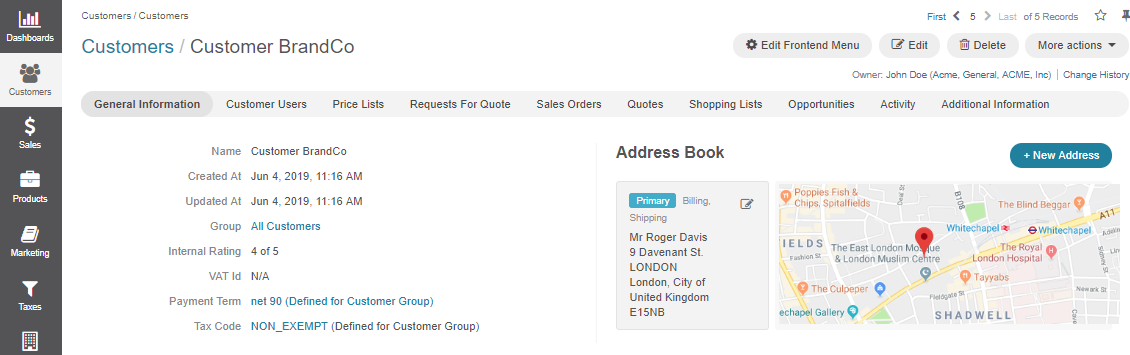
Click Save once you have filled in all the fields.
The address and the map showing the address location is displayed on the right of the address.
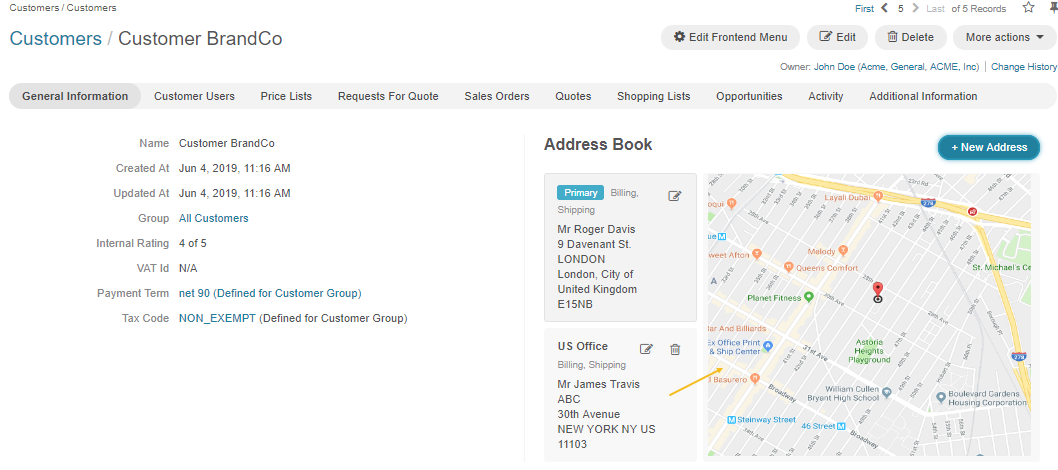
View an Address on the Map
It is possible to add more addresses to the same account. If you have more than one address on the Address Book page, clicking on one or the other will prompt a map to appear that corresponds to the selected address.
Manage an Address
Mark address as primary - To mark the address as primary, click on the right top of the address background, check the Primary box and click Save. The primary label will move to the updated address.
Note
Delete is disabled for the primary address. To delete the address marked as primary, you need to move the primary label to a different address first.
Edit an address - To edit an address, click on the right top of the address background, update the address details and click Save.
Delete an address - Delete an address by clicking next to it.