Important
You are browsing the documentation for version 4.1 of OroCommerce, OroCRM and OroPlatform, which is no longer maintained. Read the latest LTS version of the Oro documentation to get up-to-date information.
See our Release Process documentation for more information on the currently supported and upcoming releases.
Manage Users in the Storefront
This section provides information on how you can manage your organization users and roles, so they have the necessary level of access to the OroCommerce storefront capabilities.
The storefront user, role and permissions provide users with access to data and the ability to perform tasks based on their business responsibilities and the company guidelines. The ability to do this is crucial for both the buyer and the seller, as it helps support the various operations of their businesses. OroCommerce comes out of the box with the capabilities to allow buyers and sellers to specify the exact roles and permissions each user requires in order to do their job as efficiently as possible, eliminate mistakes and save money.
To locate users:
Navigate to Account in the user menu.
Click Users in the menu on the left.
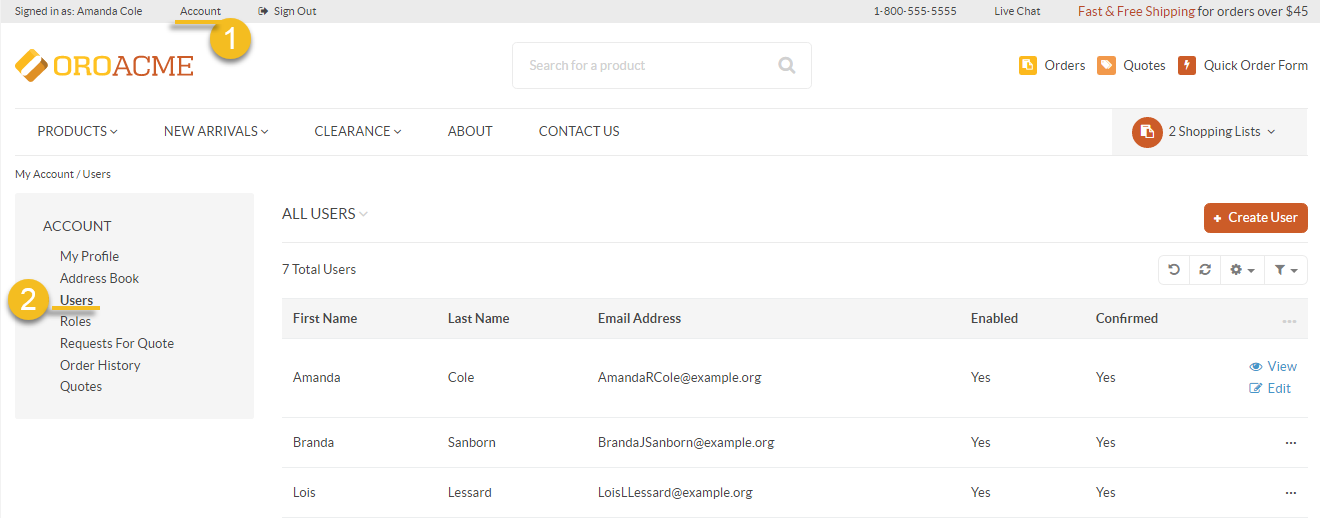
On the All Users page, you can view and edit the existing users, or create new ones.
Note
Please note that the ability to edit your account information depends on the permissions that correspond to your role. These are defined by the administrator.
The Users grid shows the following data:
First Name
Last Name
Email Address
Enabled
Confirmed
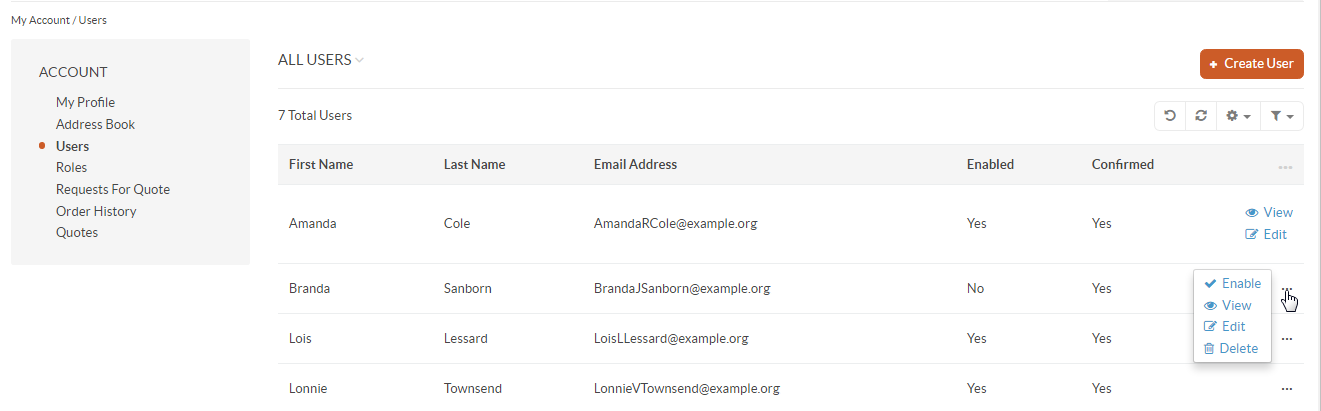
More Actions (View, Edit, Enable/Disable, Delete).
Within the table you have the following action buttons available:
Refresh the view table: click to update the view table.
Reset the view table: click to clear view table customization and return to default settings. Reset applies to all filters, records per page and sorting changes that you have made.
Table settings: click to define which columns to show in the table.
Customer User View Page
The Customer User View Page has the name of the selected user in the page header.

The page has two sections:
Create a New User
To create a new user, click +Create User on the top right of the page, next to the view table name.
A form will emerge with the following data to provide:
Customer
Enabled check box
Email Address
Name Prefix
First Name
Middle Name
Last Name
Name Suffix
Send Welcome Email check box
Birthday
Password
Confirm Password
Generate Password check box
Roles: administrator/buyer check boxes