Important
You are browsing the documentation for version 4.1 of OroCommerce, OroCRM and OroPlatform, which is no longer maintained. Read the latest LTS version of the Oro documentation to get up-to-date information.
See our Release Process documentation for more information on the currently supported and upcoming releases.
Manage Product Attributes in Product Families
View Details of Product Families
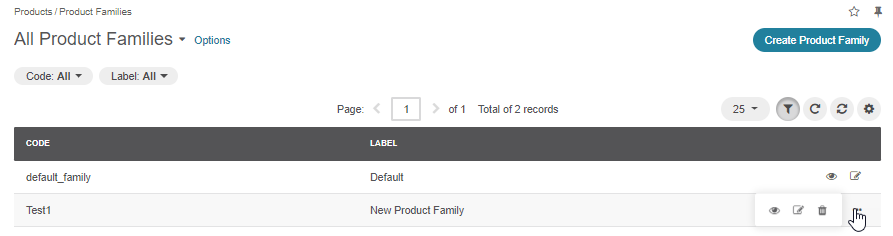
To view all product families, navigate to Products > Product Families in the main menu.
From the product families page, you can:
Create a new product family
Filter existing product families
Manage product family grid settings ( View or Edit product family details by clicking the required icon at the end of a product family row)
Additionally, you can edit the details of a product family on the product families details page by clicking Edit on the top right of its page.
Edit Product Families
To edit a product family:
Navigate to Products > Product Families in the main menu.
Choose the required product family from the list and click the More Options menu at the end of the corresponding row, and click the Edit icon.
Update the necessary information.
Click Save on the top right of the page.
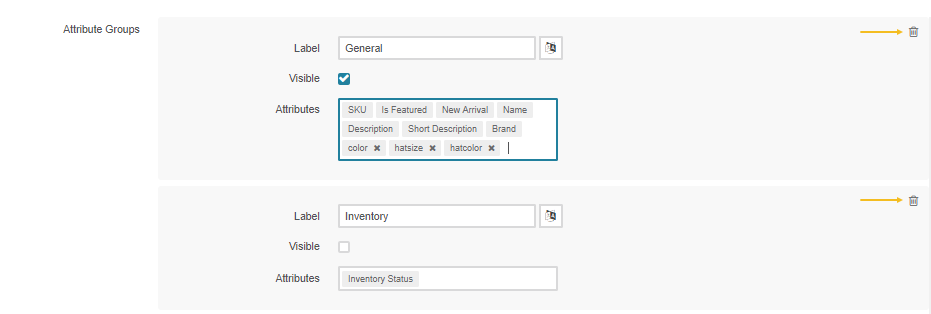
Add a New Product Attribute Group
In the Attributes section, click + Add to create a new group.
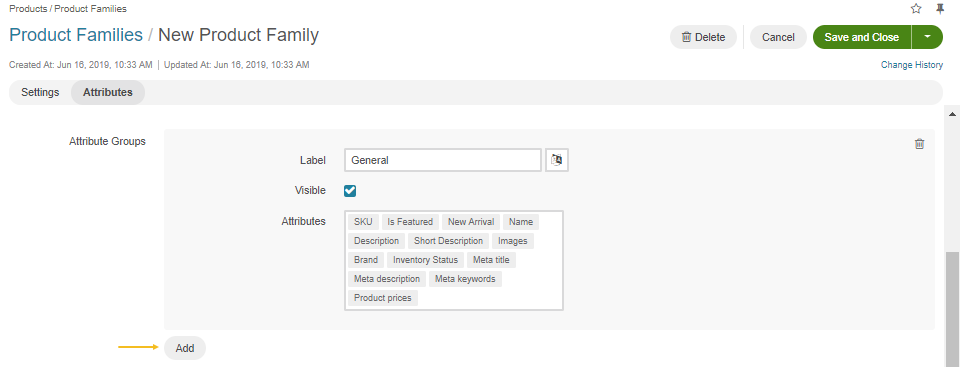
Enter the label and add the product attributes:
Start typing the product attribute name. A filtered list will appear as you type.
Select the attribute from the list or press
Enteronce there is only one option.
Once you are done with the product attribute organization, click Save.
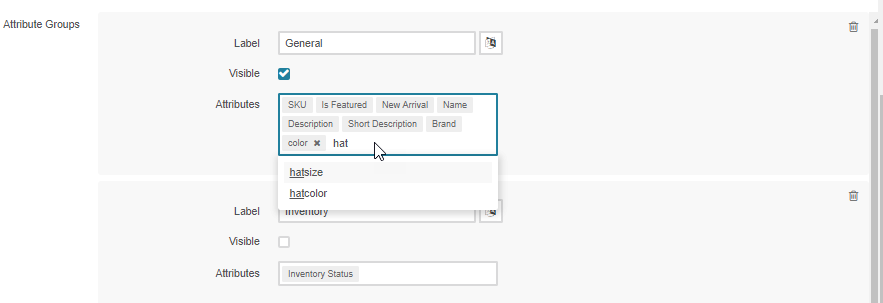
Add a Product Attribute to the Attribute Group
In the Attribute Groups field, start typing the product attribute name. A filtered list will appear as you type. Select the attribute from the list or press
Enteronce there is only one option.Once you are done with the product attribute organization, click Save.
Move a Product Attribute to Another Attribute Group
When an attribute you are adding to the group is already a member of another attribute group in this product family, the move from <attribute group> will be shown next to the attribute name in the hint list that appears as you type.
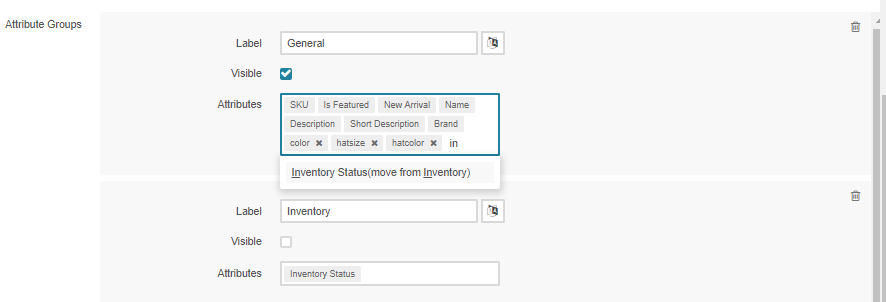
Adding such attribute to another group will remove it from its current group.
Once you are done with the product attribute organization, click Save.
Delete a Product Attribute from the Attribute Group
1.Click x next to the attribute name to remove it from the attribute group. Though it is impossible to delete system attributes, you can move them to the default attribute group. This will remove an attribute from its current group.
2.Click Save.
Delete a Product Attribute Group
Click on the top right of the group area.
If the group contains any system attributes, the confirmation dialog appears. Once confirmed, the group is deleted, and the system attributes are automatically moved to the default group.
Click Save.