Important
You are browsing the documentation for version 4.1 of OroCommerce, OroCRM and OroPlatform, which is no longer maintained. Read the latest LTS version of the Oro documentation to get up-to-date information.
See our Release Process documentation for more information on the currently supported and upcoming releases.
Add Comments
You Oro application enables you to add comments on details of an activity. For instance, you may want to comment on a task or a logged call that was made, or possibly comment that you can’t attend a particular meeting.
Important
By default, the list of activities available for each entity is determined by what is most commonly used by businesses. However, if your company’s work process requires it, you can always turn the desirable activity on for almost any entity (except technical ones). If you need particular activities to be enabled for an entity, contact your administrator, or see steps 4 and 5 of the Create an Entity action description.
Note
See a short demo on how to add comments, or keep reading the guidance below.
How to Create and View Comments
Once a record or an activity have been created, a comment can be added to it from:
The page of a specific record
When editing a specific record
The page of an activity-related record
Caution
The ability to view and write comments depends on the permissions and role settings defined in the system for the Comment entity.
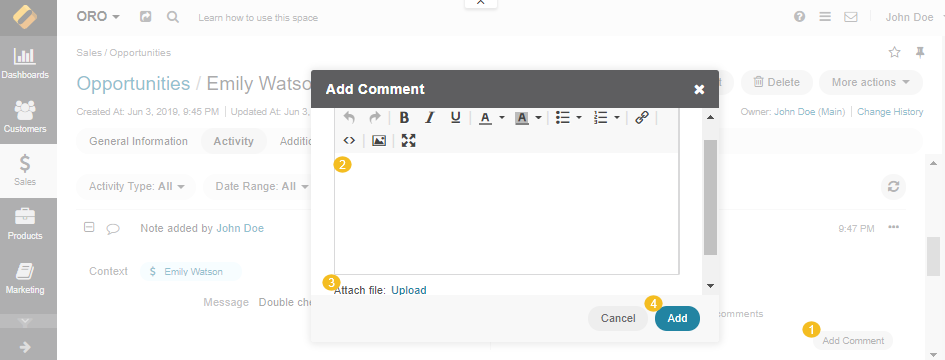
To add a comment:
Click Add Comment.
Enter the comment into the text-box.
Click Choose File to upload a file to your comment.
Click Add to save the comment.