
Important
You are browsing the documentation for version 1.6 of OroCommerce, OroCRM and OroPlatform, which is no longer maintained. Read the latest LTS version of the Oro documentation to get up-to-date information.
See our Release Process documentation for more information on the currently supported and upcoming releases.
Cases
Cases are issues or problems reported by customers or found internally. With Oro, you can record, monitor, and solve cases in time to ensure that small and big issues do not harm the business of your company.
Oro application also provides an out-of-box integration with the Zendesk customer support platform. Once Oro and Zendesk are integrated, you can sync Zendesk tickets as cases into the Oro application.
Before proceeding to the step-by-step guidance, have a look at a short demo on how to create and manage cases in your Oro application.
Create a Case
To create a new case:
Navigate to Activities > Cases in the main menu.
Click Create Case on the top right of the page.
Provide the following information:
Name Description Subject Provide a meaningful title for the case. Description Provide the description for the issue (optional). Resolution Provide problem resolution details (optional). Owner Limits the list of users that can manage the case (view, edit) to users, whose roles allow managing cases assigned to the owner (e.g., the owner, owner’s managers, colleagues, etc.).
By default is set to the user filing the case.
To clear the field, click x.
You can choose a different owner from the list.
Assigned To Assign a user responsible for resolving the issue (optional). Source Provide the source of the issue. The possible options are email, other (default), phone, or web. Status Defines the current status of the case processing. The possible options are open (default), in progress, resolved, and closed. Priority Define priority of the task. The possible options are low, normal (default), high. Related Contact Define a contact record related to the case (optional). Related Account Define an account record related to the case (optional). Click Save on the top right.
View and Manage Cases
You can view cases from the following pages in your Oro application:
From the page of all cases under Activities > Cases.
From the Additional Information section on the page of the user to whom the case was assigned (System > User Management > Users).
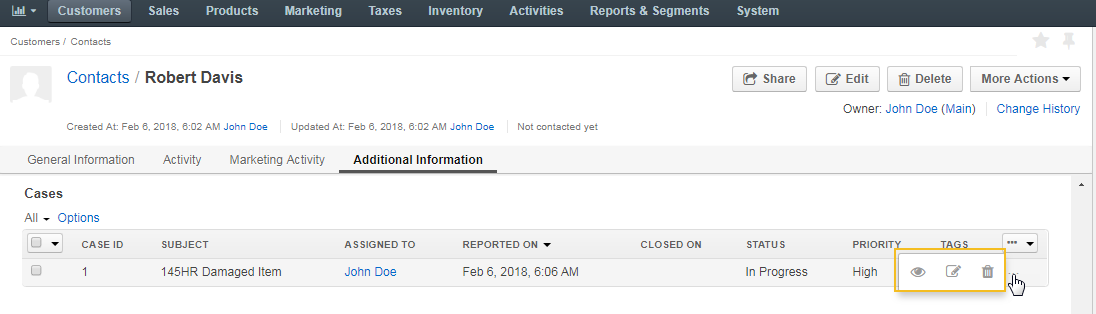
From the Additional Information section on the page of a contact related to the case (Customers > Contacts).
From the Additional Information section on the page of an account related to the case (Customers > Accounts).
You can view, edit, and delete cases using the following action icons on the pages of case-related records:
Note
The tasks can also be mapped to the Zendesk account as described in the Integration with Zendesk topic.
Note
Keep in mind that the ability to view and edit cases depends on specific roles and permissions defined in the system.