
Important
You are browsing the documentation for version 1.6 of OroCommerce, OroCRM and OroPlatform, which is no longer maintained. Read version 5.1 (the latest LTS version) of the Oro documentation to get up-to-date information.
See our Release Process documentation for more information on the currently supported and upcoming releases.
Create a Customer
Note
See a short demo on how to create customers in OroCommerce or keep reading the step-by-step guidance below.
To create a new customer:
Navigate to Customers > Customers in the main menu.
Click Create Customer.
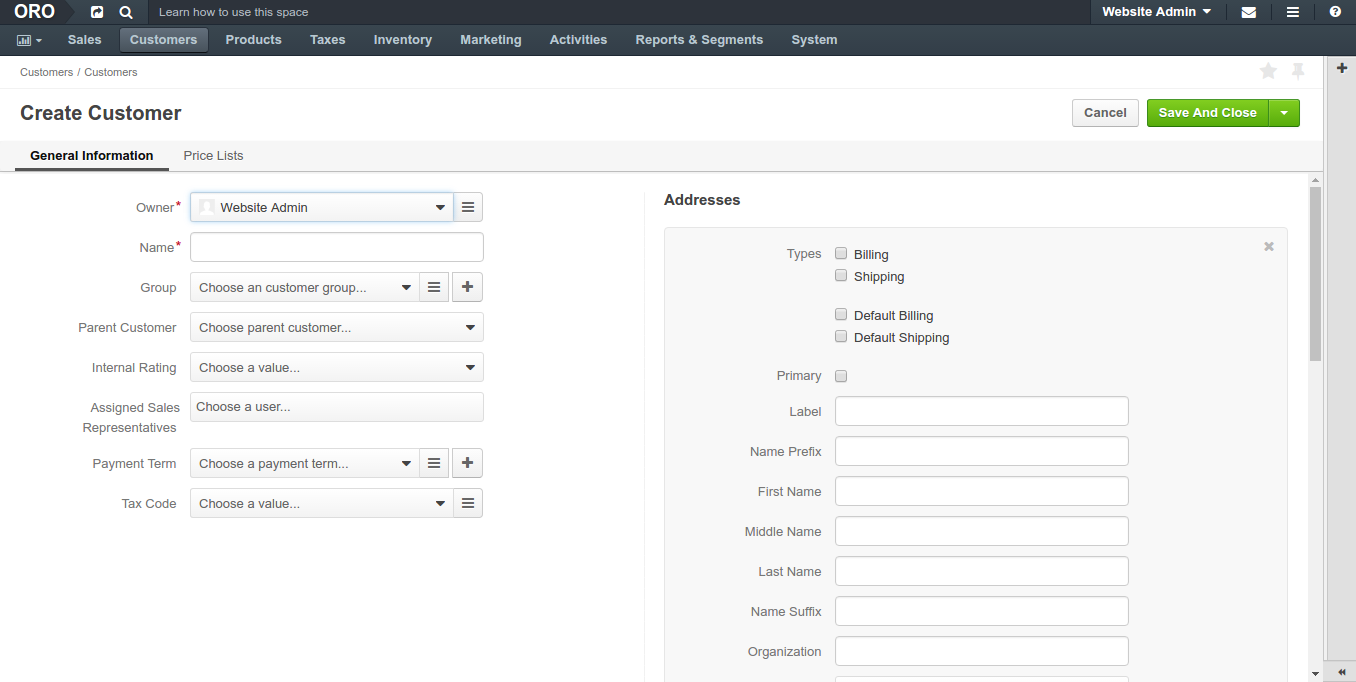
Optionally, select an existing account to help track sales actions and metrics for the customer that is a member of the bigger customer organization. When it remains empty, the new account is created for the new customer automatically.
Fill in the customer Name.
Optionally, add a customer to a customer group if you already have a group with the settings and configuration that fits the new customer.
If you are adding a subsidiary of the existing customer, select Parent Customer.
Assign a sales representative who will be assisting customer users.
Select Tax Code to label the customer group taxation schema.
Add a billing and shipping address as described in the address book section.
In the Additional section, select a Payment term to be used as a payment option available to the customer users during the checkout.
In the Price Lists section, add pricelists and prioritize them as described in the Price List Management for a Customer Group section.
When OroCommerce is deployed with InfinitePay payments support, the customer’s VAT Id shall be captured for their creditworthiness verification. VAT Id should be valid, and the billing address should match the one provided for the VAT registration. These are prerequisites to enable payments via InfinitePay for the customer users.
Click Save in the top right.
Note
Keep in mind that customers with at least one successful registered checkout cannot be deleted from the system.
