Important
You are browsing the documentation for version 1.6 of OroCommerce, OroCRM and OroPlatform, which is no longer maintained. Read the latest LTS version of the Oro documentation to get up-to-date information.
See our Release Process documentation for more information on the currently supported and upcoming releases.
Product Brands
For enhanced eCommerce experience, Oro Application provides the ability to create and manage brands for your web store. This means that each product can be associated with a specific brand, created in the back-office.
Create a Brand
There are two ways to create a brand, from scratch and when creating/editing a product.
Create a New Brand from Scratch
- Navigate to Products > Product Brands in the main menu.
- Click Create Brand.
- In the General section, define the following fields:
- Owner — Select the owner of the product brand. This limits the list of users who can manage it.
- Name — Provide the brand name. The field is mandatory.
- Slug — Enter a URL slug that is used when building a human-readable URL on the storefront. If the field is left blank, the slug will be generated automatically.
- Status — Select product brand status (Enabled/Disabled). The field is mandatory.
- Description — Enter a product brand description.
- Short Description — Enter a short but meaningful description of the product brand to make identification of the brand easier.
- In the SEO section, provide the following information:
- Meta Title — Enter the meta title for the product brand. The meta title is what is seen by search engine users and used by the search engine to help it index the page
- Meta Description — Enter the meta description for the product brand. The meta description summarizes page content. Search engines show the meta description in search results when the searched phrase is contained in the description.
- Meta Keywords — Enter meta keywords for the product. Meta keyword is a specific type of a meta tag that appears in the HTML code of a web page and helps tell search engines what the topic of the page is.
- Click Save.
Create a Brand when Creating or Editing the Product
- Navigate to Products > Products in the main menu.
- Select the product you wish to assign this brand to, click the More Options menu on the far right of the product row, and click Edit.
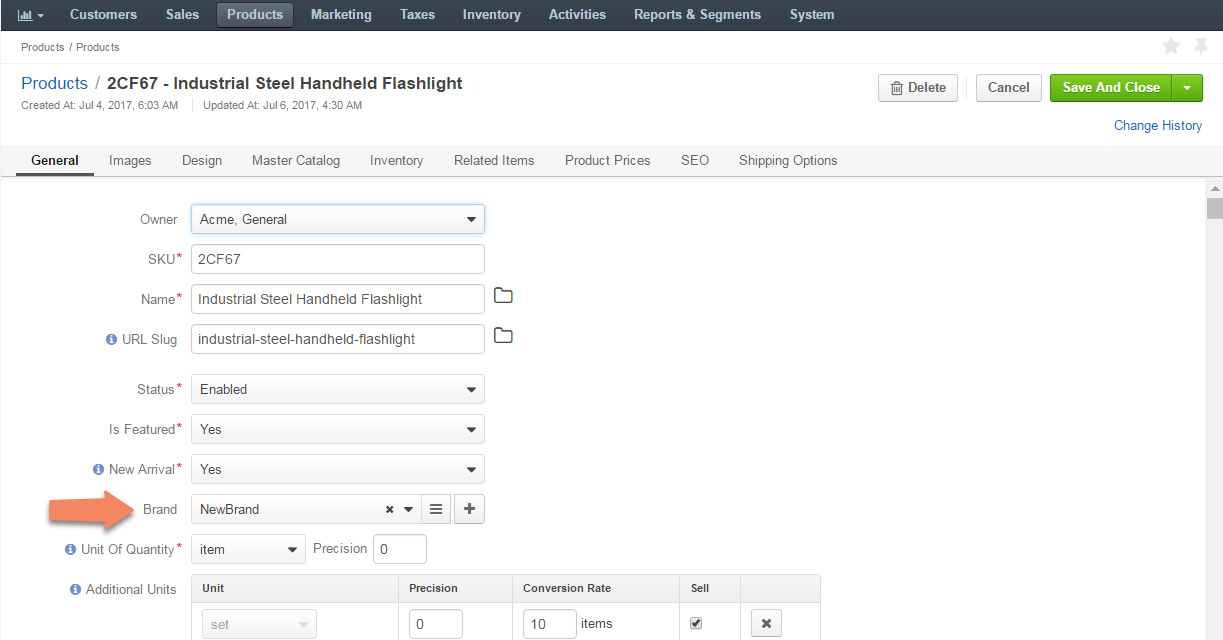
- On the product edit page, click + next to the Brand field to create a new brand.
- Click Save.
Manage Product Brands
Assign Brand to a Product
Once you have created a brand, you can assign it to a product the following way:
Navigate to Products > Products in the main menu.
Select the product you wish to assign this brand to, click the More Options menu on the far right of the product row, and click Edit.
On the product edit page, next to the Brand field, select the brand from the list, or click to view the list of all available brands.
To create a new brand, click +.
Click Save.
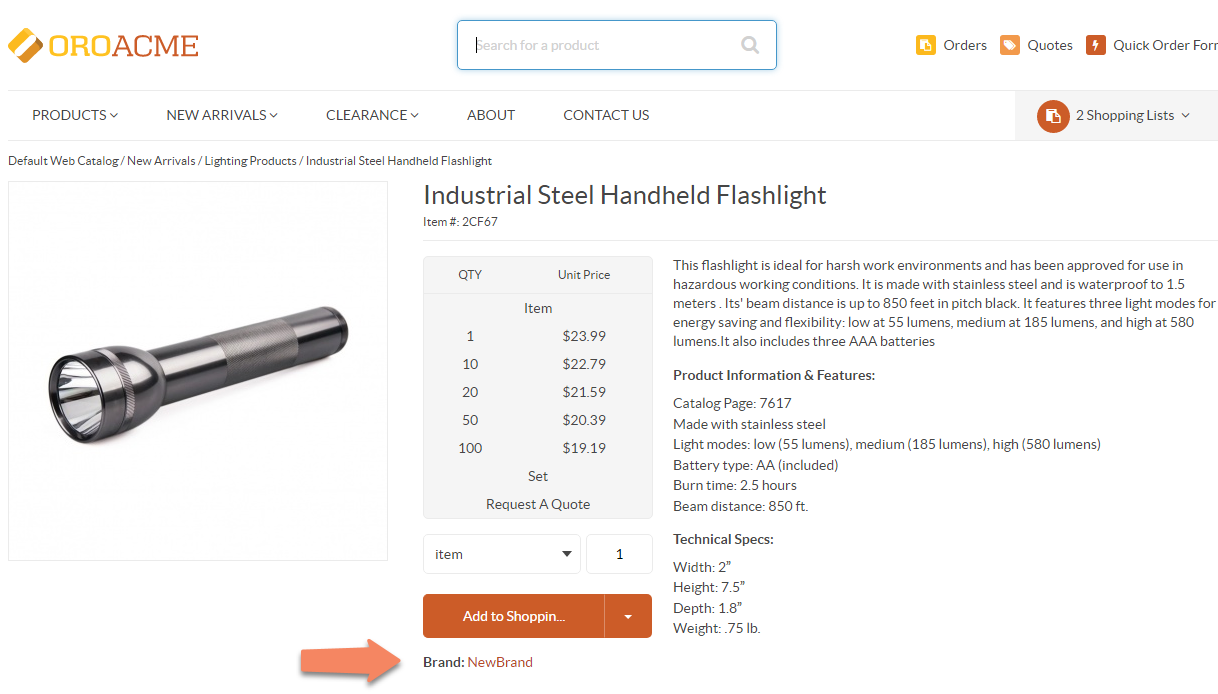
The brand has been assigned to the product and should now be available in the storefront.
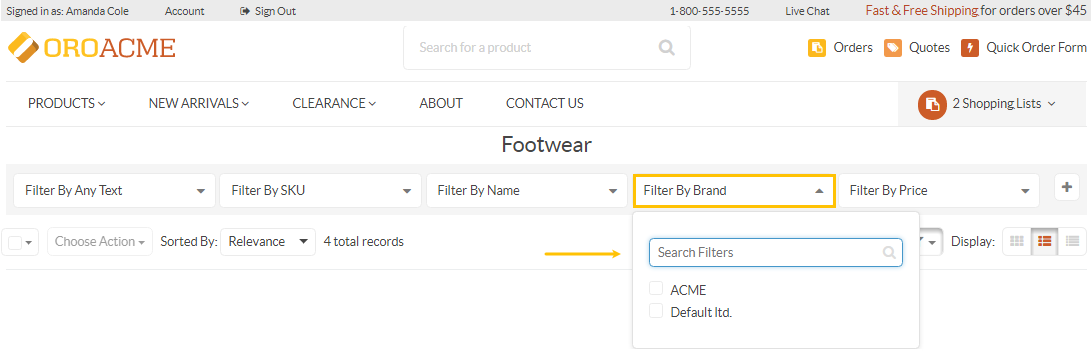
Make a Brand Filterable
Once a brand has been created and assigned to a product, you may set it filterable for the customers to narrow down their search and navigate through your web store in a more efficient and simple way.
Navigate to Products > Product Attributes in the main menu.
Click the brand attribute or at the end of the row to edit the attribute.
In the Frontend options section, set the Filterable option to Yes.
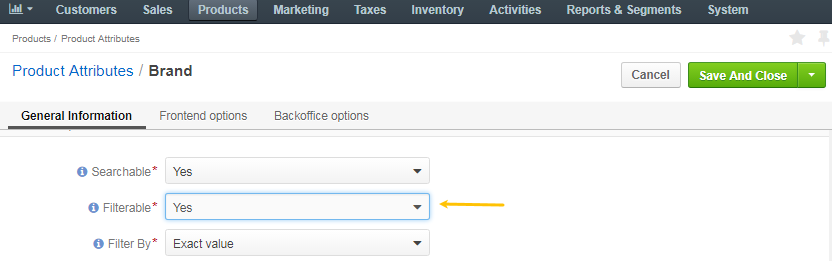
Click Save and Close.
The brand filter is now available in the storefront.