
Important
You are browsing the documentation for version 1.6 of OroCommerce, OroCRM and OroPlatform, which is no longer maintained. Read the latest LTS version of the Oro documentation to get up-to-date information.
See our Release Process documentation for more information on the currently supported and upcoming releases.
Create an Order
Create an Order from Scratch
Hint
See a short demo on how to create a new order from scratch or keep reading for step-by-step guidance.
To create a new order from scratch:
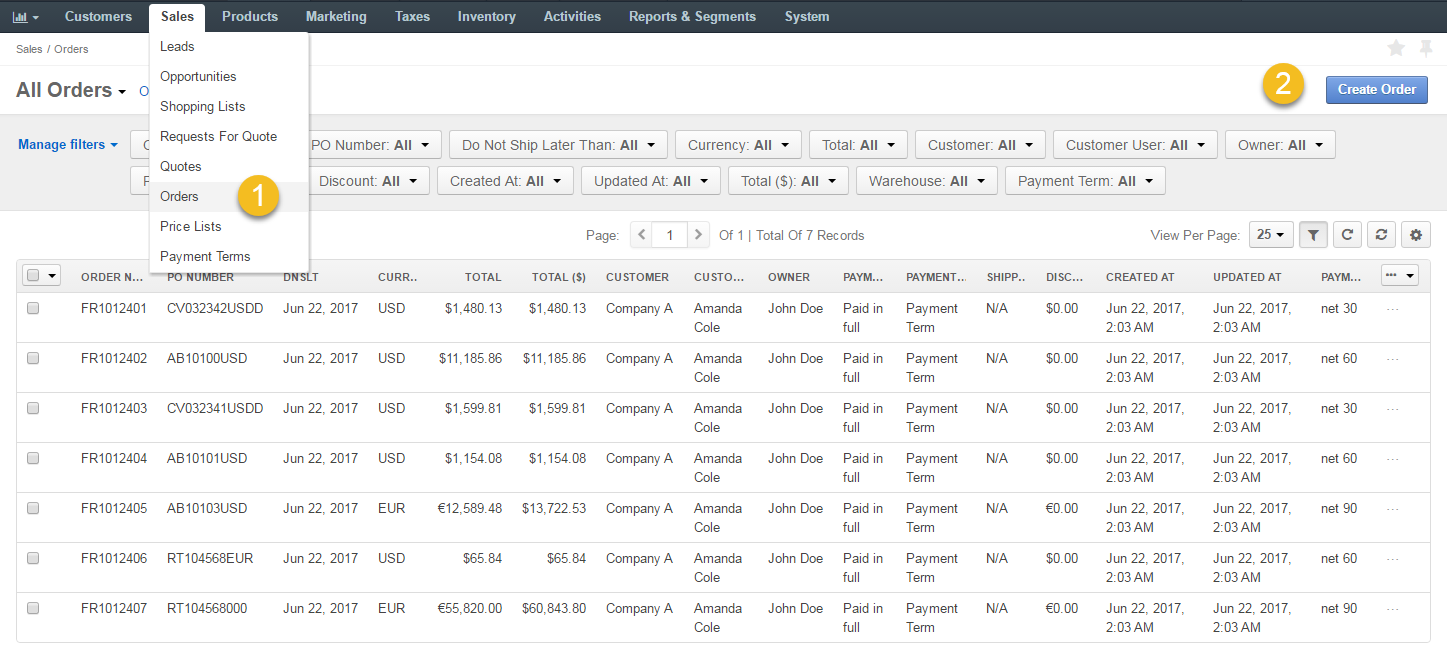
Navigate to Sales > Orders in the main menu.
Click Create Order at the top right of the page.
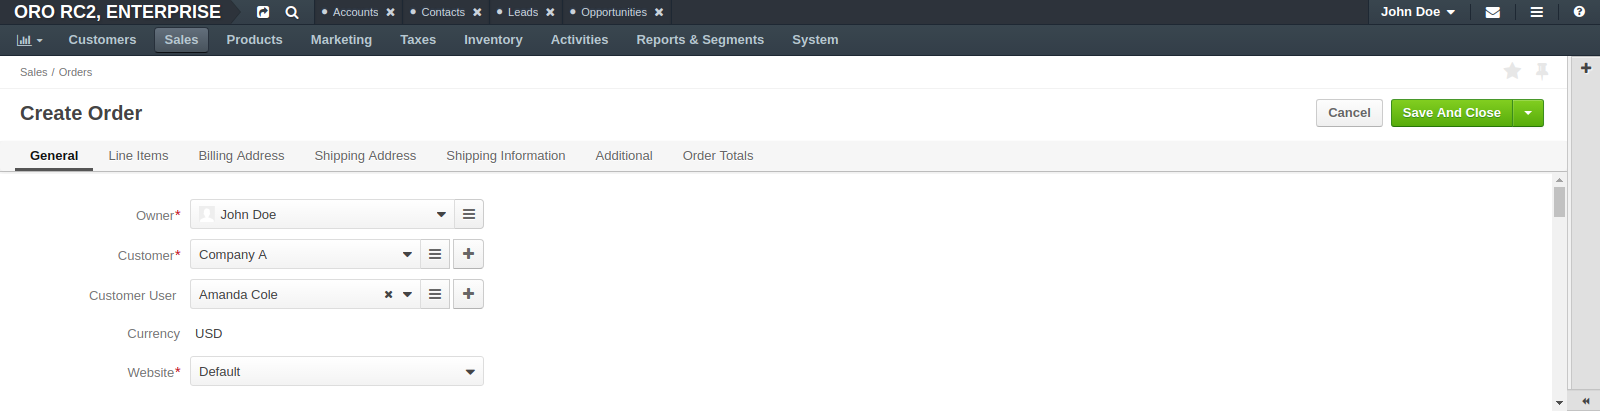
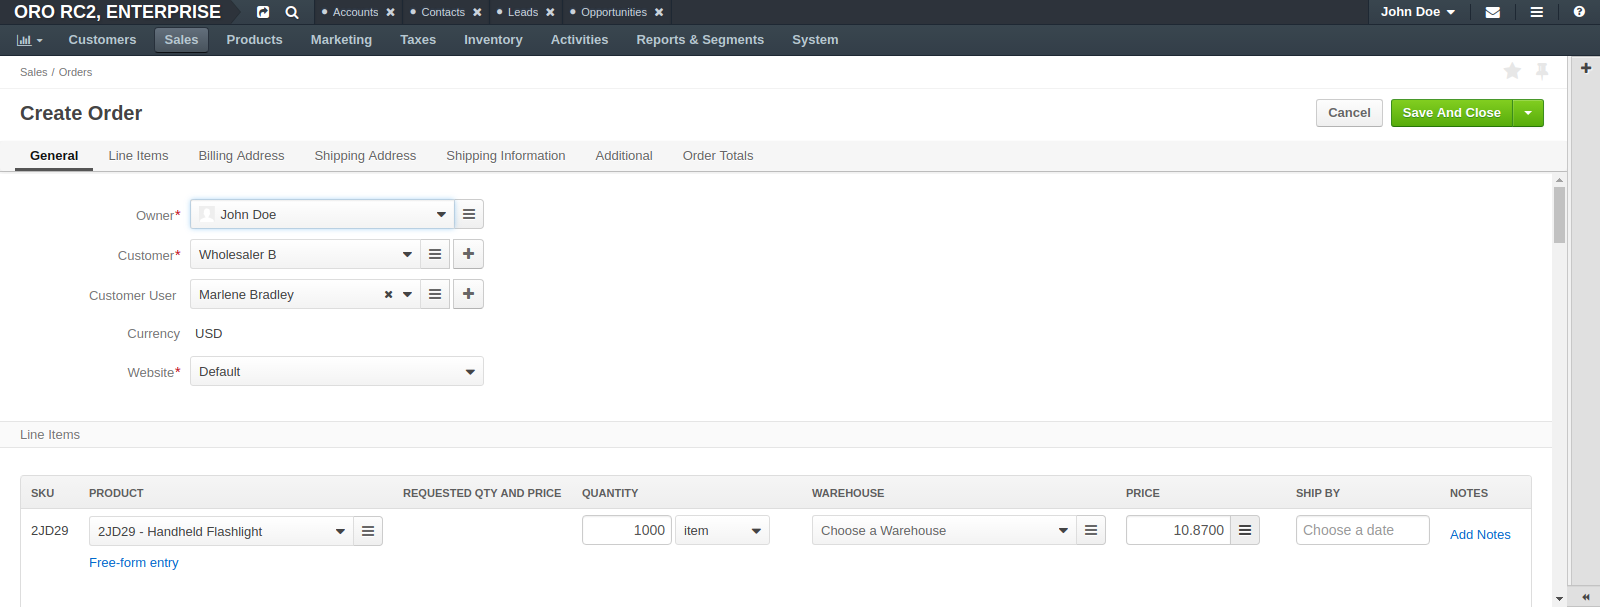
In the General section, fill in the following fields:
- Owner: The owner is prepopulated with the user creating the order, but this value can be changed to another user of the system by clicking and selecting a user from the list.
- Customer: Use the drop-down to select a customer. Click to load the list of customers to choose from. If this is a new customer, click the plus button to open a new customer dialog.
- Customer User: Select a customer user, if necessary. This list will be populated with customer users associated with the customer. If this is a new customer user, click + to open a new customer dialog.
- Website: Select the website from which the order will be created.
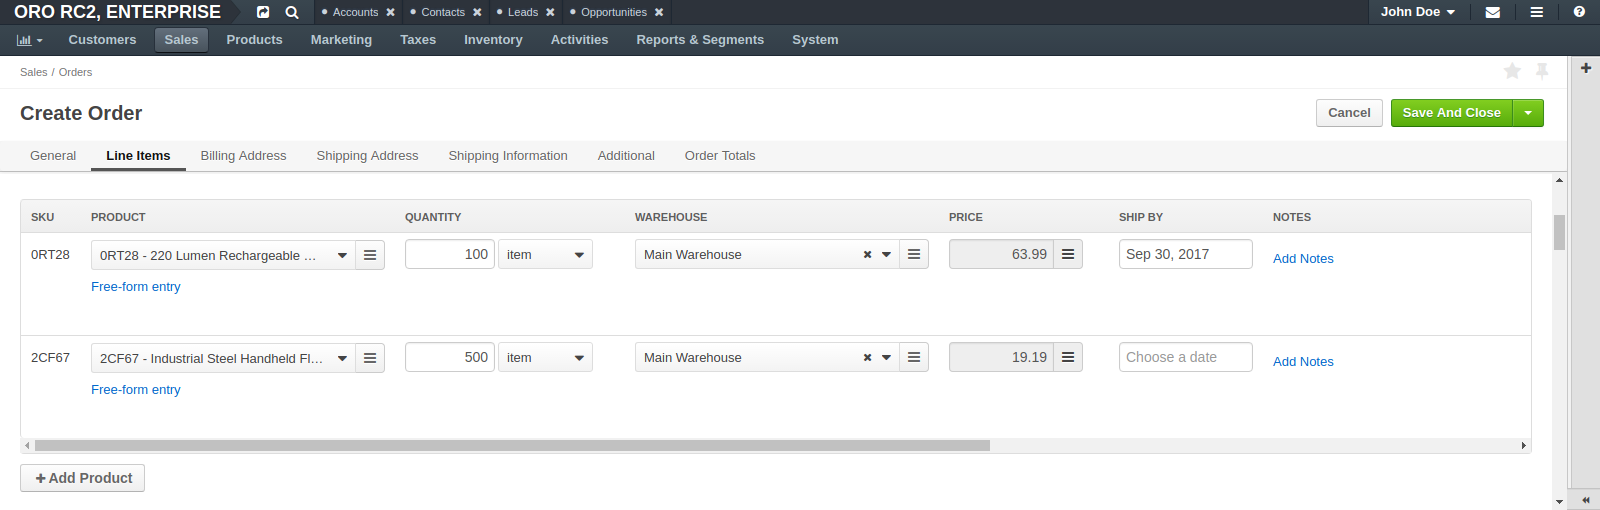
In the Line Items section, provide the following information:
- Product: Add products to the order by clicking +Add Product. Use the drop-down to select a product. Alternatively, begin typing in the name of the product to narrow down your search. To see a list of all the products, click .
- Quantity: Enter product quantity.
- Warehouse: Choose a warehouse from the drop-down, or click to see a list of all warehouses.
- Price: Enter the price for the product, or click to select the price from the list.
- Ship by: If required, choose a date that the order must be shipped by at the customer’s request.
- Add Notes: Click the add notes link if you would like to add a note about the item.
- Taxes: View taxes calculated for the product(s) (if configured).
Note
To add additional products to the order, click +Add Product. To remove a product, click .
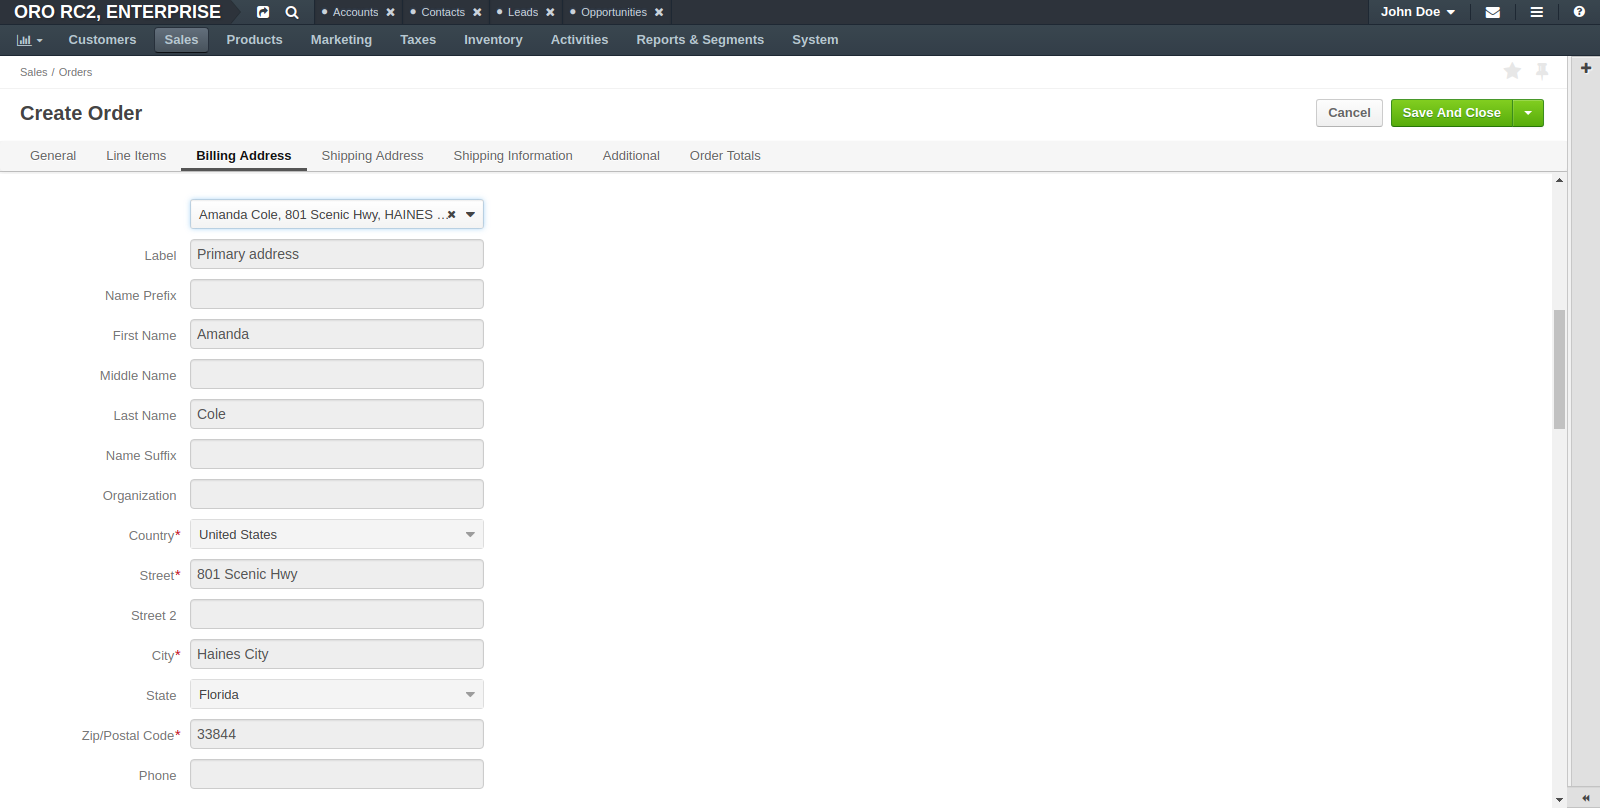
In the Billing Address section, fill in the billing address details when you are done adding products. Use the drop-down list to select an existing billing address, or select Enter Other Address to add a new one.
In the Shipping Address section, fill in the shipping address details. Use the drop-down list to select an existing shipping address, or select Enter Other Address to add a new one.
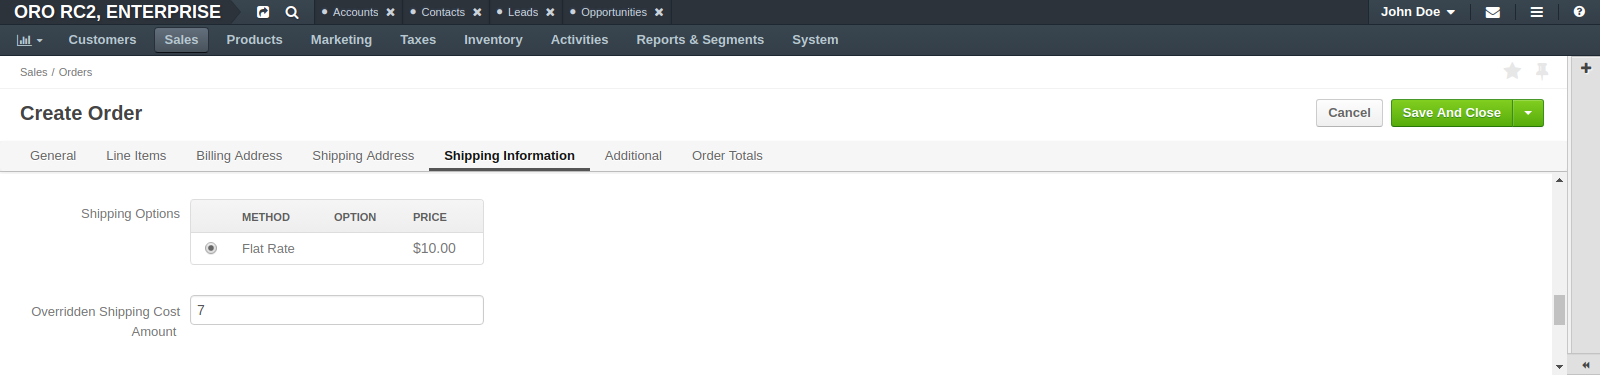
In the Shipping Information section, provide information for the following:
- Shipping Method: Click Calculate Shipping to display any shipping options.
- Shipping Options: Use the radio button to select a shipping option among the preliminary configured shipping rules.
- Overridden Shipping Cost Amount: If required, override the shipping cost by adding your own value.

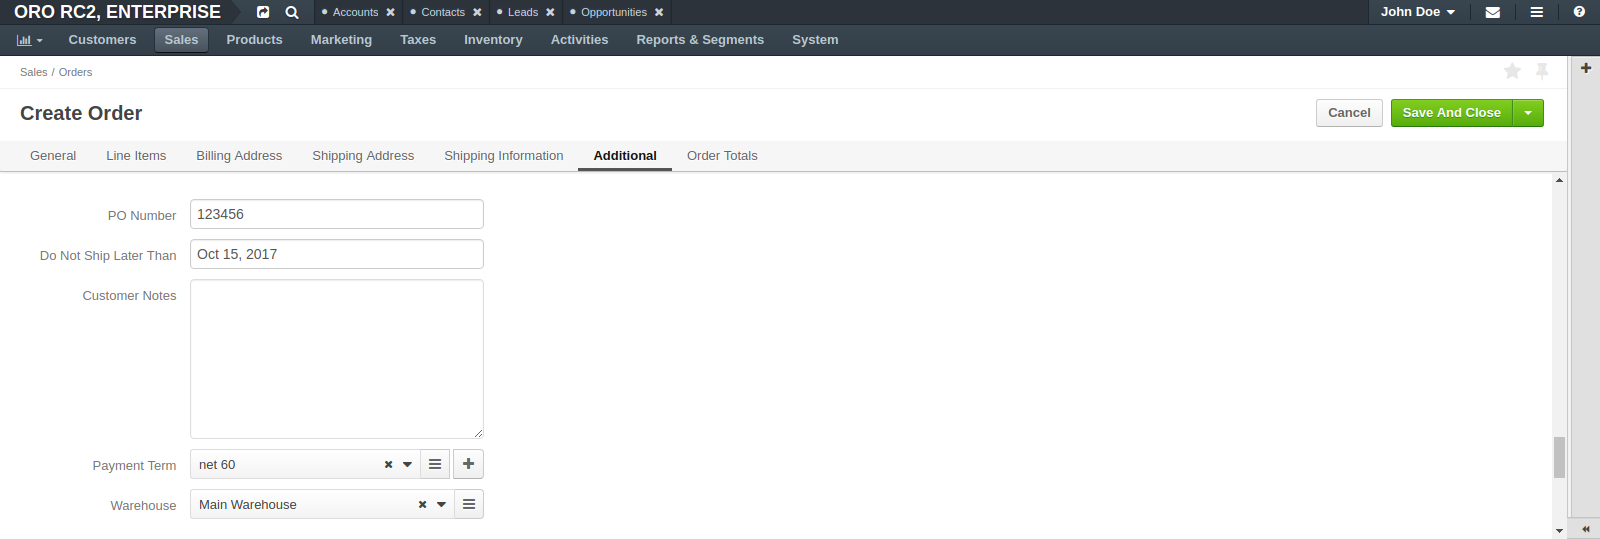
In the Additional section, enter additional details, if required (e.g. PO number, Do Not Ship Later Than date, payment term, and warehouse to ship items from), and add notes for the customer.
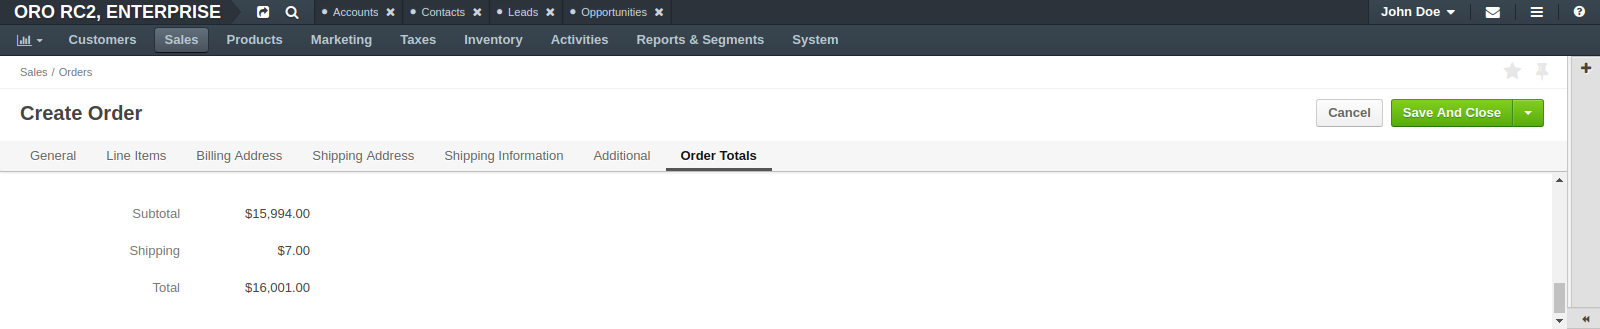
In the Order Totals section, review the final amount.
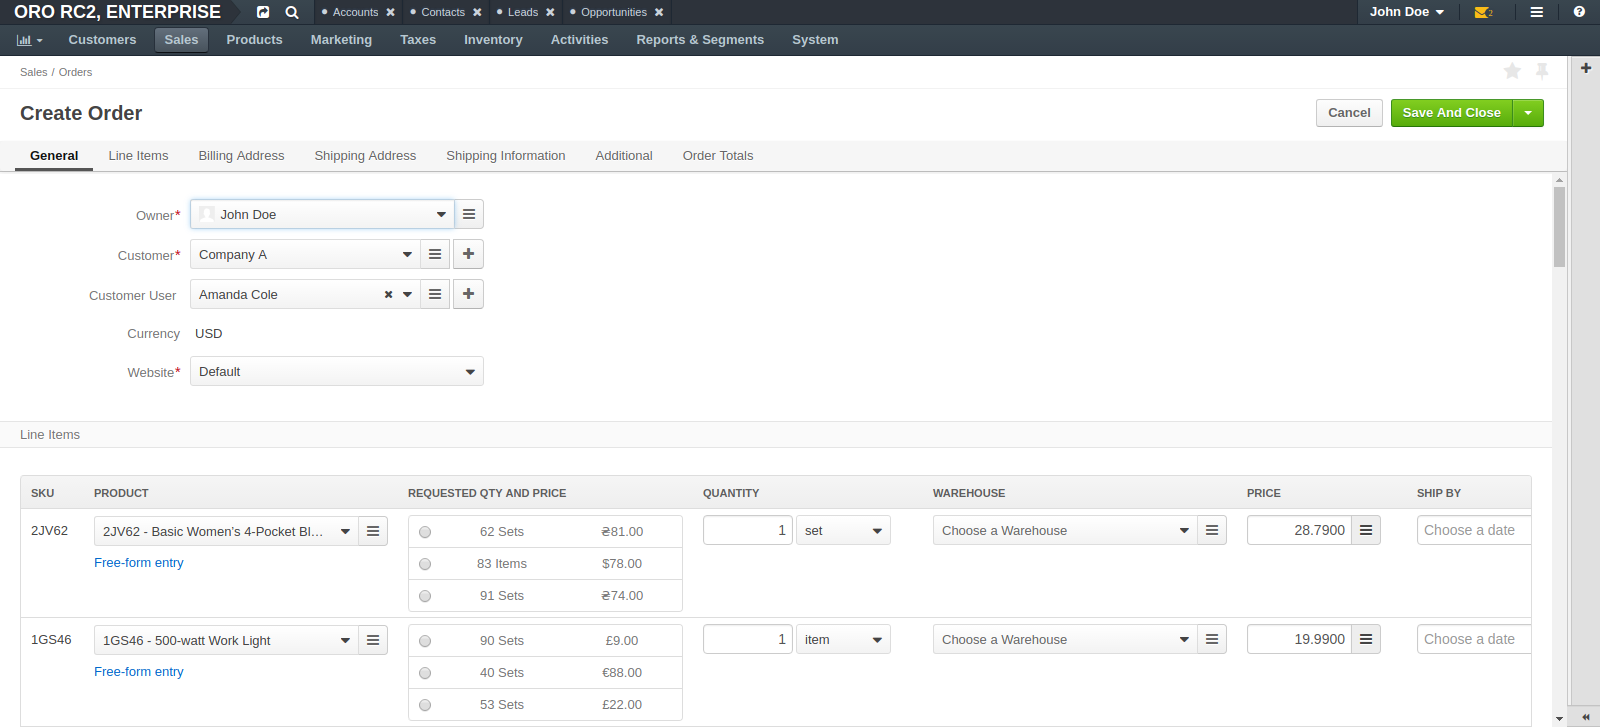
To save the order, click Save on the top right of the page.
The new order is now created.
Hint
By default, an order has internal status Open upon creation. If another status is required for new orders, an administrator must adjust the order creation configuration settings.
Create an Order from a Shopping List
Any time a customer creates a new shopping list, it can be accessed in the back-office. This is helpful if a customer needs assistance finding particular items or with creating an order.
Hint
See a short demo on creating orders from the shopping list or keep reading for step-by-step guidance.
To create an order from a shopping list:
Navigate to Sales > Shopping lists in the main menu.
Open the selected shopping list from the grid.
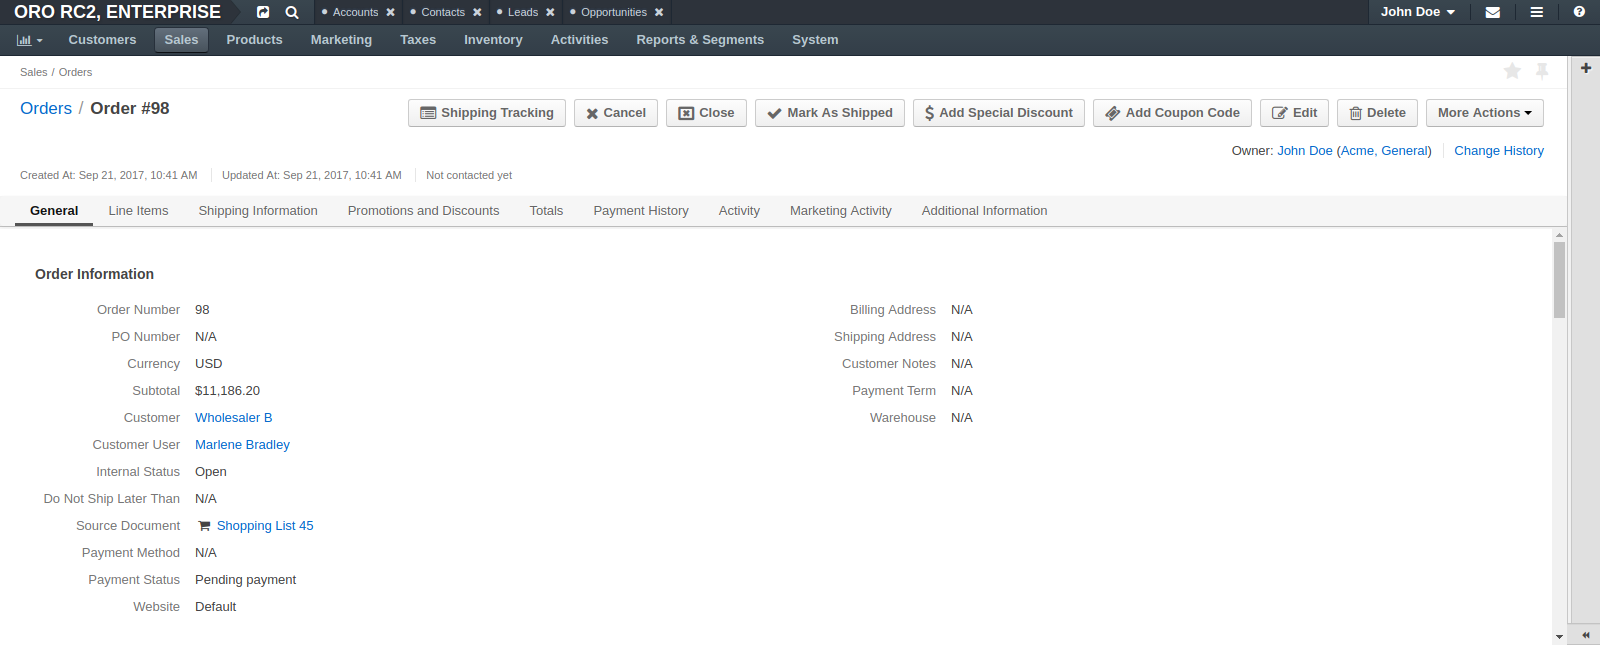
Click Create Order in the top right corner of the page.
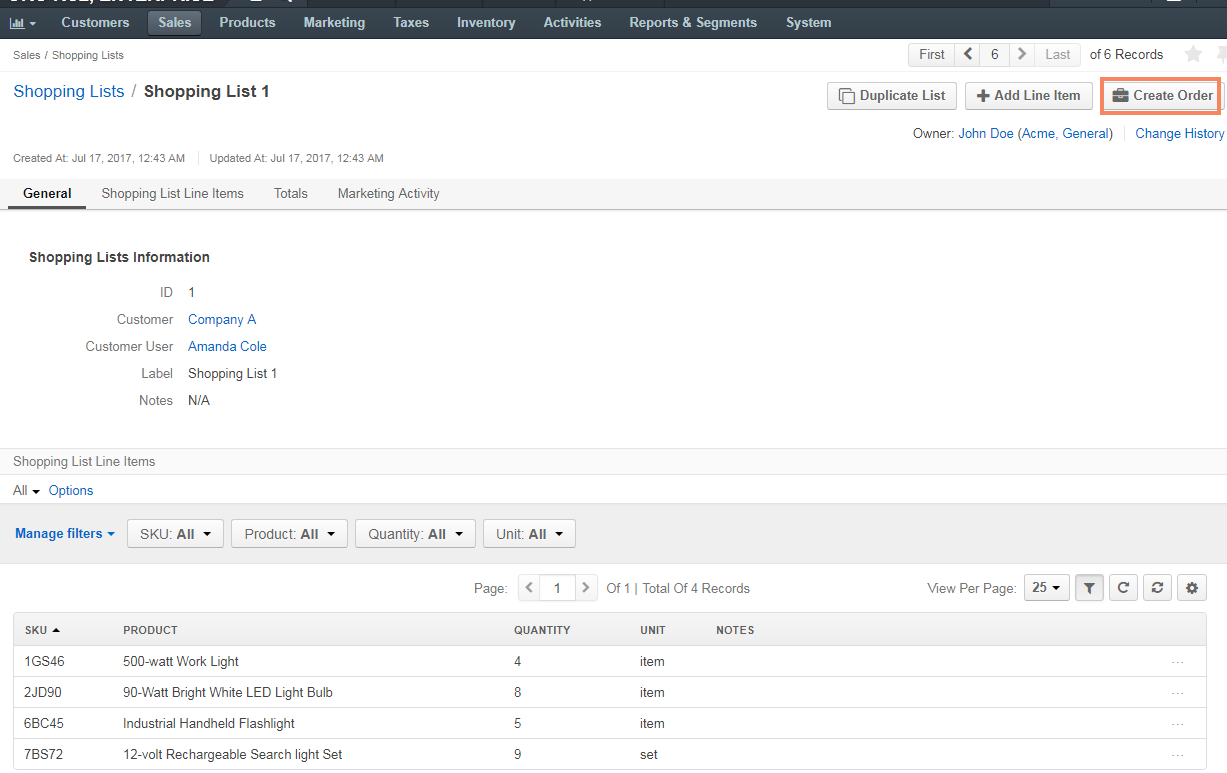
The Create Order form opens, prepopulated with the information from the shopping list:
Amend or add new details to the order, if necessary, as described in the Create an Order from Scratch topic.
Warning
When you modify the order content, order totals and shipping costs may change. Please, review the shipping method selection before saving the order to make sure that the shipping cost is acceptable.
Click Save when you are done.
The new order is now created.
Hint
By default, an order has internal status Open upon creation. If another status is required for new orders, an administrator must adjust the order creation configuration settings.
Create an Order from an RFQ
To create an order based on a request for quote (RFQ):
Navigate to Sales > Requests for Quote in the main menu.
Open the selected RFQ from the grid.
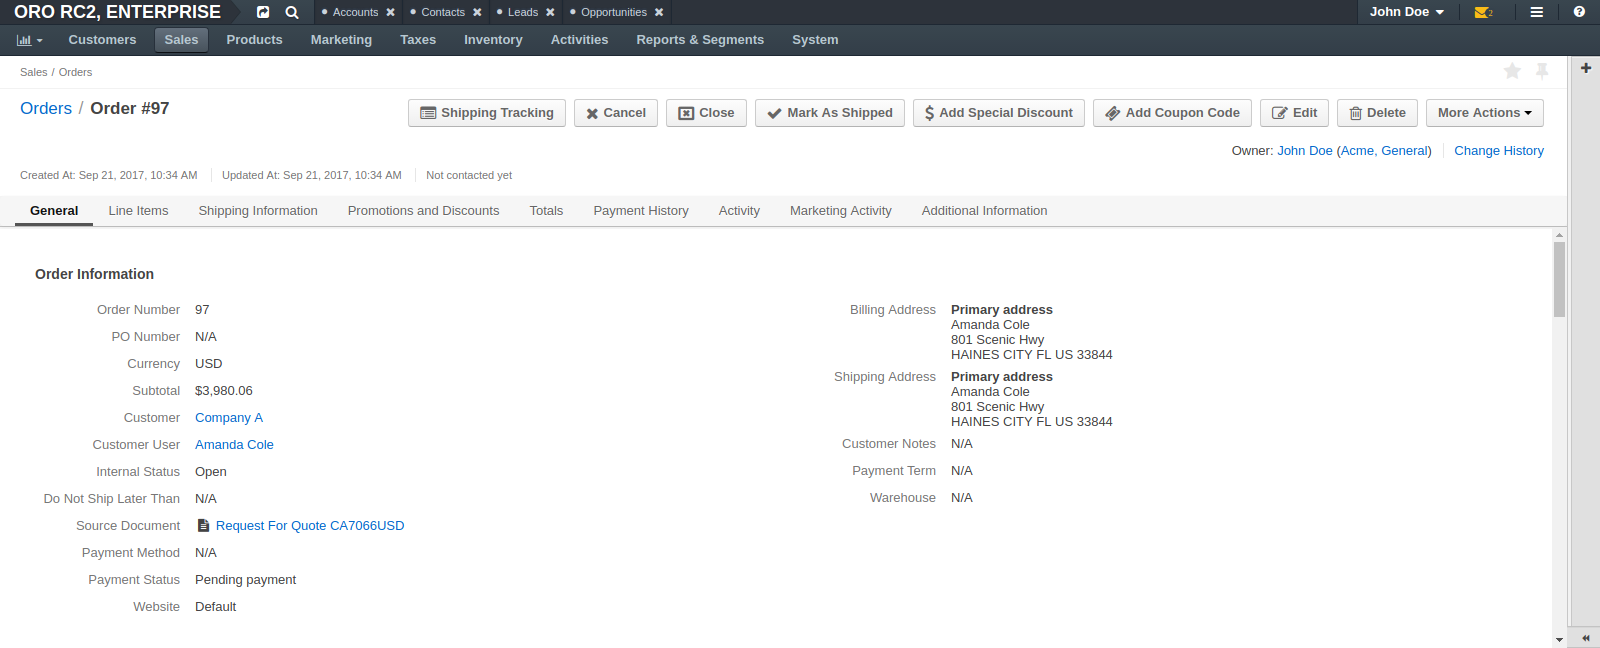
Click Create Order in the top right corner of the RFQ page.

The Create Order form opens prepopulated with the information from the RFQ:
Amend or add new details to the order, if necessary, as described in the Create an Order from Scratch topic.
Warning
When you modify the order content, order totals and shipping costs may change. Please, review the shipping method selection before saving the order to make sure that the shipping cost is acceptable.
Click Save when you have finished.
The new order is now created.
Hint
By default, an order has internal status Open upon creation. If another status is required for new orders, an administrator must adjust the order creation configuration settings.