Important
You are browsing the documentation for version 1.6 of OroCommerce, OroCRM and OroPlatform, which is no longer maintained. Read the latest LTS version of the Oro documentation to get up-to-date information.
See our Release Process documentation for more information on the currently supported and upcoming releases.
Create Eneities from Outlook
With the help of the OroCRM for Outlook add-in side panel, you can create leads, opportunities and cases from Outlook based on email data, or manually, and sync the data back to your Oro application.
Create a Lead from Outlook
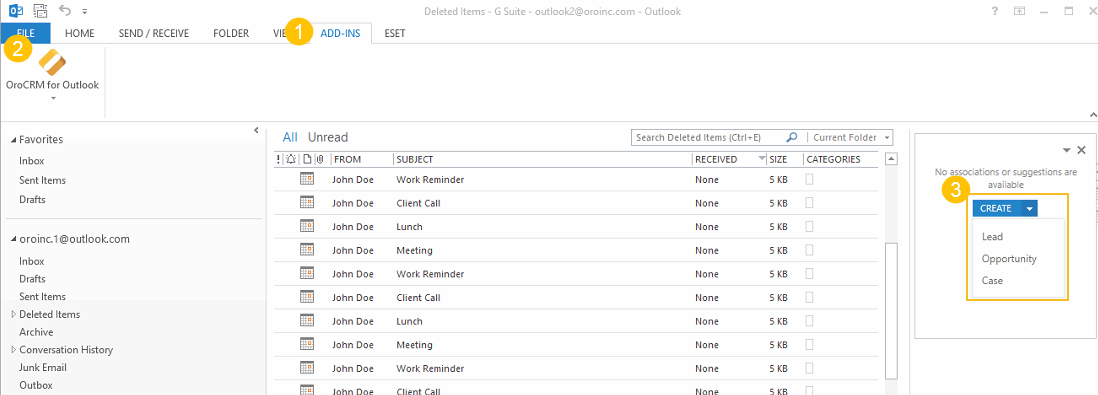
To create a lead, open the add-in side panel in Outlook:
Navigate to ADD-INS in the main menu.
Click OroCRM for Outlook on the top left.
Click Show/Hide Side Panel to open the panel on your right.
Note
You can move the panel to a different location on the screen, if necessary.
In the panel, click Create.
Click Lead.
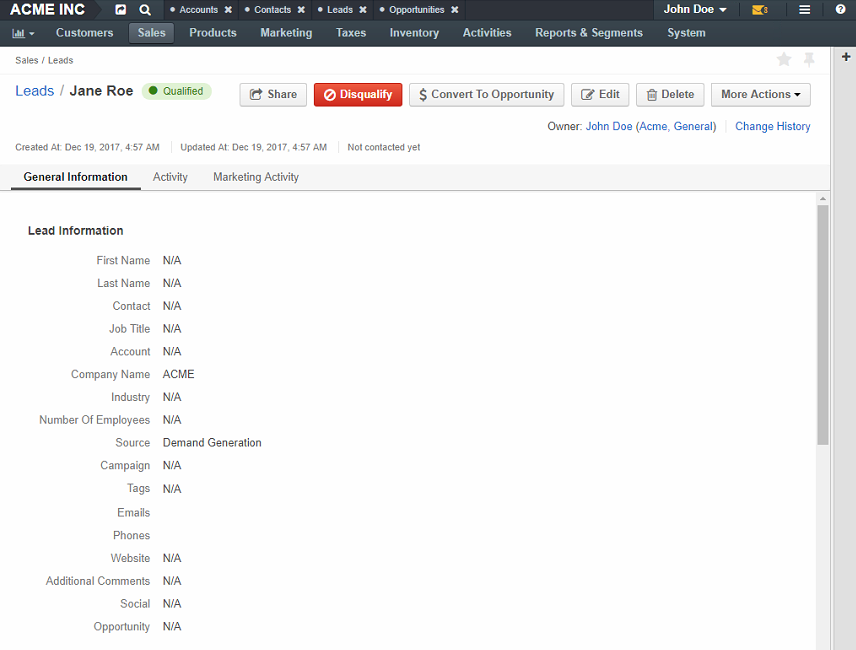
A pop-up window opens with a form to fill in. The create lead form has the same fields as the one in the Oro application.
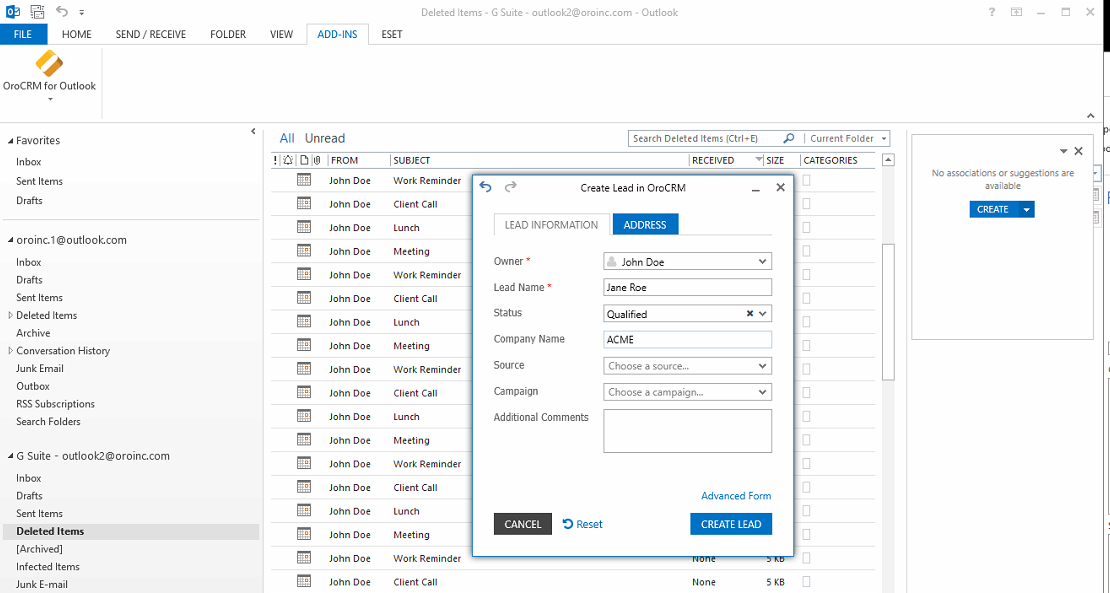
Fill in the required details, and click Create Lead on the bottom right of the pop-up window.
Start sync between the Oro and Outlook applications to sync the new lead back to Oro.
Create an Opportunity from Outlook
To create an opportunity, open the add-in side panel in Outlook:
Navigate to ADD-INS in the main menu.
Click OroCRM for Outlook on the top left.
Click Show/Hide Side Panel to open the panel on your right.
Note
You can move the panel to a different location on the screen, if necessary.
In the panel, click Create.
Click Opportunity.
A pop-up window opens with a form to fill in. The create opportunity form has the same fields as the one in the Oro application.
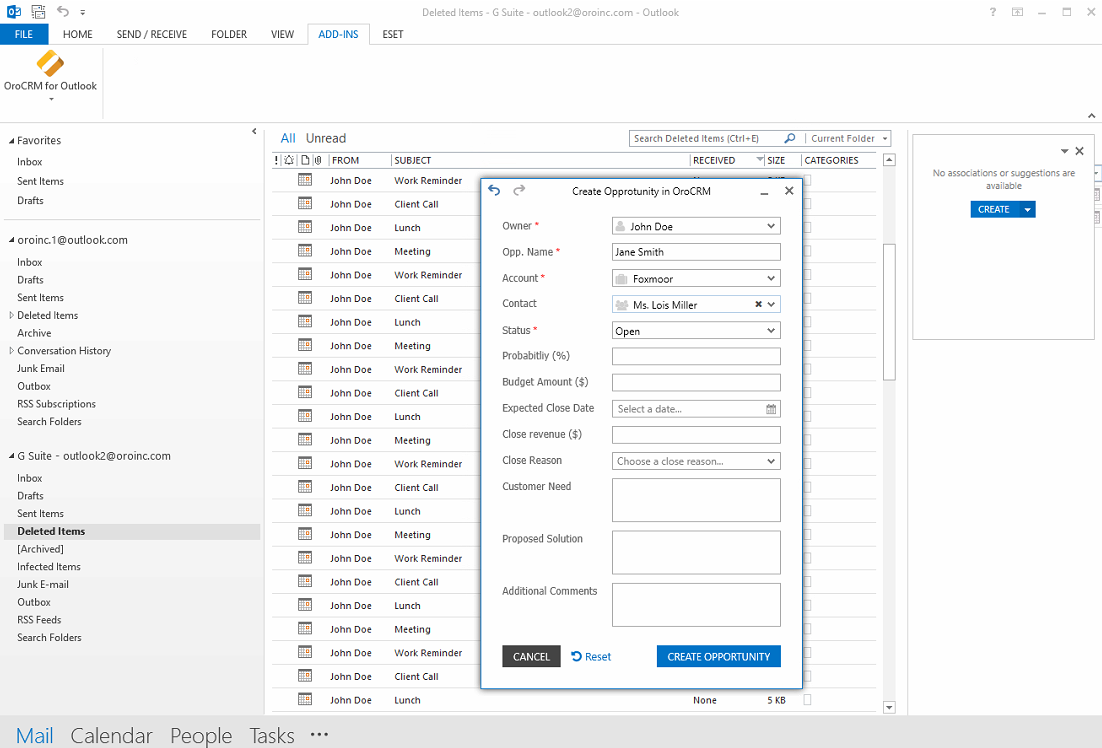
Fill in the required details, and click Create Opportunity on the bottom right of the pop-up window.
Start sync between the Oro and Outlook applications to sync the new opportunity back to Oro.

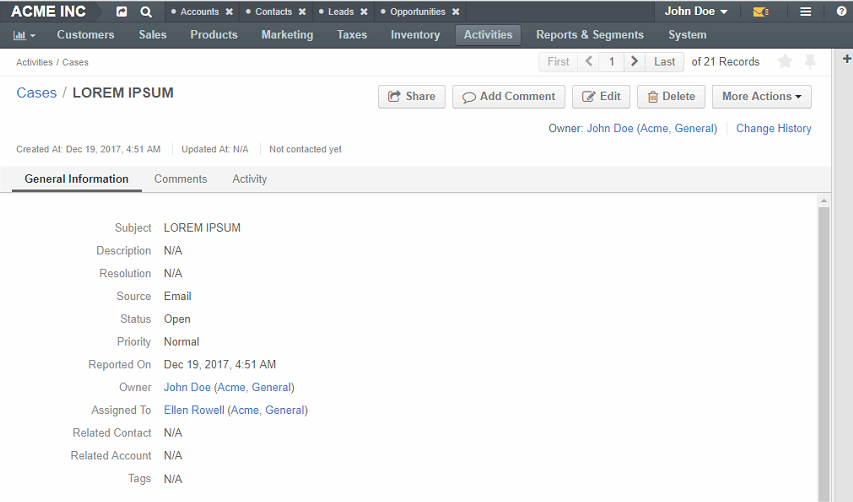
Create a Case from Outlook
To create a case, open the add-in side panel in Outlook.
Navigate to ADD-INS in the main menu.
Click OroCRM for Outlook on the top left.
Click Show/Hide Side Panel to open the panel on your right.
Note
You can move the panel to a different location on the screen, if necessary.
In the panel, click Create.
Click Case.
A pop-up window opens with a form to fill in. The create case form has the same fields as the one in the Oro application.
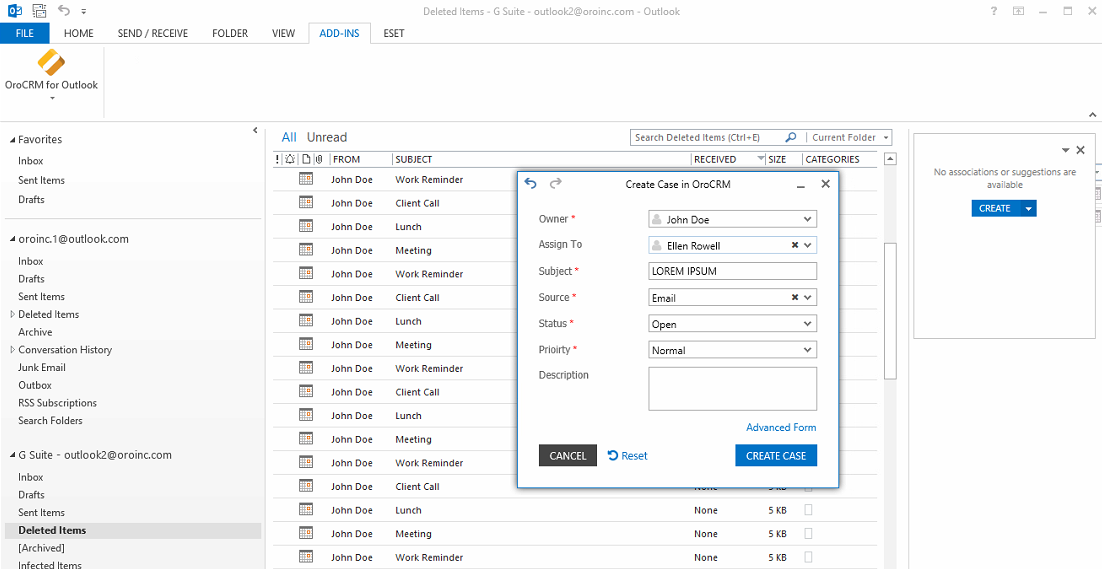
Fill in the required details, and click Create Case on the bottom right of the pop-up window.
Start sync between the Oro and Outlook applications to sync the new case back to Oro.