
Important
You are browsing the documentation for version 1.6 of OroCommerce, OroCRM and OroPlatform, which is no longer maintained. Read the latest LTS version of the Oro documentation to get up-to-date information.
See our Release Process documentation for more information on the currently supported and upcoming releases.
Configure dotmailer Integration
Install Extension
To configure dotmailer integration, ensure that you have the dotmailer extension installed in your application. For installation instructions, click here.
Create API Managed User on the dotmailer Side
To configure integration with OroCRM and OroCommerce on the dotmailer side, create an API managed user:
Log in to dotmailer.
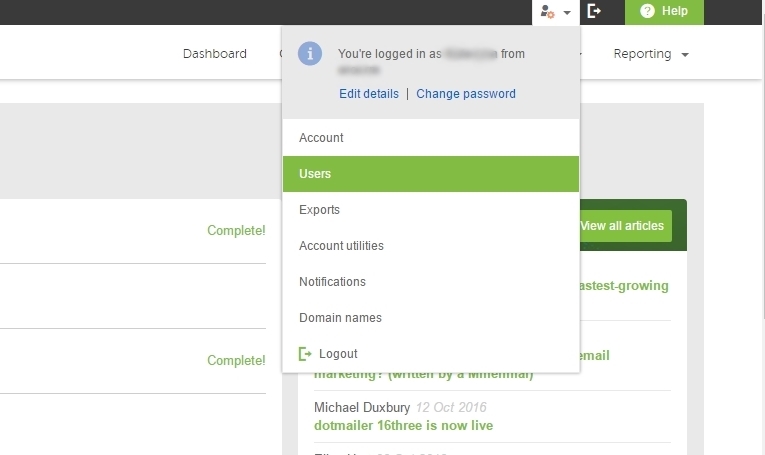
Navigate to your name in the upper-right corner of the page.
Click Users in the dropdown menu.
Select the API Users tab.
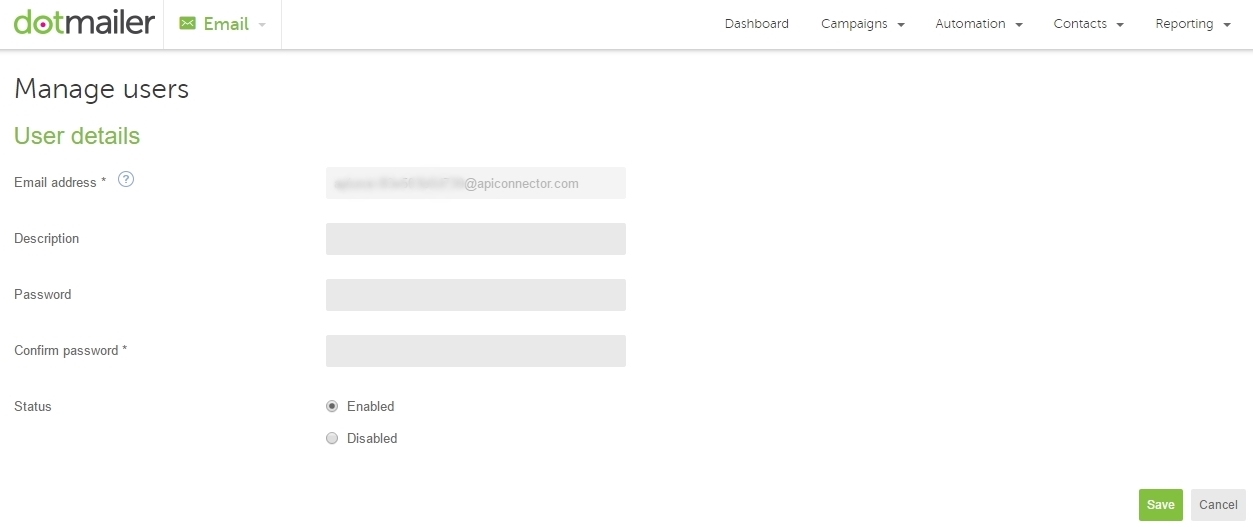
Click the New User button.
Your unique email address will be generated in the Email Address field. You need this email address to configure OroCRM integration with dotmailer.
Next, create and confirm your Password. The Description field is optional. Mark your user Enabled and click Save to proceed.
Create Integration on the Oro Application Side
Navigate to System > Integrations > Manage Integrations in the main menu.
Click Create Integration in the upper-right corner of the page.
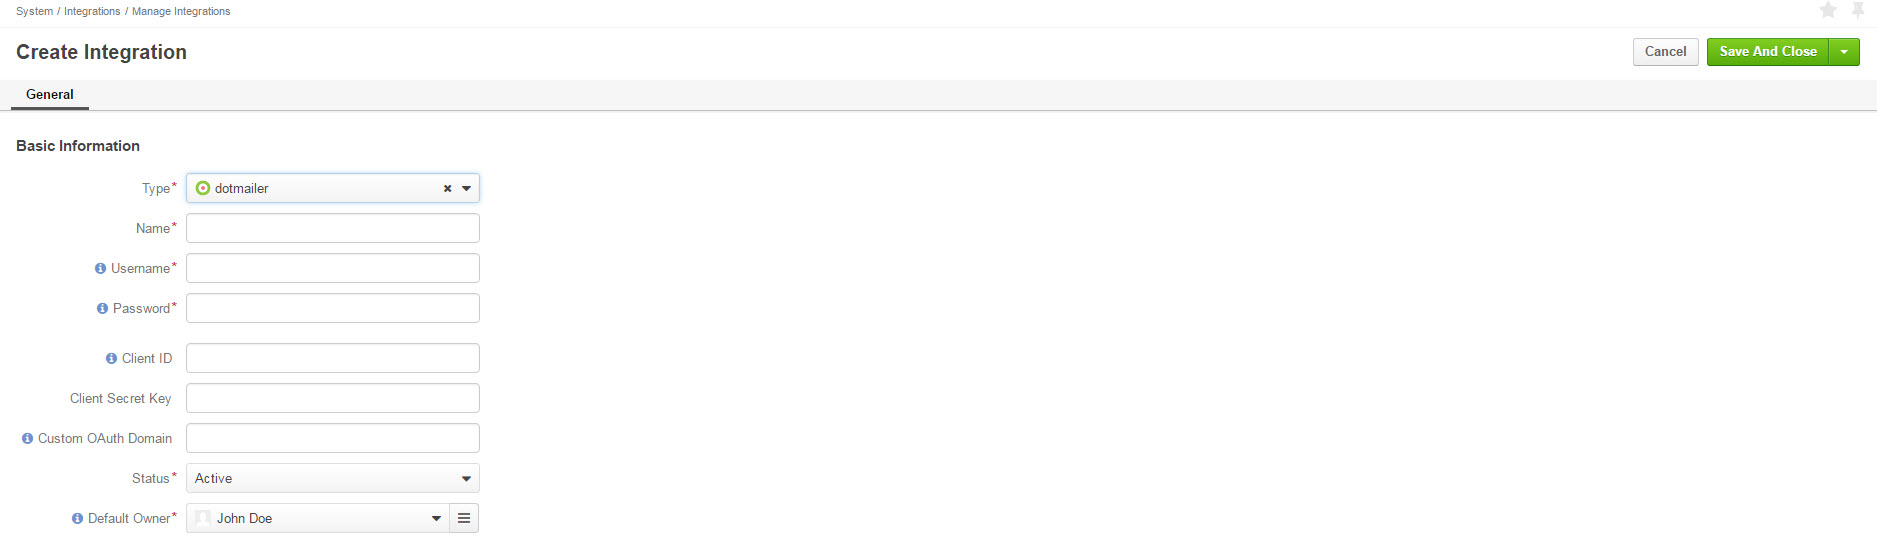
Complete the following fields:
Field Description Type Select dotmailer from the list of integrations available in the dropdown. Name Enter the integration name to refer to within the system. Username Enter an API user name from your dotmailer Manage users page. Password Enter the password you set for your API user on the dotmailer side. Click Check connection. Connection Successful message indicates that connection to dotmailer has been established. Client ID The dotmailer uses OAuth 2.0 to provide single sign-on. Client ID is the ID of the OAuth 2.0 making the request. Single sign-on provides the means for a dotmailer user to log into their account just once, removing the need to constantly re-enter credentials. To register to use OAuth you will need to be on an dotmailer Enterprise license and to contact your dotmailer account manager. More information on sign-on is available in the Configure Single Sign-on section of the guide. Client Secret key The pre-shared client secret, used to authenticate your application when making token request. Custom OAuth Domain Enter custom domain if it is used in dotmailer. By default https://r1-app.dotmailer.com/ is used. Default Owner Select the owner of the integration. The selected user will be defined as the owner for all the records imported within the integration. Once all the details of the integration have been specified, click Save and Close.
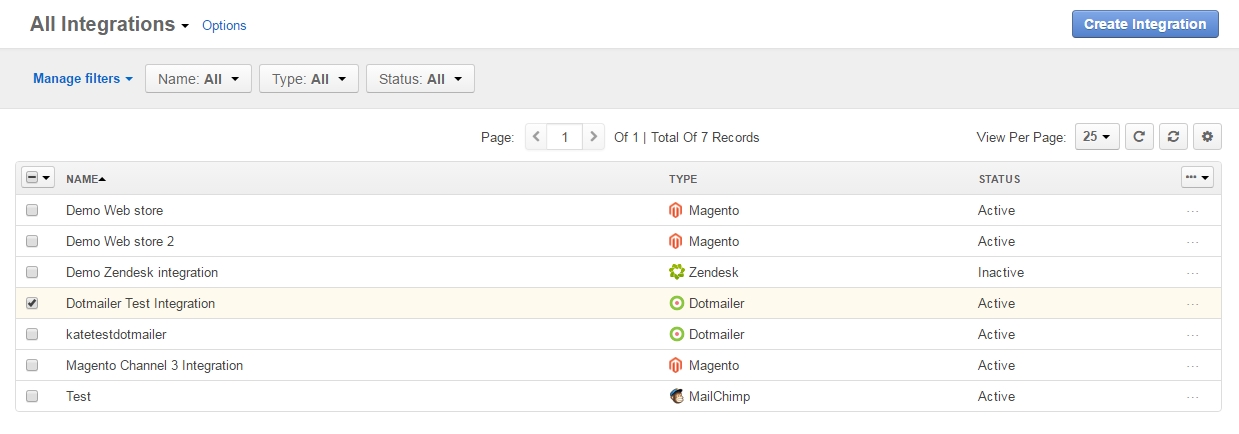
As soon as the integration is successfully configured, it will appear in the integration grid.
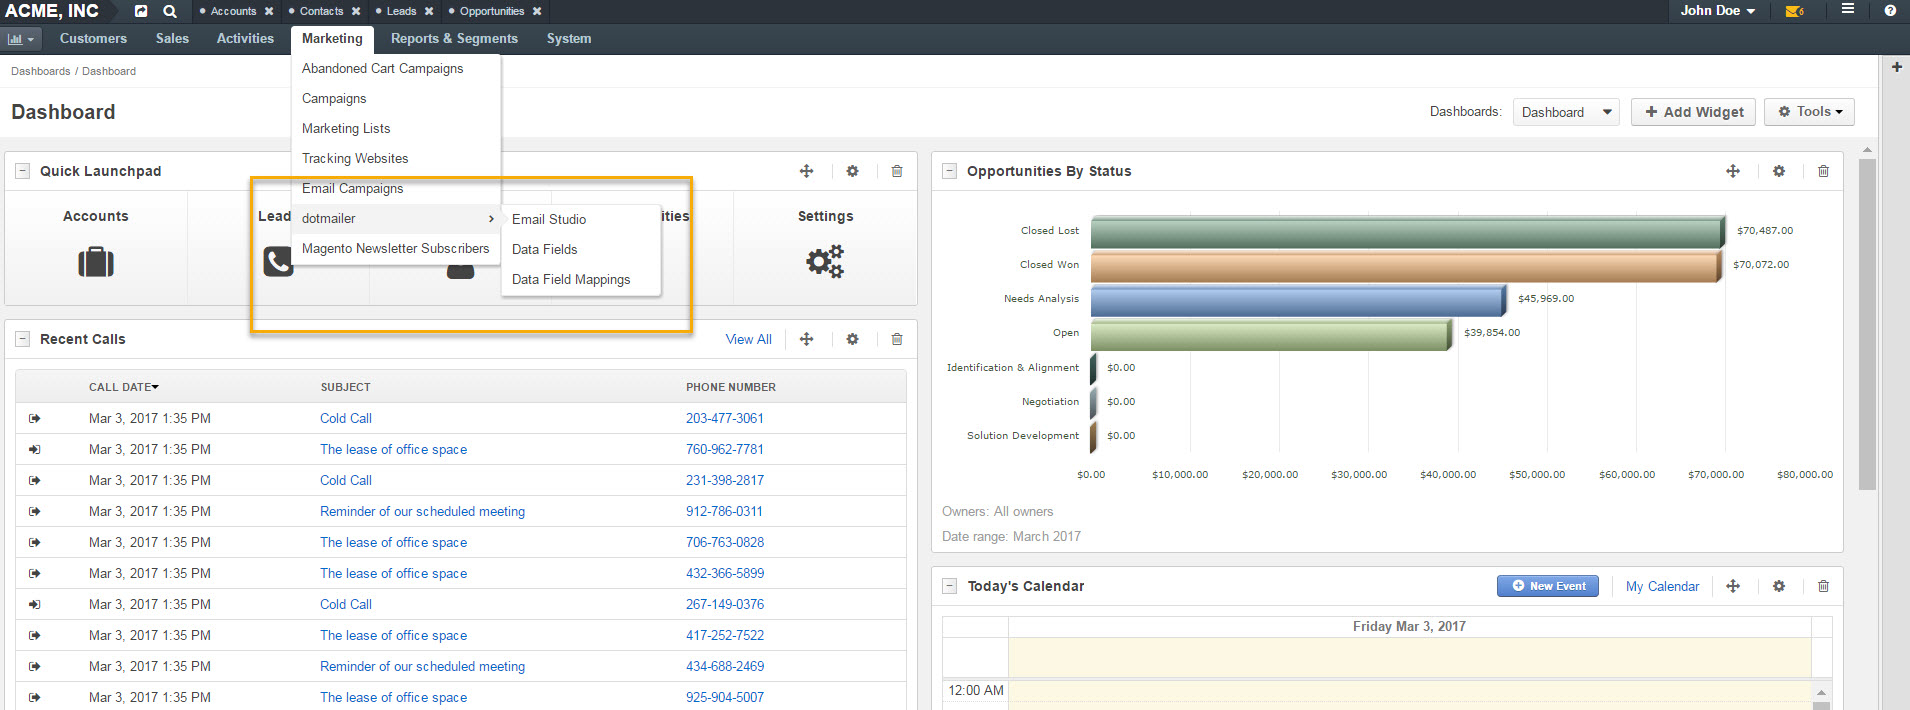
In addition, dotmailer menu group will become available under Marketing in the main menu.
The dotmailer menu group contains the following sections:
- Email Studio (see Configure Single Sign-on guide)
- Data Fields (see Manage dotmailer Data Fields and Mappings guide)
- Data Field Mappings (see Manage dotmailer Data Fields and Mappings guide)
Sync dotmailer Integration
To sync dotmailer integration:
- Navigate to System > Integrations > Manage Integrations.
- Select the newly created integration.
- Click Schedule Sync in the upper-right corner of the page.