Important
You are browsing the documentation for version 4.1 of OroCommerce, OroCRM and OroPlatform, which is no longer maintained. Read the latest LTS version of the Oro documentation to get up-to-date information.
See our Release Process documentation for more information on the currently supported and upcoming releases.
Configure Global Customer User Settings
To change the default customer user configuration settings globally:
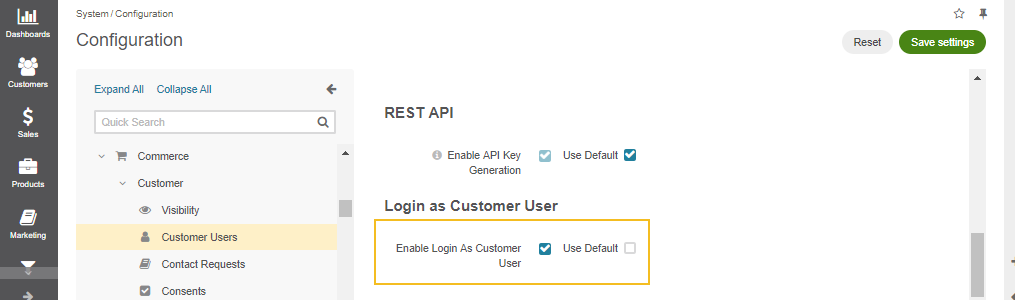
Navigate to System > Configuration in the main menu.
Select Commerce > Customer > Customer Users in the menu to the left.
Note
For faster navigation between the configuration menu sections, use Quick Search.
To customize any of the options for customer users:
Clear the Use Default box next to the option.
Select the new option.
In the Customer Users Registration section, configure the following options:
Default Customer Owner — Service information that determines which user has full access to managing and viewing customer information. Usually, this is the default customer administrator or the administrator assigned to the customer. Applies to the customers created in the back-office as well as to those who register on the OroCommerce website.
Registration Allowed — Enables/disables registration of new customers from the storefront login screen.
Confirmation Required — Enables/disables the email confirmation step following user registration.
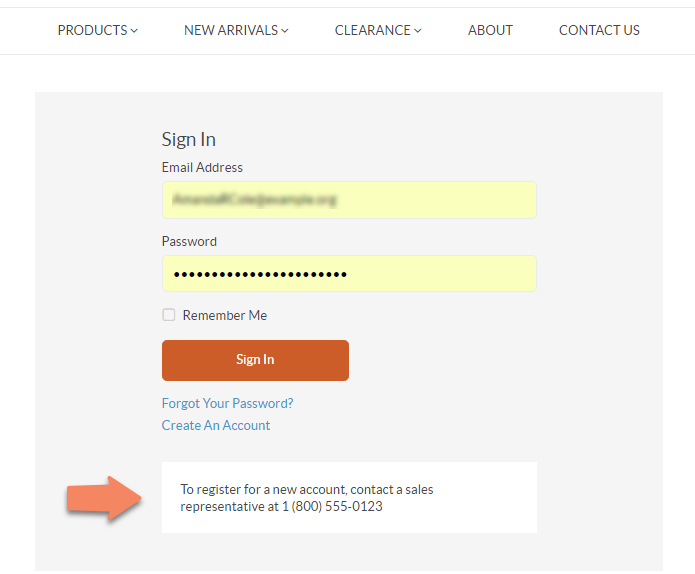
Show Registration Link — Shows/hides the registration link from the storefront login screen. The link is next to the Sign In link in the top bar.
Auto Login —Enables/disables customer users to login after registration or email confirmation. Disabled by default.
Required Company Name — Shows/hides the company name field in the registration form in the storefront. Required for individual customers who do not belong to any company.
Show Registration Instructions — Enables/disables registration instructions in the storefront login page. This option is disabled by default.
Registration Instructions Text — If Show Registration Instructions is enabled, the text provided in the field is displayed in the storefront login page.
Case-Insensitive Email Addresses — If this option is enabled, the letter case is ignored when comparing email addresses. For example, john.doe@example.com and John.Doe@example.com are treated equally. By default, the option is disabled. The identical option for back-office users is managed here. Keep in mind that the uniqueness of email addresses and personal data is checked only for the registered users. It means that no two users can have identical personal information unless they are customer visitors (guest users). Multiple guest customers are allowed to have exactly the same data, including email addresses.
In the Customer Visitor section, configure the options for the anonymous users:
Customer Visitor Cookie Lifetime (Days) — Once the provided period expires, active customer visitor (anonymous user) sessions will be reset. Keep in mind that the uniqueness of email addresses and personal data is checked only for the registered users. It means that no two users can have identical personal information unless they are customer visitors (guest users). Multiple guest customers are allowed to have exactly the same data, including email addresses.
In the REST API section, configure the following options:
Enable API Key Generation — Enable/disable automatic generation of API access keys for new customer users.
Configure User Impersonation
Hint
This feature is available in the Enterprise edition since OroCommerce v4.1.0. To check which application version you are running, see the system information.
Login as Customer User |
This option enables back-office users with the Impersonate User role capability assigned to them to temporarily sign into the OroCommerce storefront as a specific customer user. This option is disabled by default. User impersonation is also available at organization level. |
Click Save Settings.