
Important
You are browsing the documentation for version 1.6 of OroCommerce, OroCRM and OroPlatform, which is no longer maintained. Read the latest LTS version of the Oro documentation to get up-to-date information.
See our Release Process documentation for more information on the currently supported and upcoming releases.
MS Outlook Settings per User
In the MS Outlook settings section, you can configure the following integration and synchronization settings for a user:
Note
Integration between MS Outlook and your Oro application is available only for the Enterprise Edition of your Oro application. For more information about the synchronization with Outlook, see the Synchronization with Outlook guide.
Navigate to System > User Management > Users in the main menu
For the necessary user, hover over the More Options menu to the right and click to start editing the configuration.
Select System Configuration > Integrations > MS Outlook Settings in the menu to the left.
Note
For faster navigation between the configuration menu sections, use Quick Search.
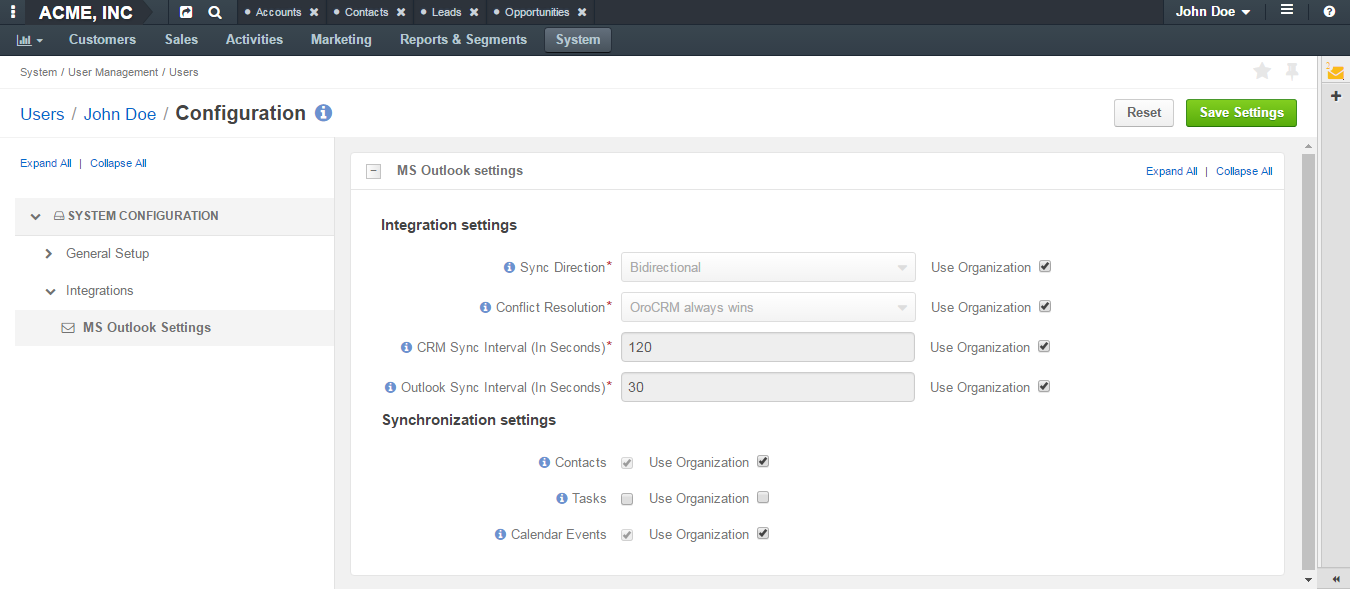
In the Integration settings, provide the following information:
Field Description Sync Direction Select whether the data will be taken from OroCRM to Outlook, from Outlook to OroCRM or synchronization will occur in both directions. Conflict Resolution Select whether OroCRM or Outlook has priority if the same piece of data has been changed in both systems. CRM Sync Interval (In Seconds) Type how often changes on OroCRM side will be checked. Outlook Sync Interval (In Seconds) Type how often changes on Outlook side will be checked. In the Synchronization settings, provide the following information:
Field Description Contacts Select this check box to synchronize the contacts. Tasks Select this check box to synchronize the tasks. Calendar Events Select this check box to synchronize the calendar events. Click Save Settings.