Important
You are browsing the documentation for version 3.1 of OroCommerce, OroCRM and OroPlatform, which is no longer maintained. Read the latest LTS version of the Oro documentation to get up-to-date information.
See our Release Process documentation for more information on the currently supported and upcoming releases.
Examples of Creating Custom Entity Fields
Create an Entity Field With a One to Many Relation
As the first example, we are adding a new field called Referral to the Customer entity, so we could track the contacts recommended by particular customers. This should be a one to many relation because one customer can give details of more than one contact.
To create such field:
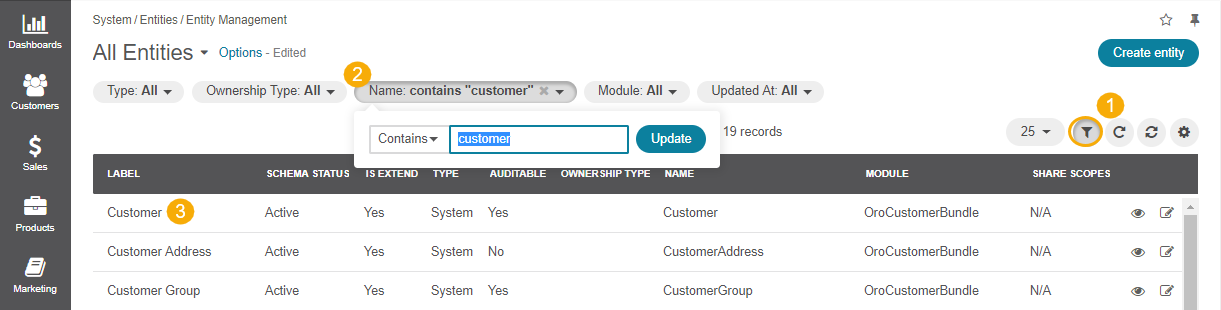
Navigate to System > Entities > Entity Management in the main menu.
Using filters, find the Customer entity, and click on it once to open its page.
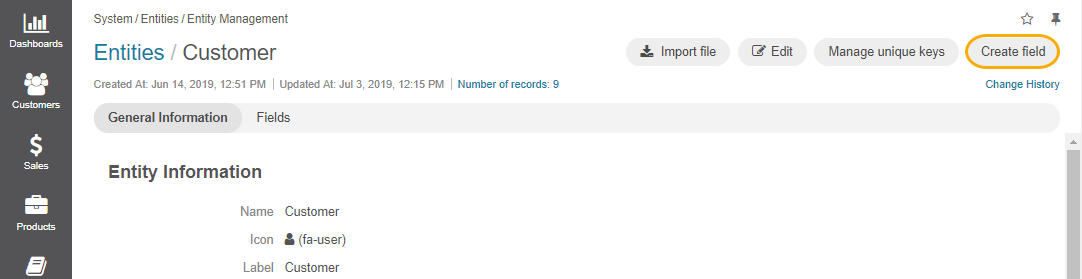
On the page of the Customer entity, click Create Field.
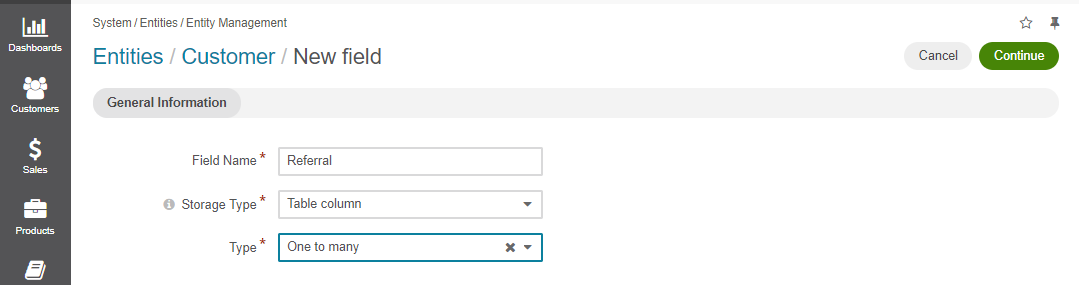
For Storage Type, select Table Column.
For Type, select the One to many relation.
For Target Entity, select Contact.
For Related Entity Data Fields, select Description, Gender, and Job Title.
For Related Entity Info Title, select First name and Last name.
For Related Entity Detailed, select all the fields available.
Click Save.
On the page that opens, click Update Schema on the top right.
To check whether the field has been added to the Customer entity:
Navigate to Customers > Customers in the main menu.
Click Create Customer on the top right.
In the Additional section, click +Add next to Referral.
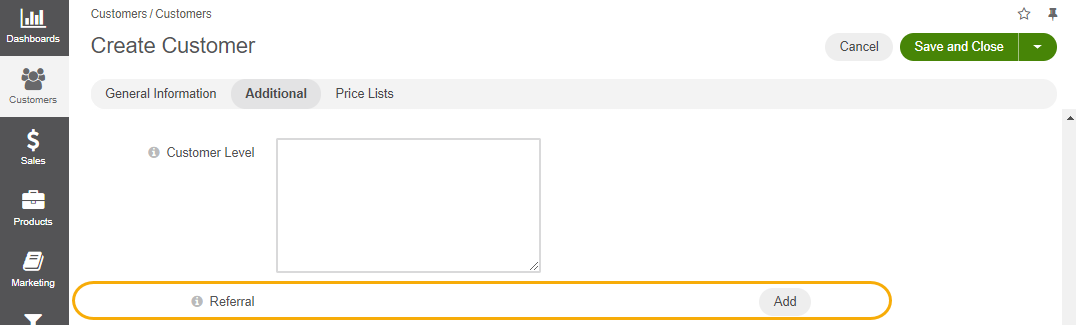
In the dialog that opens, enable the check box next to the required contact, and click Select. Once selected, the contact is added to the customer record.
Create an Entity Field With a Many to One Relation
As the second example, we are creating a Business Unit field for the opportunity entity, so that it is possible to relate an opportunity to one of the existing business units. The relation should be many to one because one business unit can be related to many opportunities.
To create such field for the opportunity entity:
Navigate to System > Entities > Entity Management in the main menu.
Using filters, find the Opportunity entity, and click on it once to open its page.
On the page of the Opportunity entity, click Create Field.
For the Storage Type, select Table Column.
For Type, select Many to One relation.
For Target Entity, select Business Unit.
For Target Field, select Name.
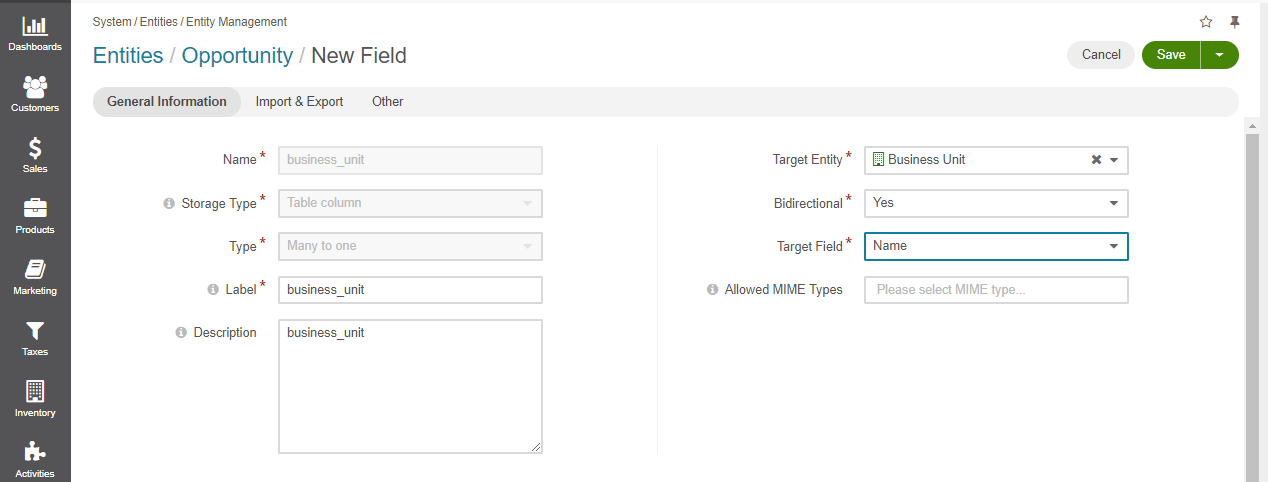
Click Save.
On the page that opens, click Update Schema on the top right.
To check whether the field has been added to the Opportunity entity:
Navigate to Sales > Opportunities in the main menu.
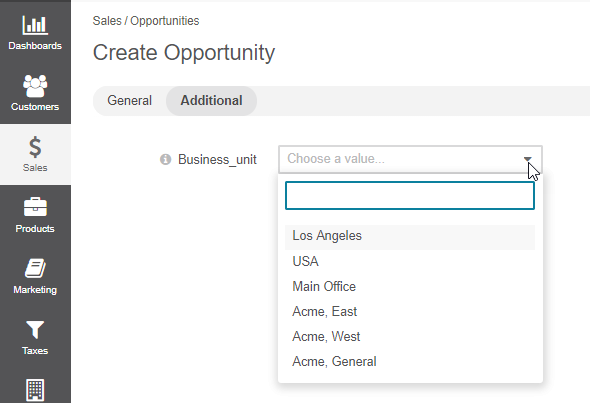
Click Create Opportunity on the top right.
In the Additional section, select the required business unit from the list.