Important
You are browsing the documentation for version 3.1 of OroCommerce, OroCRM and OroPlatform, which is no longer maintained. Read the latest LTS version of the Oro documentation to get up-to-date information.
See our Release Process documentation for more information on the currently supported and upcoming releases.
Manage Payment Profiles (Authorize.Net Customer Profiles) in the Storefront
When checking out using a credit card or eCheck, a customer is presented with the option to store the payment method for future use. This information is stored in your OroCommerce account as an Authorize.Net customer profile. A customer who has a previously saved profile is presented with the option for seamless subsequent checkouts without having to re-enter their payment data. Once you log into your account in the OroCommerce storefront, you can view and manage payment and address information stored within Customer Profiles, as well as add new credit cards and bank accounts.
To locate the information in your customer profile, navigate to Account > Manage Payment Profiles.
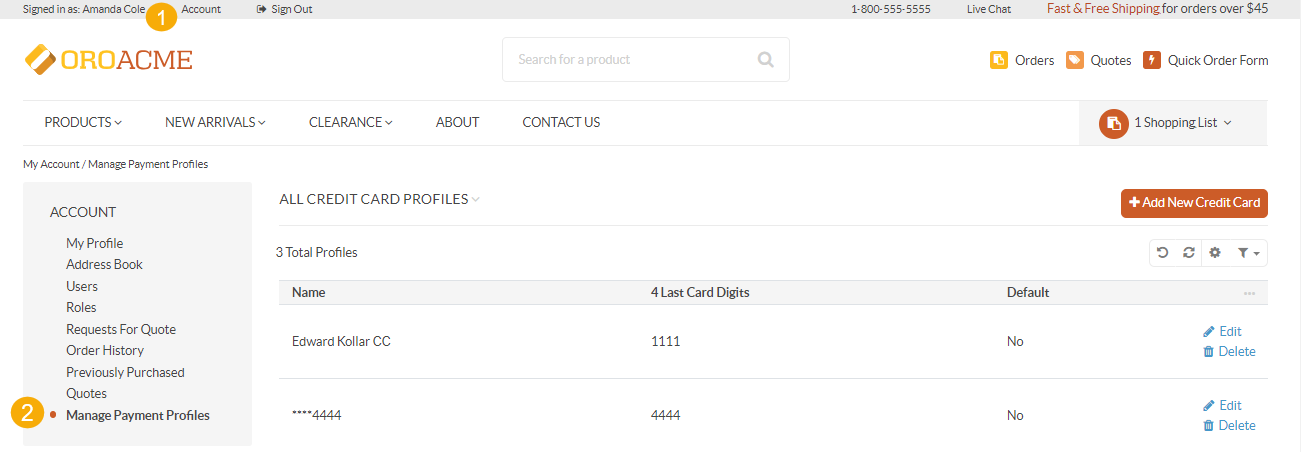
The Manage Payment Profiles page displays all available payment profiles, both for credit cards and bank accounts.
Note
Up to 10 payment profiles can be saved in your OroCommerce account.
Add a New Credit Card
Via your customer profile:
To create a new credit card payment profile:
On the Manage Payment Profiles page, click +Add New Credit Card on the right.
In the New Payment Profile form, provide the following details:
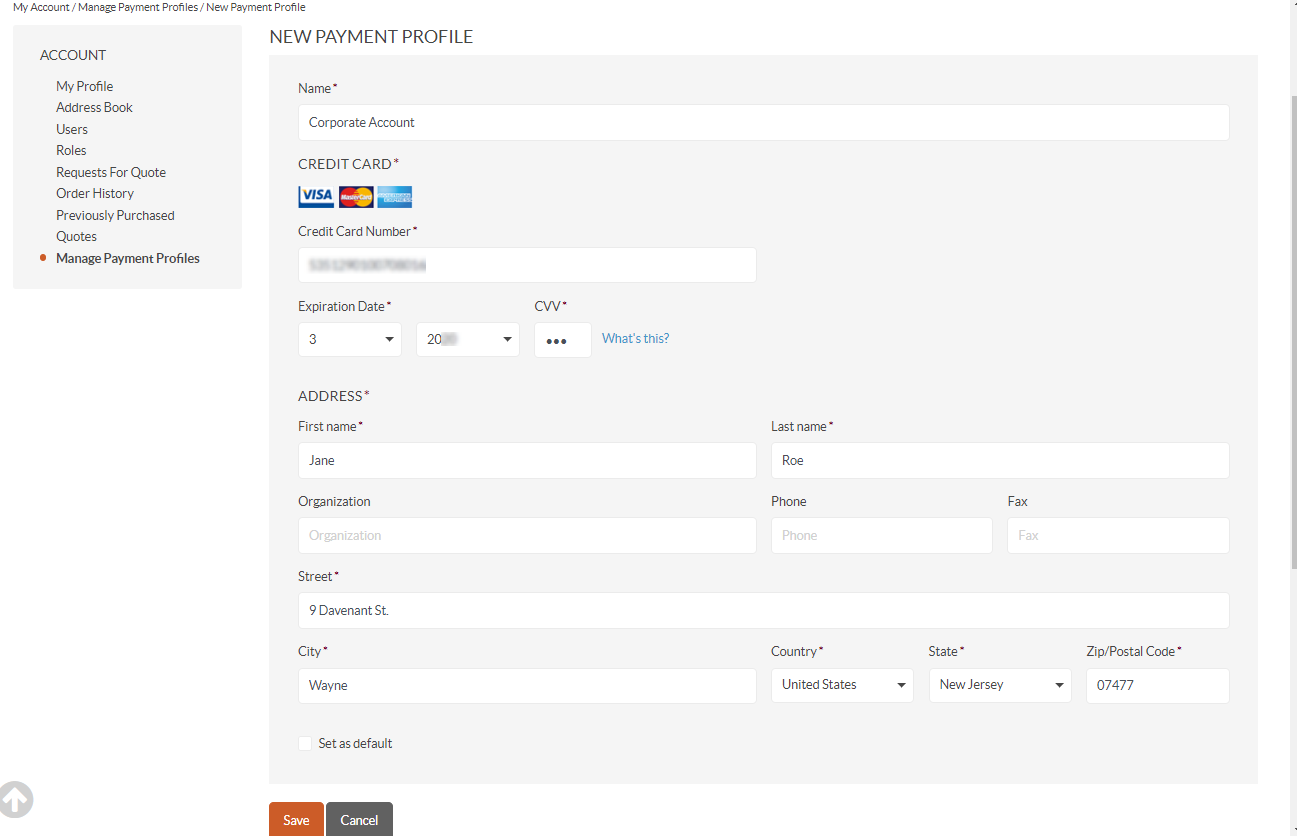
Name — Provide the name for the account.
Credit Card Number — Provide the card number (without spaces).
Expiration Date — Provide the expiration date for the card you are attaching to the account.
CVV — Provide the verification number displayed at the back of the card.
Address — Provide billing address details (organization, phone and fax fields are optional).
Set as Default — Select the check box to mark the current credit card as default. The default credit card is displayed on the top of the payment method dropdown list during checkout.
Click Save.
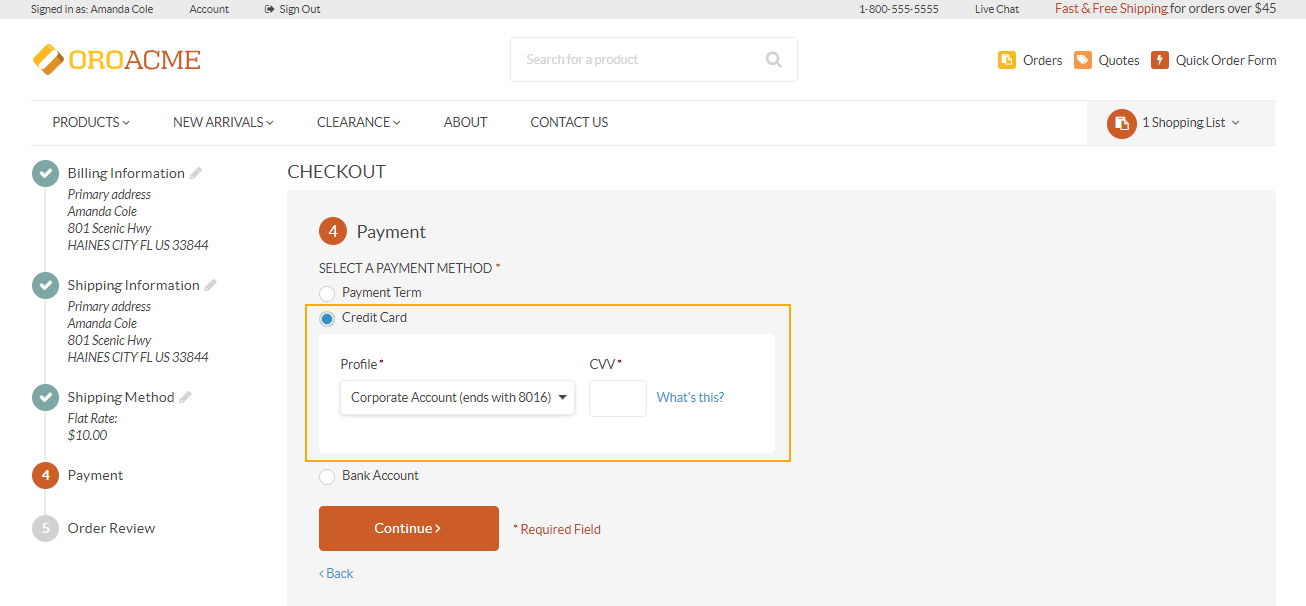
When proceeding through the checkout, you are now able to select the newly created credit card at the Payment step.
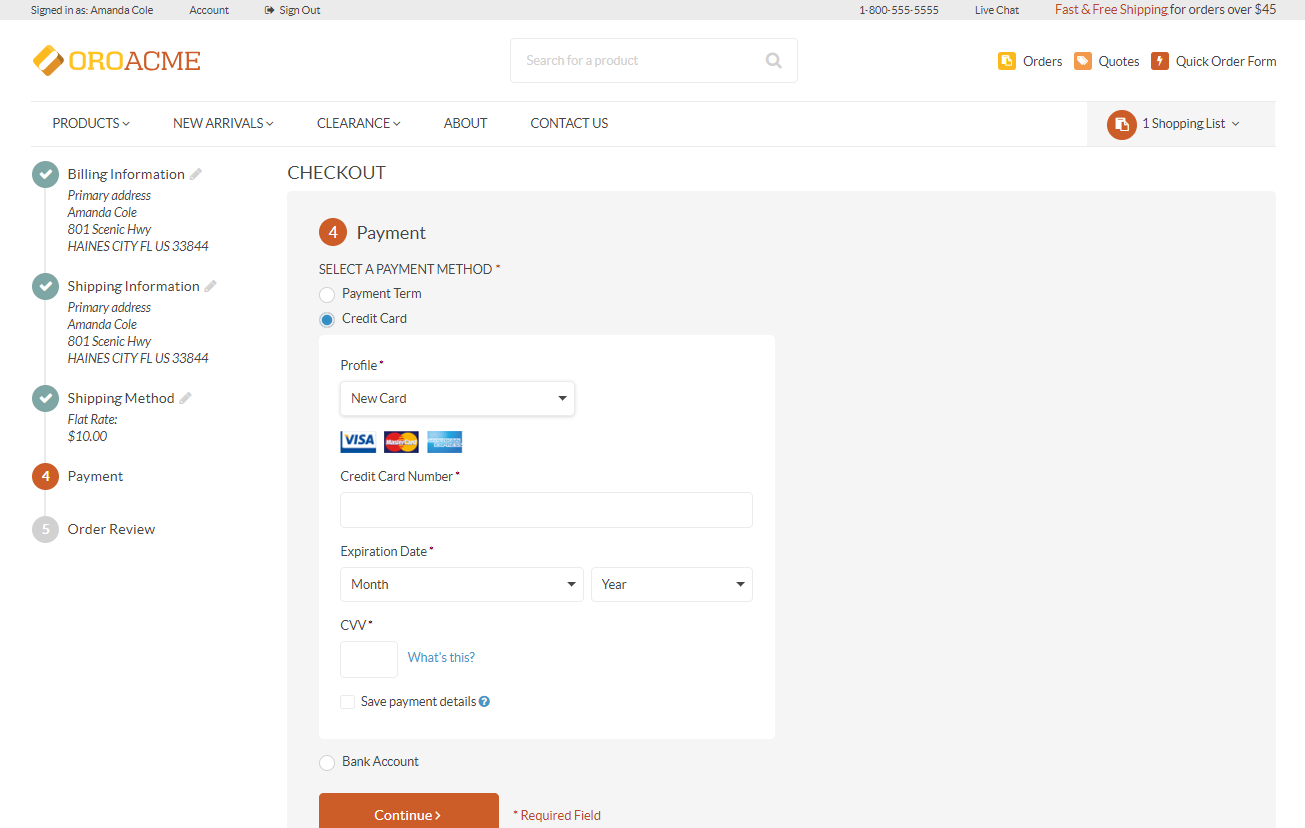
At checkout:
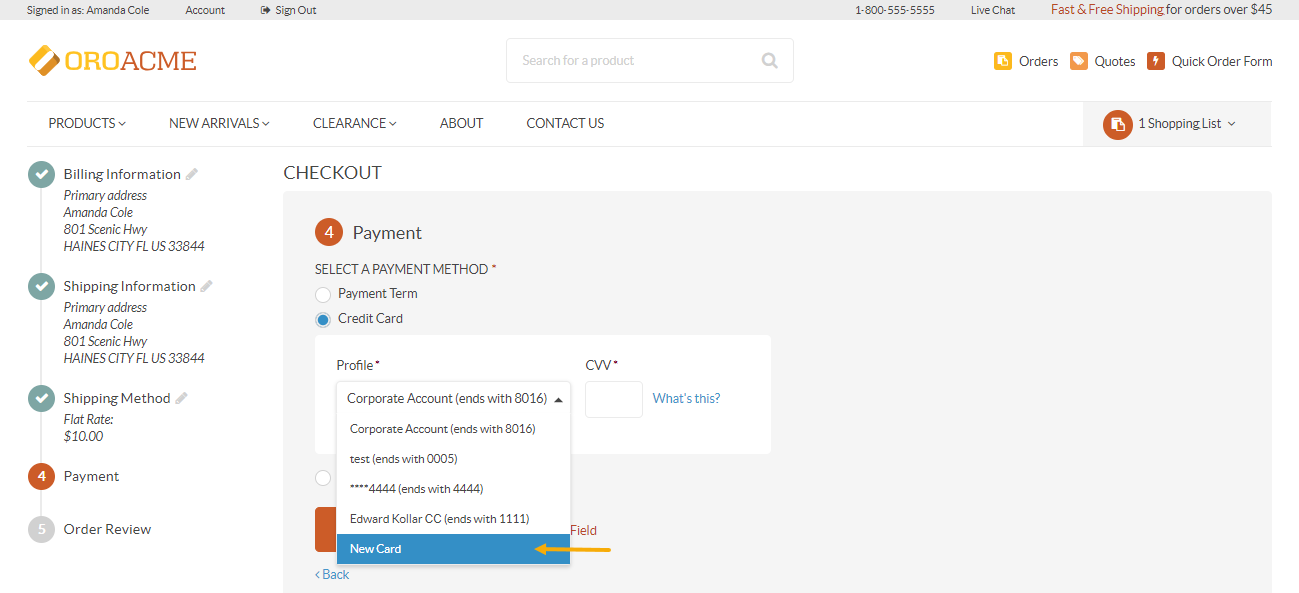
To add a new card during the checkout:
Scroll down to the bottom of the Profile list and click New Card.
Provide the details of the new card in the form:
To save the details of the card for the future use, select the Save Payment Details check box.
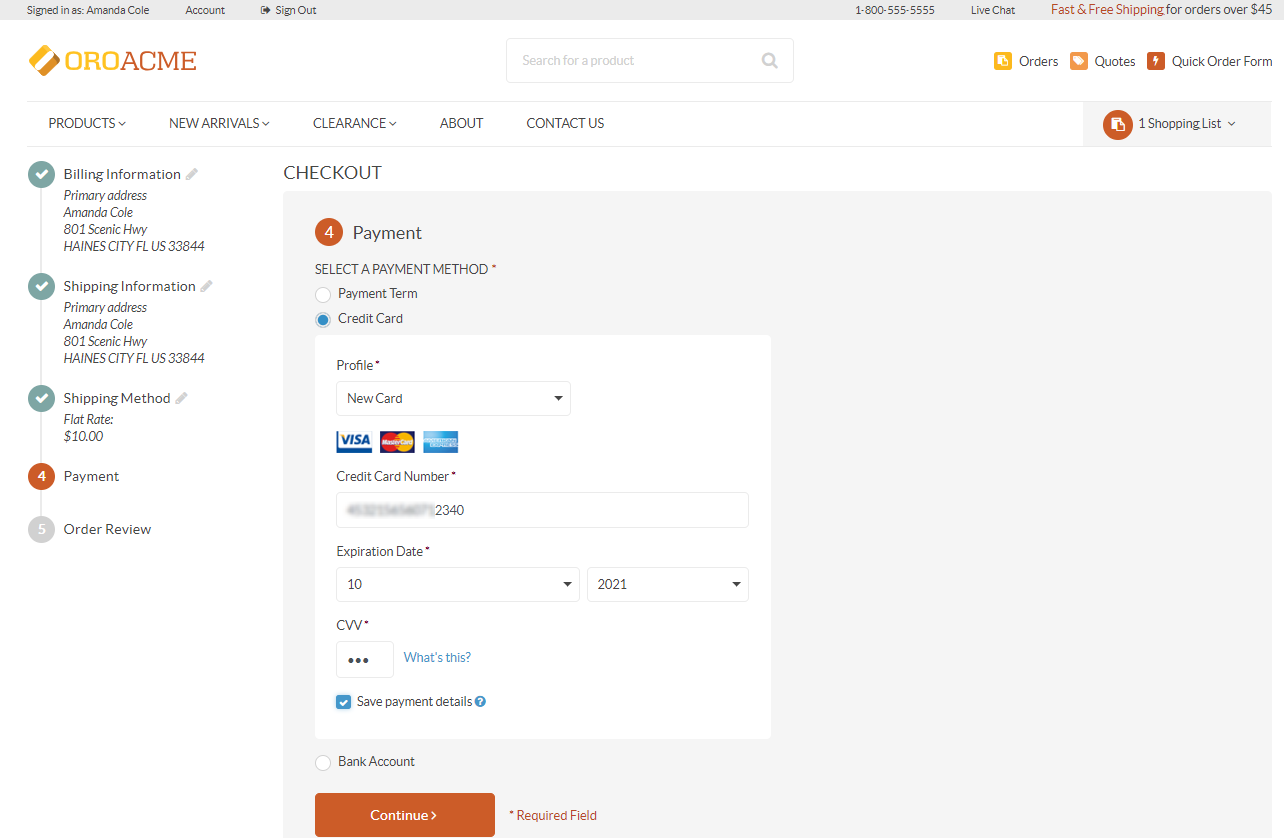
When you place the order, this card is saved in your account in the Manage Payment Profiles section as a non-default card.

Manage a Credit Card Profile
To edit a credit card, click Edit at the end of the row of the selected profile.
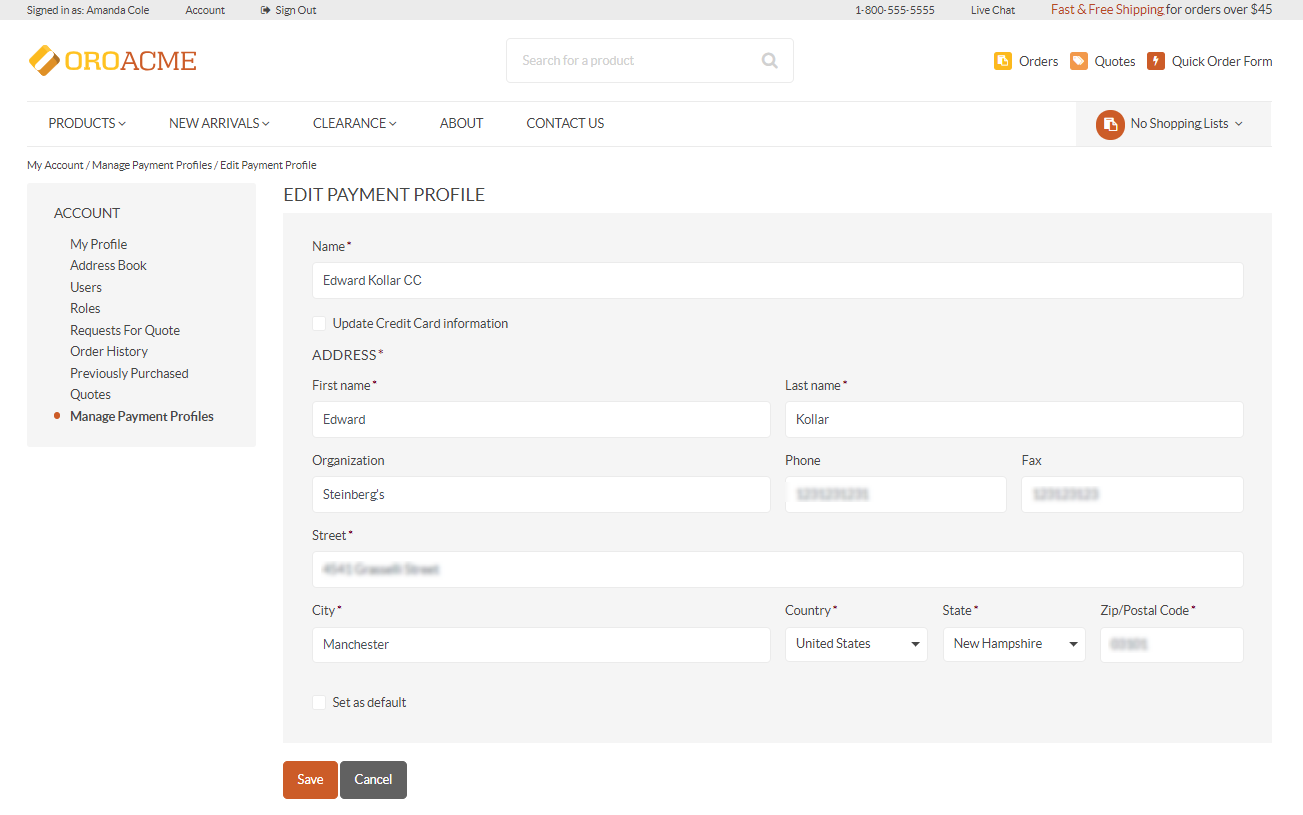
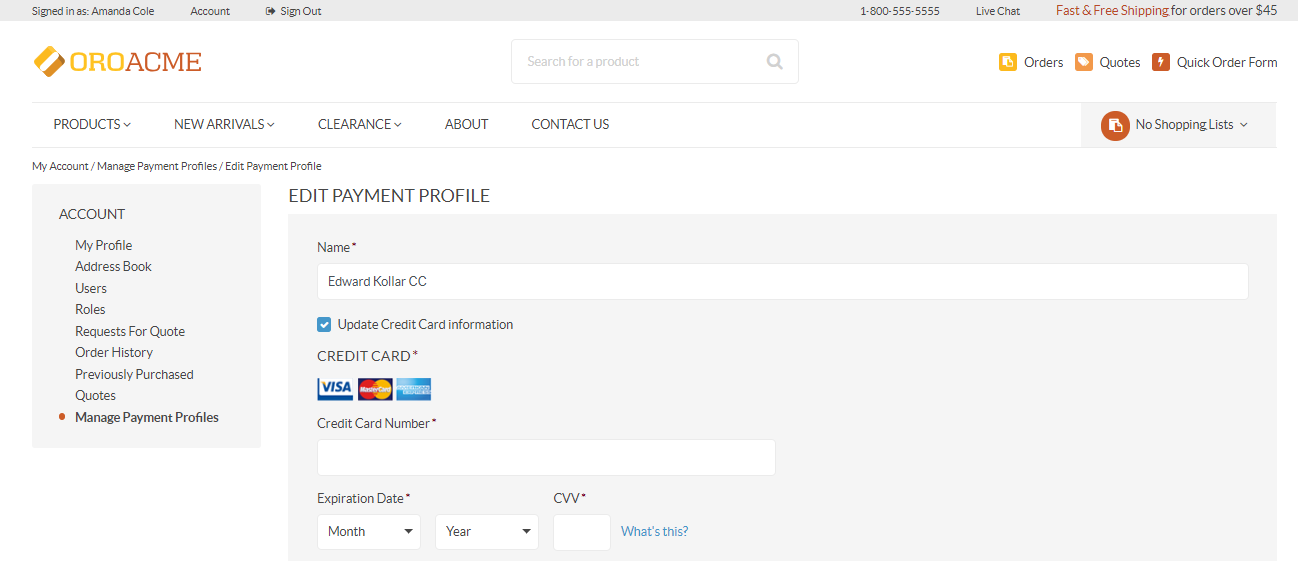
To update card information, select the Update Credit Card Information check box and provide new information in the credit card form.
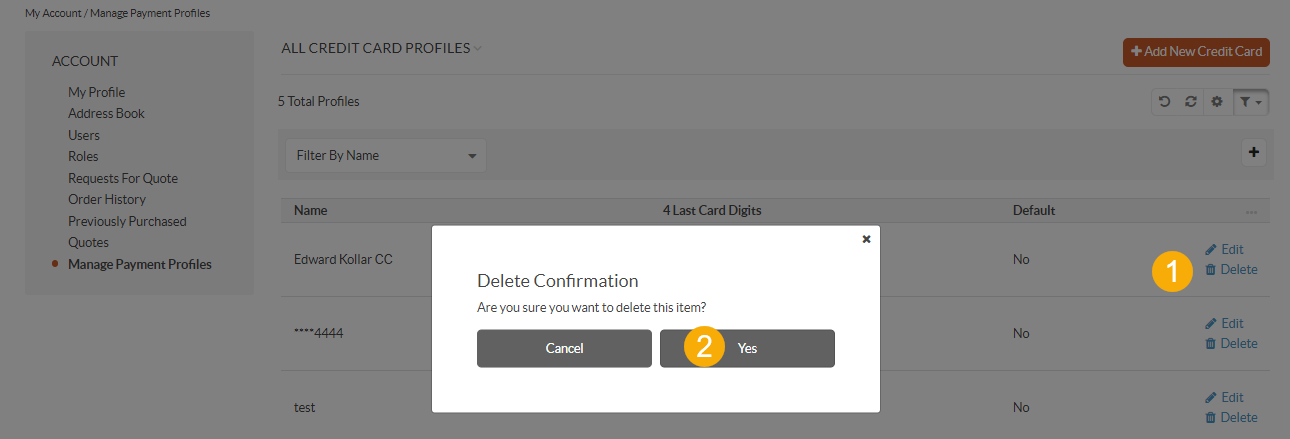
To delete credit card, click Delete at the end of the row of the selected profile. Click Yes in the confirmation dialog.
Add a New Bank Account
Via your customer profile:
To create a new back account profile:
On the Manage Payment Profiles page, click +Add New Bank Account
In the New Payment Profile form, provide the following details:
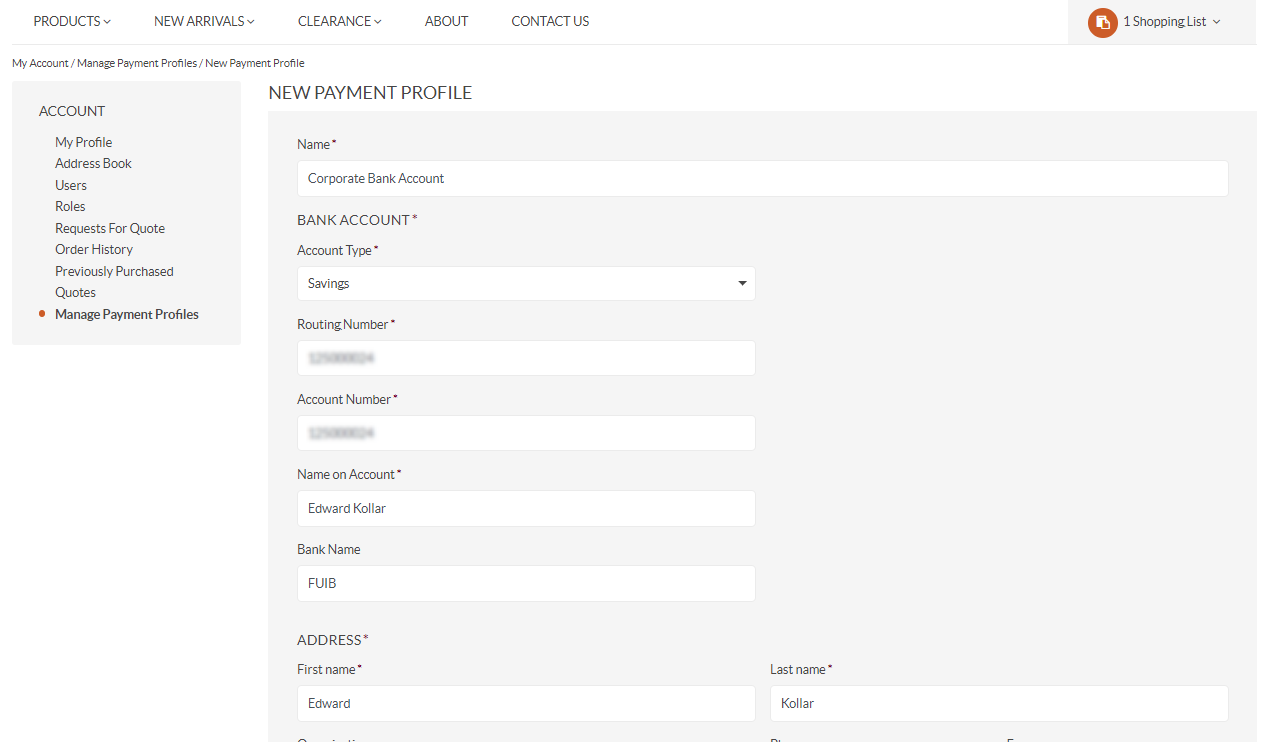
Name — Provide the name for the bank account.
Bank Account — Provide bank account details, such as the routing number, the account number, the bank name.
Address — Provide address details (organization, phone and fax fields are optional).
Set as Default — Select the check box to mark the current bank account as default. The default bank account is displayed on the top of the payment method dropdown list during checkout.
Click Save.
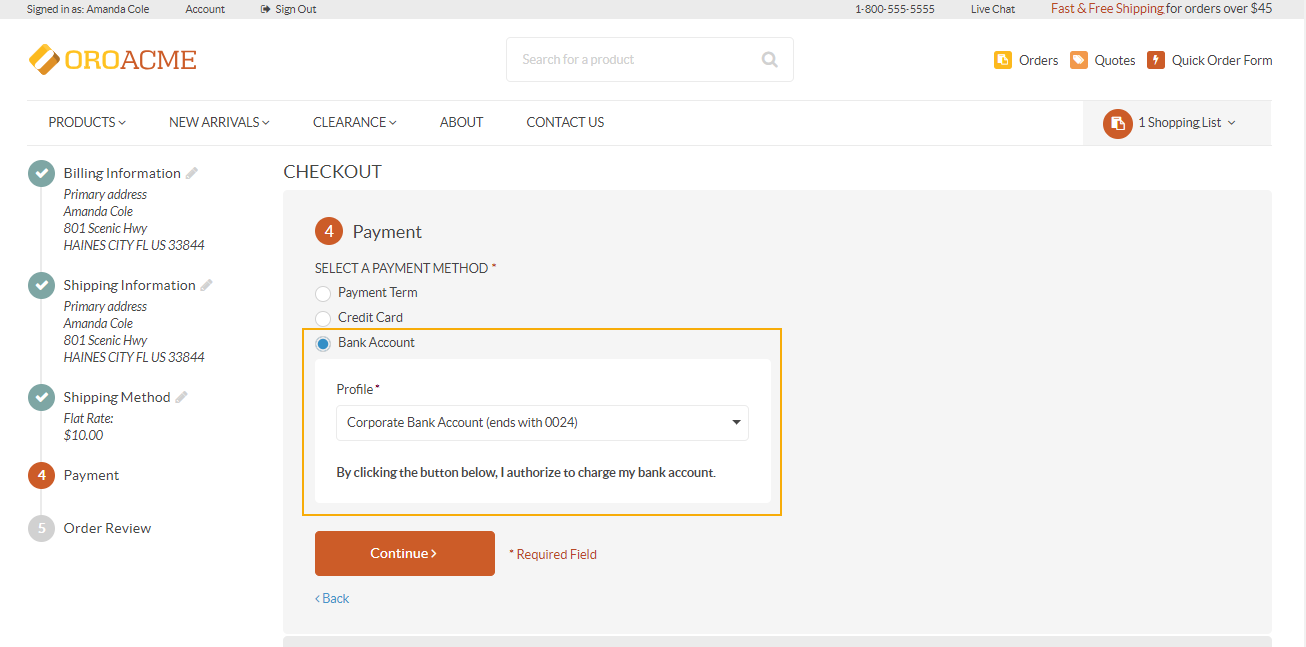
When proceeding through the checkout, you are now able to select the newly created bank account at the Payment step.
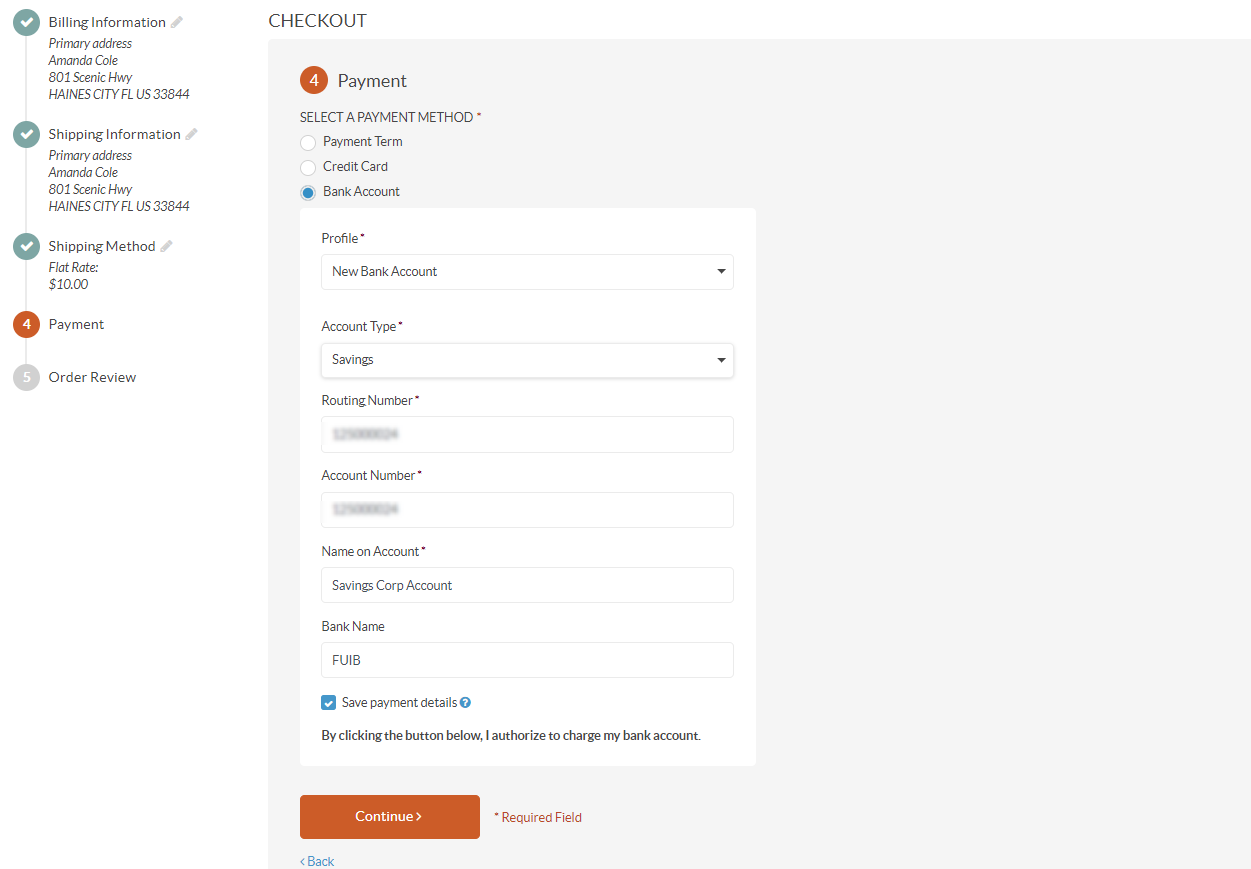
At checkout:
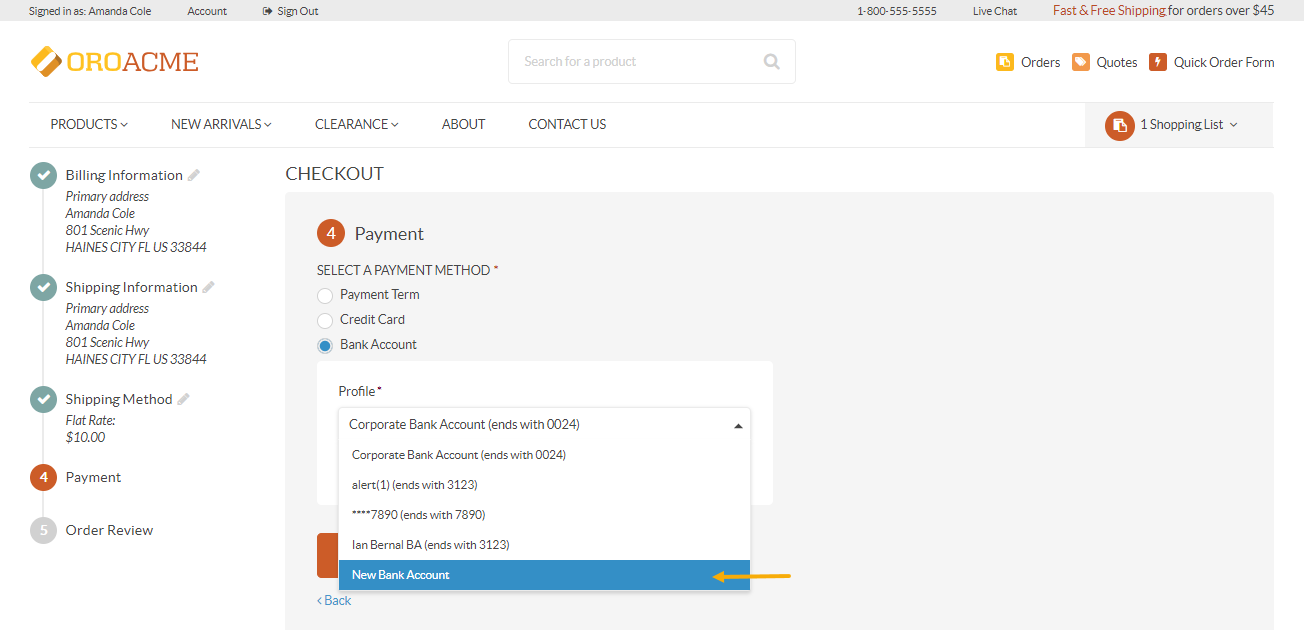
To add a new bank account during checkout:
Scroll down to the bottom of the Profile list and click New Bank Account.
Provide the details of the new bank account in the form.
To save the details of the bank account for the future use, select the Save Payment Details check box.
When you place the order, this bank account is saved in your account in the Manage Payment Profiles section as a non-default bank account.
Warning
Keep in mind that payment details of a new bank account must not duplicate the information of the saved accounts as in this case a new profile will not be created.
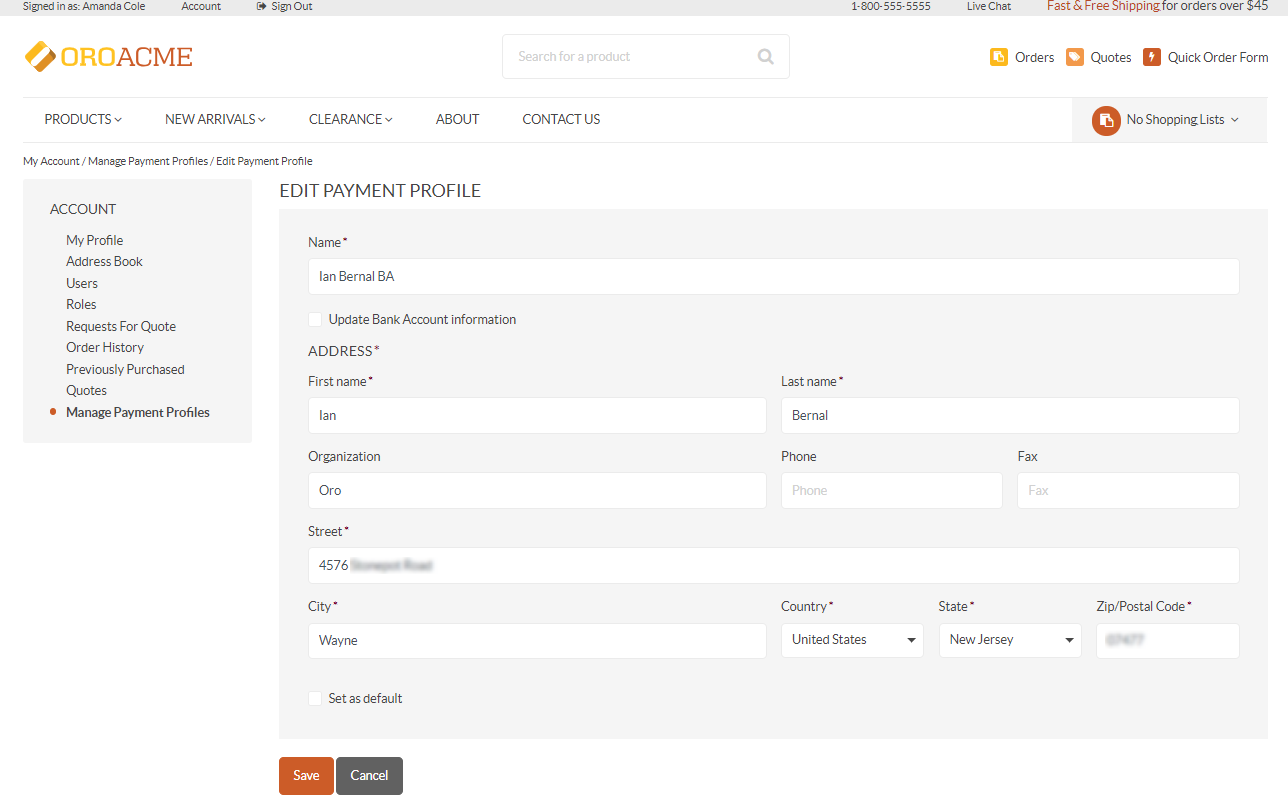
Manage a Bank Account
To edit a bank account, click Edit at the end of the row of the selected profile.
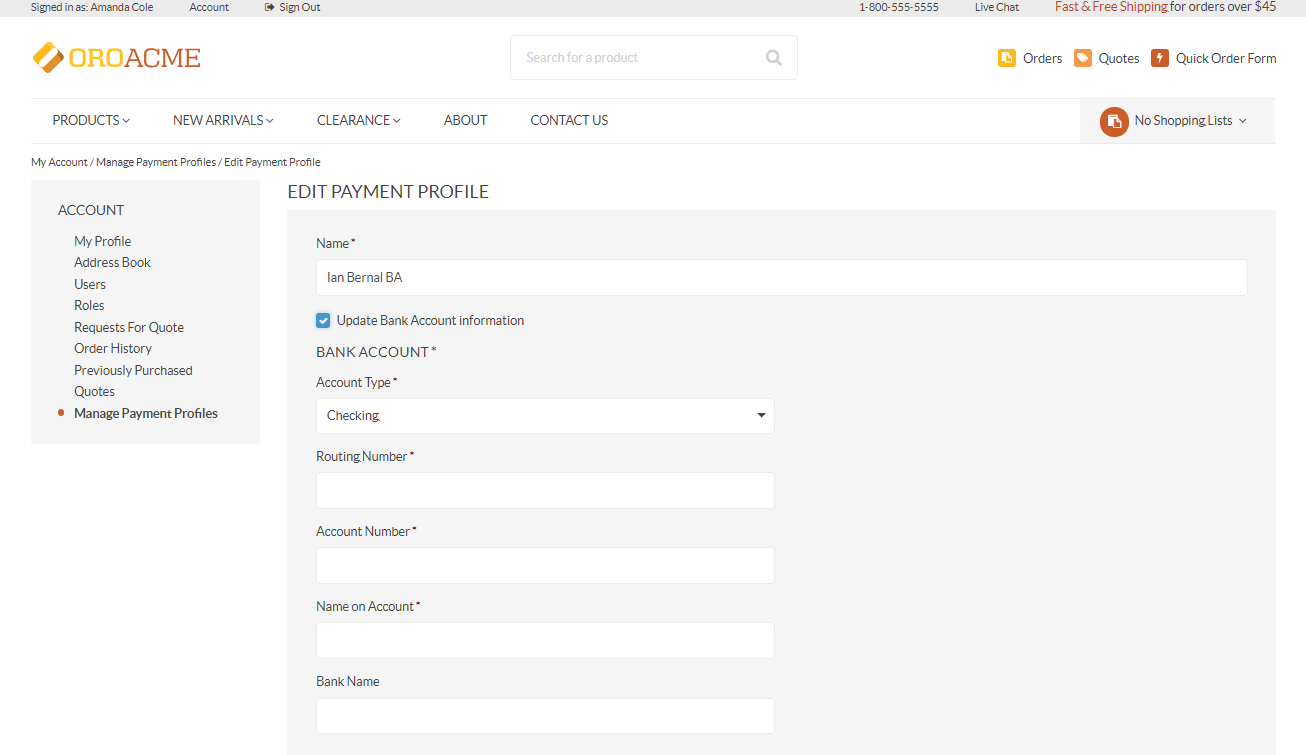
To update card information, select the Update Bank Account Information check box and provide new information in the bank account form.
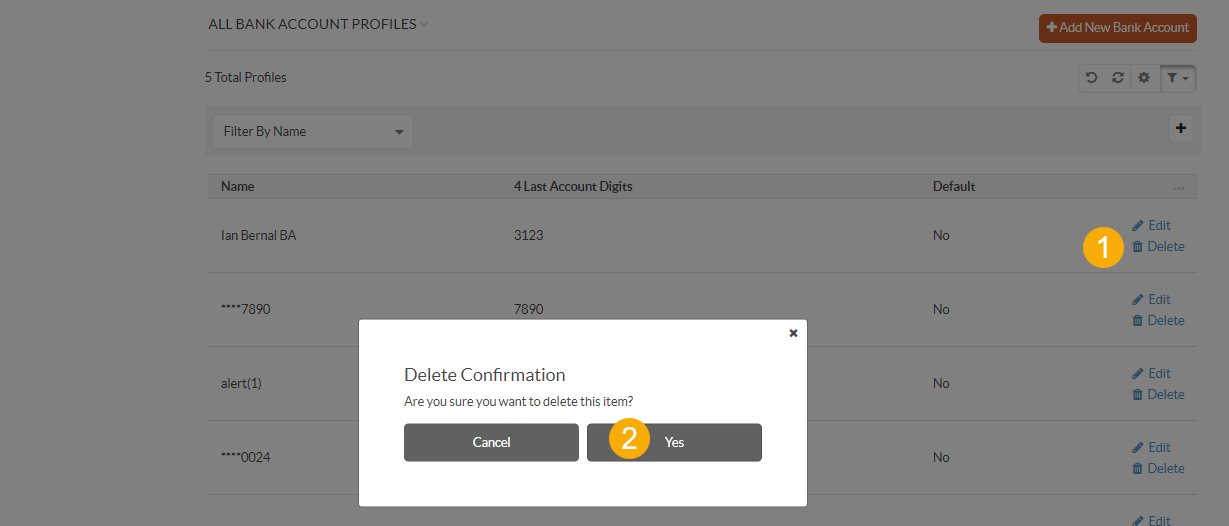
To delete a bank account, click Delete at the end of the row of the selected profile. Click Yes in the confirmation dialog.
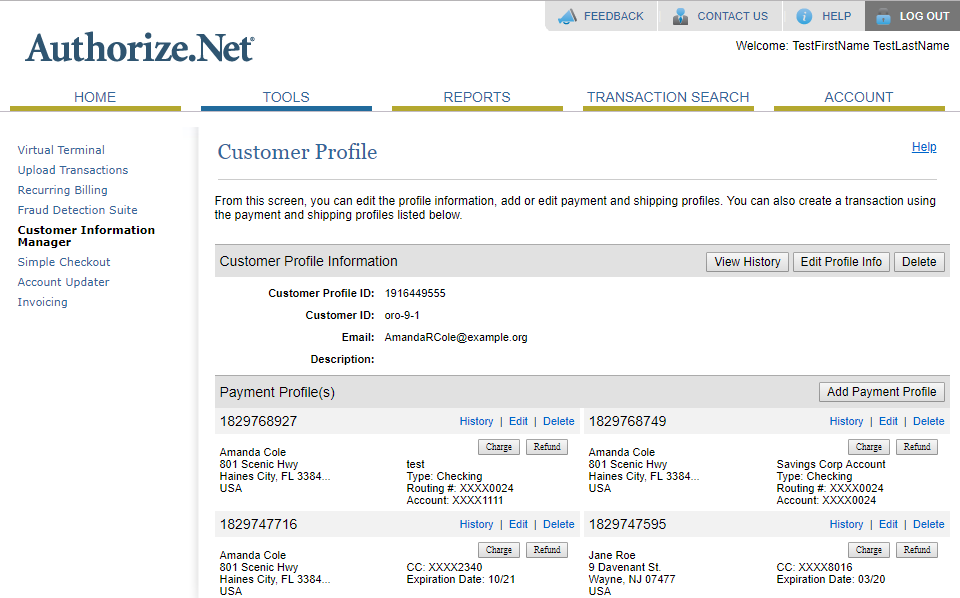
Payment Profiles on the Authorize.Net Side
All credit card and bank account payment profiles are synchronized with Authorize.Net as soon as they are added or modified on the OroCommerce side. You can access all payment details in your Customer Profile on the Authorize.Net side where you can charge or refund a transaction for your profile ID.
Note
If you edit or delete a payment profile on the Authorize.Net side, these changes will be reflected in your OroCommerce account. Keep in mind, however, that payment profiles created in Authorize.Net are not synced back to OroCommerce.
Related Topics