Important
You are browsing the documentation for version 3.1 of OroCommerce, OroCRM and OroPlatform, which is no longer maintained. Read the latest LTS version of the Oro documentation to get up-to-date information.
See our Release Process documentation for more information on the currently supported and upcoming releases.
Configure Single Page Checkout Workflow in the Back-Office
Hint
This section is a part of the Checkout Configuration Concept Guide topic that provides the general understanding of single-page and multi-page checkout concepts.
Overview
In your Oro application, you can control the way the checkout is displayed to customers in the storefront. By default, each checkout step is displayed on a new page. However, by activating the Single Page Checkout workflow in the back-office, you can make all steps fit one page. This will make the checkout process easier and quicker for customers, since they will be able to see how far along in the checkout they are, and how many fields are left to complete it.
To reach the Single Page Checkout workflow:
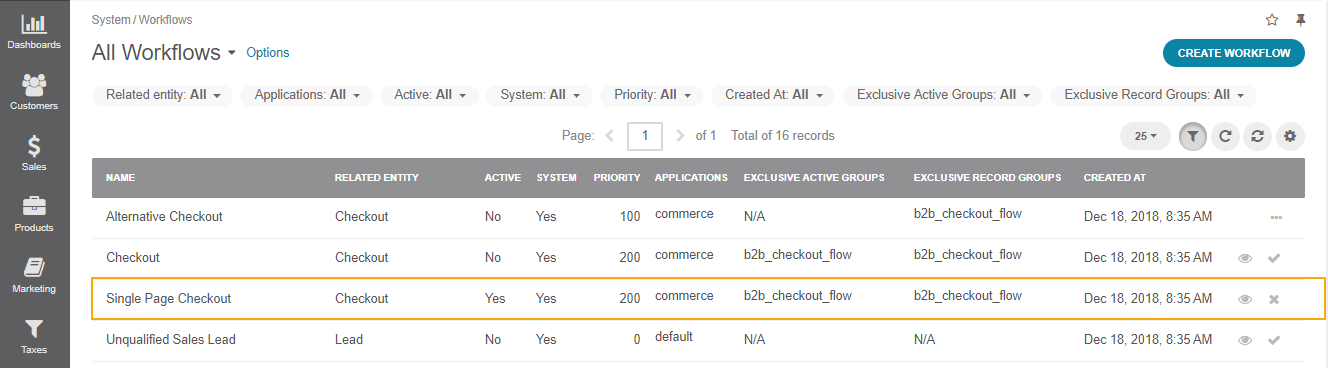
Navigate to System > Workflows in the main menu.
Within the list of workflows, you can perform the following actions for the Single Page Checkout workflow:
View the workflow:
Activate the workflow:
Click Single Page Checkout to open the flow.
Note
If the workflow is active, you can deactivate it from the list page by clicking .
On the the Single Page Checkout workflow page, you can perform the following actions:
Activate — Click Activate on the top right of the page to activate the workflow.
Deactivate (if the workflow is active) – click Deactivate on the top right of the page to deactivate the workflow.
For more information managing workflows, see the Workflow Management topic.
Steps and Transitions: Illustration
As an illustration let us go through the sample flow to see the Single Page Checkout workflow in action:
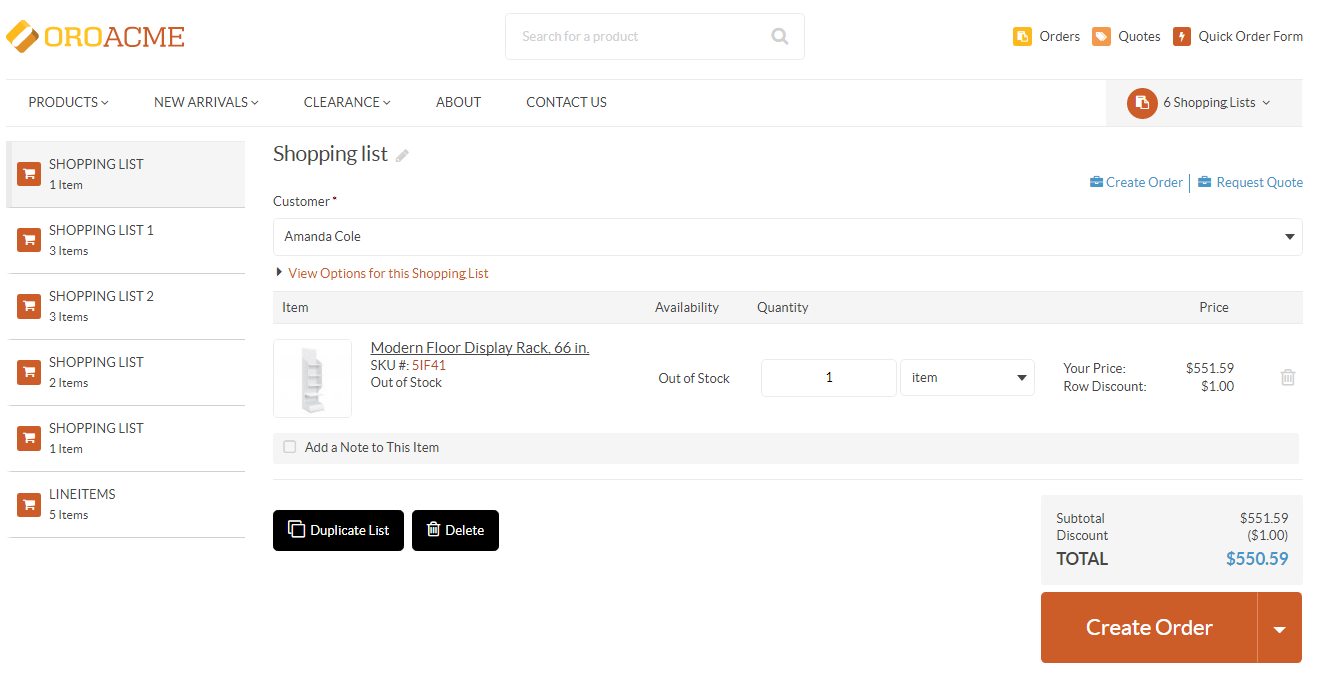
Add an item to the shopping list in the storefront, and click Create Order to proceed to the checkout.
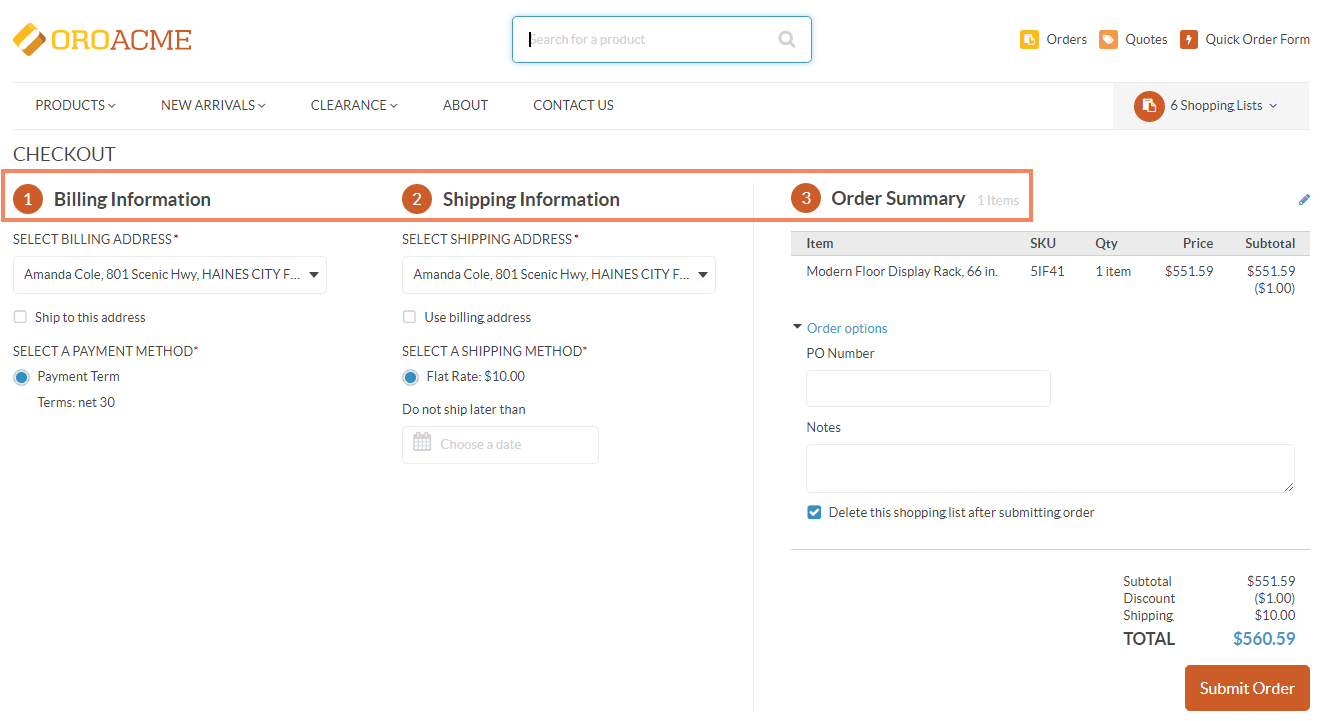
The following sections (steps) are displayed on one page:
Billing Information
Shipping Information
Order Summary (including Agreements)
In the Billing Information section, provide your address and select a payment method.
In the Shopping Information section:
Provide shipping and billing addresses.
Select a shipping method.
Set the Do Not Ship Later Than date.
In the Order Summary section:
Review the order by checking items, SKUs, item quantity, price and the subtotal amount.
Check order options.
Select whether the shopping list should be deleted after submitting the order, or saved.
Accept all mandatory consents to process your personal data, if such consents have not been accepted previously. Keep in mind that if you leave the checkout after accepting a mandatory consent, this consent is considered accepted and can be revoked only through the profile management.
Submit the order by clicking Submit Order on the top left of the page.
Receive an email confirmation with order details.
Related Topics