Important
You are browsing upcoming documentation for version 7.1 of OroCommerce, scheduled for release in 2027. Read the documentation for the latest LTS version to get up-to-date information.
See our Release Process documentation for more information on the currently supported and upcoming releases.
Manage Records
There are a number of standard actions for managing records in Oro applications, but some are type-specific. This means that, although editing or deleting records is generally available for most records, additional actions can be applied, too. The types of these additional records depend on the type of the record itself. For example, converting a lead to an opportunity is not the action you can apply to a shopping cart, as this particular action is lead-specific. In addition, the actions you can perform to selected records also depend on your role in the company, and the permissions defined for it.
This topic describes the typical actions you can perform on most records, such as editing, saving, deleting, and more.
View Records
To view more details of a specific record and to work directly with the record (i.e., create a task related to a customer, appoint a calendar event for a user, turn a cart into an order, share a contact, and so on), you need to get to its details page (as in the example).
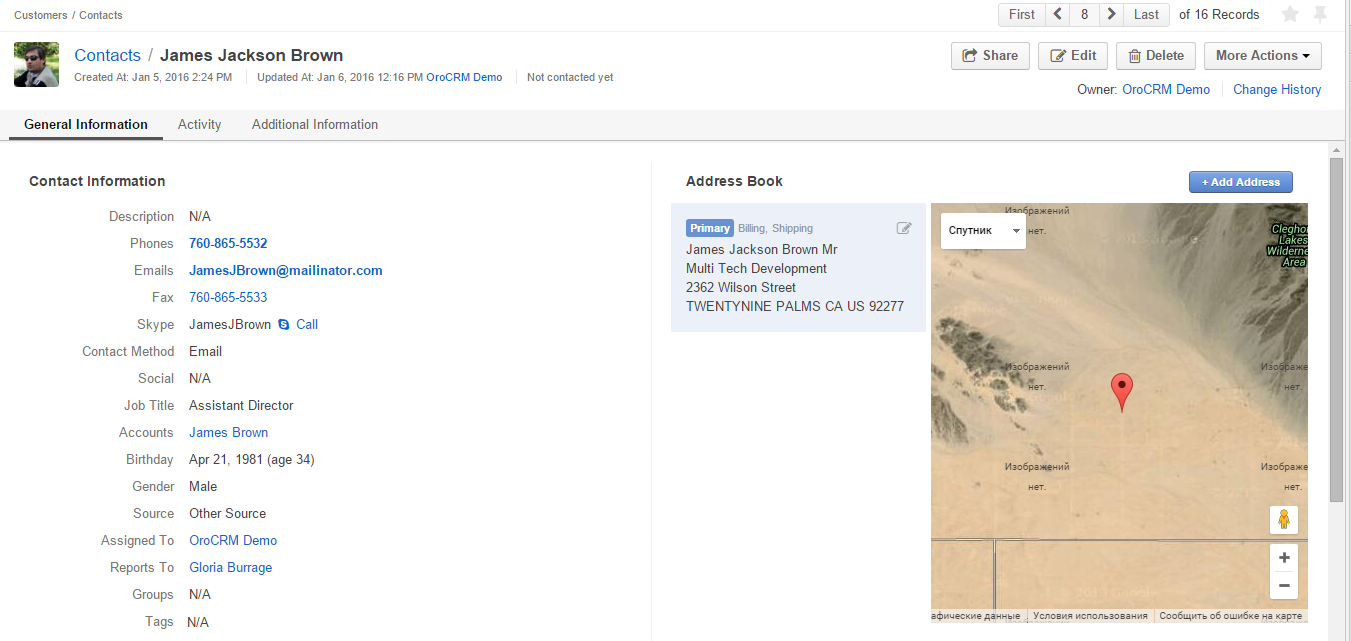
Here, you can see all the details of the record and its location on the map. You can use the links and action buttons as described in this article. Information on a view page of the selected record is allocated in sections that you can easily switch between. All the sections are placed one after another, so you can also scroll down to find the required information.
You can do the following actions on the details page:
Add attachments, notes, and comments to the record
Edit Records
You can edit records in your application in three ways:
By using
 inline editing in record tables.
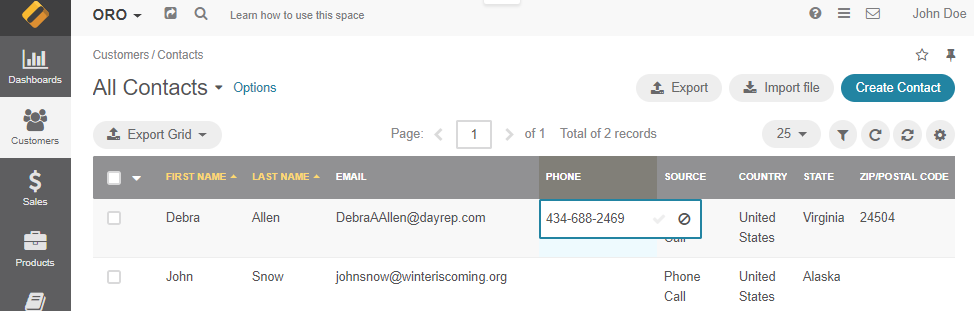
By clicking Edit in the ellipsis (or more options) menu located at the end of the row of the selected record in the table.
By opening the page of the selected record and clicking Edit.
Edit Records Using Inline Editing
Inline editing enables you to edit record field values directly from record tables. Inline editing is available only for a limited set of fields, and this set differs for different records and is not configurable.
To edit a record using inline-editing:
Point to the value you want to edit in the record table. If the Edit Inline icon appears next to it, you can edit this value in the table column.
Click the Edit Inline icon.
Alternatively, double-click on the value itself.
Modify the value as required.
Inline editors can be of different types. The simplest inline editor is a plain text field where you can type the required value.

If a field can take only specific values, the inline editor will show you a list of values to select from.
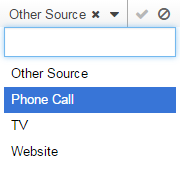
Click the Save Changes icon to save a new value, or the Discard Changes icon to return to the old value.
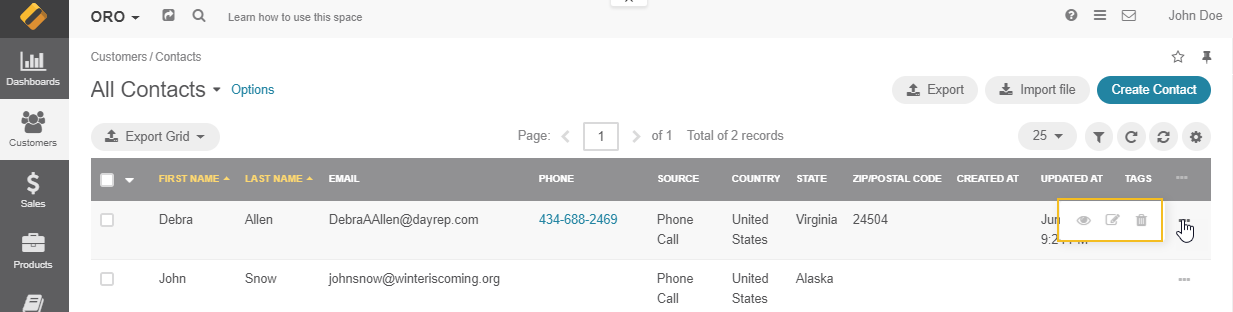
Manage Records Using Ellipsis Menu
The Ellipsis menu (or the more options menu) is located on the page of all records and is available for each item in the table. To see the actions available for the selected record, click the ellipsis menu at the end of its row. You may be able to view, edit, delete records, or perform other record-specific actions, such as activating or deactivating a process.
Delete Records
Some records in your Oro application can be removed from the system using bulk delete (e.g., marketing lists, contacts, email campaigns, etc).
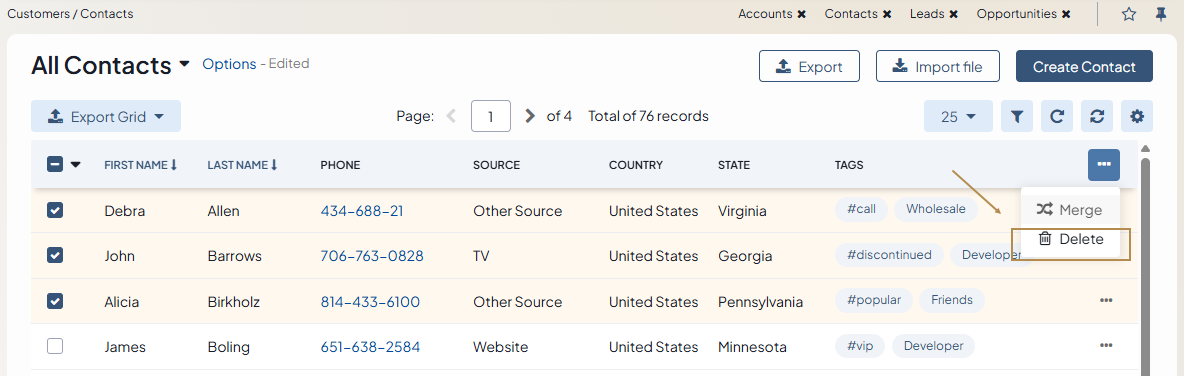
To delete several records:
In the table, select the checkboxes next to the records you want to delete.
Click the ellipsis menu at the right end of the table header row, and the click the
 Delete icon.
In the confirmation dialog, click Yes, Delete.
Once deletion is confirmed, the records are removed.
Merge Records
Important
Currently, merging is available for accounts, contacts, and campaigns.
To merge records:
In the table, select the checkboxes in front of the records you want to merge.
Click the ellipsis menu at the right end of the table header row, and then click the Merge icon.
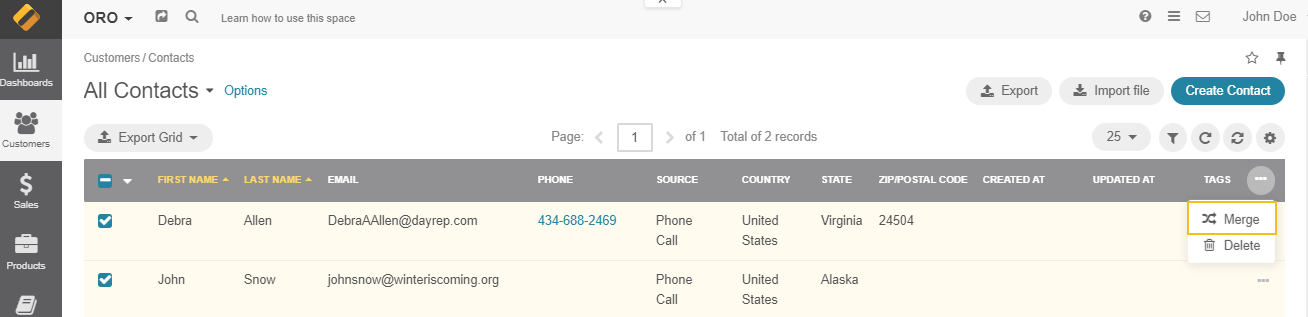
The process of merging is described in detail in the Merging Accounts topic.
Save Updated Records
To save the record, you have created or updated, click one of the options in the Save menu at the top right:
Save — Save the changes but remain on the same page. Use this option to make more changes to the record configuration.
Save and Close — Save the changes and close the page. Once saved and closed, you are redirected to the record page.
Save and New — Save the changes for the record you are creating/updating, and create/update another one straight away.
Note
To discard the changes, click Cancel at the top right.
Review Record History
You can review the history of a specific record if you have the corresponding permissions. Click on the Change History link at the top right of the record page to open the dialog window. If the record has been modified, you will see who, how, and when updated it.
