Important
You are browsing upcoming documentation for version 7.1 of OroCommerce, scheduled for release in 2027. Read the documentation for the latest LTS version to get up-to-date information.
See our Release Process documentation for more information on the currently supported and upcoming releases.
My Emails
Oro application allows you to send and receive emails from within the system using both personal and system (company-wide) mailboxes. You can neatly design letters using HTML formatting and a built-in text editor, create and use email templates, attach files to emails, and configure personalized signatures.
It is also possible to configure auto-actions and auto-responses. For example, with auto-actions, a lead record or a case may be created in the system for each email received to a particular mailbox.
Oro also provides a feature of auto-assignment to contacts, thanks to which new emails synced into the application are automatically linked to contacts if the email addresses of these contacts appear in the correspondence.
Navigate to My Emails by clicking on your user name on the top right of the application page.
From the page of all emails, you can:
View all available emails
Filter emails
Compose a new email from scratch or using a template and send it
Synchronize emails with your email server (e.g., save drafts)
Mark one or selected emails as unread
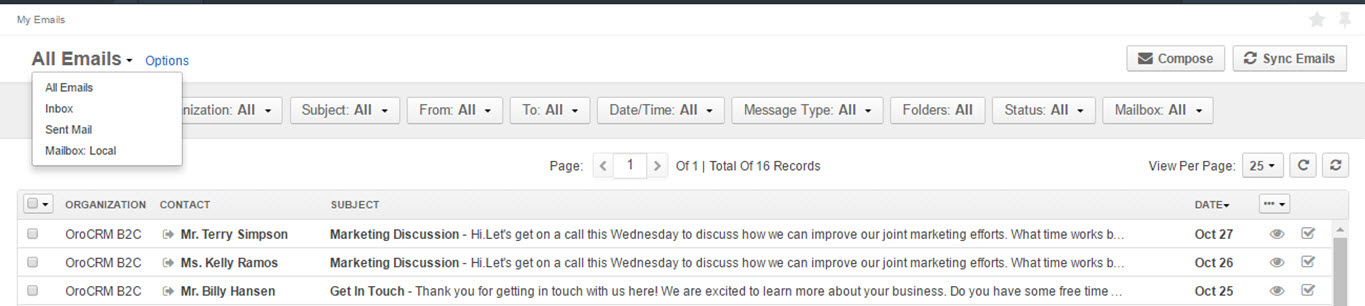
Save Table Views
There are four table views for emails available by default:
All Emails (contains all available emails).
Inbox (contains newly delivered emails).
Sent Mail (contains sent emails).
Mailbox: Local (contains emails sent to the user’s personal email).
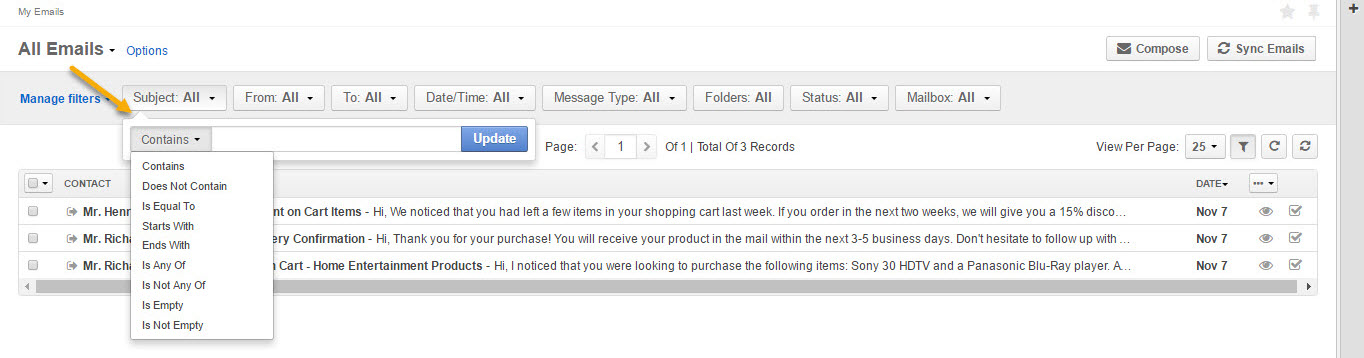
Use Filters
To enable filters for My Emails page, click the button on the right:
Filters sort your emails based on specific criteria, such as subject, date/time, message type, folders, status, mailbox, etc.
To find a specific record, click and select the necessary search parameter from the list:
To save a page filtered according to the necessary criteria:
Filter your emails according to your requirements using Filters.
Click Options.
Select Save As/Save As Default.
Give your email page a name and click Save.
The saved page should now appear on the list.
Note
To synchronize your emails manually, click Sync Emails on the top right of the page with all emails.
Compose A New Email
To compose a new email:
On the page of all emails, click Compose on the top right.
Provide the following information on the page that opens:
From — The sender’s email address (the primary email address is used as a default value).
To — The email(s) of the recipient(s). You can add more than one email to the field. Clicking Cc (carbon copy) will prompt a new field to appear to include more recipients to the emails whom the sender wishes to publicly inform of the message. Such recipients will be visible to all other recipients. Clicking Bcc (blind carbon copy) will prompt a new field to appear to include those recipients whom the sender wishes to inform of the email discreetly. Such recipients are not visible to anyone.
Subject — Short, descriptive outline of the email message displayed in the recipients’ mailbox.
Apply Template — You can apply a pre-configured template for your email. More information on email template configuration can be found in the corresponding section of this guide. Keep in mind that the ability to view and add email templates from the dropdown list depends on specific roles and permissions defined in the system configuration.
Type — Select the type of the message to be sent:
HTML: The email will be coded so that the text is formatted and images are added. * Plain: The email will contain plain text with no formatting or unique layout options.
Body — Enter the text of your email. You can customize your email text using the following features:
Bold, Italic, Underline styles
Text color
Background color
Bullet List
Numbered List
Insert/Edit link
Source Code
Image Embed Upload
Fullscreen view
Add Signature — The signature may be added to any email you write in the Oro application. Your organization settings define whether the signature will be added automatically or manually. If you have a signature configured, you can add it by clicking Add Signature.
Attach a file — You can attach a file from your PC or a related record. Click From a Record to re-use an attachment from another email in the thread or to choose an attachment assigned to the records. Click Upload and select the necessary file to be uploaded from your computer as an attachment to your email.
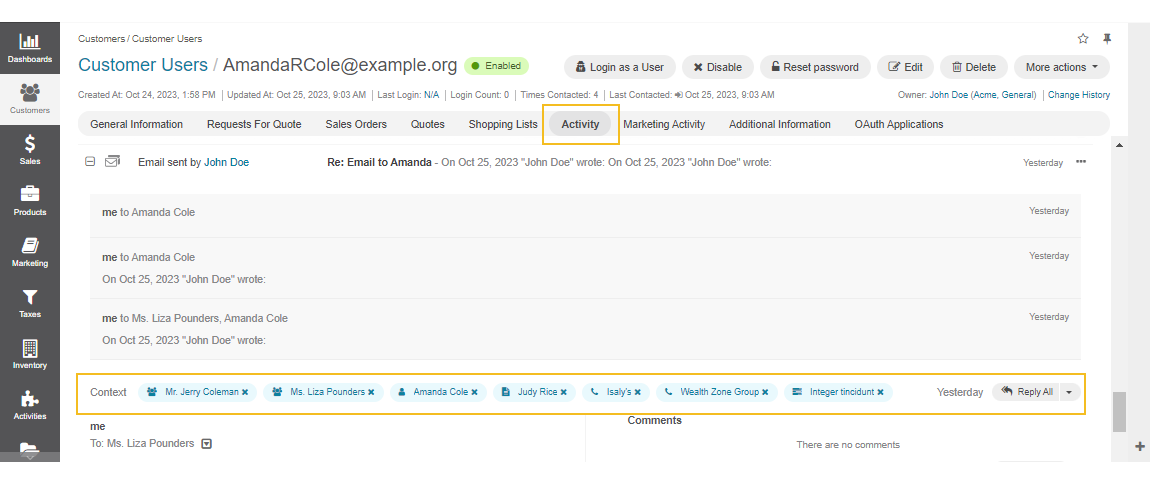
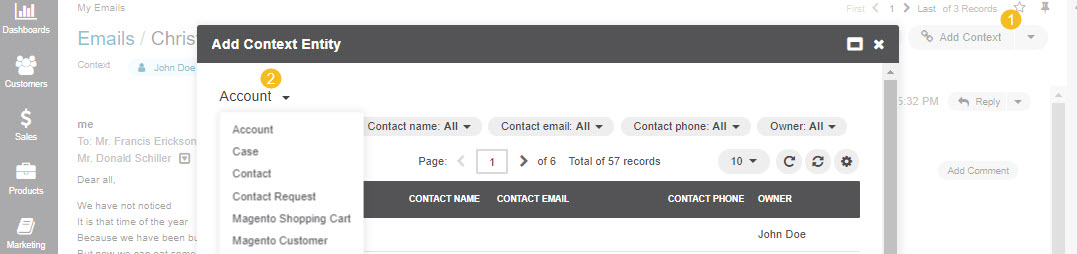
Contexts — Context is any record or records that ha(s)ve meaningful relation to an email conversation (e.g., contacts, customer users, accounts, leads, opportunities, rfqs, etc). When you add context of a record to the email conversation, it will be displayed on top of your email details page or under the Activity section of the added record’s page. Note: If an email has been created from an entity record view page (e.g., from a lead’s page), this record will be added as a context automatically.

Click Send to send your email.
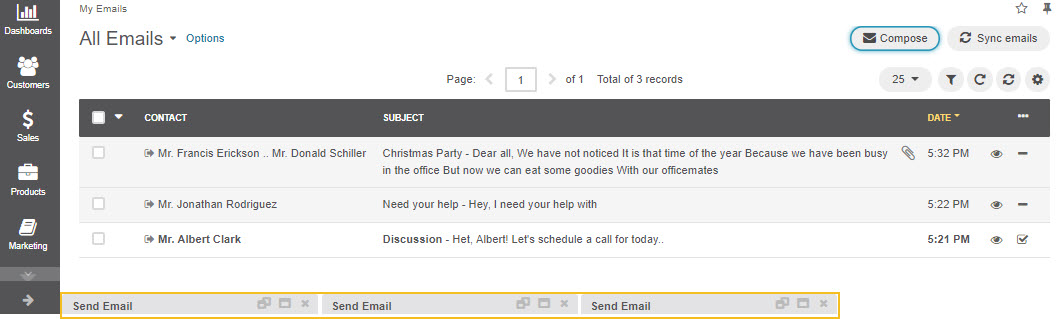
Save Unfinished Email
To save an unfinished email, minimize the email dialog window by clicking on the corresponding button in the top right corner of the email dialog window.
Your unfinished email will appear as a minimized window throughout the sessions.
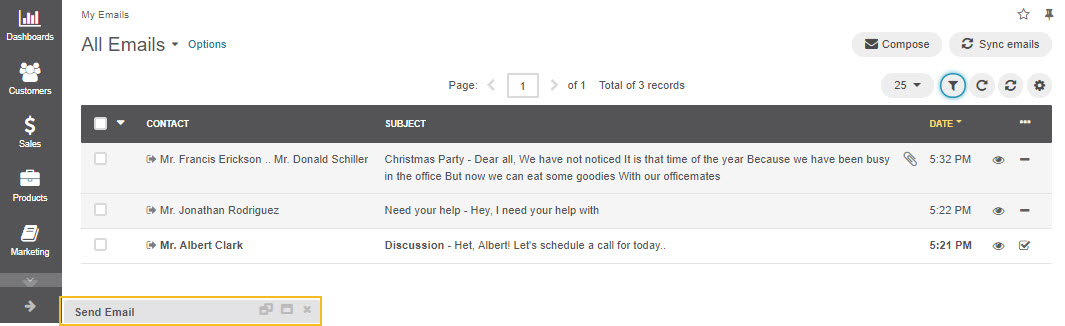
You can save several of such emails as drafts.
View Emails
To open an email, click on either the email or the View icon at the right end of the email.
From the email details page, you can:
Add Comment (add, edit, or delete a comment to the email).
Add Task (assign a task through an email).
Mark Unread
Add Context (define a record related to the email).
Reply (reply directly to the sender).
Reply All (reply to everyone in the email conversation).
Forward (forward an email to a different recipient).
Download Attachment (download the attached file, if available).
View Recent Emails
You can reach your emails by clicking on the Recent Emails button in the top right corner of the Oro application window. A list of unread emails will appear, as illustrated in the screenshot below:
Clicking on an email from the list redirects you to the page of the selected email.
The following features are available within the Recent Emails list:
Mark All as Read (marks all unread emails as read).
Mark As Read/Unread
Clicking on the yellow envelope icon marks the selected email as read.
Clicking on the grey envelope icon marks the selected email as unread.
Reply All (launches a Reply email dialog window).
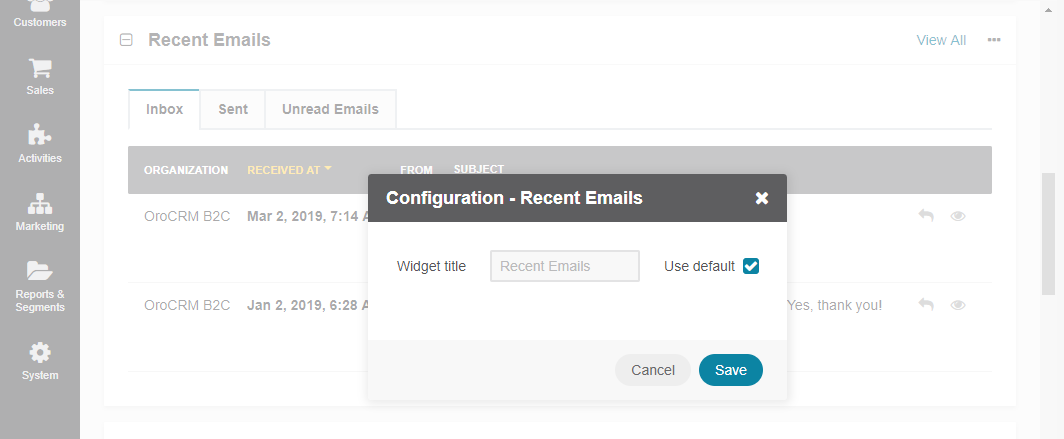
Recent Emails Widget
The Recent Emails widget allows you to see the most recent additions to your inbox and outbox.
Note
For how to add widgets to the dashboard and manage them, see the relevant topics:
Related Articles