Important
You are browsing upcoming documentation for version 7.1 of OroCommerce, scheduled for release in 2027. Read the documentation for the latest LTS version to get up-to-date information.
See our Release Process documentation for more information on the currently supported and upcoming releases.
Manage Segments in the Back-Office
Segments are dynamically filtered subsets of the data (e.g., product collection, marketing list). To use a set of records in reports, filters, web catalog nodes, or marketing lists, you can create a segment and reuse it instead of copying the same query as a condition.
Segment combines a set of records filtered using the query that may use the following information as the foundation:
Activity
Data audit
Field Condition
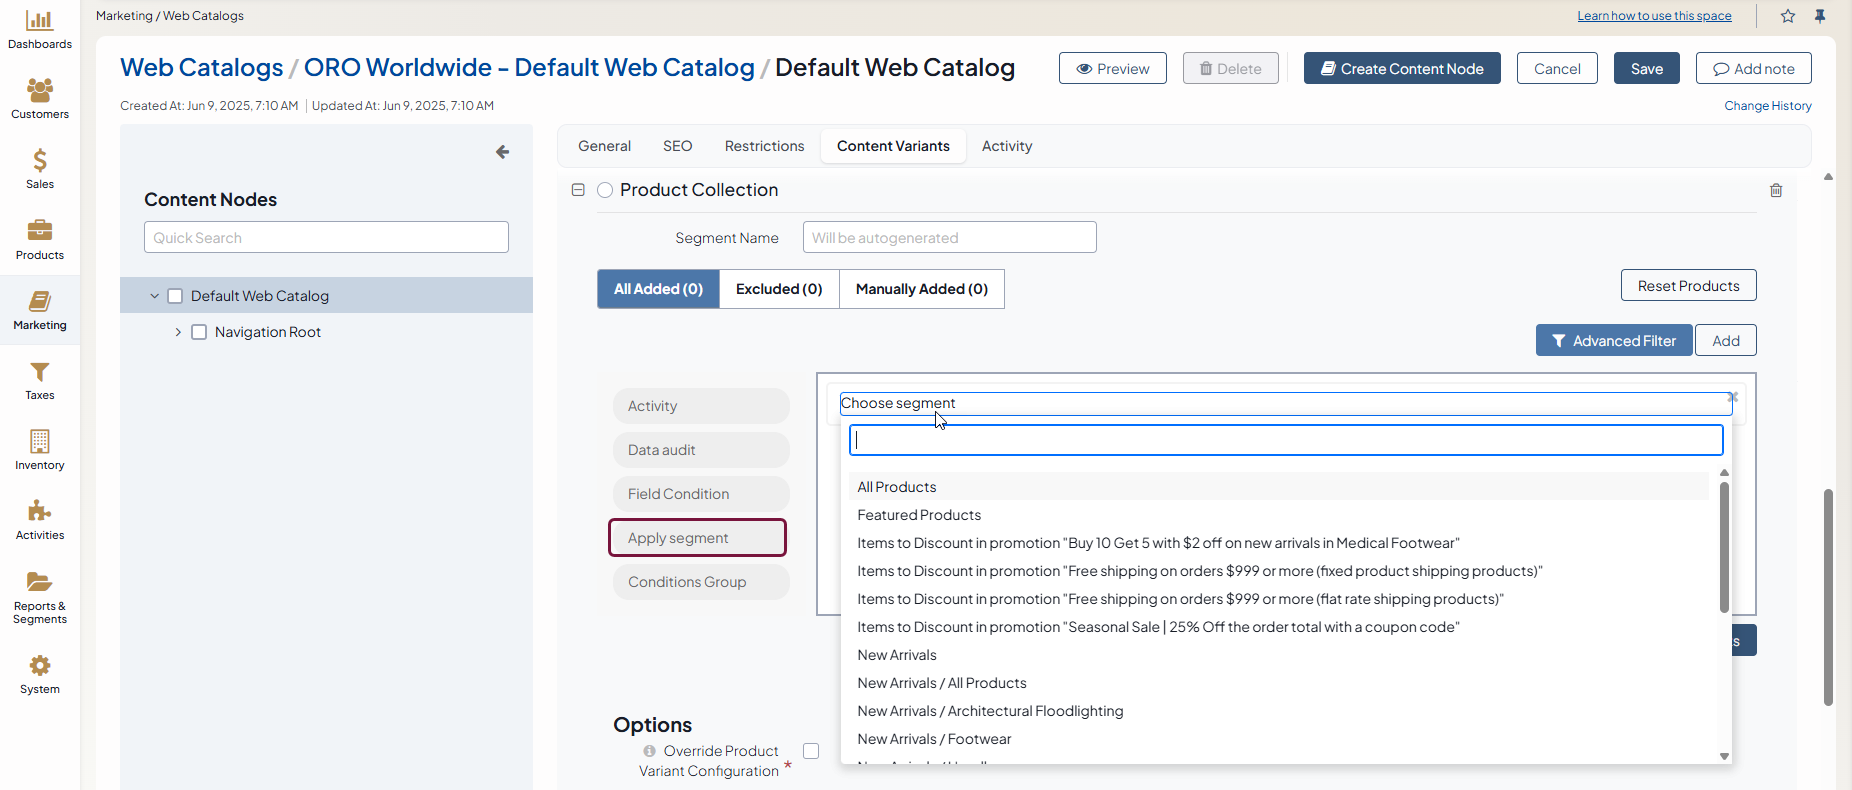
Segment
Condition Group
Dynamic segments refresh automatically. Segments of manual type require explicit refresh by clicking Refresh .
Create a Segment
To create a new segment:
Navigate to Reports & Segments > Manage Segments in the main menu.
Click Create Segment.
In the General Details:
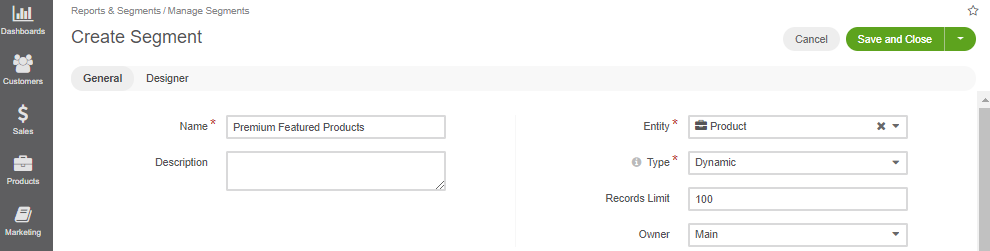
Fill in the segment name.
Optionally, add a Description to help you and other users understand the segment’s purpose or peculiarities in the future.
Select the primary entity that segment should look up.
Select the segment type from the list. Dynamic segments are updated as soon as any changes have occurred in the system. Manual segments are updated only following the manual refresh action when viewing the segment details.
Optionally, specify the records limit. The segment shows the first X results in case the limit is provided.
Select the segment owner - a business unit, members of which can manage the segment, subject to the roles defined in the system.
In the Designer > Columns section, define the set of the fields of the entity records to be shown in the segment.
To add a column to the grid:
Choose a field from the drop-down in the Column section.
Type in a label to refer to the field in the segment report on the interface. The field label is used by default. Customize it if necessary.
Define the sorting order for at least one column in the segment to sort the resulting data set by the field value.
Click Add button.
Reorder the columns by clicking on the line and dragging it to the necessary location.
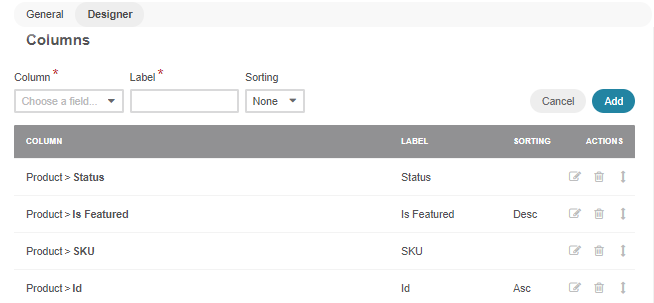
To manage the columns, use action icons in the last column:
Delete a column from the segment with
 .
.Edit the column settings with .
Change the column position, dragging the column by the icon.
In the Designer > Filters section, define the filter to select the records for the segment.
Click Save.
Refresh a Manual Segment
To refresh the data in the segment of the manual type:
Navigate to Reports & Segments > Manage Segments in the main menu.
Click on the necessary segment line.
Click Refresh .
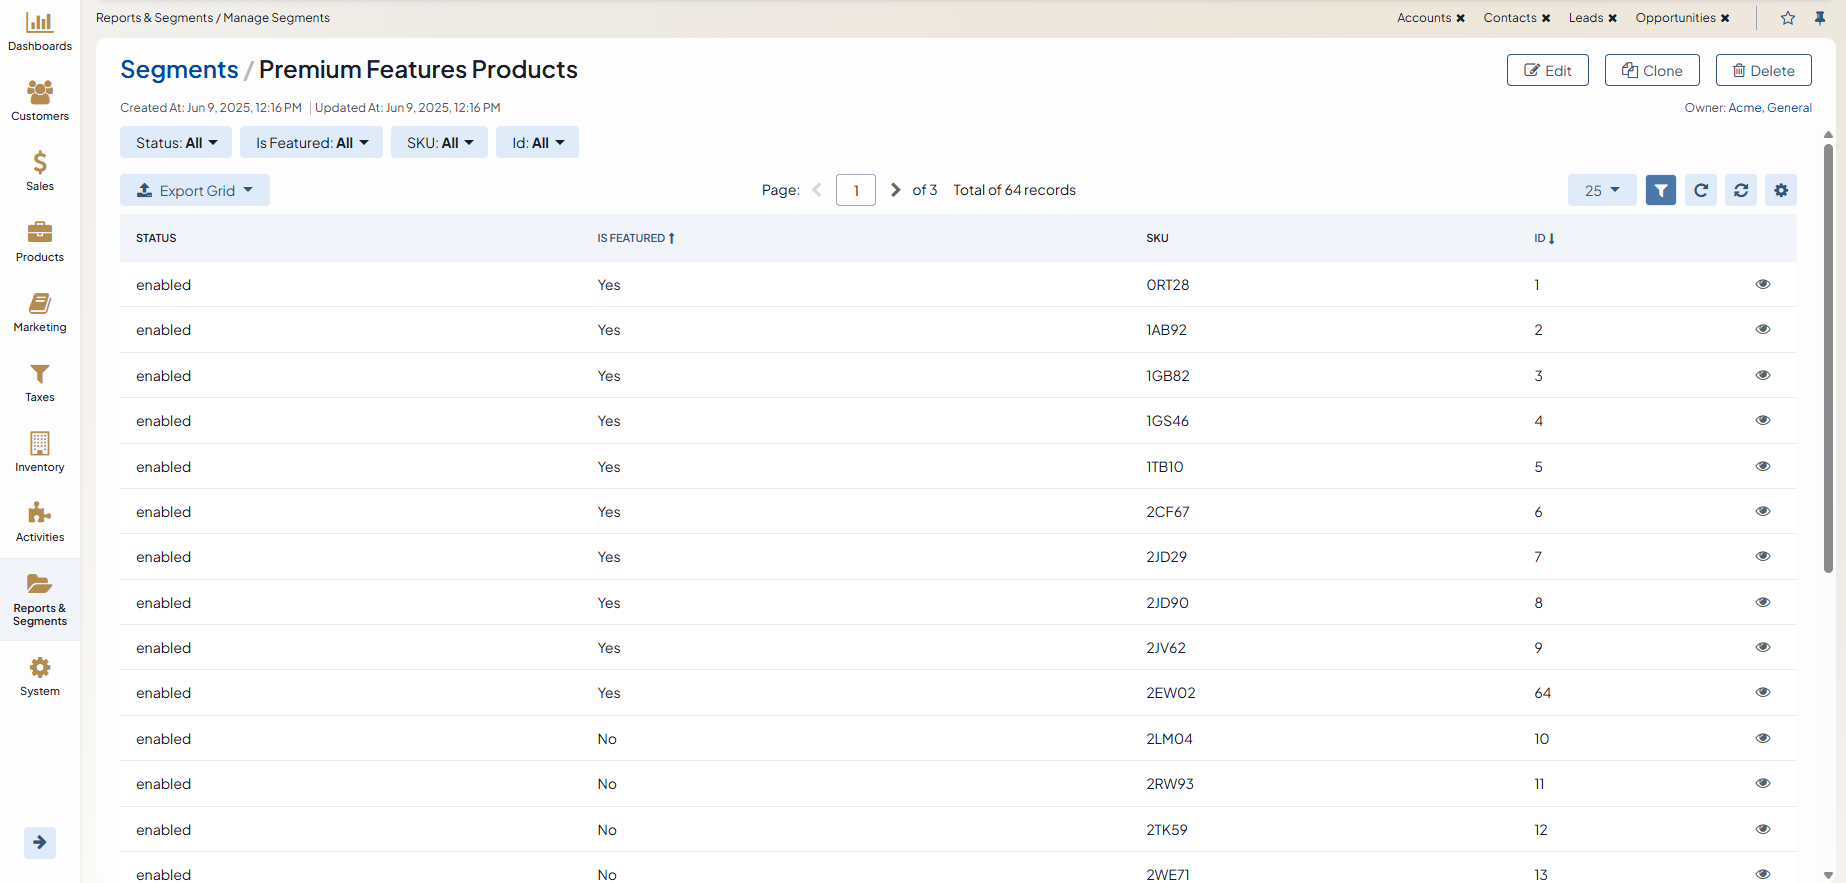
View a Segment Filtered Record
To view the records selected using the segment filter:
Navigate to Reports & Segments > Manage Segments in the main menu.
Click on the necessary segment line.