Important
You are browsing upcoming documentation for version 7.1 of OroCommerce, scheduled for release in 2027. Read the documentation for the latest LTS version to get up-to-date information.
See our Release Process documentation for more information on the currently supported and upcoming releases.
Manage Dotdigital Data Fields and Mappings
Data Fields
Dotdigital Side
As well as utilizing the default contact data fields (FIRSTNAME, FULLNAME or LASTNAME) already in place in Dotdigital lists, you can create new contact data fields to capture and/or contain additional information about your contacts. The more useful data you can collect on your contacts, the more you can proficiently segment, target, and personalize your email campaigns and, in turn, generate better response rates.
To view all the default fields:
Navigate to the Settings > Contacts > Contact data fields menu under the account menu. are listed on the Default data fields tab, while new customized fields are on Custom data fields. These are located in Contacts > Contact Data fields.
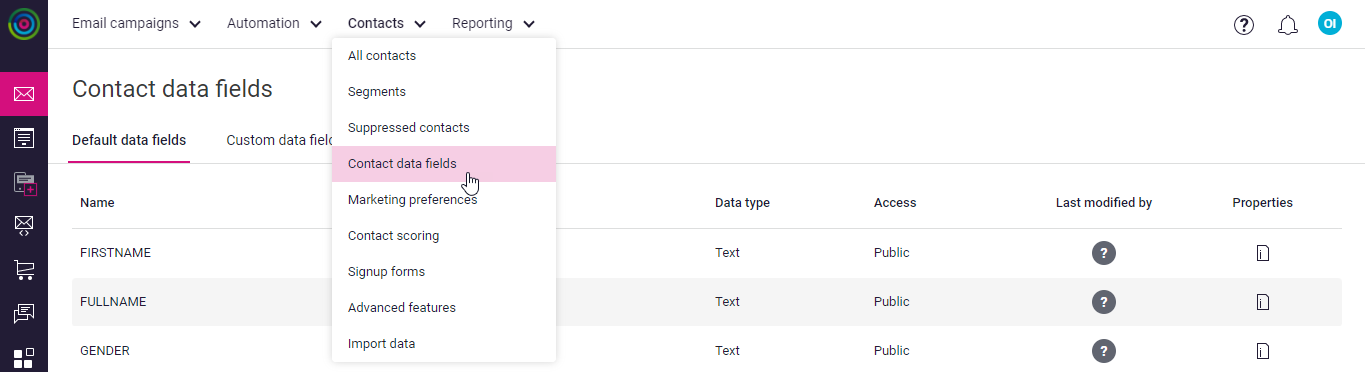
All custom fields that you can view, create, or remove are displayed in the Custom data fields tab.
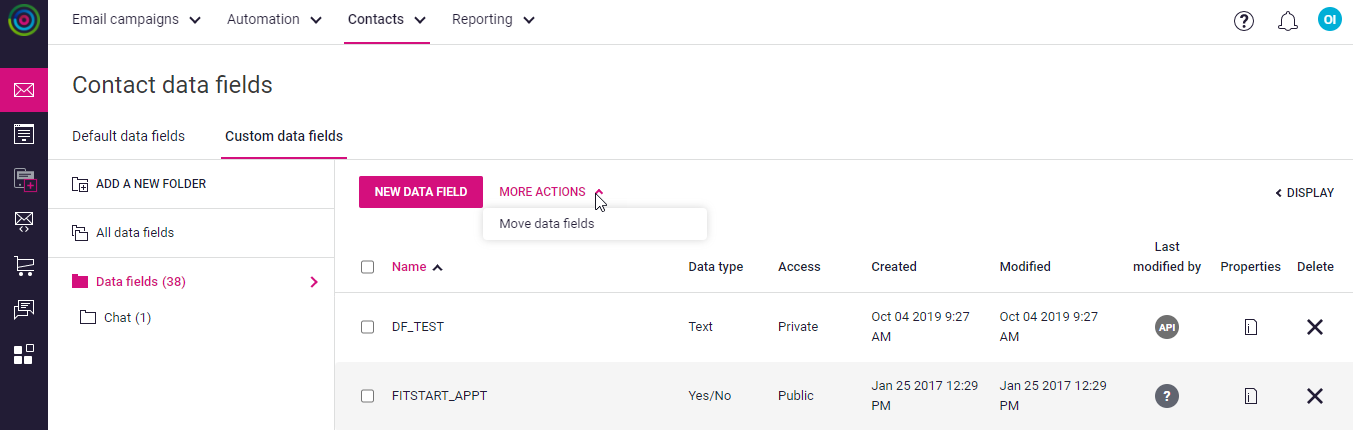
Create a New Data Field
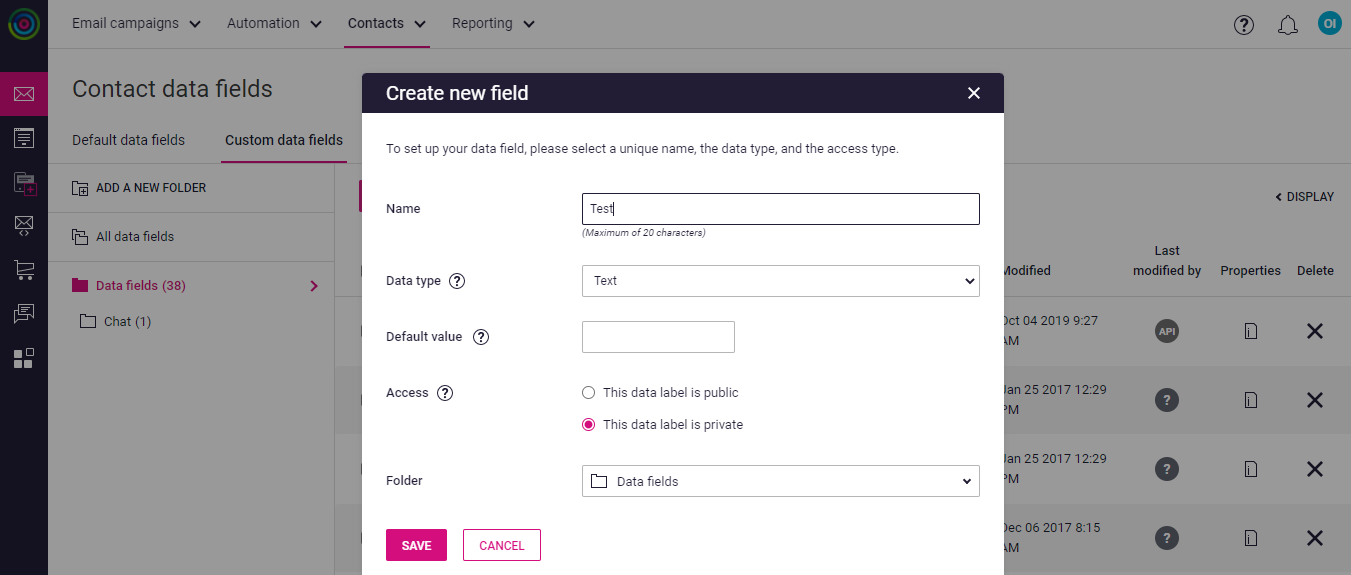
To create a new data field, click New Data Field. A dialog box will open with the following fields to fill in:
Field |
Description |
|---|---|
Name |
Enter a name for the data field. It must consist of alphanumeric characters only, with hyphens and underscores, if required. The maximum length is 20 characters. |
Type |
Select data field type: string, numeric, date, or boolean. Make sure you select the correct type so your information could render correctly. |
Default Value |
When sending a campaign that uses template personalization, a default value ensures that a value is always displayed even if the data field is blank. |
Access |
Select access type: public or private. Make the field public if you want to allow your contacts to view and amend the data you hold on them in this field. |
Folder |
Select the folder to save your data field to. By default, the Data Fields folder is selected. |
Click Save to save the new data field.
Oro Application Side
The Dotdigital data fields are collected by Oro and are located under Marketing > Dotdigital > Data Fields. Here, you can view, remove, and create new Dotdigital data fields on the Oro side.
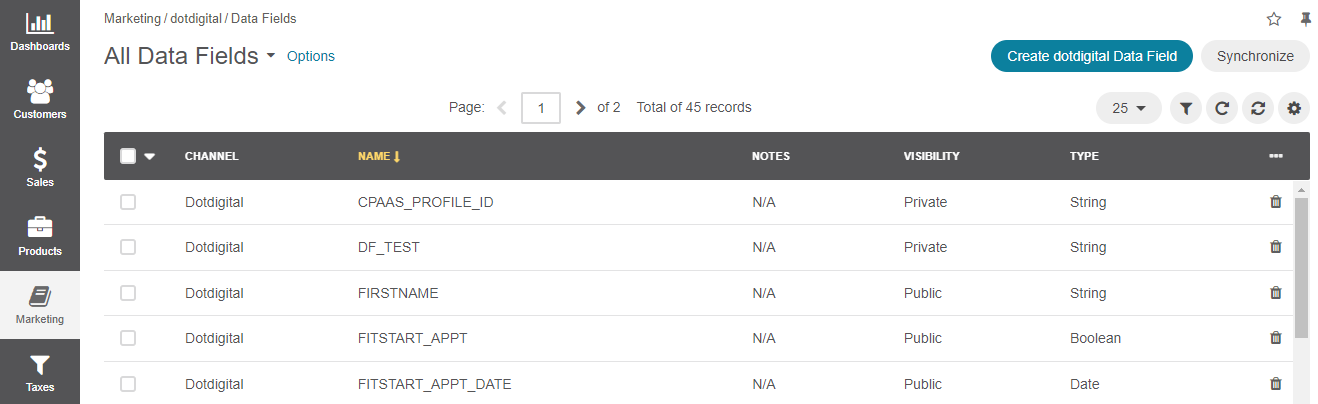
Create a New Data Field in the Oro Application
To create a new data field in the Oro application, click Create dotdigital Data Field in the upper-right corner of the page. A form will open with the following fields to fill in within the General section:
Integration — Select your Dotdigital integration.
Name — Enter a name for the data field. It should consist of alphanumeric characters only, with hyphens and underscores, if required.
Type — Select data field type: string, numeric, date or boolean. Make sure you select the correct type so your information could render correctly.
Visibility — Select visibility type: public or private. Make the field public if you want to allow your contacts to view and amend the data you hold on them in this field.
Default Value — When sending a campaign that uses template personalization, a default value ensures that a value is always displayed even if the data field is blank. The default value depends on the data field type selected.
You can add a note for the data field you create in the Additional section in Notes.
Click Save and Close to save the new data field. Once saved, it will appear in the Data Fields grid.
From within the grid, you can also:
Filter the fields by channel, name, visibility, and type.
Add notes with the help of the inline editing feature.
Delete a field.
Note
You cannot delete system fields (e.g., FIRSTNAME, LASTNAME).
Sync Data Fields
By default, data fields are synchronized with Dotdigital once a day. This interval can be changed in System > Configuration > Integrations > dotdigital Settings > Synchronization Settings. You can also trigger synchronization manually by clicking the Synchronize button from the data fields grid.
Note
You cannot update existing data fields.
Data Field Mappings
Data Field Mappings is available under Marketing > Dotdigital in the main menu.
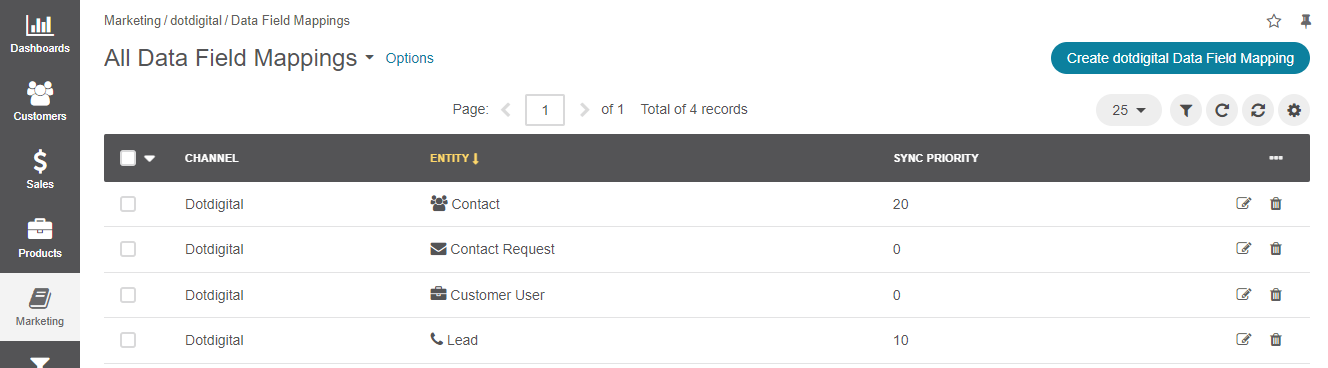
Create a New Mapping
To export/import specific data fields from/to Dotdigital, you can build the mapping between Oro entity fields and Dotdigital data fields. When a new integration is created, default mappings for standard data fields (FIRSTNAME, LASTNAME, and FULLNAME) are added automatically for Oro application entities (Contact, Lead, etc.). You can update existing mapping and add new mappings.
To create a new mapping, click Create dotdigital Data Field mapping in the upper-right corner of the Data Field Mappings page.
A form will emerge with the following fields to fill in within the General section:
Integration | Select your Dotdigital integration.
Entity | Select the entity (e.g., Contact, etc).
Sync Priority | If two or more entities are linked to 1 Dotdigital contact, sync priority will be used to identify the master record.
Configure your mapping in the Mapping Configuration section of the same page.
Select the Two Way Sync checkbox if you want to update application entities with data from Dotdigital.
Perform Sync
Once you have configured mapping, tracking of changes will be performed automatically every 5 minutes. You can manually re-synchronize data fields on a required marketing list from its view page. To perform manual synchronization:
Open the marketing list connected to Dotdigital.
Click dotdigital in the upper-right corner.
Click Refresh Data Fields.
Note
For more details on the Dotdigital configuration, see the Dotdigital Integration guide.