Important
You are browsing upcoming documentation for version 7.1 of OroCommerce, scheduled for release in 2027. Read the documentation for the latest LTS version to get up-to-date information.
See our Release Process documentation for more information on the currently supported and upcoming releases.
Configure OAuth Applications for Users in the Back-Office
The section contains the list of all OAuth applications created for users in the back-office. You can view and manage the existing OAuth applications, create new applications selecting the necessary grant type depending on your business needs, either client credentials or a password.
Overview
Oro applications support OAuth 2.0 credentials authorization grant type to enable connection of third-party applications to the web API. To connect a third-party application, you need to add it and configure its pre-generated credentials in the back-office of your Oro application. These credentials are managed on user level which enables generation of different credentials for various applications across multiple organizations (the multi-org functionality is only available in the Enterprise edition).
Starting Conditions
To be able to create an OAuth application, make sure that you generate private and public encryption keys and add them to the /var directory of the installed Oro application. Although the path to the keys is predefined, you can change it by providing your custom location in the config.yml file.
Note
If no keys are found, the following warning message will be displayed in the back-office:
OAuth authorization is not available as encryption keys configuration was not complete. Please contact your administrator.
Create an Application
To create a new OAuth application in the back-office:
Navigate to System > User Management > OAuth Applications in the main menu.
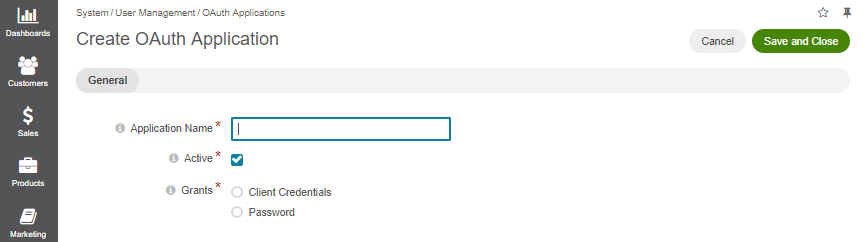
Click Create OAuth Application on the top right of the screen.
Provide the following details on the page that opens:
Organization — If you are adding an application within the organization with global access, you can select which other available organization to add the application to. This field is displayed to users with access to multiple organizations (available for the Enterprise edition only).
Application Name — Provide a meaningful name for the application you are adding.
Active — Select the Active checkbox to activate the new application.
Support all APIs — Select whether the client should support all available API types. If disabled, the Supported APIs filed appears with a list of API types for the user to select the required one.
Supported APIs — The field appears when the Support all APIs field is disabled. Select the API type that the client should support, for example JSON:API, Email Addon, SCIM, etc.
Grant Type — Select the grant type to apply to the new application. Currently, the available grant types are Authorization Code, Client Credentials, and Password. The Authorization Code type is used by confidential and public clients to exchange an authorization code for an access token, the Client Credentials type is used for machine-to-machine authentication (e.g., in a cron job that performs maintenance tasks over an API) and Password is used by trusted first-party clients to exchange the credentials (username and password) for an access token.
Users — The field appears when selecting Client Credentials as a grant type in the previous field. Select a customer user who you want to assign the new application to.
Redirect URLs — The field appears when selecting Authorization Code as a grant type. The list of URLs to which it is allowed to redirect the user back to.
Confidential Client — The field appears when selecting Authorization Code as a grant type. Indicates whether the client is a confidential or a public. For confidential client, client secret is safely stored on the client side and must be used for authorization. Requests without client secret are accepted with PKCE if this option is not selected.
Skip User Consent — The field appears when selecting Authorization Code as a grant type. Use this option for first party applications to skip user login consent screen.
Click Save and Close.
A corresponding notification is sent to the primary email address of the user, the owner of oauth application. You can change the default recipient, localization, or an email content if needed by updating the OAuth email templates and the related notification rule set out-of-the-box in the system configuration.
Once the application is created, you are provided with a Client ID and a Client Secret. Click on the icon to copy the credentials to the clipboard.
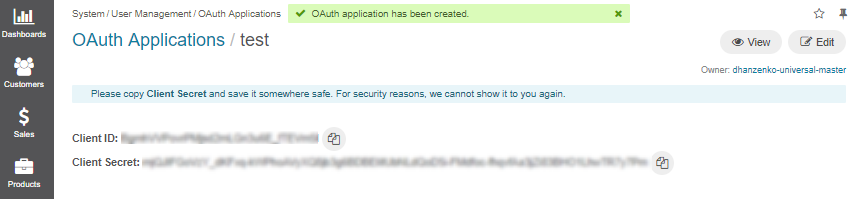
Important
For security reasons, the Client Secret is displayed only once – immediately after you have created a new application. You cannot view the Client Secret anywhere in the application once you close this dialog, so make sure you save it somewhere safe so you can access it later.
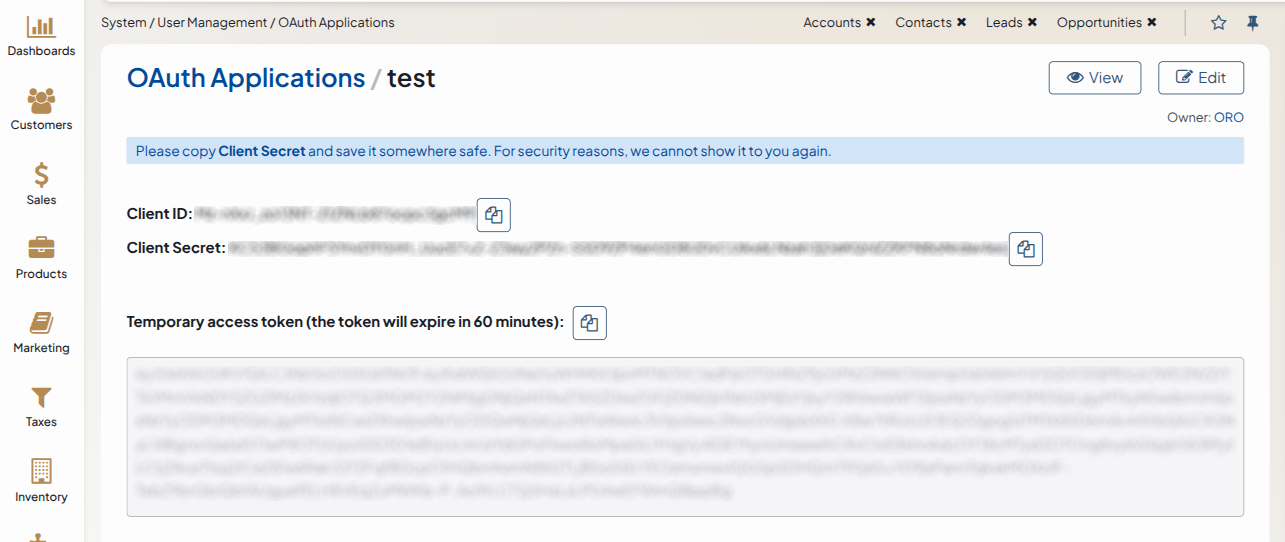
Use the generated Client ID and Client Secret to retrieve an access token to connect to your Oro application.
For Client Credentials grant type application, an access token will be generated and shown as well. It can be used for API requests.
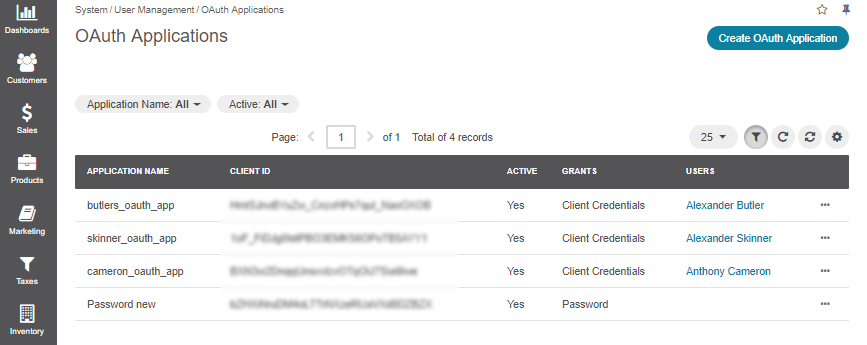
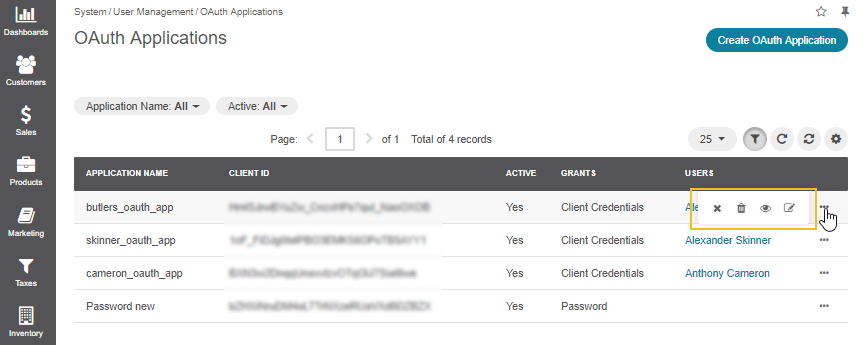
You can create as many applications as you need for any of your existing organizations. All added applications are displayed in the grid, and you can filter them by name, organization, and status.
Hint
Use the More Options menu to view, edit, delete, activate or deactivate the existing OAuth applications.
Note
To create an OAuth application under Customers > Customer Users in the back-office, see Add a Customer User oAuth application.
To add an OAuth application to a customer user directly from their page in the back-office, see Add OAuth Applications from Customer User’s Page.
To add an oAuth application to a user via My User Menu in the back-office, see Add OAuth applications to your profile.
To add an OAuth Application to a back-office user under System > User Management > Users, see Add OAuth Applications to a Back-Office User