Important
You are browsing upcoming documentation for version 7.1 of OroCommerce, scheduled for release in 2027. Read the documentation for the latest LTS version to get up-to-date information.
See our Release Process documentation for more information on the currently supported and upcoming releases.
Manage Customer User Invitations in the Back-Office
Customer user invitations enable you to add a user to a customer account without entering their profile details or setting a password for them. The invited user receives an email with a single-use link and completes their profile in the storefront, as described in the Accept an Invitation topic.
Customer users with the required permissions can also send and manage invitations in the storefront. For more information, see the Invite a User section.
Note
Customer user invitations are enabled by default. You can enable or disable them globally and per organization, website, customer group, and customer. A setting configured at a more specific level overrides the inherited setting. When invitations are disabled, the invitation pages and actions are hidden in the back-office and the storefront.
Important
To send invitations, your role must include permissions to create customer users, view customer user roles, and create customer user invitations. The customers and roles available for selection depend on your access level.
If the Invite User button or an invitation action is not displayed, check that invitations are enabled and that your role has the required permissions.
Invite a Customer User
To invite a customer user:
Navigate to Customers > Customer User Invitations in the main menu.
Click Invite User.
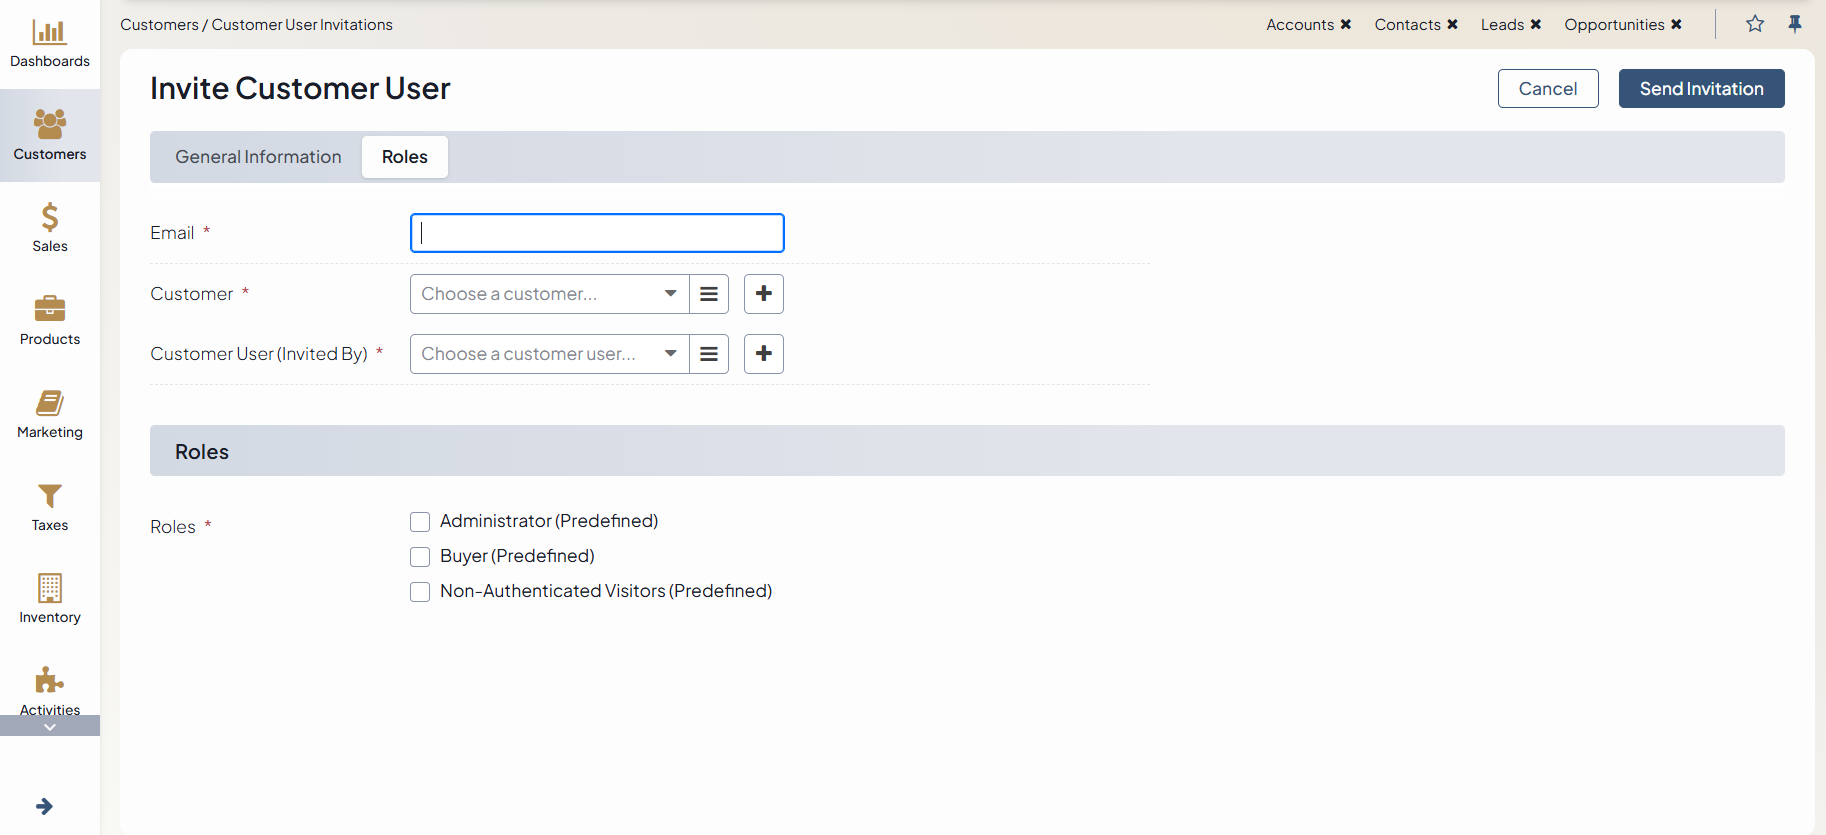
Fill in the following fields:
Email — The email address to send the invitation to.
Customer — The customer account that the invited user joins.
Customer User (Invited By) — The customer user on whose behalf you send the invitation. The organization and website of the invitation are taken from this customer user.
Roles — One or more roles to assign to the invited user. Only the roles available for the selected customer are displayed.
Click Send Invitation.
Manage Invitations
The Customer User Invitations page lists all invitations. For accepted invitations, the list includes a link to the customer user created from the invitation.
Depending on your permissions and the invitation status, the following actions are available:
Resend — Sends a new invitation email and extends the expiration date. The link in the previous email stops working.
Revoke — Cancels an invitation that has not been accepted yet. The invitation link stops working.
Delete — Permanently removes the invitation record. You can delete an invitation in any status. This action is available only in the back-office.
An invitation link is valid for 24 hours by default. An invitation can have one of the following statuses:
Status |
Description |
|---|---|
Pending |
The invitation is waiting for a response. The invited user can accept it until the expiration date. |
Accepted |
The invited user completed the form, and their customer user account is created. |
Revoked |
The invitation was canceled before it was accepted. |
Expired |
The invitation was not accepted before the expiration date. OroCommerce applies this status automatically when the expiration date passes. |
When the invited user accepts an invitation, their customer user account is enabled and confirmed automatically. The account belongs to the customer selected in the invitation and receives the selected roles.
The link of an expired or revoked invitation no longer works. In this case, you can resend a pending invitation or create a new one.
Related Topics