Add Attachments
Attachments help keep track of assets such as paper copies of a return or a bill of service written on-site. This way, the representative can attach the copy to a customer’s case, the customer, or account records.
See a short demo on how to add attachments in your Oro application, or keep reading the step-by-step guidance below.
Important
By default, the list of activities available for each entity is determined by what is most commonly used by businesses. However, if your company’s work process requires it, you can always turn the desirable activity on for almost any entity (except technical ones). If you need particular activities to be enabled for an entity, contact your administrator, or see steps 4 and 5 in the Create an Entity action description.
How to Add Attachments
To add an attachment to a record:
Navigate to the page of the selected record.
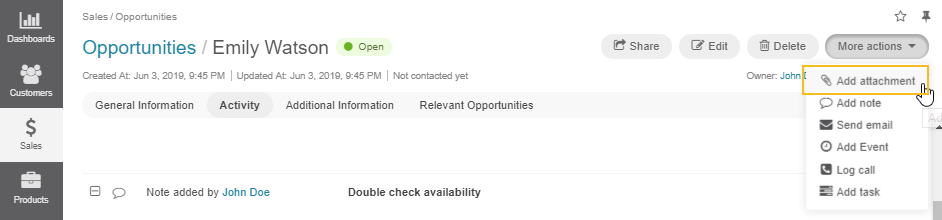
Click Add Attachment under the More Actions menu on the top right of the page.
In the Add Attachment dialog:
Choose the file to attach.
Leave a comment, if necessary.
Define the owner of the attachment. By default, the user creating the attachment is selected.
Note
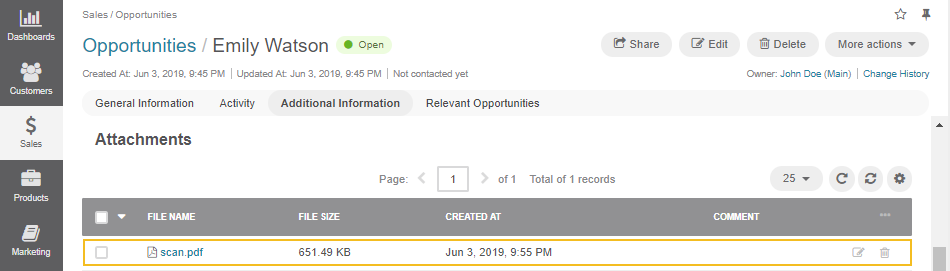
You can access attached files under Attachments in the Additional Information section of record pages.